How to Turn an Old Silky Shirt Into a Cute DIY Plunge Halter Top

If you want to know how to make your own DIY plunge halter top, this is the tutorial for you! I’ll show you how to make a shirt into a halter top! I chose this vibrant fabric because it is so beautiful. It reminds me of the show Euphoria. Follow along so you can sew your own halter top!
Tools and materials:
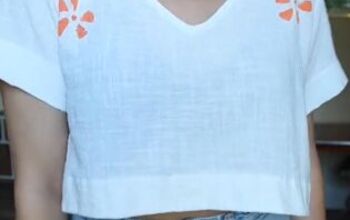
- Shirt (large)
- Measuring tape or ruler
- Scissors
- Pins
- Sewing machine
- Needle and thread
- Large O ring (I got it on Amazon)
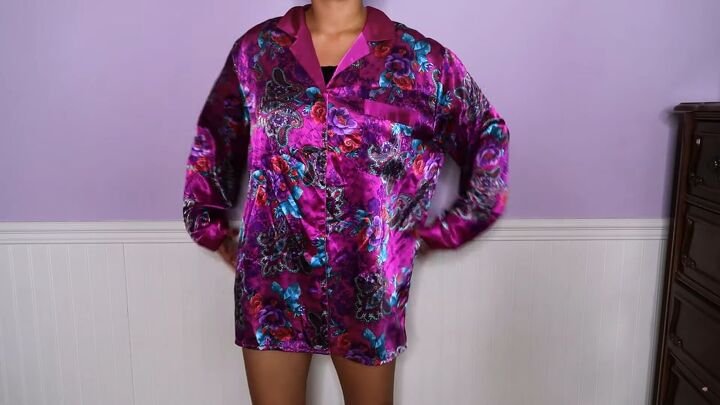
From this big shirt to a DIY plunge halter top.
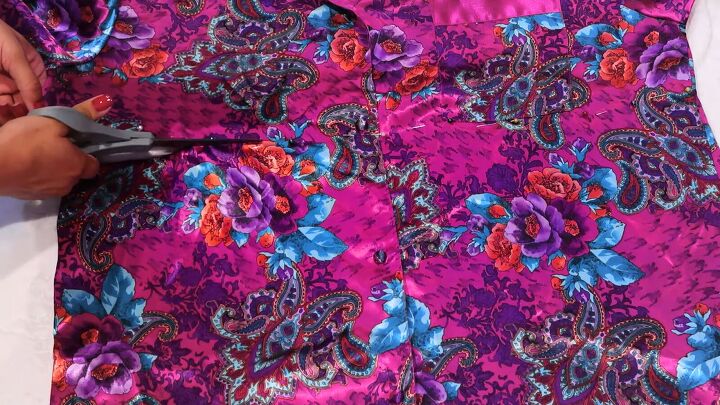
1. Cut the shirt
Lay the shirt on a flat surface. You’ll need flat pieces, so I eyeballed the measurement and cut just below the armpits.
Once you’ve amputated the shirt, open it up to make a long rectangle that’s 47 X 15 inches.
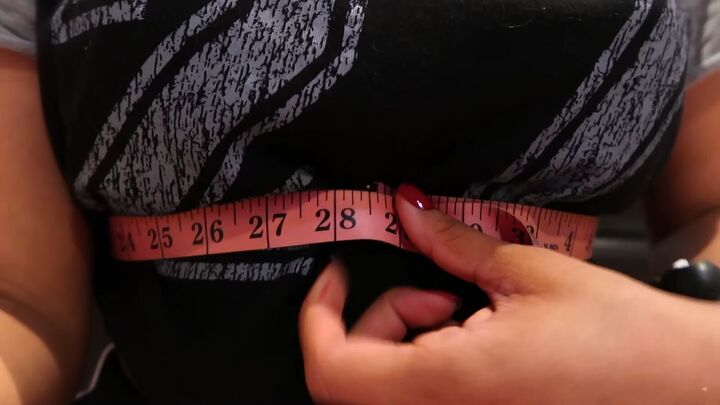
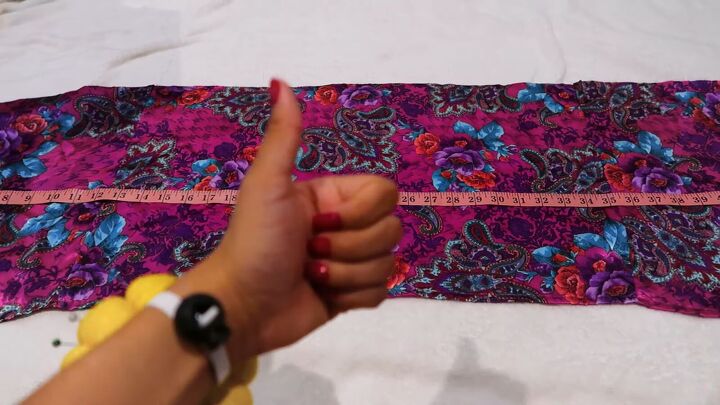
2. Measure the band
I measured my rib cage where I want the halter top to end and it’s 28 inches. I added some additional inches for seam allowance and security. The width of the band is 4 inches. I pinned 4 inches across the fabric and at 30 inches for the length.
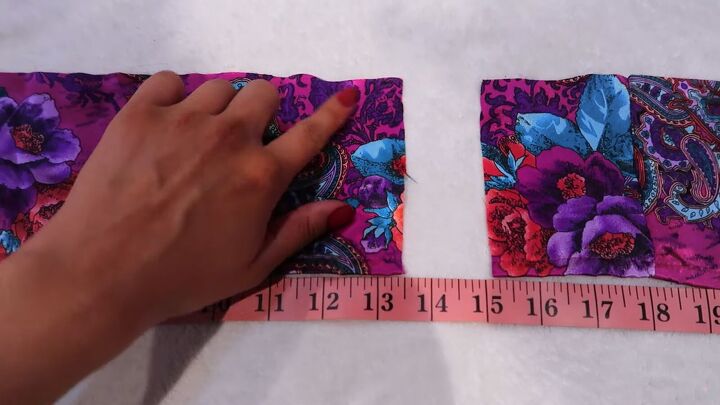
I cut a very long rectangle. I then cut the band into 2 so each piece is 15 inches long.
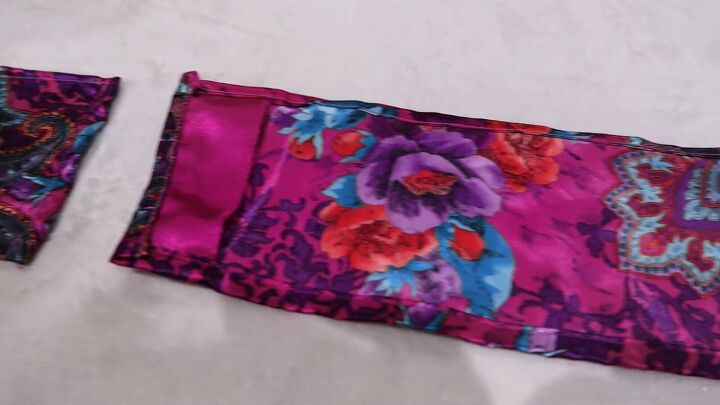
3. Sew the band
I folded, pinned, and sewed along the seams of both band strips. Sew as close as possible to the edge of the folded seam.

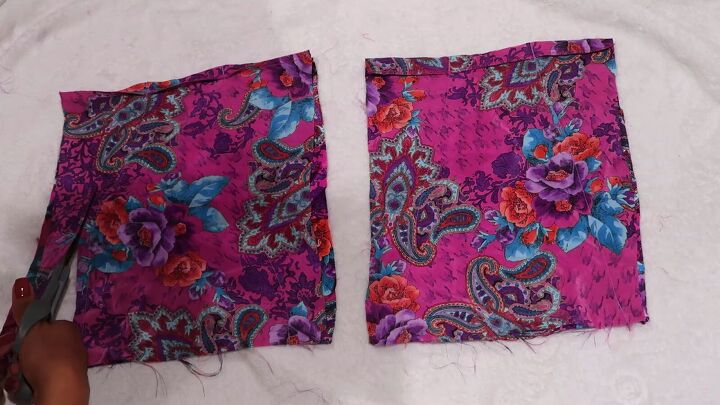
4. Make the halter cups
Fold the big rectangle in half and then cut on the fold. Fold the cut piece again so the cups can be double layered and not see-through.

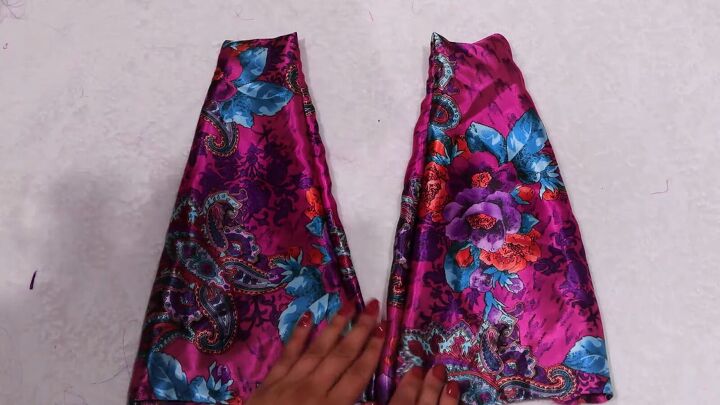
Measure so the bottom of the cup is 8 inches and the top of the cup is 3½ inches. The length of each cup is about 12 inches. The center of the cup is 6 inches and it steadily decreases as you go upward. Connect the dots of the measurements with pins.
I find the easiest way to do this is to lay the ruler or measuring tape on the fabric and pin it alongside it.
Sew the cups right sides together along the pinned triangle using a straight stitch. This fabric isn’t stretchy so it needs a straight stitch. If you’re using a stretchy fabric, use a zigzag stitch.
Backstitch the triangle for extra security. Cut the excess fabric from the sewn triangles. It’s coming together already!
Flip the fabric to the right side showing.

Fold the open end of the triangle and pin it flat for sewing. Sew right at the edge.
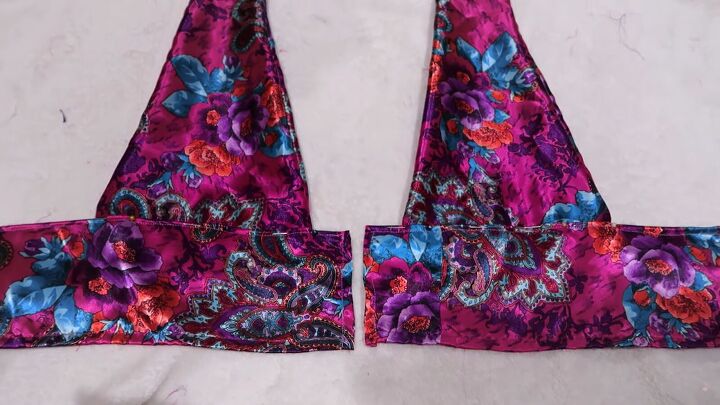
5. Assemble the halter top
Lay the band at the bottom edge of the cups and pin them together. Make sure to leave at least 1½ inches at the center edge for the ring. Sew the cups to the band using a straight stitch on the wrong side. Once they’re sewn they should look like this.
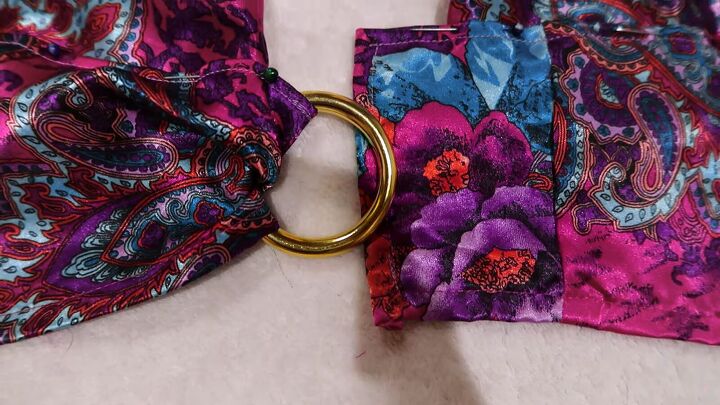
6. Insert the ring
Take the 1½-inch edges and tuck them around the ring from the right side going in towards the wrong side. Grab the upper corner and pin, gently pleating the fabric. Take the bottom corner and pin. Then, pin the middle and tuck it around the ring.
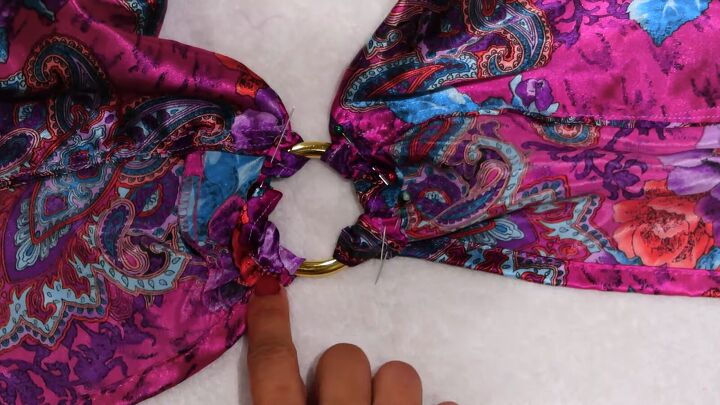
Hand-sew the ring in place, sewing as close to the edge as possible. There is no real technique here - sew it until the ring is secure.
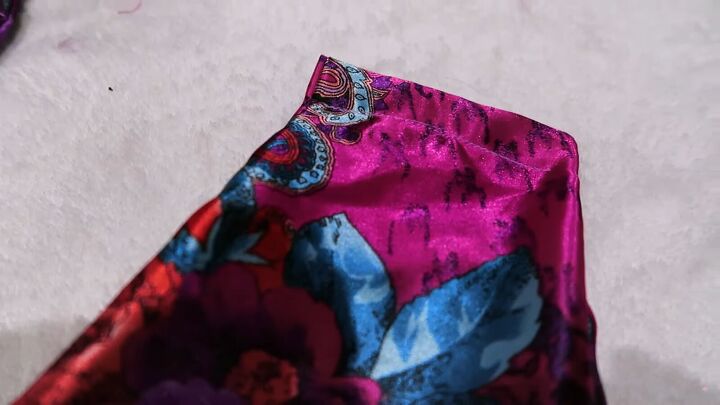
7. Make straps
Straps are needed for the top of the cups. Fold the top of the cups in about ½ an inch and sew it in a straight line across both cups, creating a tunnel to feed the straps through.
I used the remaining fabric from the shirt and pinned it along the edge to sew together. Then I got the individual straps and attached them next to each other to create one continuous long strap and fed it through the tunnel in the 2 cups.

I made another strap and cut it into 8 pieces. Each one is about 1½ inches long.
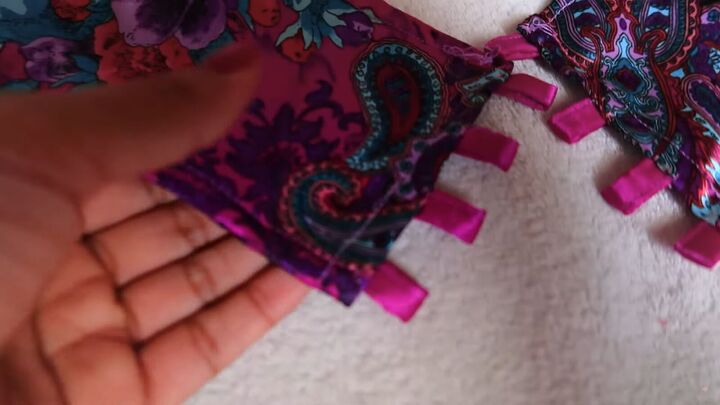
I folded each piece in half to make a loop. I hand-sewed it to the very edge of the back band. I sewed each one until they were secure. Each side has 4 loops.

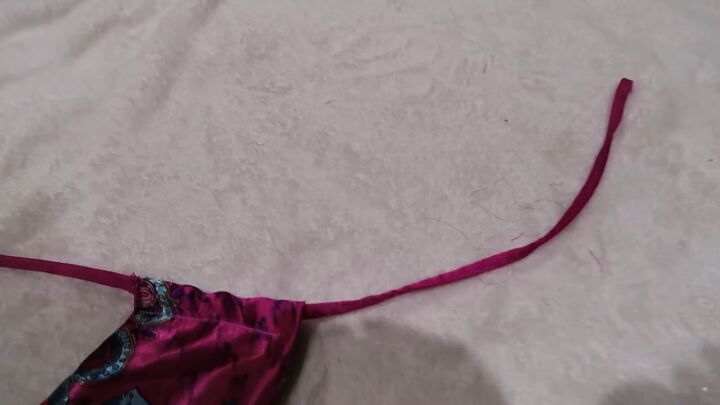
For the back lacing straps, I used fabric that was 2 inches wide. I used the sandwich method: tuck the short end in first, and then lengthwise top-down and then the bottom up, and then another fold from the top down in half.
This gives a nice, clean, professional edge. I pinned and then sewed at the very edge. This strap is 32 inches long.
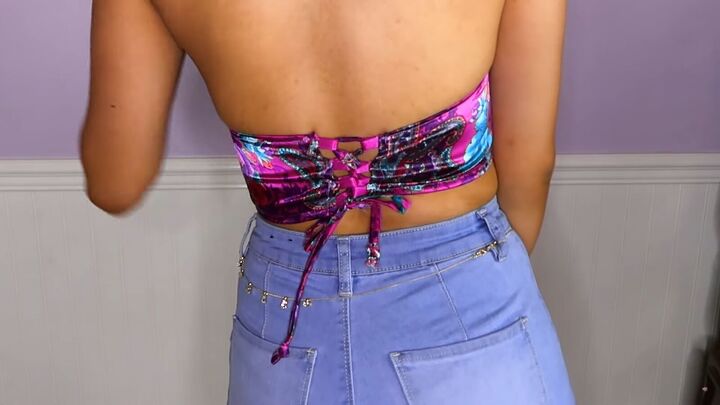
8. Tie the lace-up back
I laced the strap in the back of the top like shoelaces.

DIY plunge halter top tutorial
I love the way this came out! The best part is there are no buttons or zippers - just a ribbon tie. I think it’s pretty good if I say so myself! Let me know your thoughts in the comments and if you’re planning to try out this shirt to halter top DIY.
The author may collect a small share of sales from the links on this page.


Comments
Join the conversation