Judy Garland-inspired 1940s Bumper Bangs Tutorial

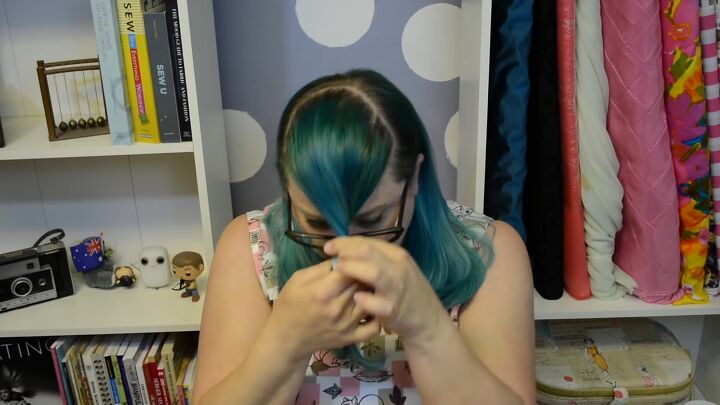
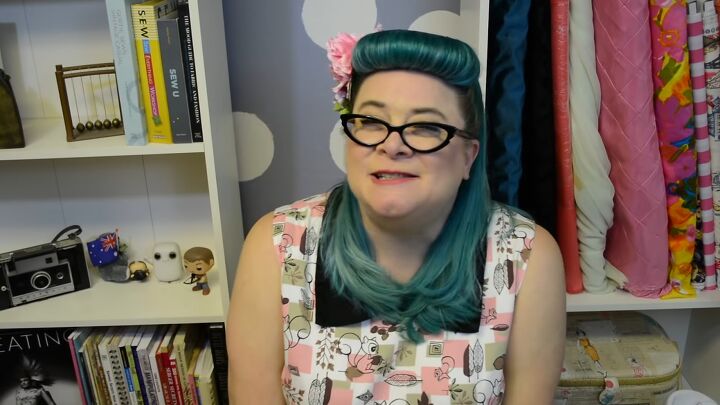
Hey, everyone. In this 1940s hair tutorial, I’m going to be showing you how to do vintage bangs. These 1940s bumper bangs are an homage to Judy Garland’s hairstyle in the Meet Me in St. Louis film.
She actually has bangs in the film, and I do not, so I created this straight, sleek style of bumper bangs to create the feel of her look. Let’s get started.
Tools and materials:
- Smoothing serum
- Heat protectant
- Flat iron
- Hairspray
- Brush
- Pomade
- Bobby pins
- Hair rat/roller
- Flower accessory
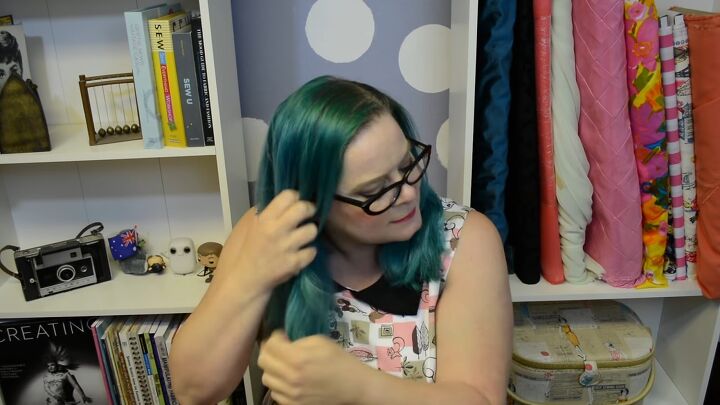
1. Apply a smoothing serum
My hair gets a little fluffy when it’s left to dry unsupervised, so I’m going to use a smoothing serum.
Take a few drops and warm it up in the palm of your hand then apply it to your hair, starting at the ends, since that’s where the hair needs the moisture. This will help shine and smooth the hair.
2. Apply a heat protectant
It’s important to use a thermal protectant when using heat to style your hair. It’s going to help minimize any damage caused by that heat.
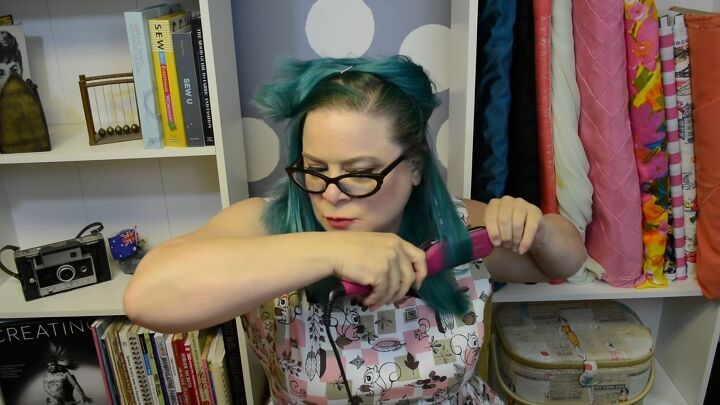
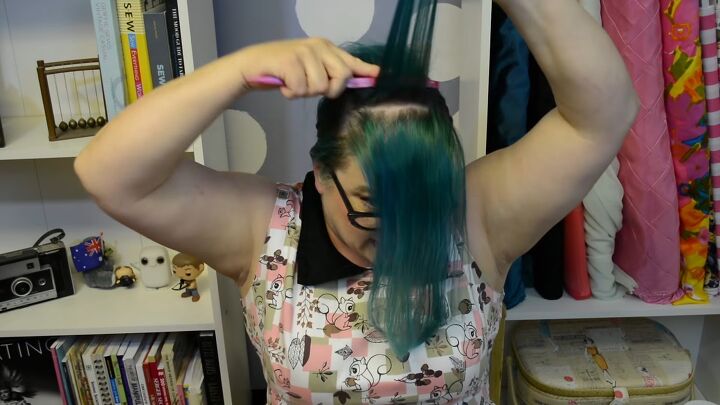
3. Straighten your hair
To straighten the hair, I do it from the bottom up. Section off the top portion of the hair and pin it out of the way.
I tend to take bigger sections of the hair and run the iron down the length of the hair.
When I get to the ends, I start to roll it in, so it creates the slightest hint of a curl at the very end of it.
Depending on your hair type, the straightening process might take a little bit longer.
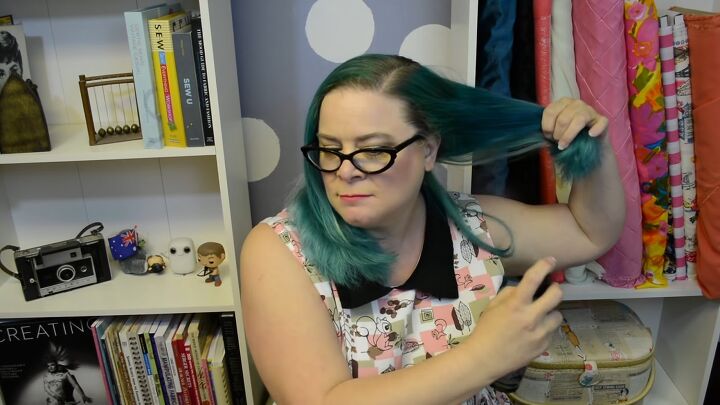
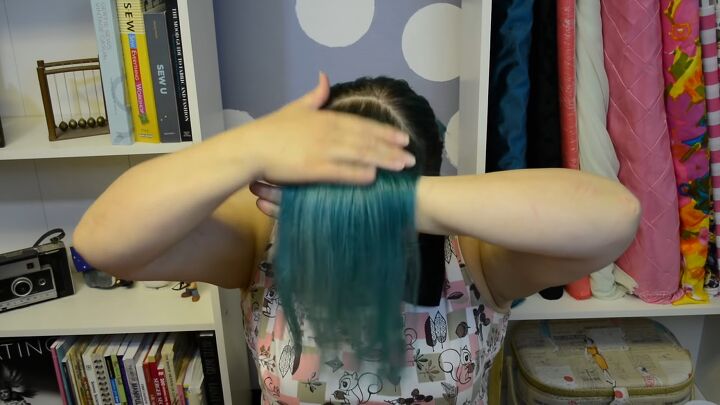
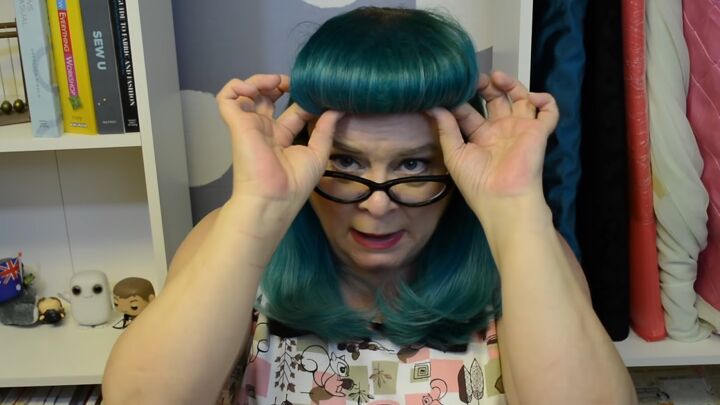
4. Section off the bumper bang
Now that we’re all straightened out, we’re going to section off the hair for our bumper bang.
Simply section from one temple to the other in a U-shape. You want to get the sectioning of the hair fairly uniform.
5. Tease and hairspray the bangs
Take thin sections of hair and tease it. Do a little less teasing on the very top tier, because you don’t want it to be too teased up.
I just washed my hair, so it’s very slippery. These styles actually work better on hair that is at least a day old because the hairs stick to each other better. If this was day-old hair, I probably wouldn’t tease the very top layer.
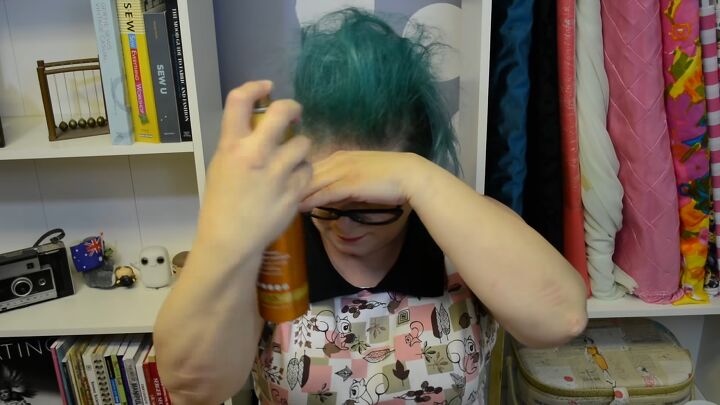
Once all of the hair is teased, hairspray it.
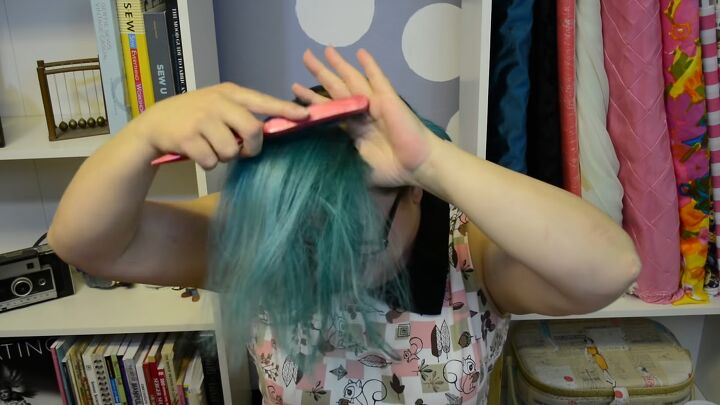
6. Brush over the teased hair
Give the hairspray a minute to dry, then brush the very top layer of the hair, and the sides as well so it looks nice and smooth.
How it looks after brushing is how it’s going to look when it starts to roll up.
7. Apply pomade
Use pomade over the hair to calm down any flyaway hairs. This will also give a bit of sheen to the hair and gather those ends together.
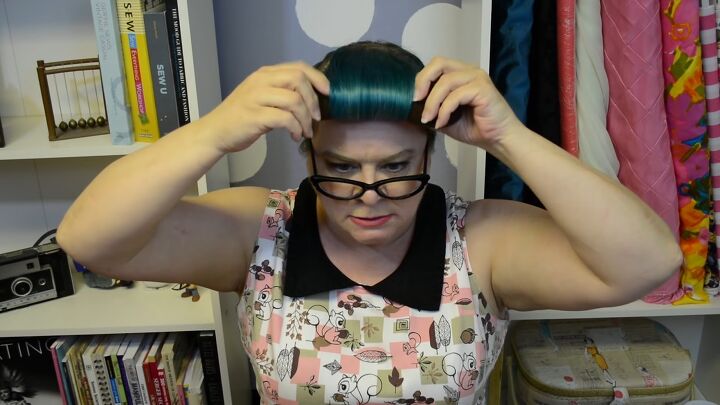
8. Roll your bangs in and pin it
You know you’re in for a good roll if you can push it back a little and it looks pretty good.
Using a hair rat, roll the hair taut. Start from the bottom and tuck the ends in as you roll.
Once it looks nice and smooth, hold on to the ends of the hair rat and pin it right into the side of your hair.
You should be able to take your finger off of it and not have it pop away from your hand. I found that I needed two pins on each end to keep it in place. Cross the pins over when you put them in so it’s good and solid and won’t move.
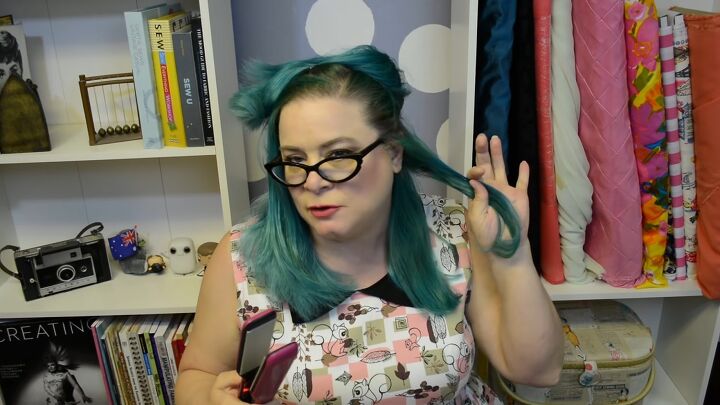
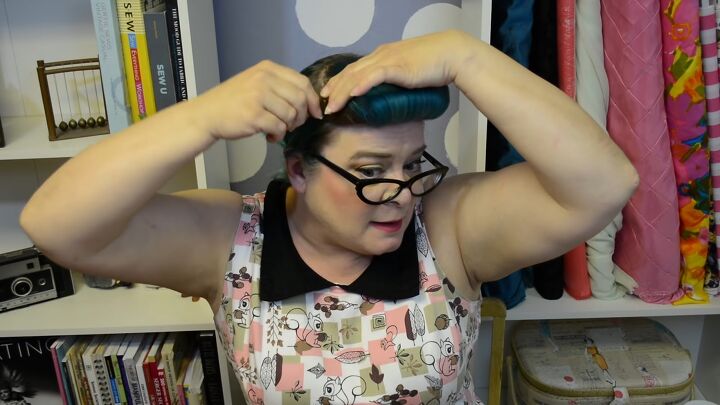
9. Spread out the bumper bangs
You can let your hair down now, so it doesn’t kink from the hair tie.
Now, spread out the bumper bangs so you don’t see the roll.
Start by inching them out from the center. When you start inching them out, you don’t want to be revealing any backcombing.
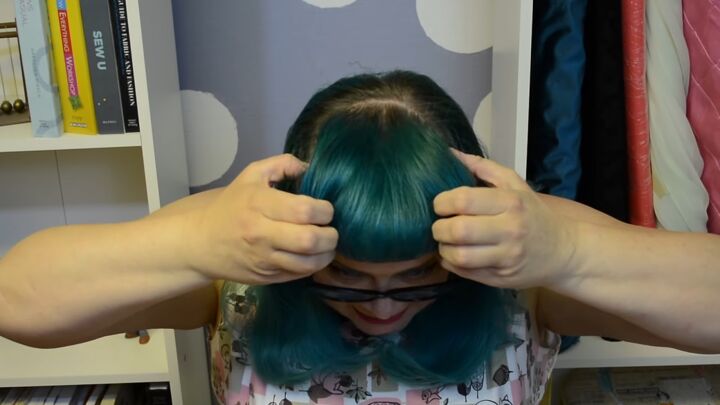
Once you’ve inched out here, go below the bangs and tug on them a little.
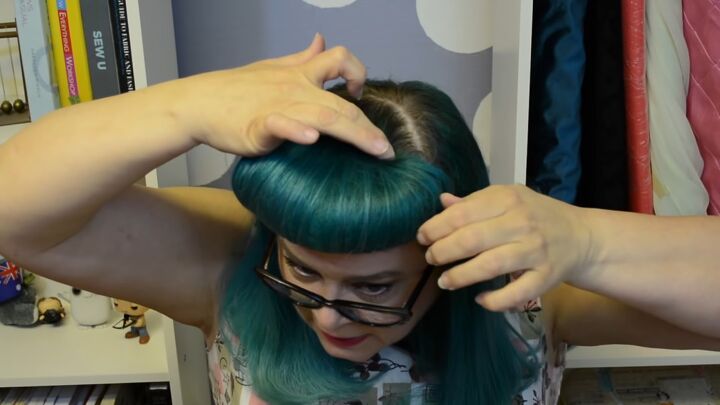
Place your finger down as you pull on them, so you get more of a U-shape.
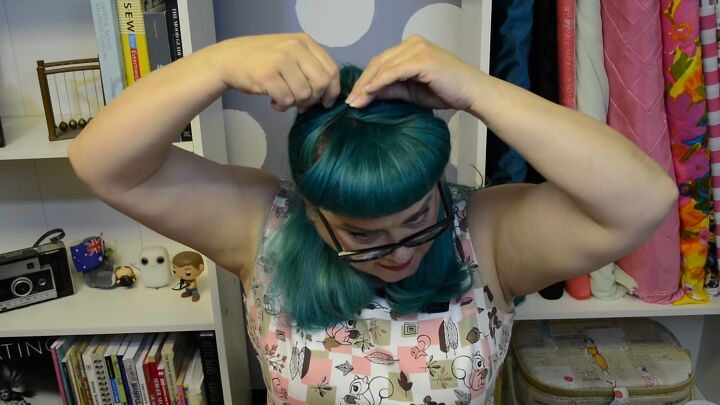
10. Pin the sides of your hair to the top of your head
Brush the sides of your hair just above the ear, and then bring it up to the top and middle.
Give it a bit of a twist and pin it down. The rest of the hair should fall to the sides.
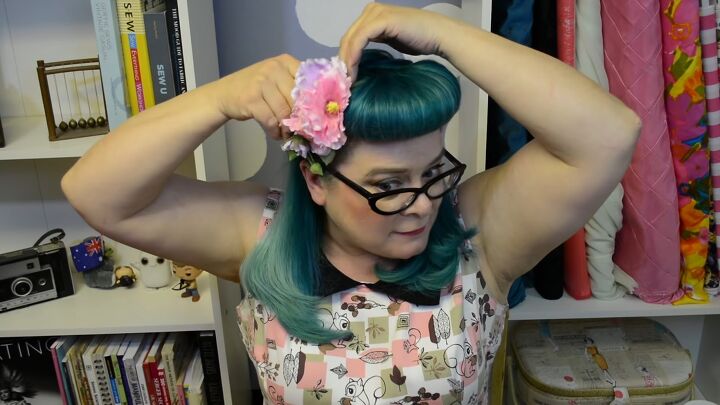
11. Attach a flower accessory
A good style is never complete without some fabulous hair flowers, so attach them to the side of the bangs.
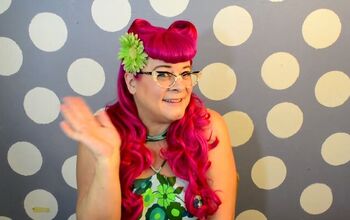
1940s bumper bangs hairstyle
Here’s the finished 1940s bumper bangs hairstyle!
Let me know in the comment section what you think of this look. And, since I’m curious, what’s your favorite Judy Garland film?
The author may collect a small share of sales from the links on this page.


Comments
Join the conversation