Keep Your Ears Comfy With These DIY Mask Ear Savers

Facemasks are so important these days! They help to protect ourselves and others but sometimes they can feel a little uncomfy. I came up with an idea to help protect our ears from the facemask! These easy to make ear savers will have you forgetting you’re even wearing a mask. Not only do ear savers have a function but they are a cute little accessory for your facemask as well. They are adjustable and can be made in both child and adult sizes. If you want to learn how to make these amazing ear savers, follow my step-by-step tutorial and get started!
Tools and Materials:
- Sewing Machine
- Fabric
- Ruler
- Scissors
- Buttons
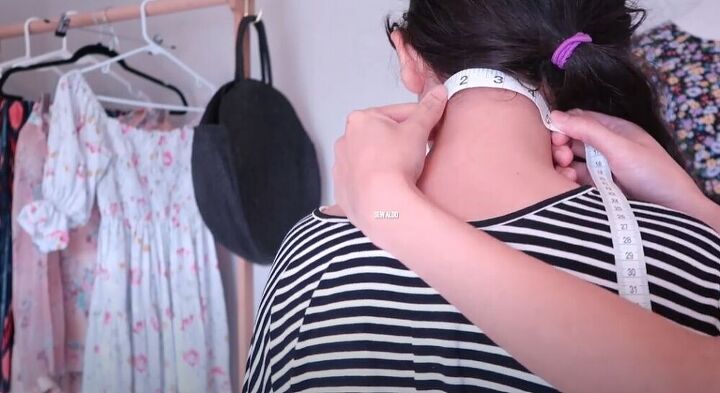
To get started on these awesome ear savers, I measured the nape of my neck.
I would be making both adult’s and children’s ear savers. On my fabric, I measured a width of 1.5 inches. For children, I would use a length of 5 inches with an added 1 inch for seam allowance. For the adult ear savers, I measured 6 inches, adding the all-important extra inch for seam allowance.
I then folded my fabric, using my 1.5-inch line as the center. I cut on the fold which gave me a width of 3 inches. I chose to use this grey, denim-like fabric, but you can get creative and choose any fabric design you like!
Once I had cut out all of my fabric, I folded it over and pinned it into place. I then pressed the fabric. Pressing fabric is a great tip for making sewing a whole lot easier because it really holds the fabric in place.
Once my ears savers were pressed and ready I moved over to my sewing machine. I sewed the sides leaving a small gap on the long edge that would allow me to turn the fabric right side out later.
Next, I turned the fabric right side out. It’s always helpful to use a pencil or the back of a pin to push out the corners.
With my ear savers so close to being ready, I returned to my sewing machine and added a topstitch around the edges. This also closed the small gap I had left before.
For the final step, I sewed buttons onto my ear saver. The more buttons you sew on, the more adjustable the ear saver will be. I love this final step because you can really get creative with the colors and styles of the buttons.
I love how easy these are to make! They play such an important role in keeping us mask-wearers comfortable! What color fabric would you use for these ear savers? Let me know in the comments below!
Enjoyed the project?
The author may collect a small share of sales from the links on this page.


Comments
Join the conversation
My guess would be to hook the elastic on the buttons rather than the ears or behind the ears, depending on how the mask(s) fit the shape of your face. :>)
This is great for those who wear hearing aids tucked around their ears. Every time I take my mask off, the hearing aid comes with the ear elastic.