Bold Braided Headband DIY

Today, I’m going to show you how to make a very cool padded braided headband. This is a simple project and a great way to use up fabric scraps since that’s what we’ll be using to add some padding to the braid.
Tools and materials:
- Satin fabric
- 2-inch wide elastic band
- Fabric scraps
- Scissors
- Measuring tape
- Ruler
- Paper
- Pen
- Pins
- Safety pin
- Needle and thread
- Fabric chalk or pen
- Sewing machine
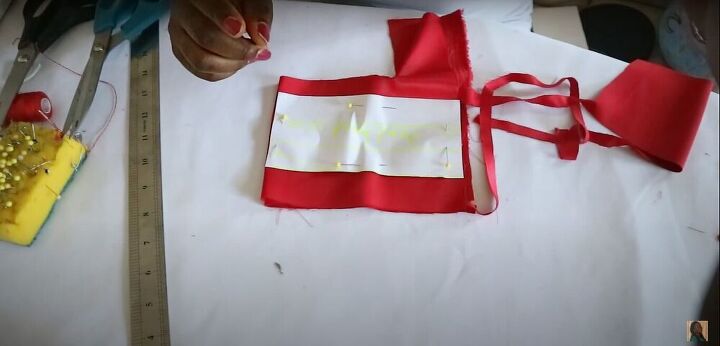
Cut the fabric
For the pieces of the braid, I cut a piece of paper that was 4 inches wide and 8.5 inches long. For the casing for the elastic, I cut a piece of paper that was 3 inches wide and 7 inches long.
I folded my fabric in half and pinned the papers along the fold, and then cut them out. I cut three braid pieces and one piece for the elastic casing.

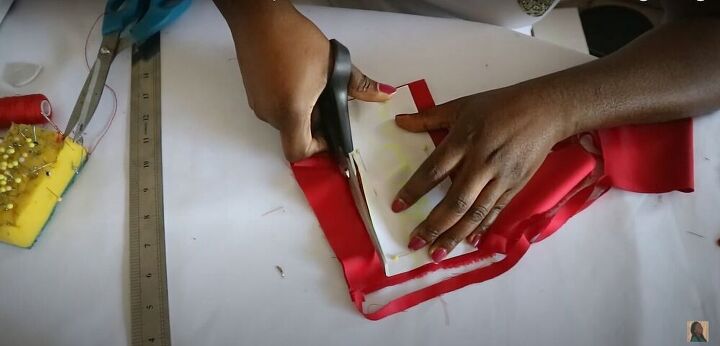
Cut up the scraps
I cut the rest of my fabric into small pieces to add to the rest of the fabric scraps that I would use to pad the braid.
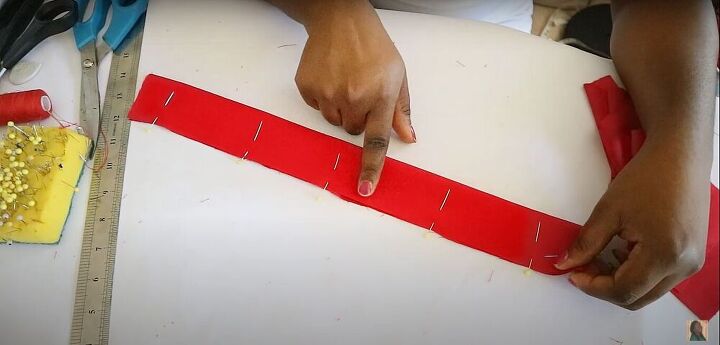
Pin the fabric strips
I folded each strip lengthwise, and pinned down the long edges, leaving the short edges open.
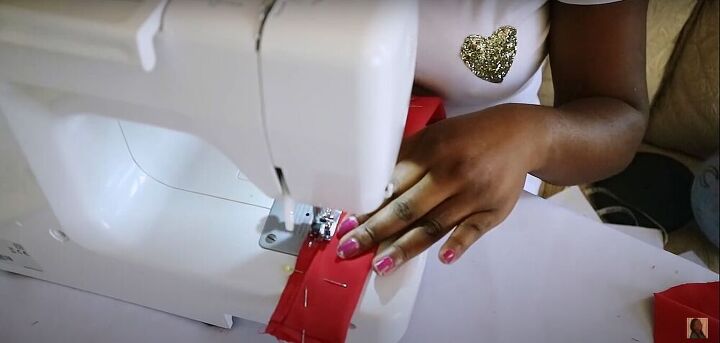
Sew it down
Then I sewed down the long edge of each strip of fabric.
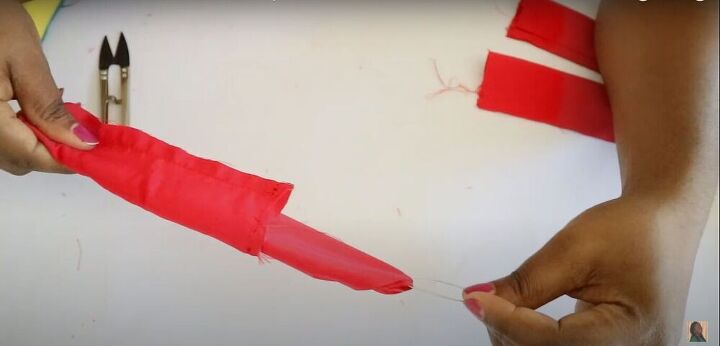
Turn the strips right side out
I attached a safety pin to one end of the strip, inserted it into the strip, and then guided it through to the other side while pulling the fabric down past the pin. I kept pulling the fabric down until the seam was hidden inside, and the fabric was right side out.
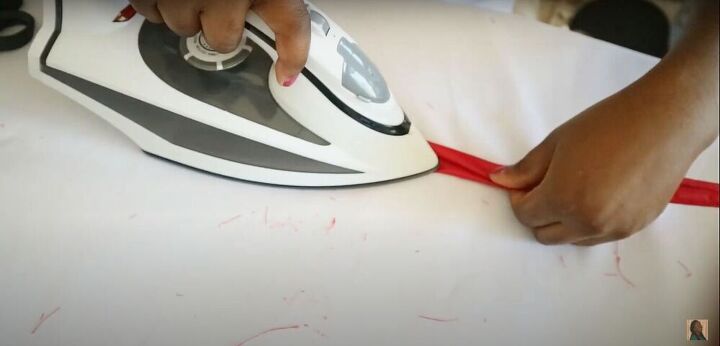
Iron the strip for the elastic casing
I ironed the strip of fabric for the elastic casing. There is no need to iron the strips for the braid.
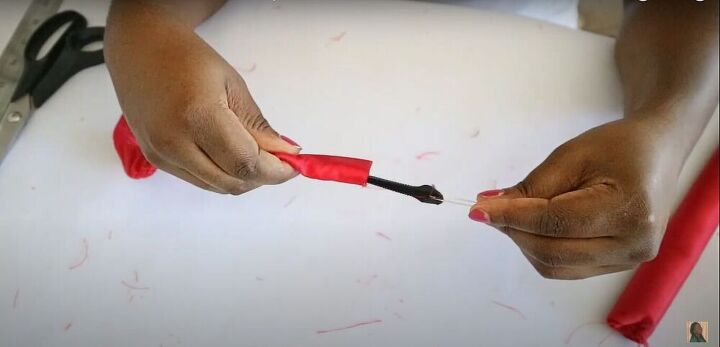
Insert the elastic into the casing
I attached a safety pin to one end of my elastic band and pulled it through the casing. I pinned the other end of the elastic to the fabric to hold it in place.
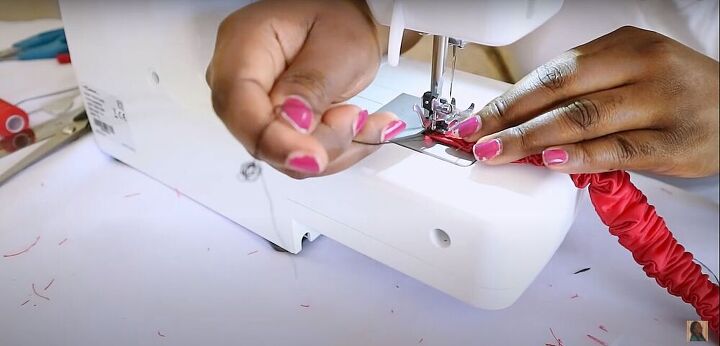
Sew down the ends of the elastic
Then I sewed the elastic in place at the ends of the casing.
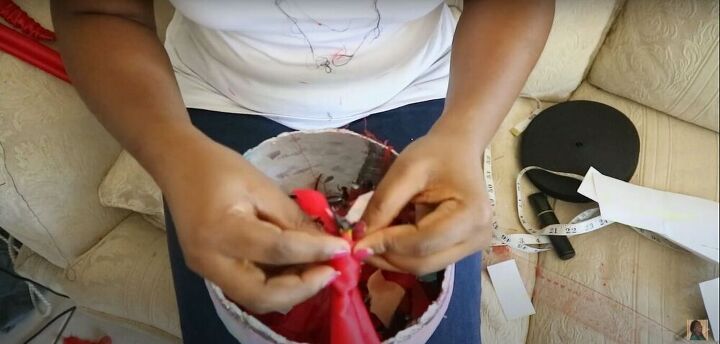
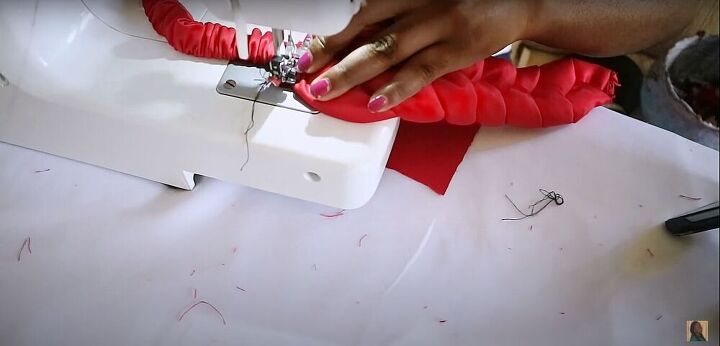
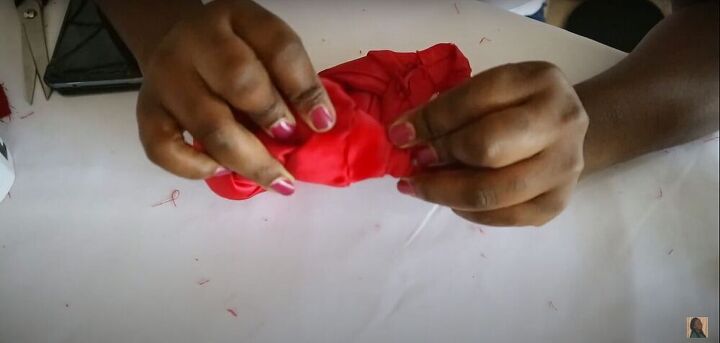
Stuff the braid strips with fabric scraps
Sew one end of each of the braid strips closed, and then stuff each one with fabric scraps. Make sure not to pack it too tightly, and try to leave the ends somewhat empty, so it’s easier to sew them all together. I used a long stick to help me pack the fabric scraps into the tube.
Sew the end closed
Once the braid pieces were packed with fabric scraps, I sewed the ends closed.
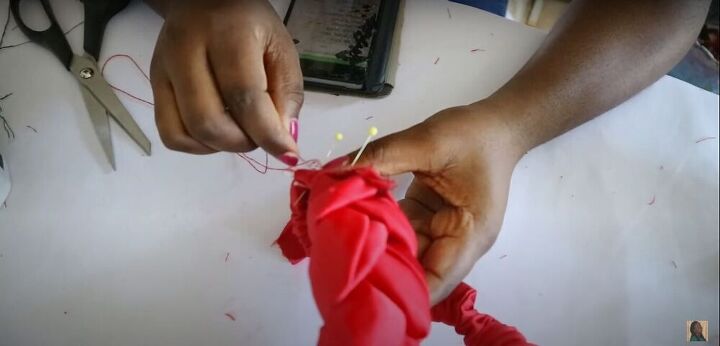
Pin the three braid pieces together at one end
Next, I layered the ends of the braid pieces so they were overlapping each other, but not totally aligned. Then I pinned them in place.
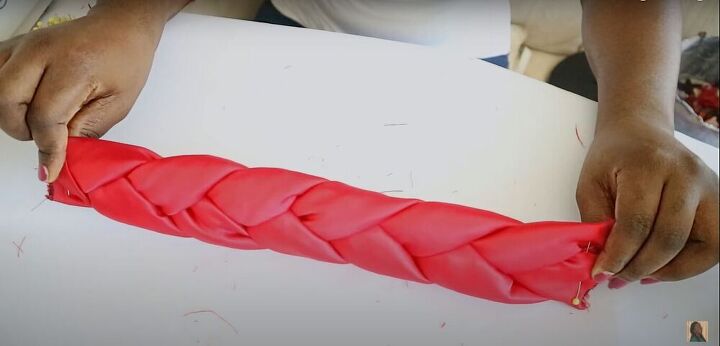
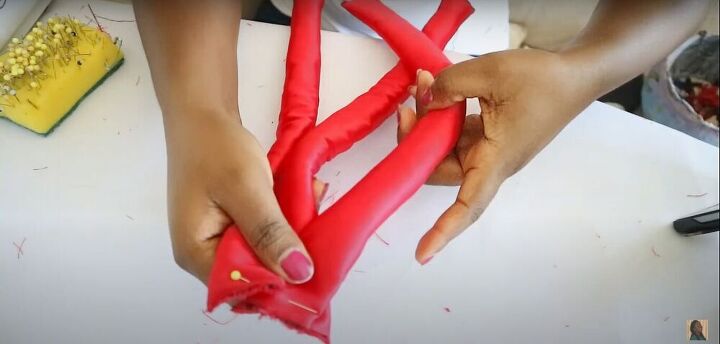
Braid the strips
Then, I braided the padded strips. I adjusted it until it looked the way I liked it and then pinned the ends together.
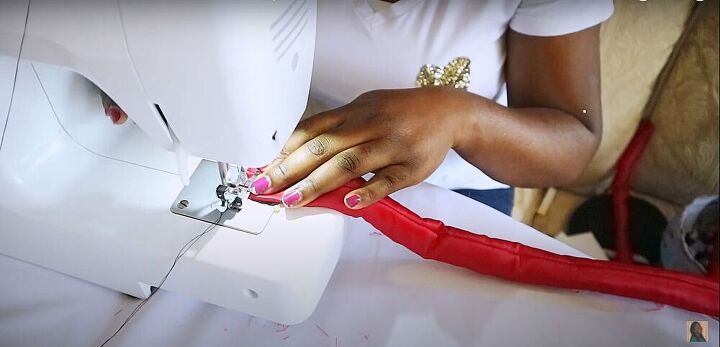
Sew the braid and the elastic casing together
Pin the end of the elastic casing to the end of the braid, and sew them together. Do the same on the other side of the braid.
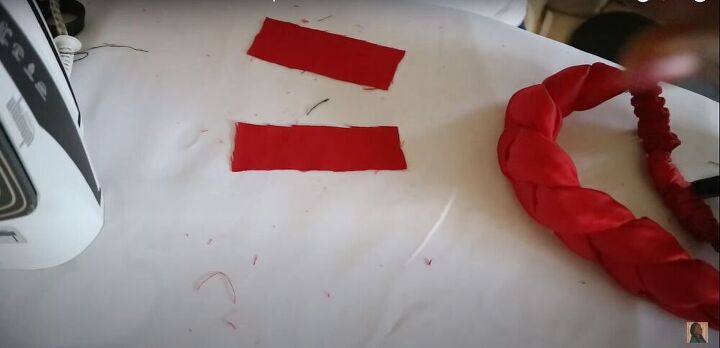
Cut two small strips
Next, I cut two small strips of fabric to wrap around the points on the headband where the braid meets the elastic casing, to hide the stitching.
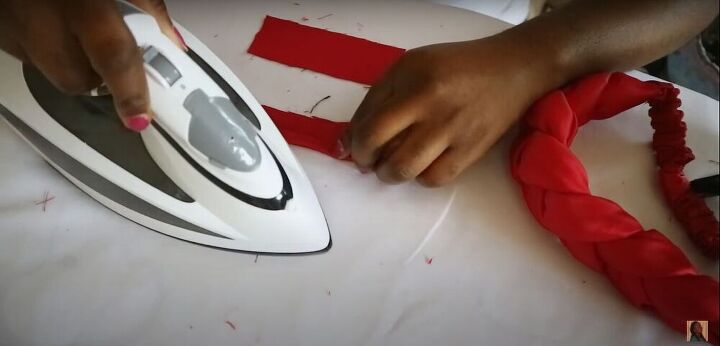
Fold down the edges and iron flat
To make neat edges, I folded the long edges down and ironed them flat.
Sew the strips onto the headband
Then I wrapped the fabric strips around the exposed stitching and pinned them into place. Using a ladder stitch, I hand-stitched the ends of the fabric strips closed.

My braided headband is complete! I think it’s lovely, and a nice little piece to jazz up an outfit. I hope you enjoyed this tutorial. Let me know if you’re going to try this project.
The author may collect a small share of sales from the links on this page.


Comments
Join the conversation
Super cute!! I can't wait to make some for my nieces!! Thank you for sharing!!
Super cute! Thnx!!!