DIY 1940’s “Snood” Hair Net
After finishing my 1940’s dress (check out that post here!), I definitely needed a hat! Fashionable 1940’s gals would never consider an outfit complete without one! I found a wealth of inspiration on one of my favorite historical fashion blogs, vintagedancer.com! Their in-depth article on 1940’s hats gave me the idea of creating a hair net, or snood. Snoods were a chic way for ladies to keep their hair in check while minimizing the need for styling. I was particularly drawn to this idea, because my hair is shorter than most women would have worn in the 1940’s. I also had a cheating way create this snood…
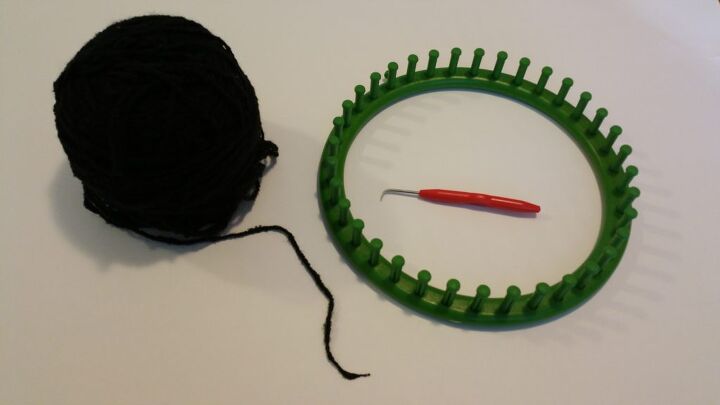
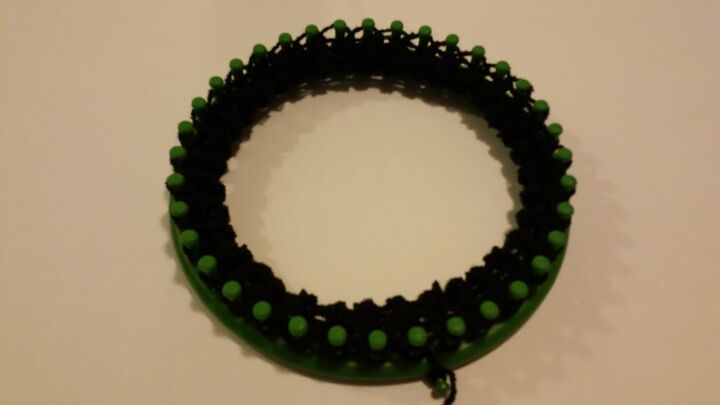
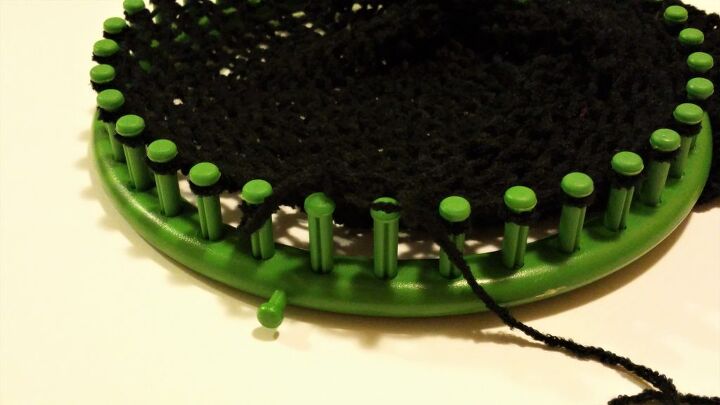
The knitters and crocheters out there can find real, vintage patterns for making snoods! (Check Etsy!) Since I am not skilled in those arts, I turned to a “Knifty Knitter” or “Circle Loom,” that I purchased online. I gathered some thin, slightly fluffy yarn, my loom, loom hook, and a little over a yard of coordinating ribbon.
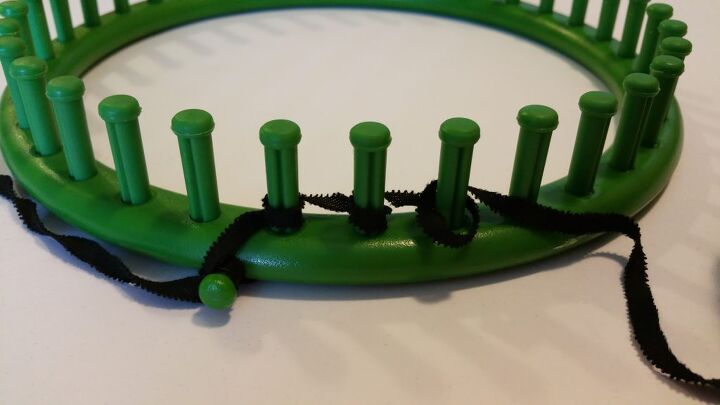
I will walk you through the steps for creating the “brim” and body of the snood, closing the snood, and tying off the yarn. Most of these steps are identical to making a hat and should be clearly pictured on the instruction booklet included with your loom! Once the snood is made, we will insert ribbon into the brim to allow the hairnet to be fitted to ones head. Let’s get started by wrapping our yarn around the side peg, leaving a little tail. Then, wrap each peg with yarn one time. (The yarn in the next several pictures looks a bit different, as I had to change yarns mid-project. My first yarn choice ripped easily! The steps are the same, though, regardless of the yarn type!)
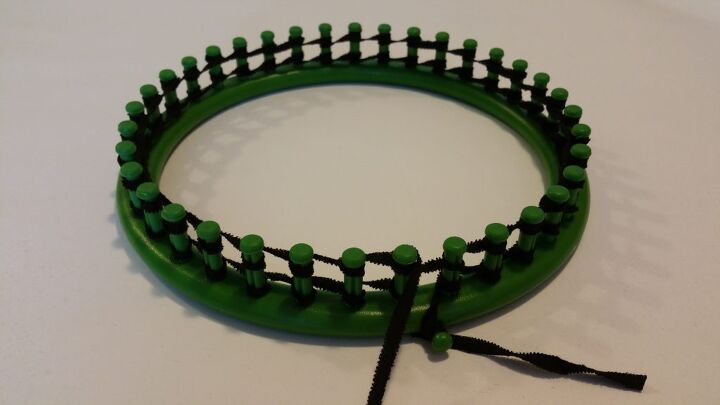
Once all the pegs are wrapped once, continue wrapping around the circle until you have two loops on each peg. (You can loop the end of your yarn around the side peg to keep the yarn from un-looping.)
It’s time to start “knitting”! Using the loom hook, lift the first loop up over the second loop and right off the peg. This creates your knitted stitch.
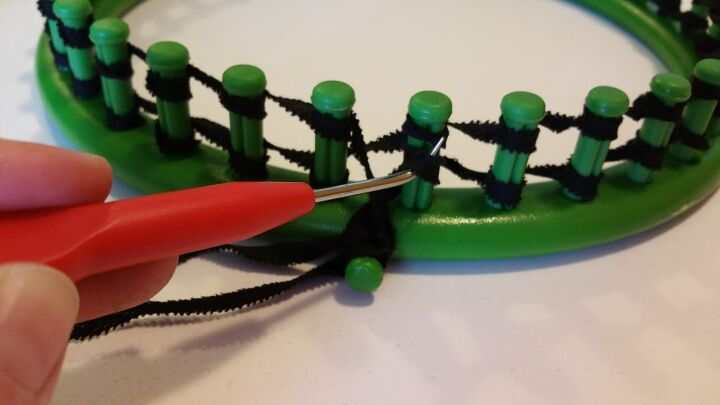
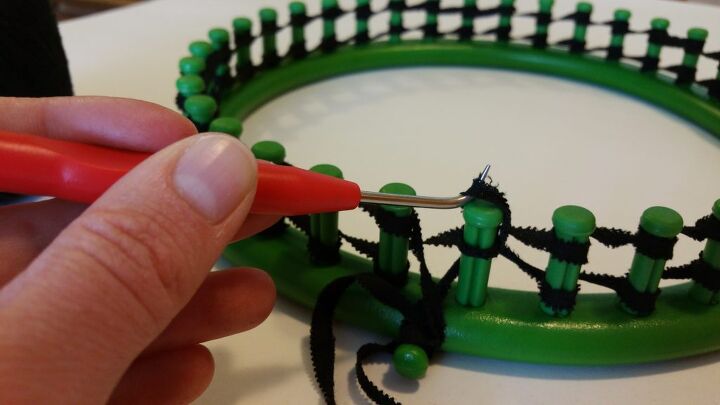
That’s how the loom works! Lift the bottom loops over the top loops and off the pegs until you have gone around the whole circle.
Wrap the pegs with more yarn and repeat the process until you have knitted a bit more than twice the width of your ribbon. This knitted length is now going to become our “brim” for the snood. We will fold it over on itself to create a thicker tube, just like the brim of a knitted hat. At the bottom of the knitted section, find the lowest loop.
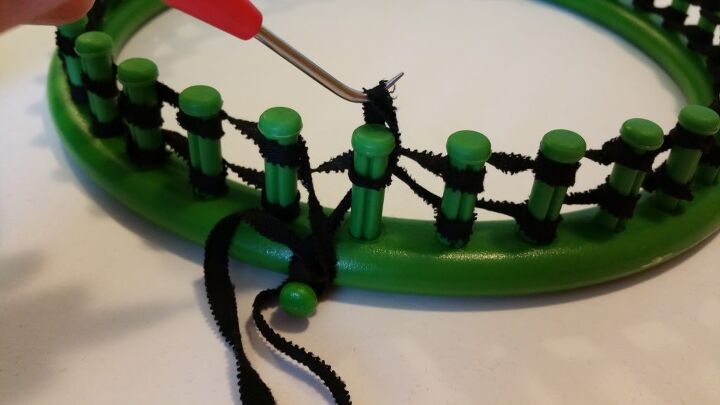
Lift this loop up and slip it over the closest peg.

Make this new loop the top loop. Now there are two loops on the peg and the brim is beginning to be folded over on itself.

Continue putting the loops from the bottom edge of the knitted section onto the corresponding pegs until all pegs have two loops. At this point, the knitted section is folded in half and is attached that way to the pegs.
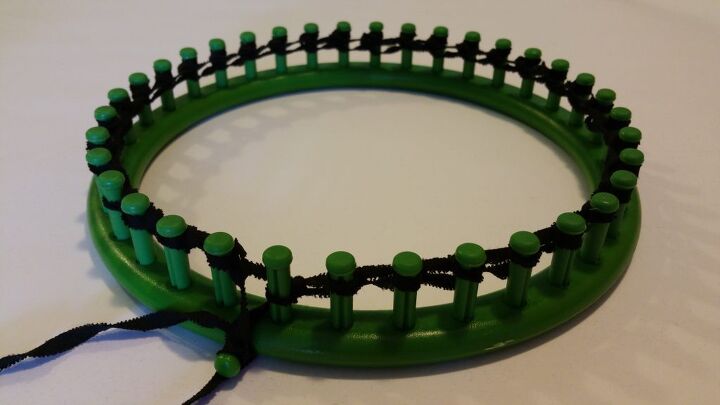
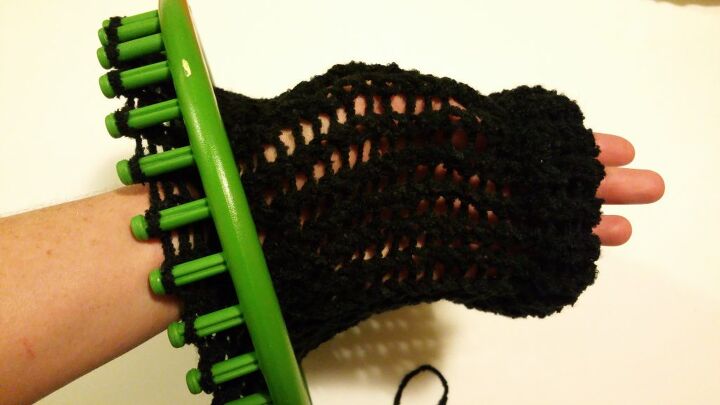
You now continue knitting as before! The bottom loop is pulled over the top one and off the pegs. The brim will be secured in place as you do this! With the brim in place, it’s time to add length to your snood! Keep wrapping the pegs with more yarn, lifting the bottom loops up over the top ones, and lifting the loops off the pegs! Keep doing this until you have the length that you want. Since my hair is short, I don’t need a long snood. I knit until I had a length that resembled a slouchy beanie hat.
Now it’s time to tie off the yarn. We are going to put those last loops on the pegs to work! I cut off my yarn, leaving AT LEAST 10 inches of extra. This extra yarn will be threaded through each loop as the loop is lifted off the peg. I did this with my fingers, but you can also use a yarn needle to speed up the process!
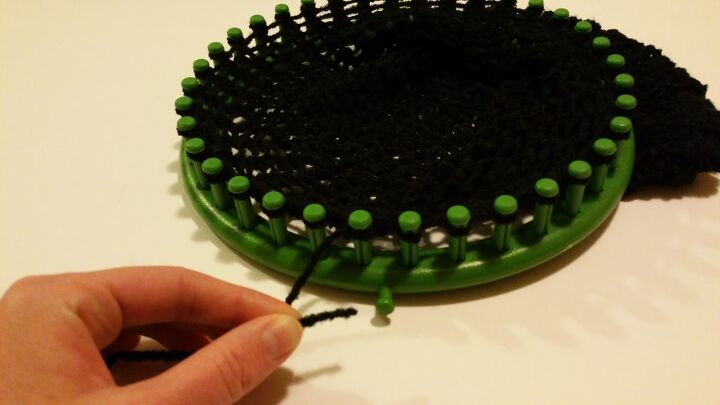
Each time I lifted a loop off the peg, I threaded my extra yarn through the loop. You continue with this process until all the loops have been removed from the pegs and strung on the yarn.
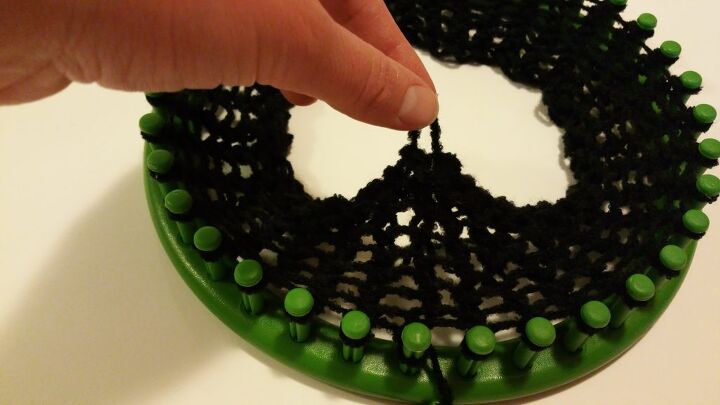
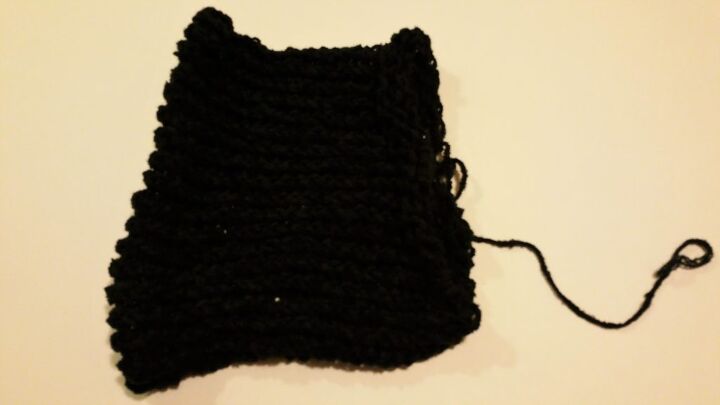
Now you have what looks like a small cowl scarf.
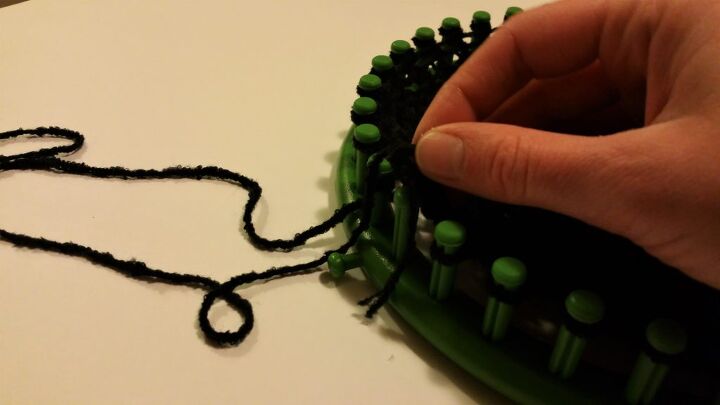
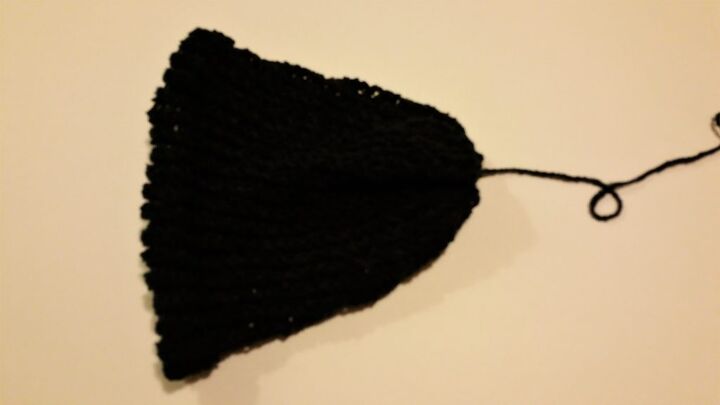
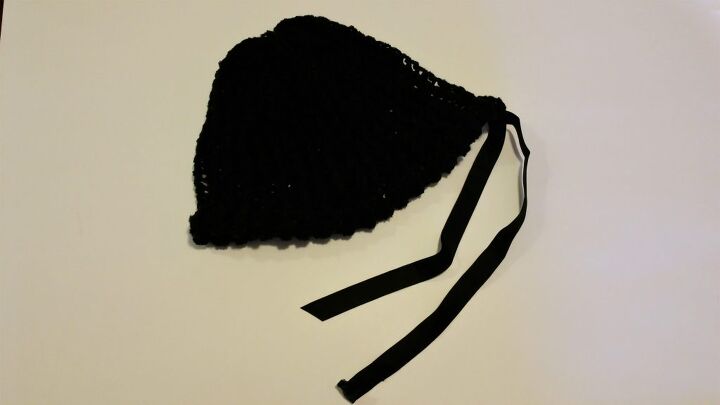
Pull on that extra yarn that was threaded through the loops and watch as the opening is drawn closed! This creates the back of the snood! Tie off the extra yarn securely before trimming. (I also tied off the little tail left on the brim.)
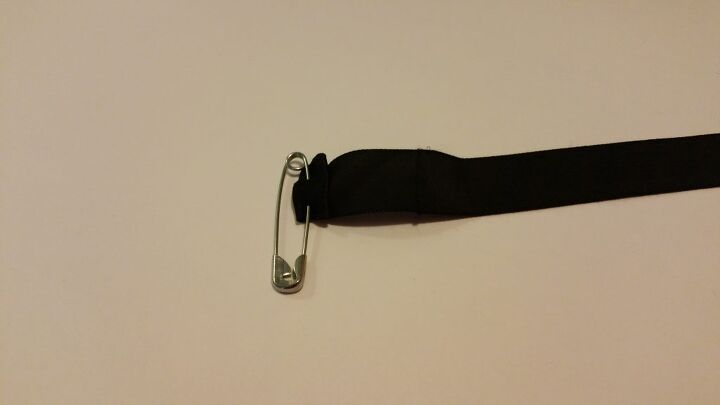
Time for the finishing touch- threading ribbon into the brim of the snood! The ribbon helps scinch the brim to fit the wearer’s head and will be tied in a cute bow near the hairline. I used about a yard of ribbon, but would allow more for a larger head or bigger bow. Although my ribbon was 5/8 inch wide, wider ribbon can be used if you make a wider brim!
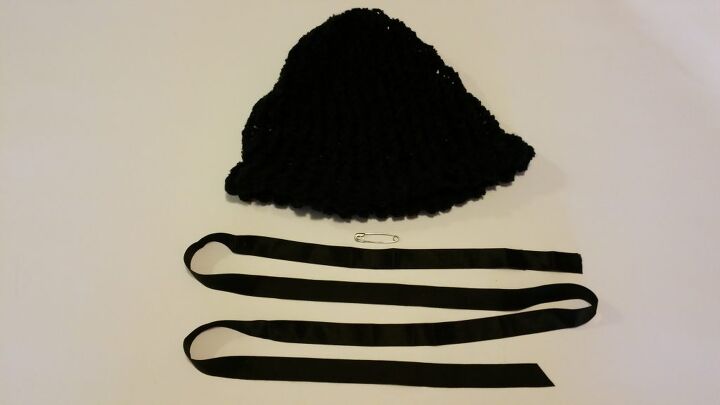
I attached a safety pin at one end of my ribbon. I used the safety pin like a needle, helping me push and pull the ribbon through the brim. I later trimmed the ends of the ribbon and coated the edges with Fray Check.
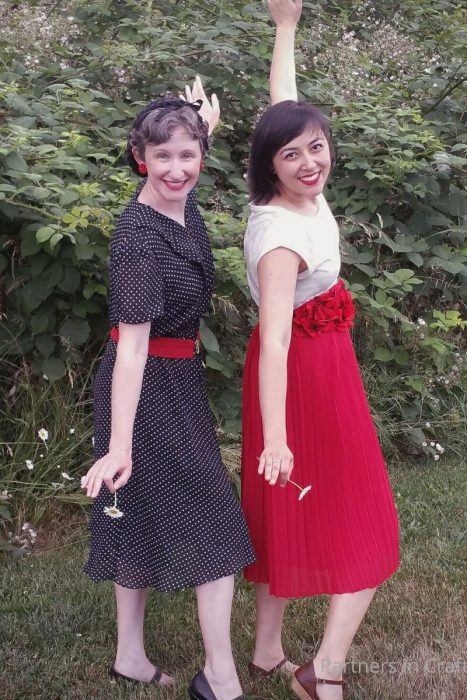
All that’s left to do is try it on! First, put on the snood just like a hat. (Folks with very long or thick hair may wish to pin up their hair at the base of the neck.) Then, tuck your hair into the snood and align the brim as if it were a headband. Tie the ribbon in a bow, scinching the brim to your head. Secure with bobby pins if needed. Ta-da!
Of course, the addition of vintage jewelry, or possibly a daisy, never hurts!

My fabulous friend K joined me for a fun-fill 1940’s photo shoot! 🙂

You can check out my dress tutorial in our previous post (found here)! I’m loving this look and will definitely create more outfits WITH coordinating snoods! Be sure to follow us and our Youtube channel for more fun projects coming soon from Partners in Craft! Stay crafty, Everyone! 🙂
The author may collect a small share of sales from the links on this page.

Want more details about this and other fashion and style ideas? Check out more here!


Comments
Join the conversation