3 Easy Hand-Painted Hat, Cap & Bandana Ideas

Many people think that the best clothes for custom painting are denim jackets and jeans. But with this video, I will prove to you that caps and hats are perfect for painting. I will show you how to customize a bandana, baseball cap, and bucket hat, give you more ideas for headwear customization, and share tips on how to paint on headwear.
Tools and materials:
- Plain bandana
- Plain box hat
- Plain baseball cap
- Fabric chalk
- White fabric paint
- Assorted color fabric paints
- Fabric marker (optional)
- Paintbrushes
- Scrap fabric
- Iron
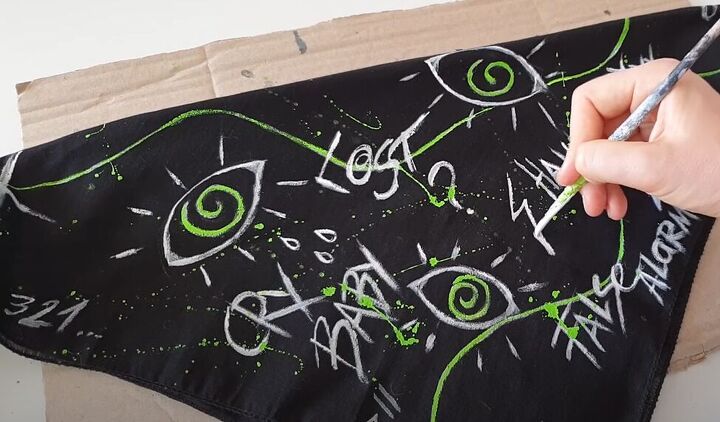
1. How to custom paint a bandana
Bandanas are about the most affordable kind of headwear you can paint. Try to find the plainest bandana you can.
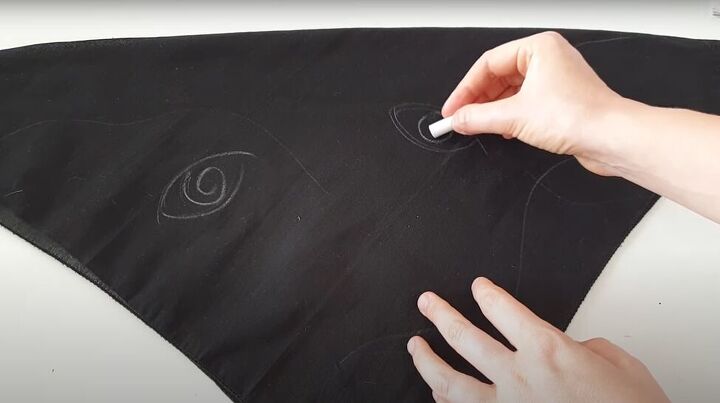
Fold your bandana into a triangle, and sketch out your design on one side of the bandana using chalk.
Before you start painting your bandana, put a piece of cardboard between the two layers so your paint doesn’t bleed through.
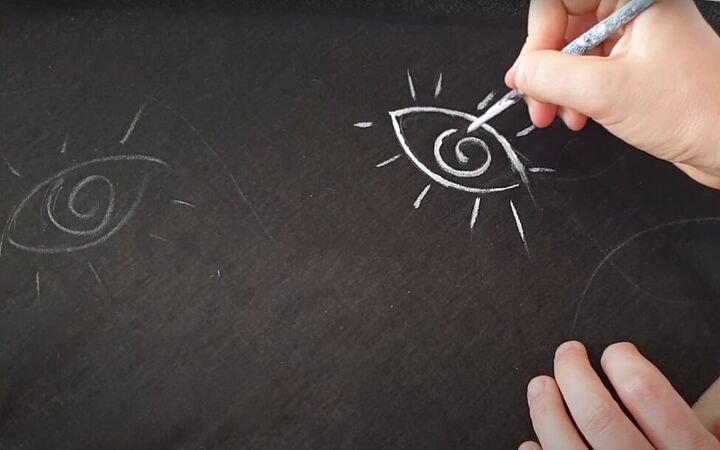
If you are painting on black or dark bandana, remember that the color will be absorbed by the black of the bandana. So always paint a white base layer before adding other colors.
If you are painting on a white bandana, you may want to do two layers of paint to get a vibrant color. You can also use fabric markers on a white bandana – they are especially useful for doing lettering.
Tip: a good design tip when sketching out your bandana design is to use a lot of repeated design elements. That helps to fill the space and give a more consistent look.
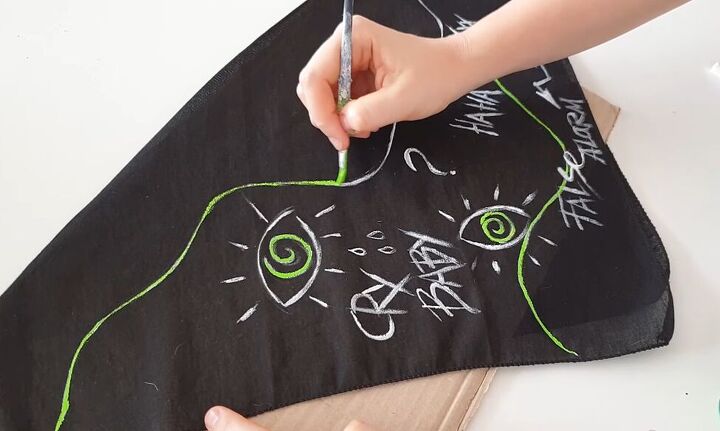
Let the base layer dry and then go over the base layer with your color wherever you want it.
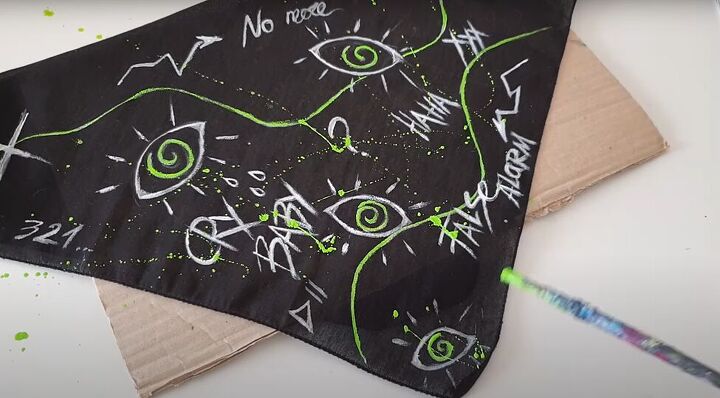
For an extra element, add some paint splashes.
Take a look at your design and decide if you want to add any more elements. That will depend on how busy you want your bandana to be.
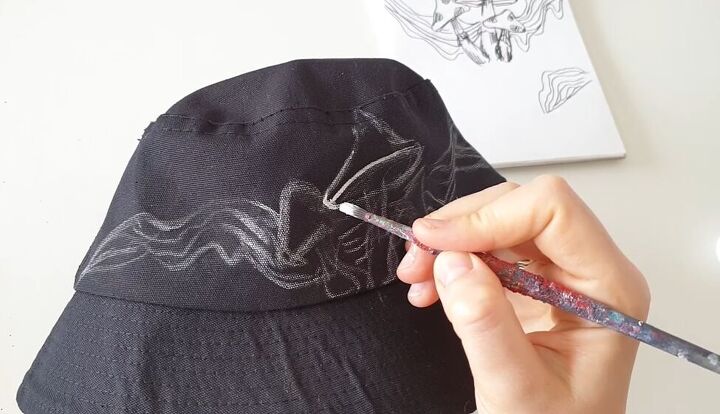
2. How to custom paint a bucket hat
Sketch your design on the front of your bucket hat and then go over it with your base layer of white paint (on a black bucket hat.)
Tip: It’s not so easy to use design transfers on hats, so you’ll probably be hand drawing your design. So, if you are a beginner with hand-painting headwear, choose more simple designs.
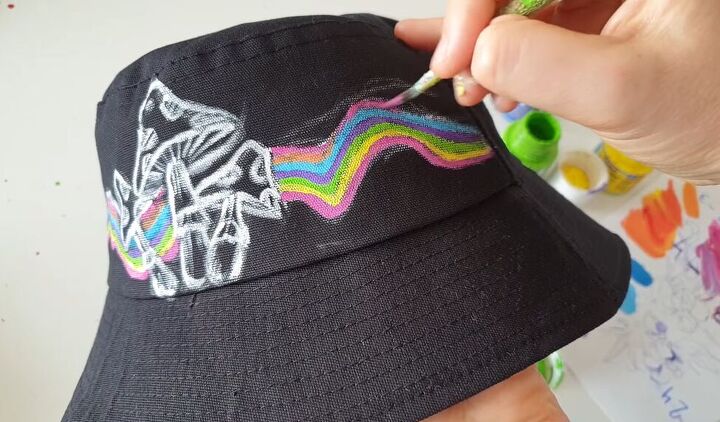
For my bucket hat I used lots of color!
Your bucket hat brim can also be part of your painting canvas.
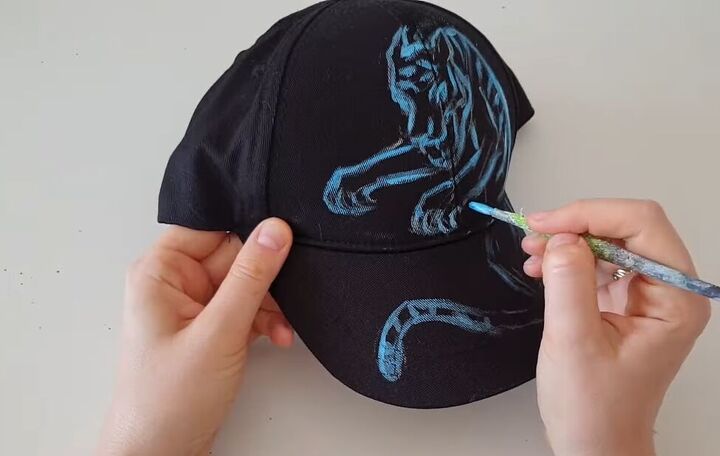
3. How to custom paint a baseball cap
I went wild with my baseball cap design! Follow the same sketching a painting process as you did with the bandana and the bucket hat. Don’t forget the brim.
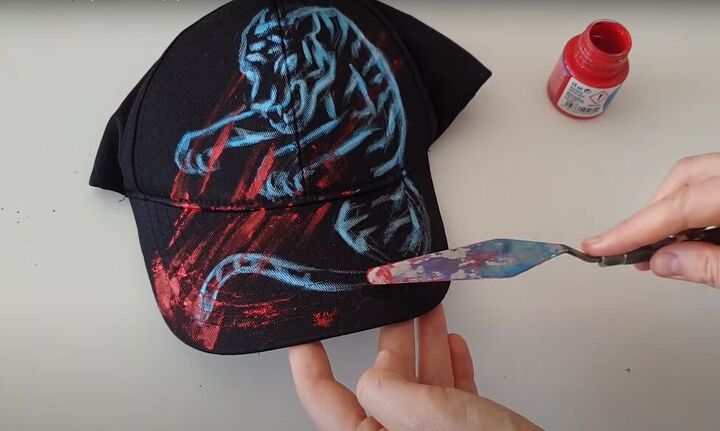
I used red paint and a palette knife on this design to create the effect of a defeated tiger.
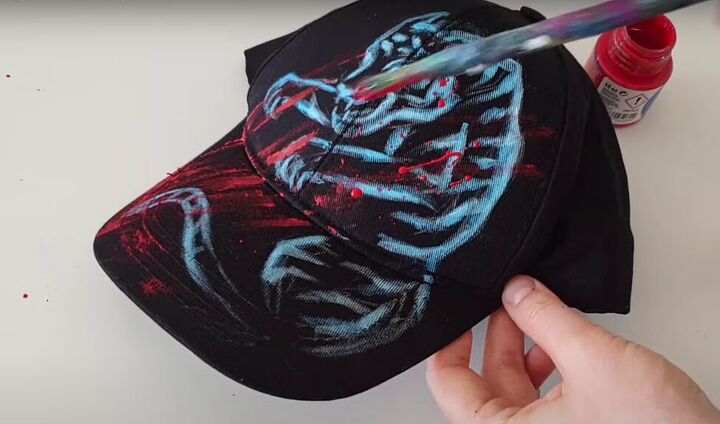
And then I added red paint splashes.
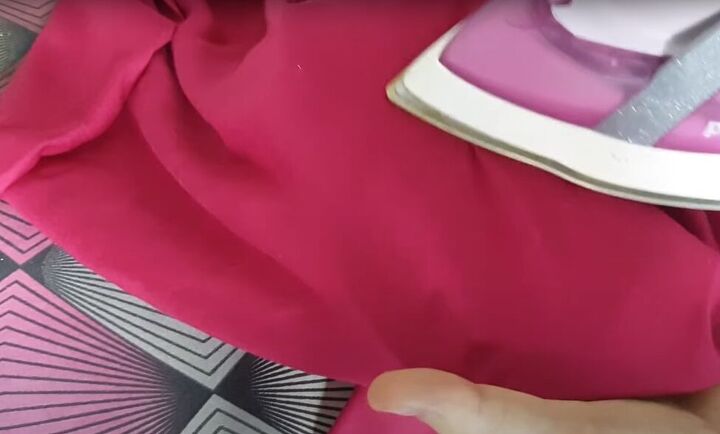
4. Fix the color on your custom-painted headwear
To fix the color on whatever you have painted, put a piece of fabric over the headwear once the paint has dried, and then iron it for 5 minutes.
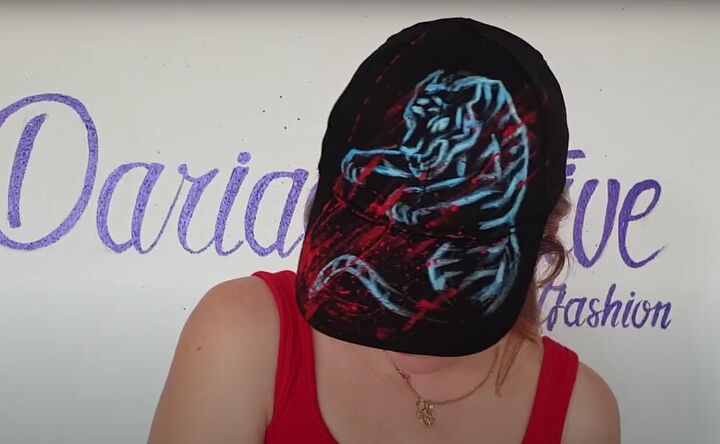
Here is my final custom-painted baseball cap with a defeated tiger design.
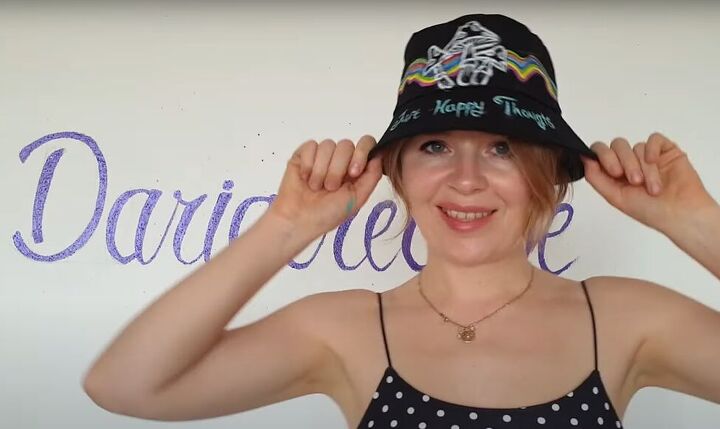
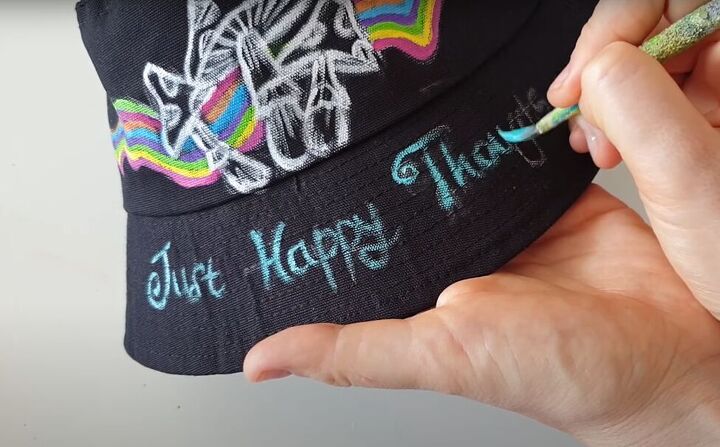
And my bucket hat with a fun design and lettering on the brim.
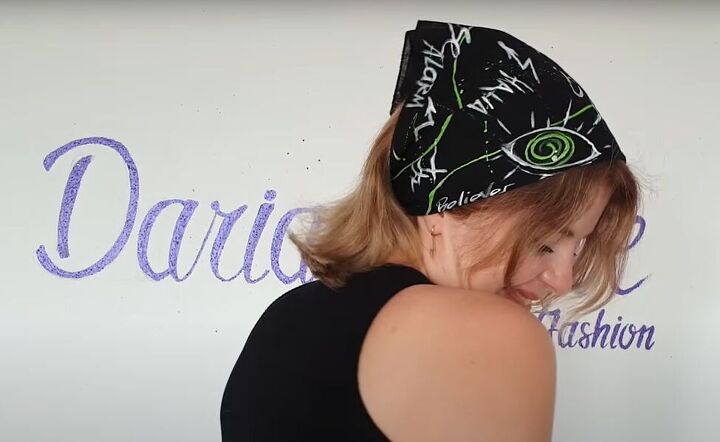
And my finished, very busy, custom-painted bandana.
Hand-painted hat, cap & bandana ideas
All of these pieces of hand-painted headwear were so easy to make, and all so affordable. I hope to try one, two, or all of these customized headwear projects, and leave a comment to let me know what kind of designs you made
The author may collect a small share of sales from the links on this page.


Comments
Join the conversation
Nice! You are such a good artist! I like the saying on the bucket hat: Just Happy Thoughts