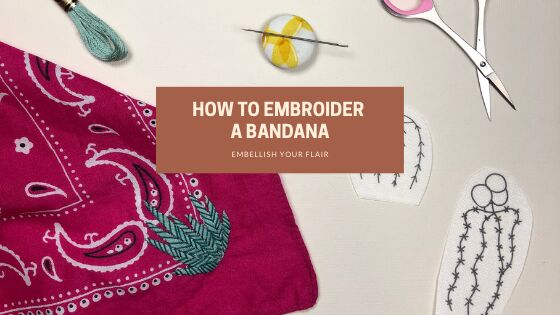
How to Create An Embroidered Bandana
Bandanas are one of my favorite accessories! I love tying them around my neck, wearing them on my wrist, adding them as a bow in a pony tail. The list could go on and on, just like my bandana collection. Because I love bandanas so much, I thought I'd share how to personalize your own bandana.
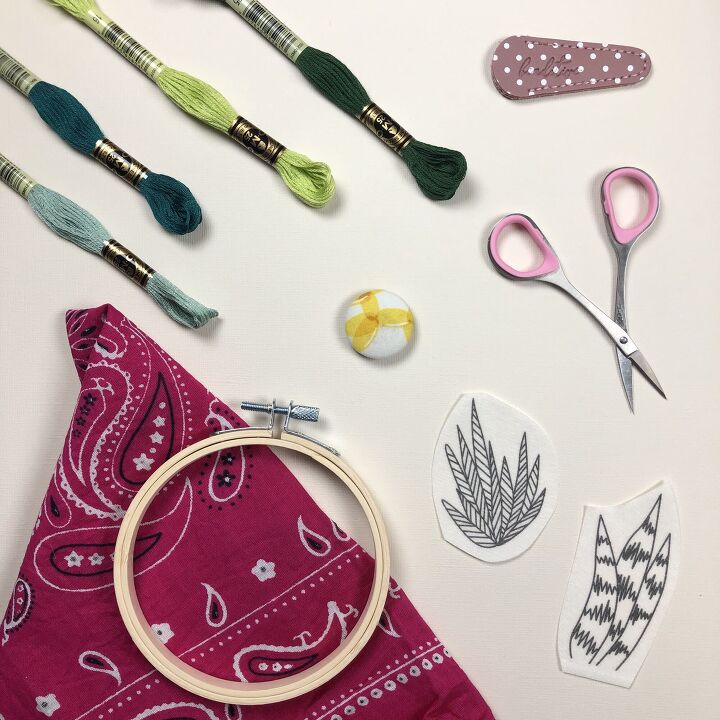
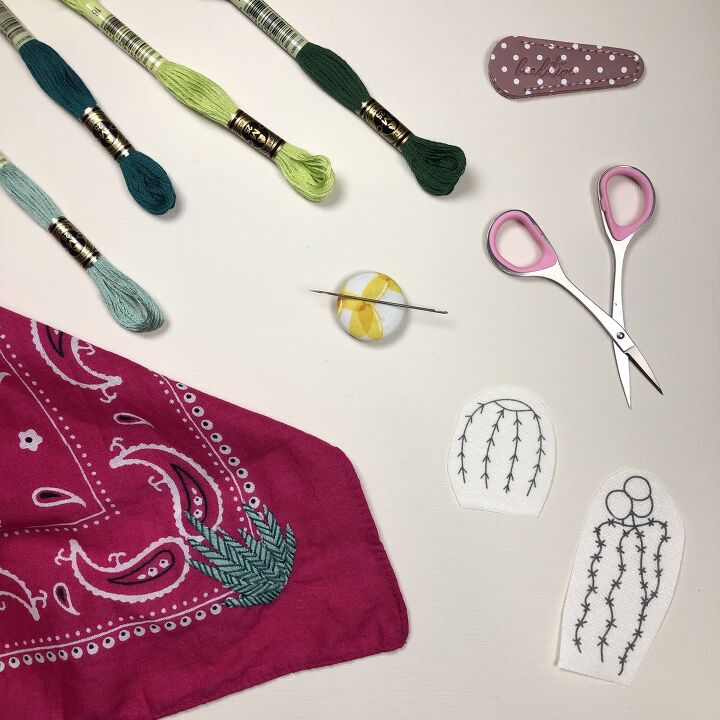
Materials:
- Bandana
- Detailed Cacti Peel Stitch and Stitch Patterns or other Peel Stick and Stitch patterns
- Scissors
- Warm water
Let's get stitching!
1. Place your bandana in the embroidery hoop. The fabric should be taught, like a trampoline.
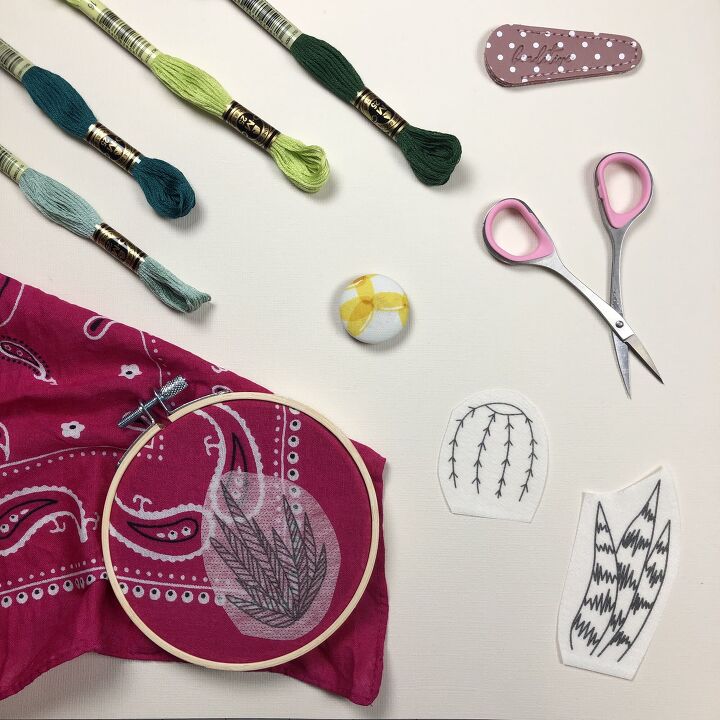
2. Next, peel off the back of one of the Detailed Cacti Peel Stick and Stitch Patterns and place it sticky side down on the bandana. This transfer design also acts as a stabilizer for your bandana, so you're less likely to distort the fabric while stitching.
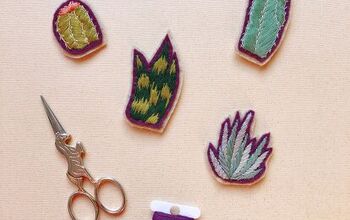
3. Use short stitches to fill in the design. For this pattern, I used the satin stitch and the long and short satin stitch. Longer stitches can gape and snag when worn, which is why shorter stitches work better for embroidered apparel and accessories.
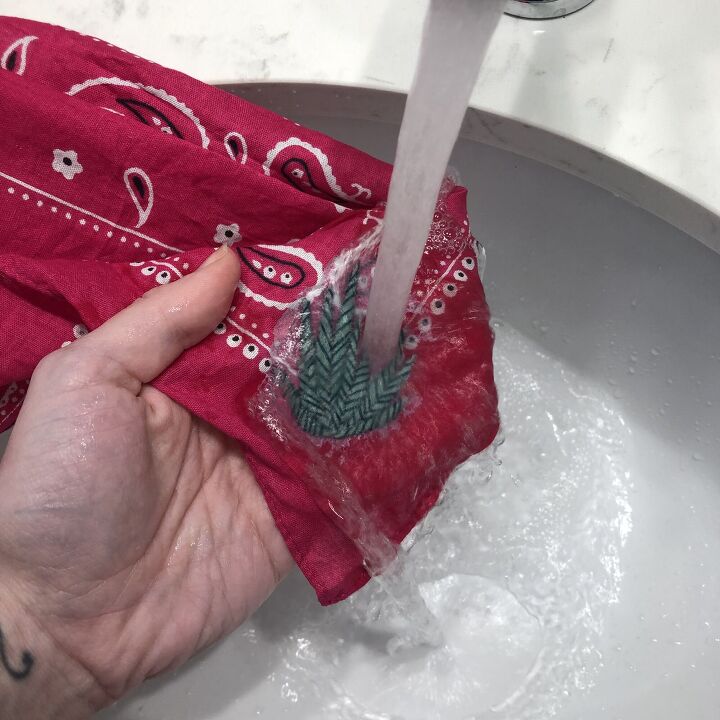
4. When you're finished stitching, remove the bandana from the embroidery hoop and rinse the bandana under warm water. This will remove the excess transfer pattern. Avoid scrunching the bandana, as this could distort your embroidery. Lay the bandana flat to dry.
And that's it! Wear your bandana as is or embroider another corner. I'd love to see your embroidered bandanas. If you use this tutorial, please tag @MCreativeJ on Instagram or Pinterest.
***Disclaimer: Thank you for reviewing my recommendations. This post contains affiliate links. Should you purchase a recommended item, I may receive a small portion of the sale.***
The author may collect a small share of sales from the links on this page.


Comments
Join the conversation