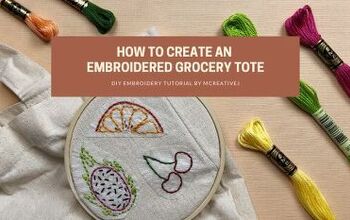
How to Create an Embroidered Scrunchie
Updated: Jan 4
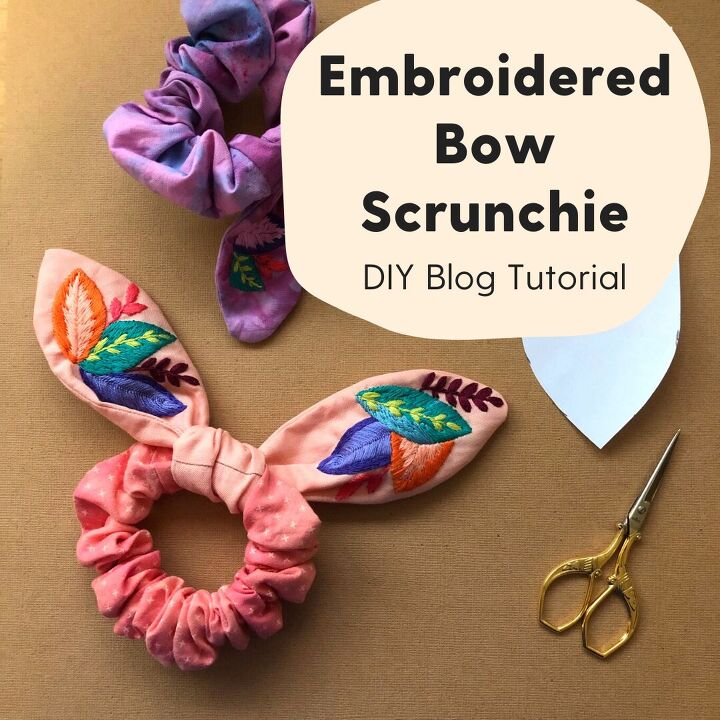
Scrunchies take me back to dance recitals when I was elementary school aged. We had them in velvets and all sorts of fun colors to match our leotards. They're fun, funky, and I'm thrilled they're back in style! So why not add a little embroidery to your scrunchie? Follow along with this DIY tutorial for a modern update on the scrunchie.
Supplies you'll need:
- Fabric for the scrunchie and bow
- 3/8 inch elastic
- Embroidery needle
- Embroidery thread
- Embroidery hoop
- Transfer pen
- Chopstick or pencil (optional)
- Safety pins
- Pins or clips (I prefer the clips)
- Bow template PDF download
- Cutting mat
- Ruler
- Rotary cutter
- Scissors
- Iron
- Sewing machine (optional, but will take much longer without)
- Sewing machine thread to match fabric (optional, depending upon sewing machine use)
Let's make a scrunchie!

1. Using the cutting mat, rotary cutter, and ruler, cut the fabric for the scrunchie band to 4x24 inches.
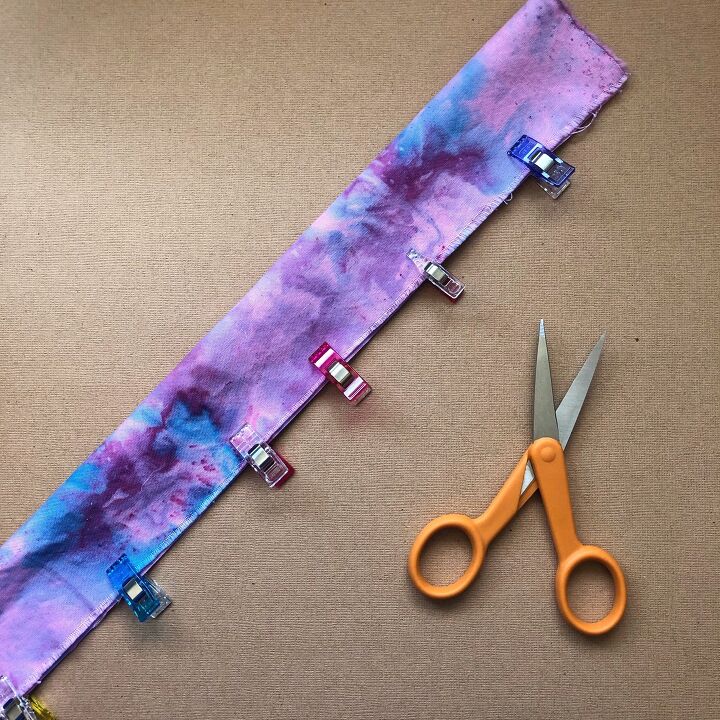
2. Fold the fabric length-wise (hot dog style) with right sides facing together and pin raw edges together.
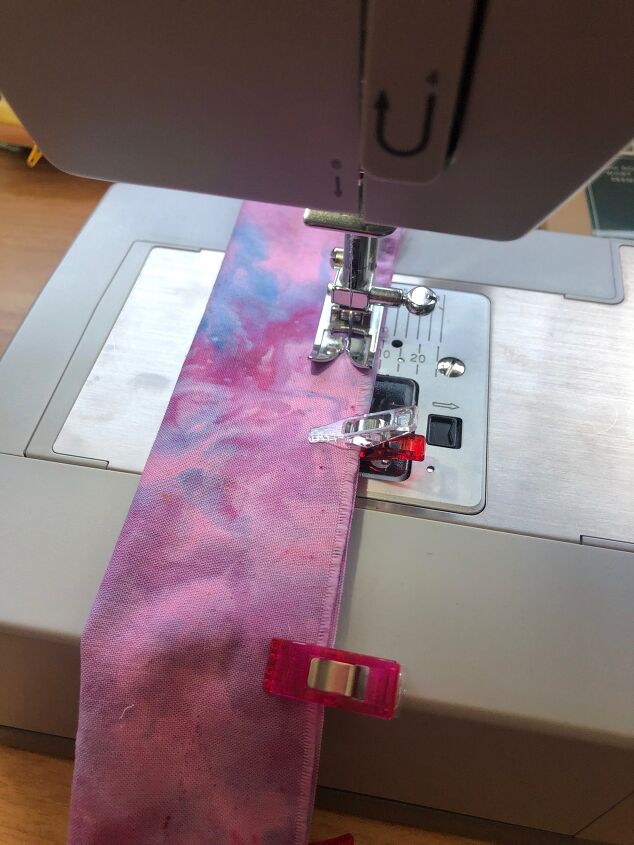
3. Starting 1.5 inches in from the end of the fabric, sew a 1/4 inch seam along the edge, ending 1.5 inches from the end. If you don't have a sewing machine, you can use the back stitch to sew this seam, it just takes a lot longer.
4. Flip the tube right side out using a chopstick or pencil to help.
5. Pin the edges of the tube together. Then sew together with a 1/4 inch seam.
6. Next, cut 7 inches of elastic.
7. Using a safety pin, pin one edge of the elastic to the seam where the scrunchie tube edges are sewn together. Attach a safety pin to the other end of the elastic and use it to work the elastic through the tube. Do not worry if the elastic gets twisted.
8. Next, remove the safety pins from the elastic. Then, overlap the elastic by 1/2 inch and sew together using the zig zag stitch on the sewing machine. If you don't have a sewing machine, use the back stitch to sew the elastic ends together.
9. Fold over the scrunchie tube opening to match the 1/4 inch seam, then pin the scrunchie tube opening together. Using a needle and thread, sew the scrunchie tube closed with the ladder stitch.
Now let's make the embroidered scrunchie bow!
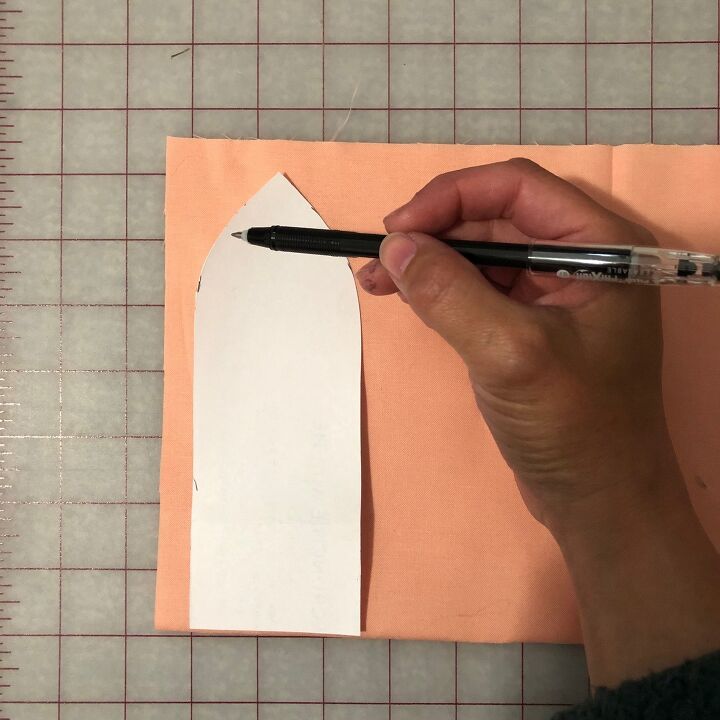
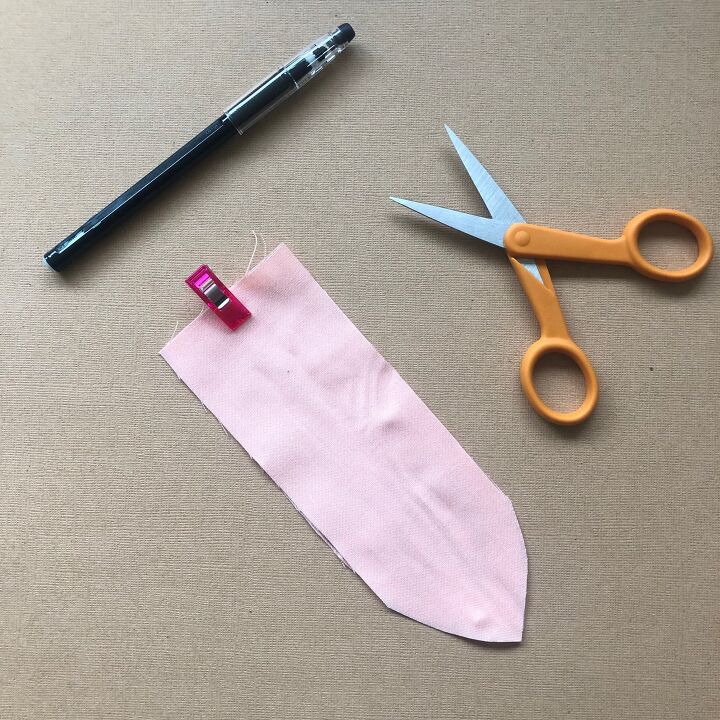
1. Lay the fabric for the bow flat on the cutting mat and trace two bow templates onto the fabric. Then cut then out. This will be one side of the scrunchie bow.
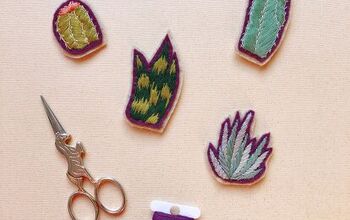
2. Place fabric for the embroidered portion of the scrunchie bow in the embroidery hoop. Using the bow template, trace it onto the fabric in the embroidery hoop. Outline two templates, one for each side of the bow. Make sure there is at least half an inch between each pattern so there is space when cutting out the fabric pieces. Continue using the transfer pen to draw your design onto the bow template in the hoop. If you'd like tropical designs similar to the ones I used in my scrunchies, try my In The Tropics Peel Stick and Stitch patterns.
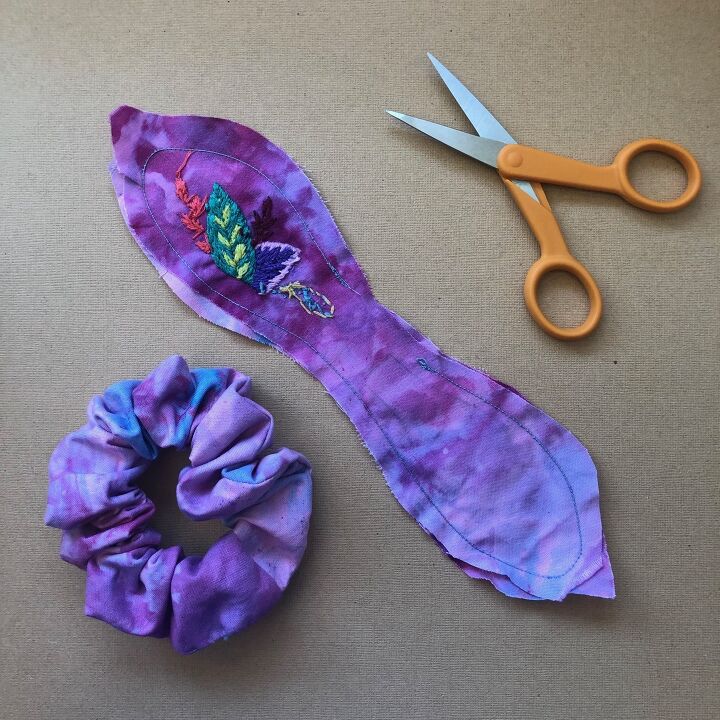
3. Stitch your design using short stitches that are close to the fabric like the long and short satin stitch, back stitch, stem stitch, seed stitch, and chain stitch.
4. When finished stitching, remove the fabric from the hoop and trim templates.
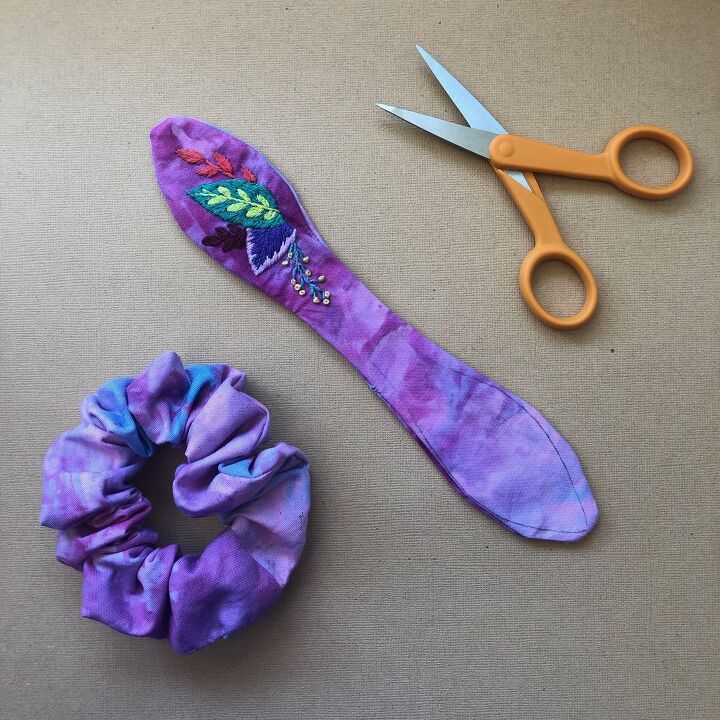
5. Matching right sides together of the embroidered templates, sew a 1/4 inch seam along the short, straight side of the bow to create a longer piece. Repeat for non embroidered fabric template. Then iron both flat with seams open.
6. Align the two right sides of the both template together. Then pin along the outer edges, leaves a 2 inch gap in the middle.
7. Using a 1/4 inch seam, sew bow pieces together. Make sure to live that two inch gap.
8. Next, flip the bow ride side out through the 2 inch gap. A chopstick or pencil might be helpful to flip and press corners. Once flipped, iron flat.
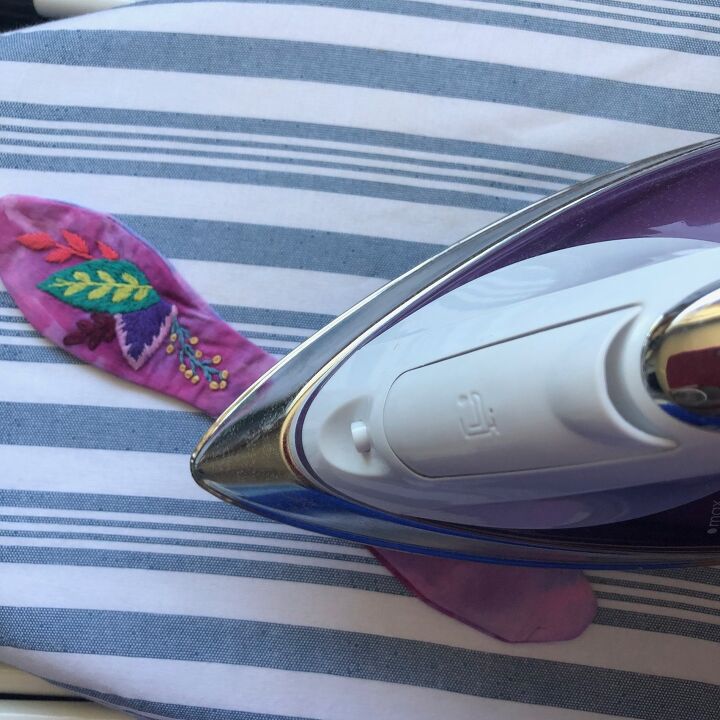
9. Using a needle and thread, sew the gap closed using the ladder stitch.
10. Finally, tie the bow to the scrunchie and enjoy!
***This post contains affiliate links. Should you choose to purchase something listed, I may receive a small portion of the sale. Thank you for checking out my recommendations.***
The author may collect a small share of sales from the links on this page.


Comments
Join the conversation
Your embroidery is beautiful and adds to your version of a scrunchey. Thank you for sharing your process and ideas.
Back in style? I never stopped using mine! I love the look, and feel of a scrunchie in my baby fine hair. I might try this one. I wish you had a picture of it in your hair.