How to Make a Scrunchie From Leftover Material

Who here is a 90’s baby?
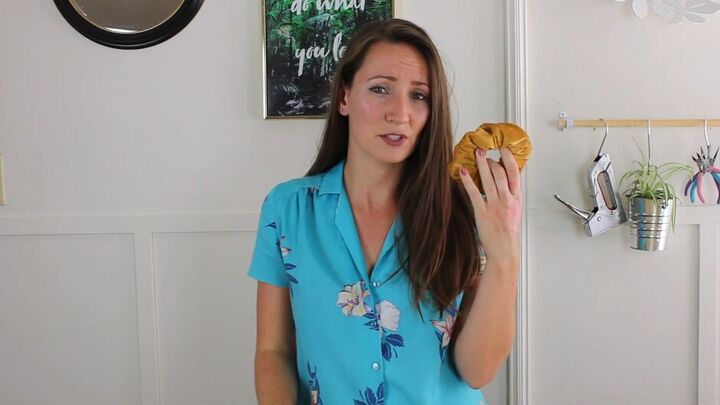
I am, so I am pumped that all the trends and styles from the 90s are starting to return. One of those trends is the scrunchie, which I used to rock. Today, I have a hair scrunchie DIY. It’s super simple to make, inexpensive, and uses very few materials.
So, let me show you how to make a scrunchie!
Tools and materials:
- Scrap material
- Elastic
- Safety pin
- Needle and thread
- Sewing machine
First scrunchie design
1. Measure and cut
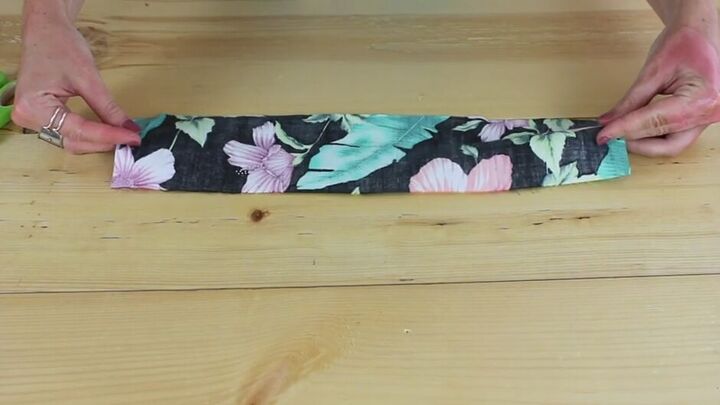
Take your fabric and cut a piece that is 16 x 4 inches long.
2. Fold your fabric
Fold your fabric lengthwise with the right sides touching.
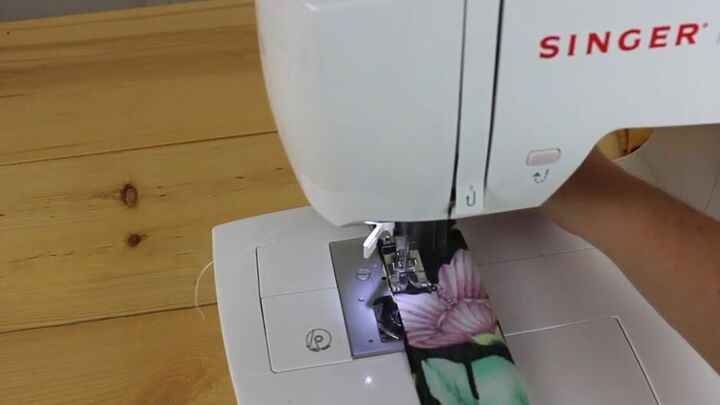
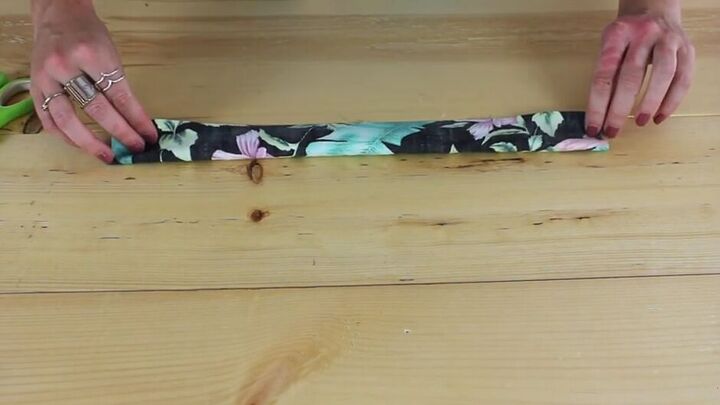
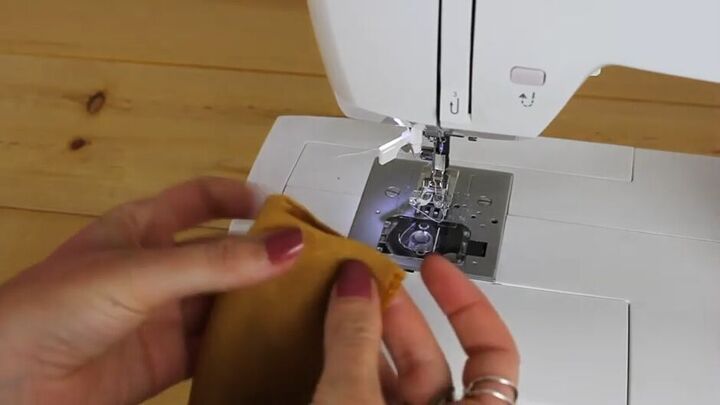
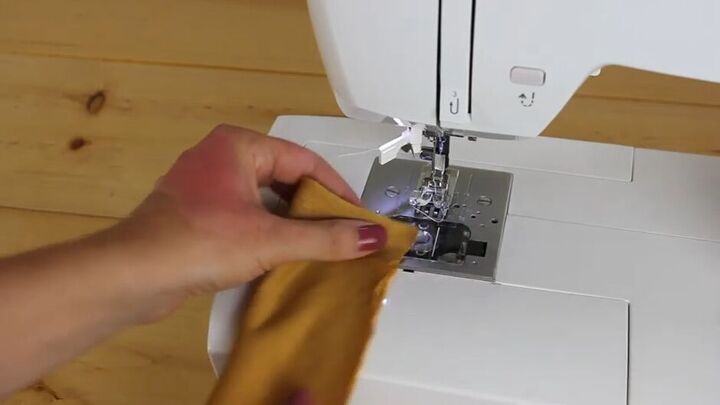
3. Stitch along the length
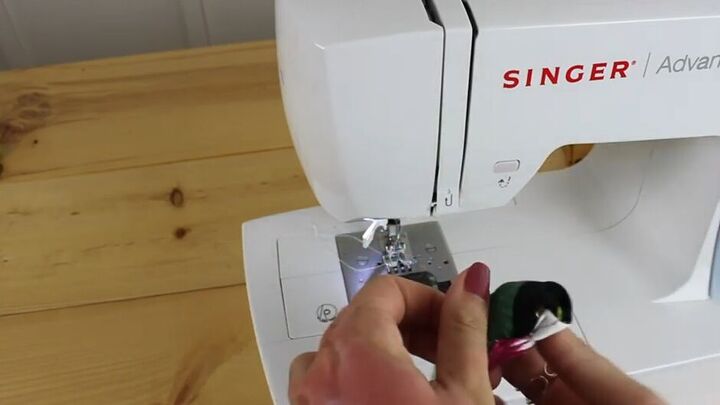
Use your sewing machine to stitch along the length of the fabric to create a tube. You can also hand-stitch the fabric together.
Make sure that you don’t sew right to the edge, you need around a 3/8-inch seam allowance.
4. Turn your tube right side out
Now, turn the fabric tube right side out.
Tip: If the tube is narrow, use a chopstick, pencil, or safety pin to help pull it through.
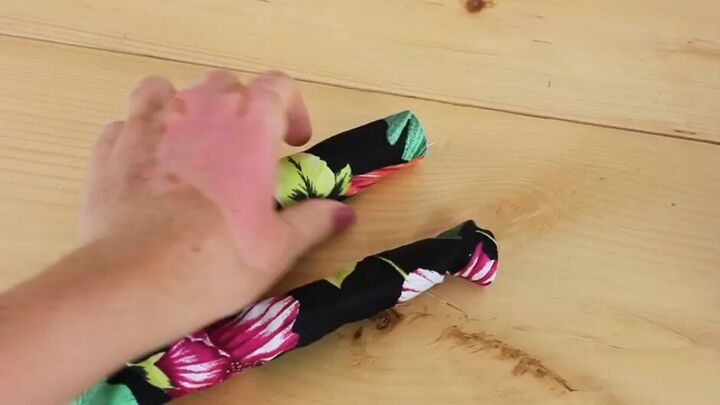
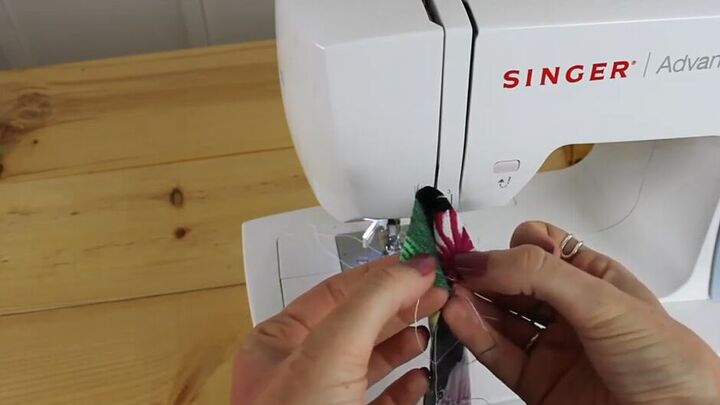
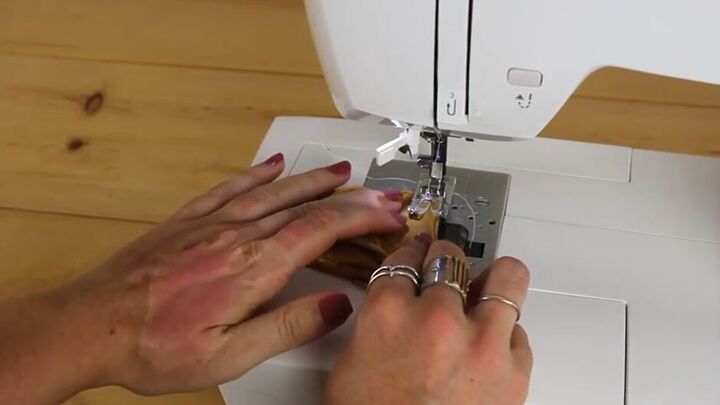
5. Attach the short ends together
Fold the tube in half so the two short ends meet.

Line up the seams of the short end, right sides together.
Sew the seams together, leaving an opening where you will insert the elastic on one side and pull it through the other side.
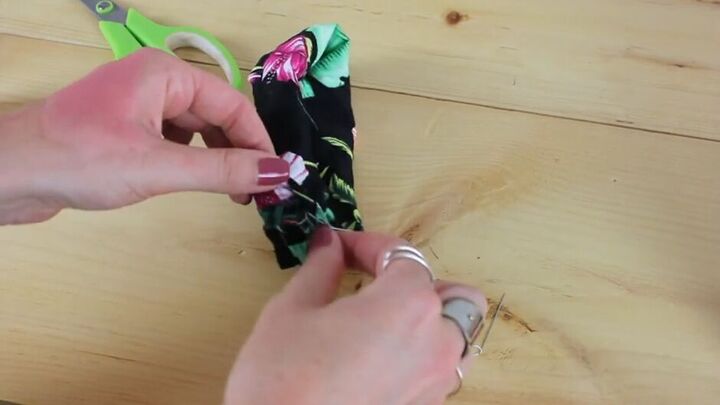
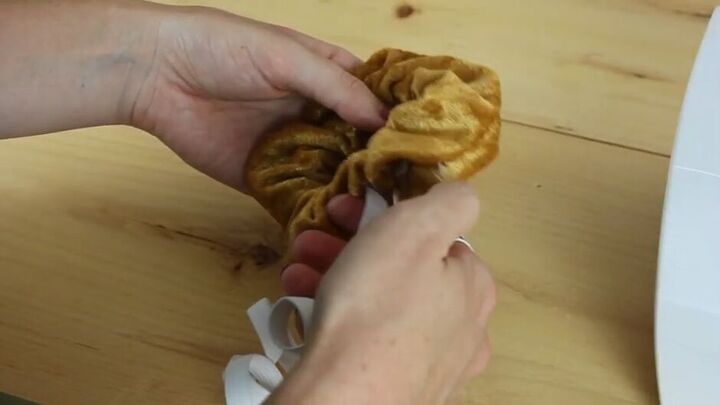
6. Insert elastic and stitch the ends together
Cut a piece of elastic and attach a safety pin to one end.

Feed the strip of elastic through one end of the tube, making sure the elastic doesn’t twist up inside.
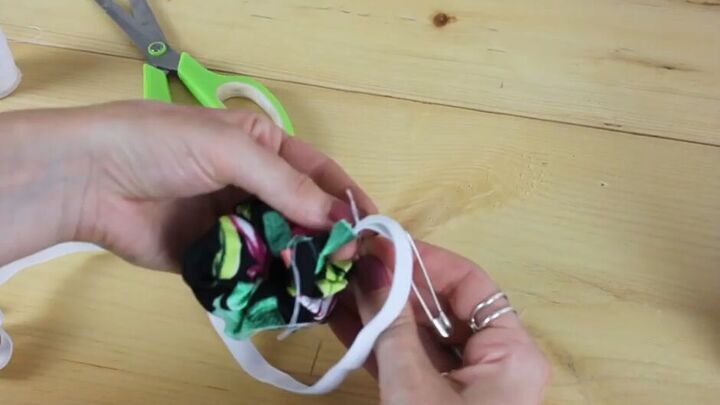
Bring the elastic up through the other side of the tube. The fabric tube should naturally scrunch up around the elastic.
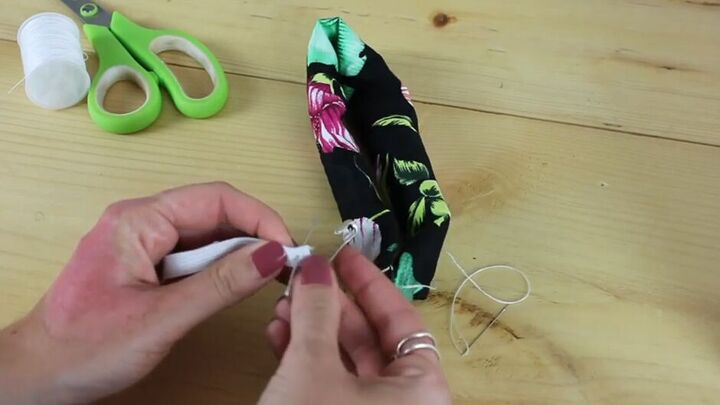
Now, sew the two ends of the elastic together with a needle and thread.
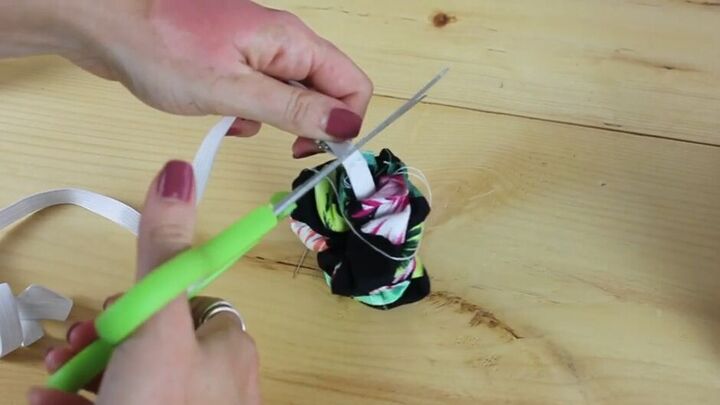
Cut off the excess elastic.
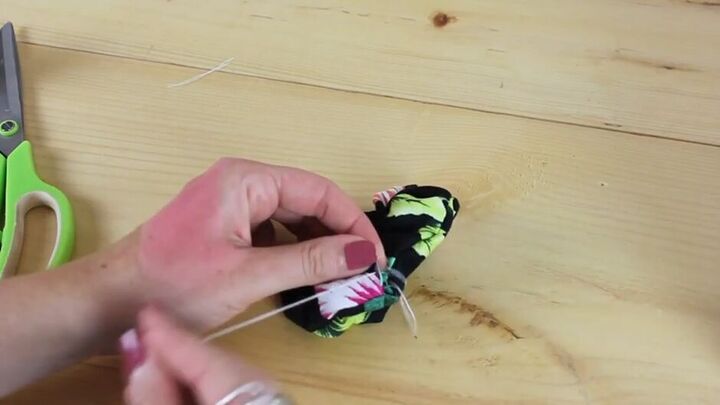
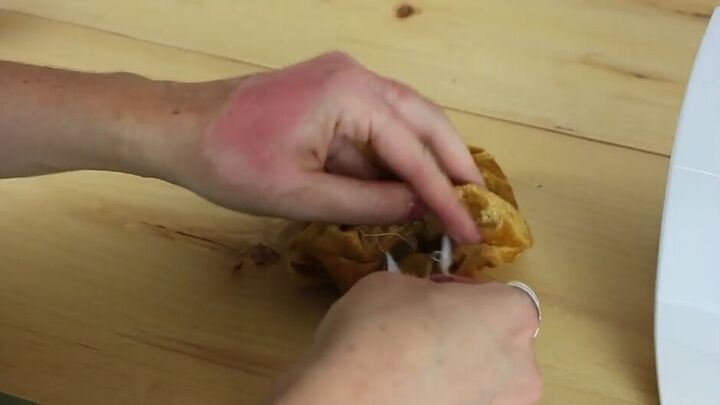
Fold the open edges of the fabric in and stitch the tube closed.
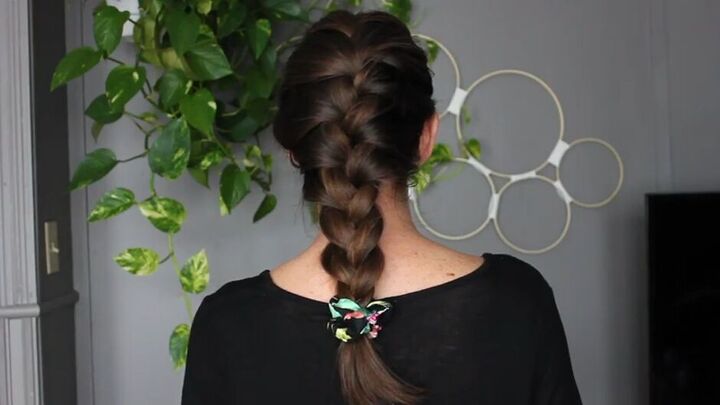
Here is the DIY scrunchie adorning the bottom of my braid.
This was such an easy DIY hair accessory that I think I’ll have to show you a second option.
Second scrunchie design
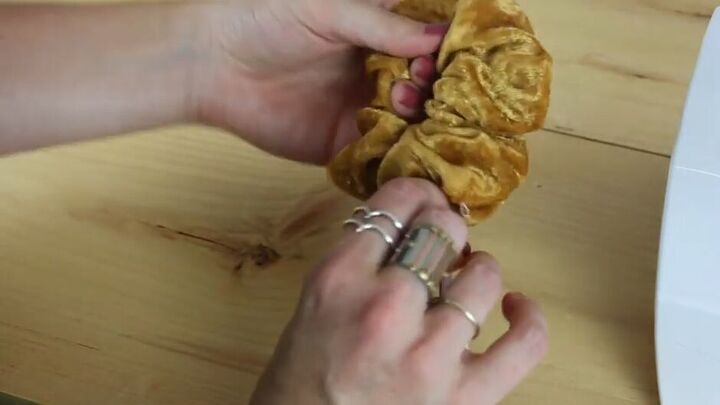
So, for the second hair scrunchie DIY, I thought I would show you how to make a scrunchy using velvet.
All the steps are the same, the difference is I made the velvet hair scrunchies with a 5 x 18-inch piece of fabric instead of 4 by 16 inches.
Again, I’m just going to fold the fabric and take it through my sewing machine to stitch up the long side
This time around I used my machine to sew the short sides together, leaving that hole where the elastic is inserted.
Insert your elastic through one end of the hole and pull it through and out of the other end.
Time to stitch the two ends of elastic together and snip off the excess.
Finish off by sewing up the hole where we inserted the elastic.
How to make a scrunchie
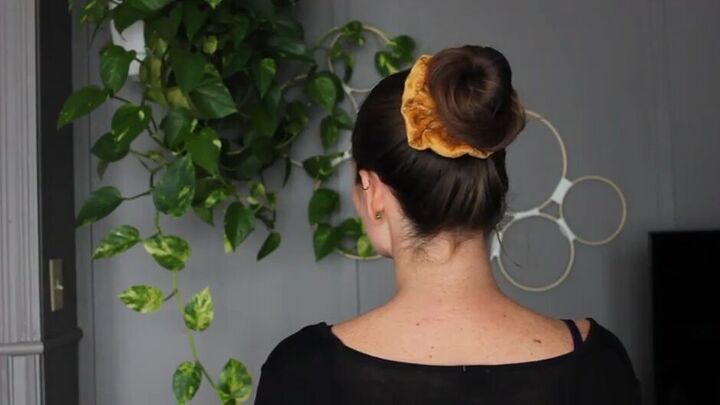
Here is the gorgeous velvet hair scrunchie framing my bun. The perfect finish to my hairdo.
Now you know how to make a scrunchie. If you're digging this style, please let me know what other trends you're enjoying this season. Who knows maybe it'll be something that I DIY in the future!
The author may collect a small share of sales from the links on this page.


Comments
Join the conversation