DIY Fleece Ear Warmer Headband
You don’t have to sacrifice style just because your ears are cold. When you put on a hat, it ruins your hairstyle in a second. But you don’t have to feel cold either. How?

The answer is this ear warmer. It keeps your ears warm and protected without messing up your hair!
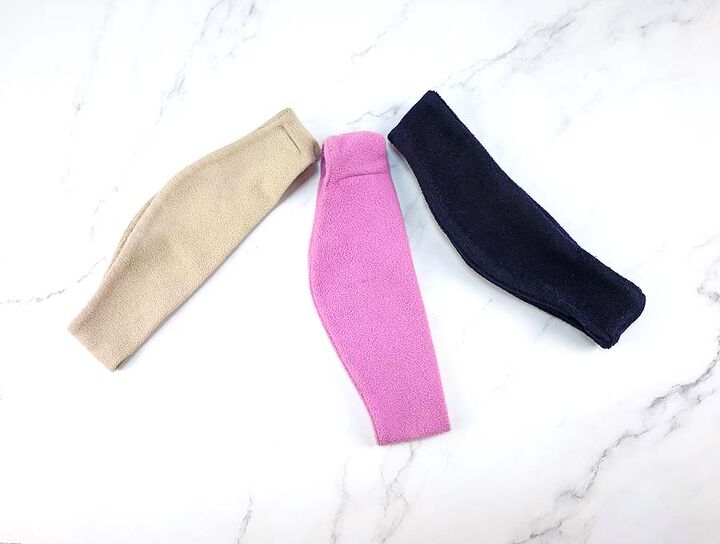
It looks great too! And it’s super easy to make, here’s how you do it.
Prepare the fabric
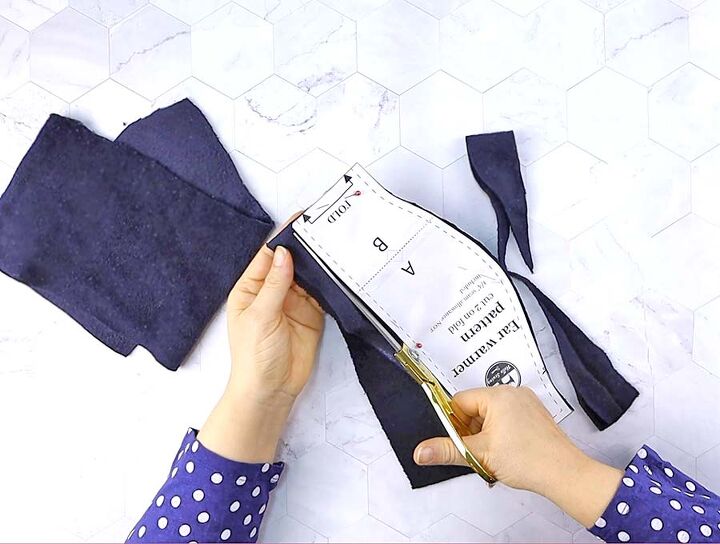
Download and print out the free ear warmer pattern from HelloSewing.com. Cut the parts out and join them.
Fold your fabric in half and set the market edge of the pattern on the fold. Cut around the pattern and unfold the fabric you cut. Repeat the process to get another piece of fabric.

Make the ear warmer
Stack the fabric pieces with their right sides in and stitch the long straight edge and the wavy edge. Don’t stitch all the way to the short edges on both sides but an inch away.
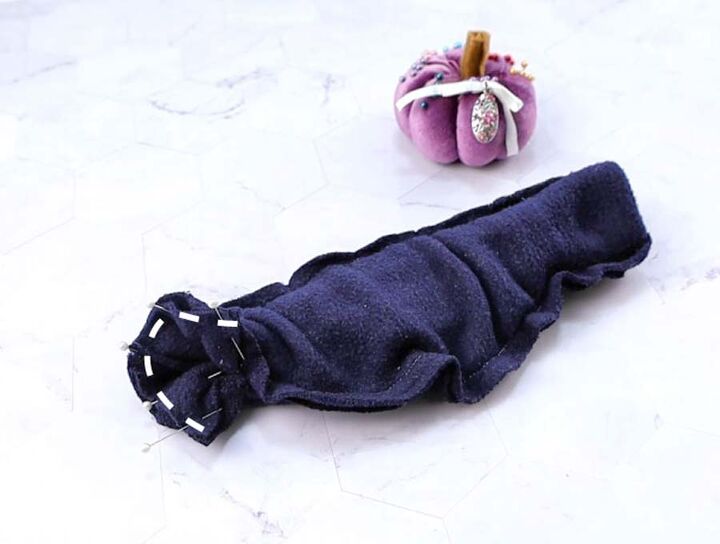
Turn the warmer halfway through and align the short edges. Stitch those edges together around from the inside. Pay attention not to sew the tube shut, stitch only the outer layers.
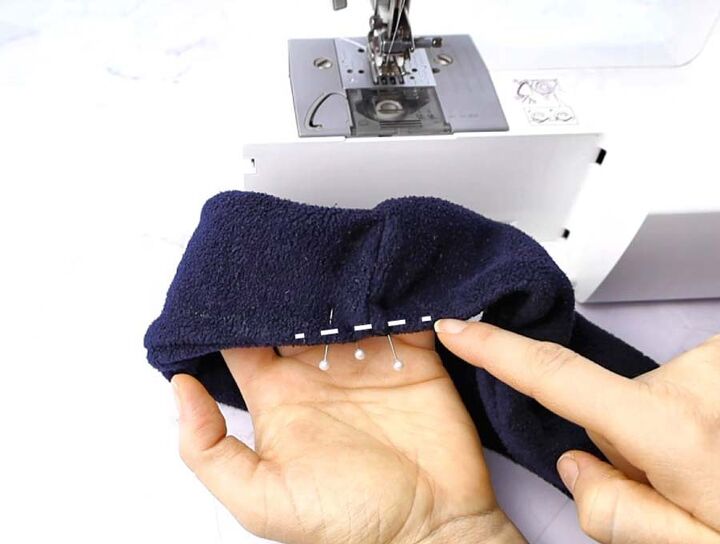
Turn the warmer all the way through and stitch the opening closed.
Don’t stop at just one warmer, make a few in different colors so you can match them with different outfits. Feel free to add some decorations if you want extra flair on your new accessory. No more bad hair from hats for you!
Make sure to head over at HelloSewing and check all our projects and tutorials. You can also subscribe for our newsletter packed full of sewing tips, tricks and free patterns
The author may collect a small share of sales from the links on this page.


Comments
Join the conversation