How to Make a Beret: Easy Pattern-Making, Sewing & Embellishing

Today, I’m going to show you how to make a beret hat. This beret sewing pattern is super easy to do and comes with a lot of customization options. You only need a few things, so grab your materials and let’s get started!
Tools and materials:
- Felt
- Lining
- Scissors
- Measuring tape
- Pencil
- Rhinestone pick-up tool
- Hardware adhesive
- Rhinestones
- Variety of pearls
- Sewing machine
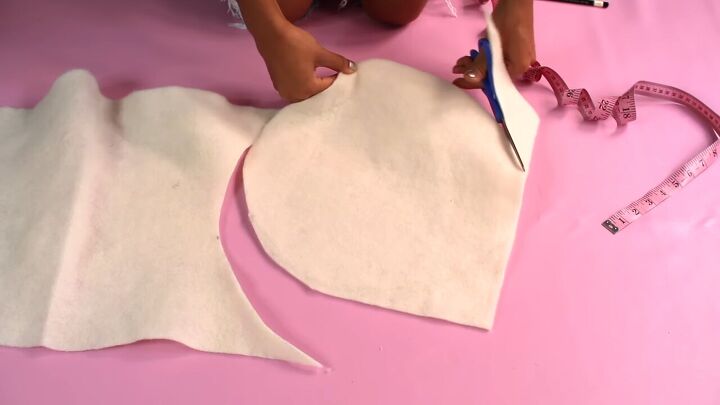
1. Cut out the circles
Start by laying out your felt and determining the diameter of your hat. A typical beret is about 12 inches and I made mine 13 to leave some room for seam allowance.
From the point measured, sketch out a circle. You can use a compass if you want to be precise or freehand it. Then, cut out the circle, making sure to make it as neat as possible.
Cut out a second circle by tracing the first one.
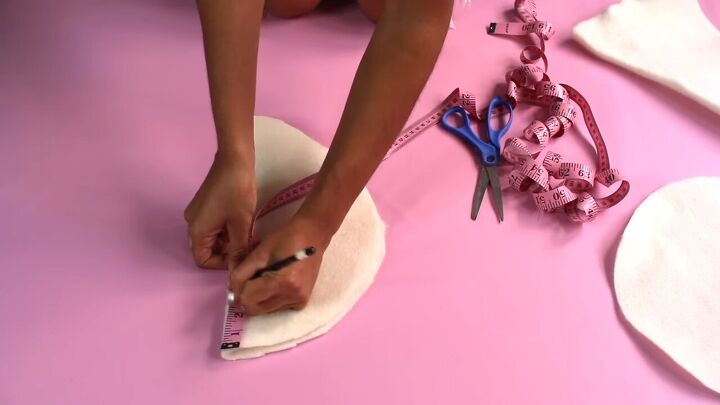
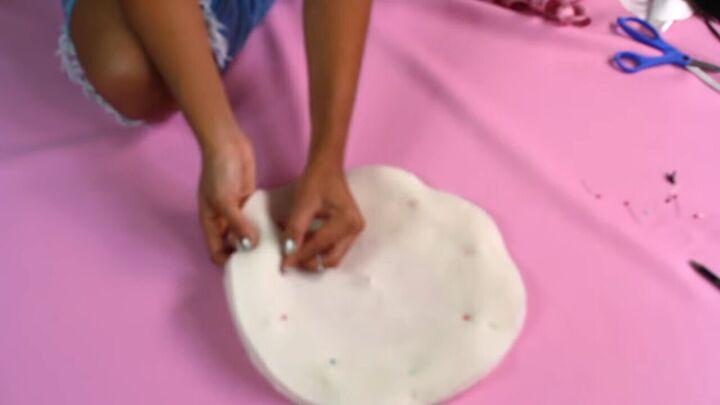
2. Mark 3.5 inches from each edge
Take one of the felt circles and fold it in half. Then, mark points at three and a half inches from each edge - the top corner, bottom corner, and the middle of the curve.
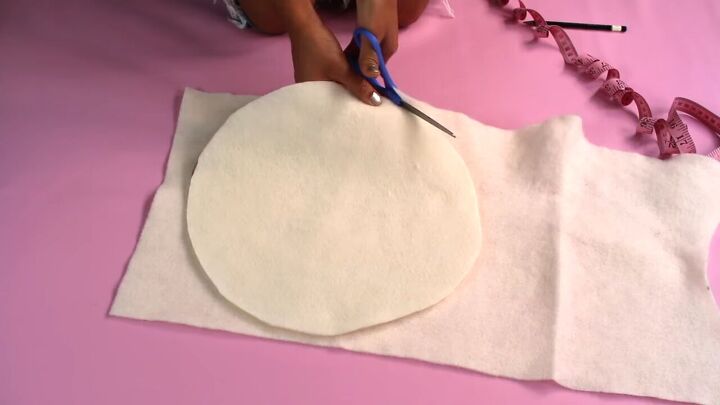
3. Cut out another circle
Fold the circle in half once again, as if you were making a snowflake, and cut out the circle from the middle.
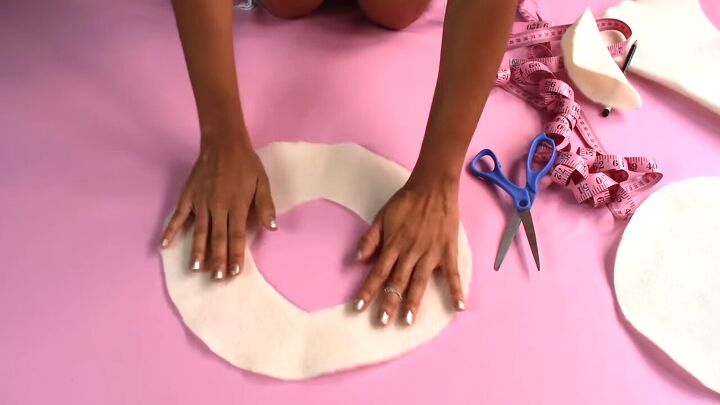
The cutout piece will be our head hole.
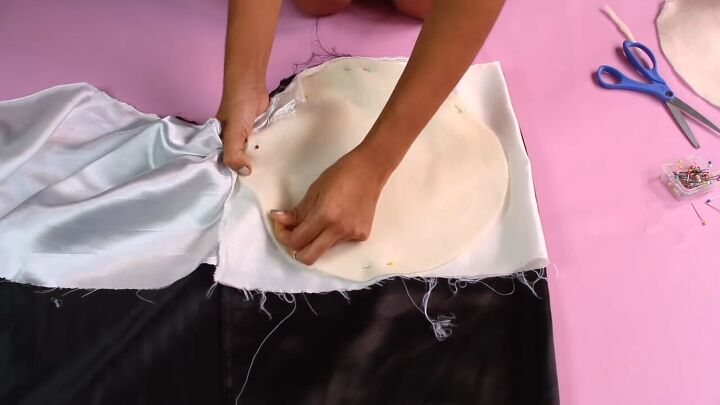
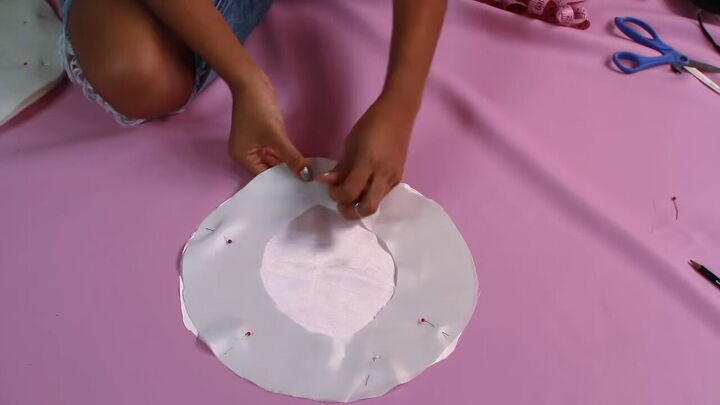
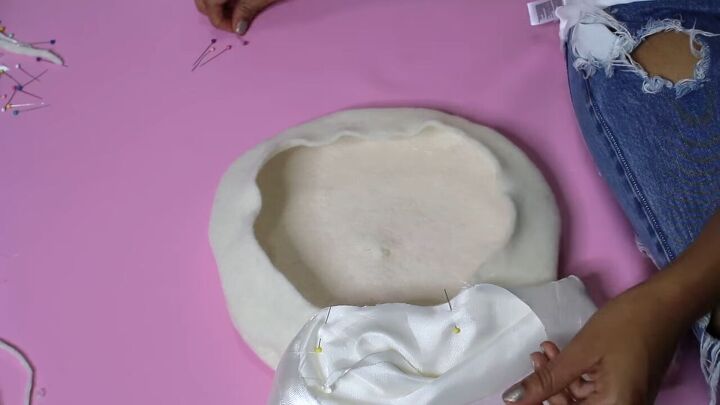
4. Pin and cut the lining
Align the two circles and pin the top of the hat (the one without the circle) to the lining.
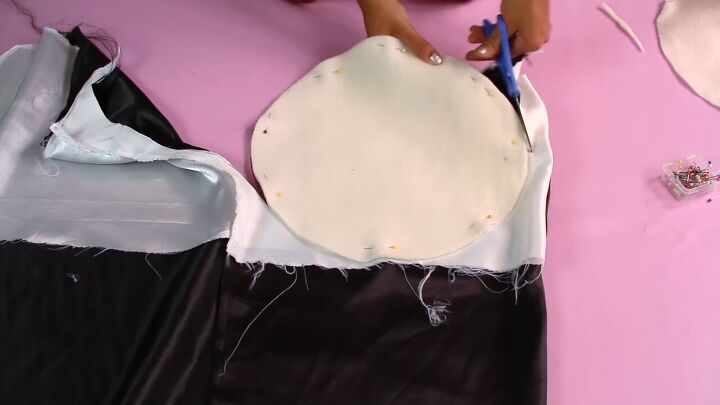
Next, cut out the lining pieces by tracing the hat. You can remove the pins once it’s cut out.
Then, cut out the head hole for the lining.
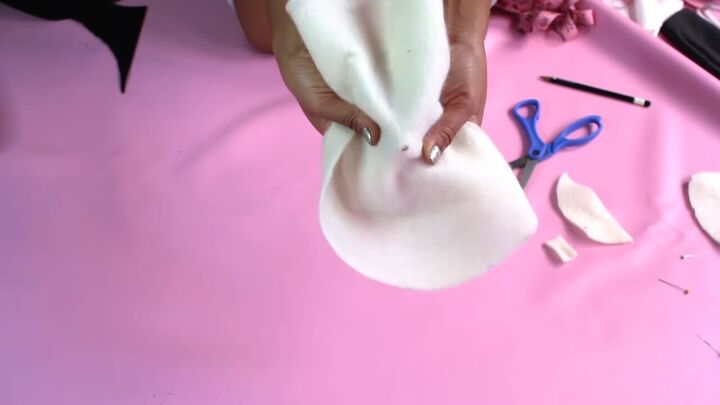
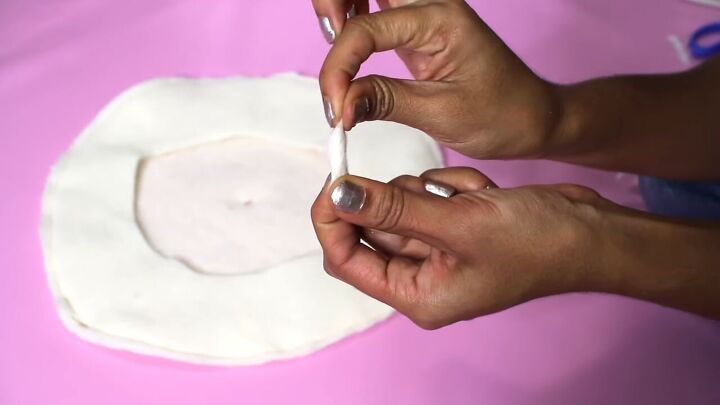
5. Cut a hole at the center of the hat
For the little stem at the top, you’re just going to find the center of the hat and cut out a very small hole.
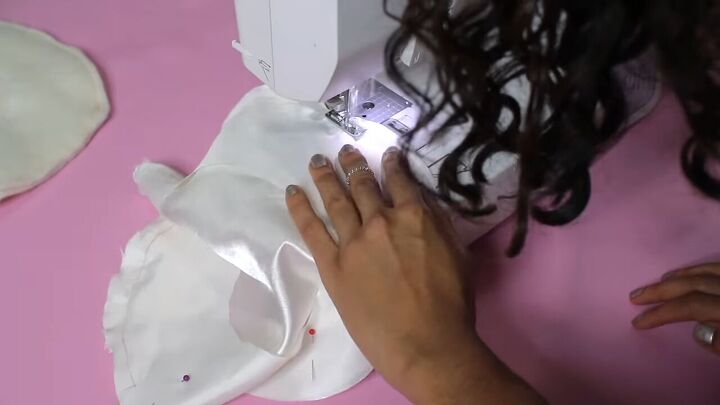
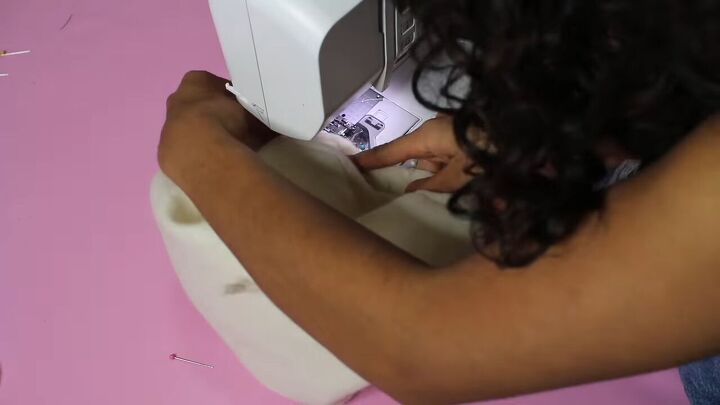
6. Pin and sew
Pin your two felt pieces together.
Do the same thing for the lining, but make sure the right sides are facing each other.

Now you can sew your felt hat pieces together. It doesn’t matter which way they’re facing because they’re the same.
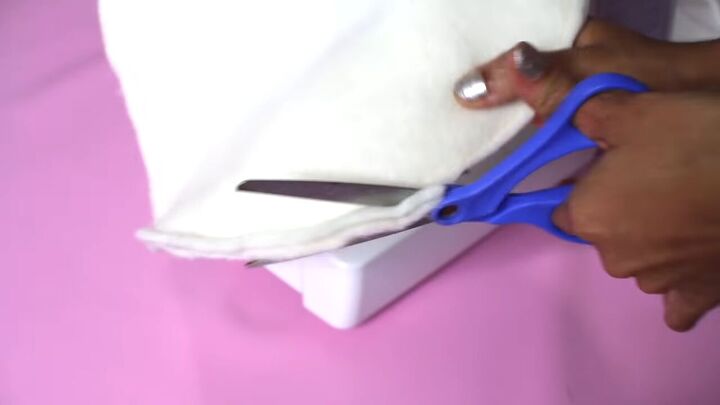
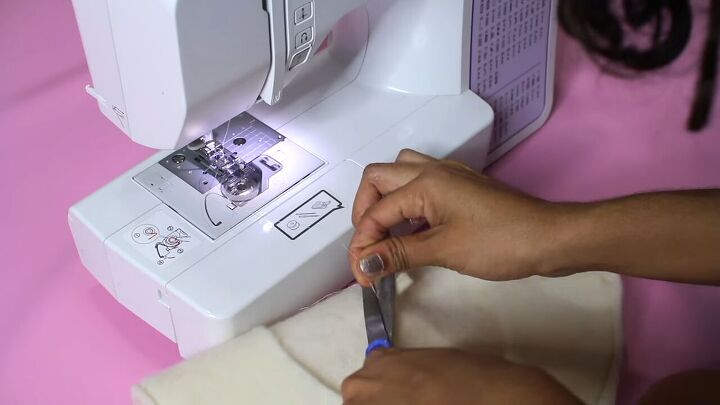
7. Cut off the seam allowance
Cut off a ¼ inch from the seam allowance. This is just so that it doesn’t look as messy.
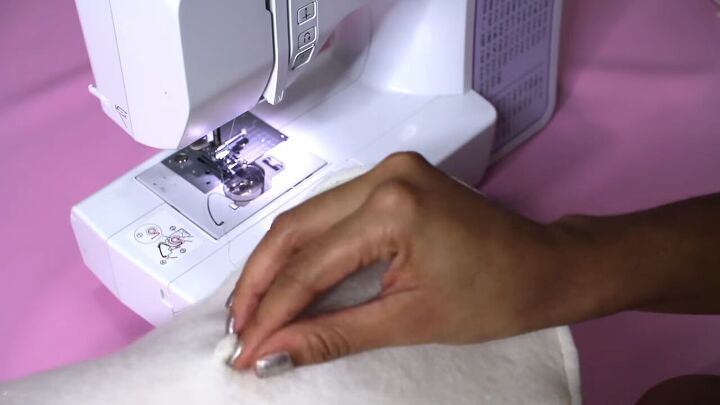
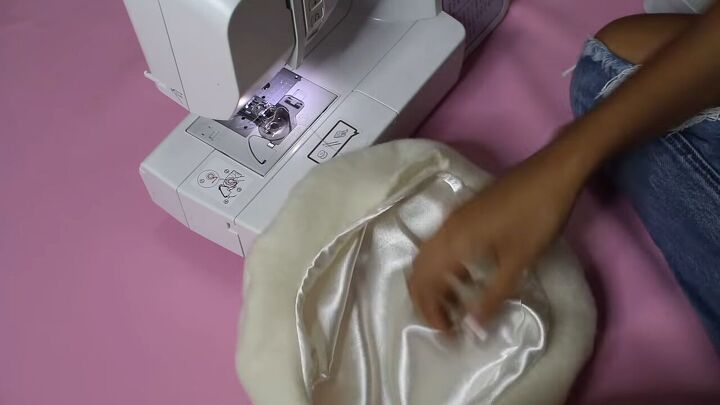
8. Sew lining pieces
Then, you can sew your lining pieces together.
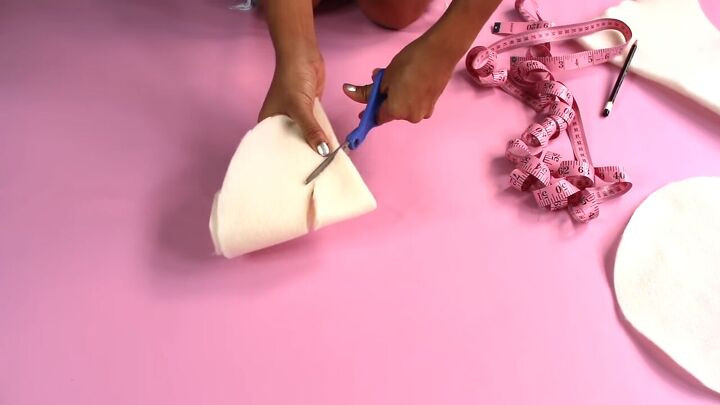
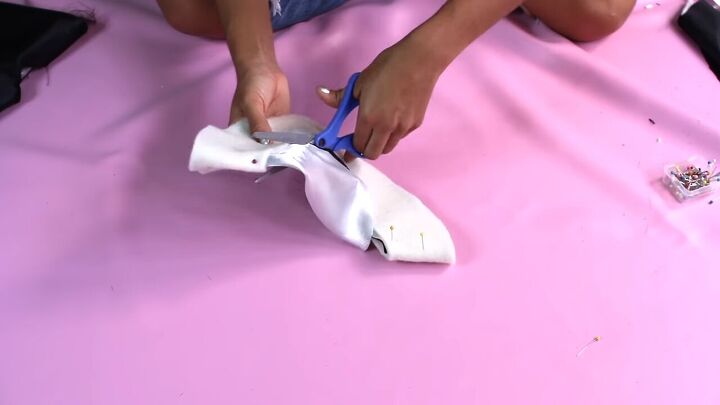
9. Sew the stem
For the stem, roll a small piece of felt about an inch long and stitch it together vertically.
10. Attach the stem
tick the felt through the tiny hole on the top of the hat and make sure the stem is facing upward on the right side of the hat.
Then, tack the stem to the hat and cut off loose threads.
11. Attach the lining
Pin the lining to the felt part of the hat and make sure your right sides are facing each other.
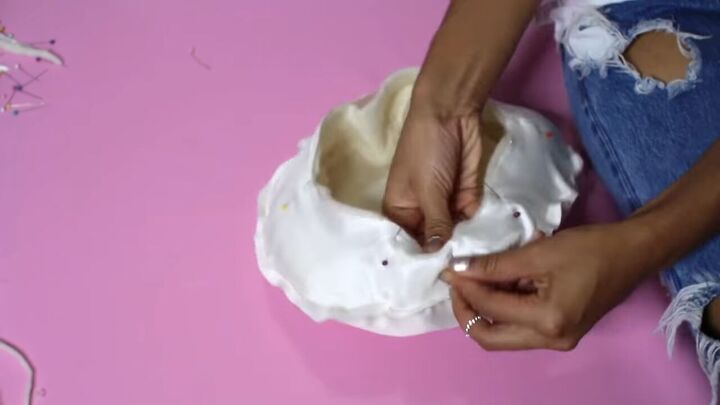
You can make a little basket like this if it’s a bit easier.
Then, sew the panels together, leaving about a half-inch seam allowance. Make sure to leave two inches of the hat unsewn so you can pull the hat through.
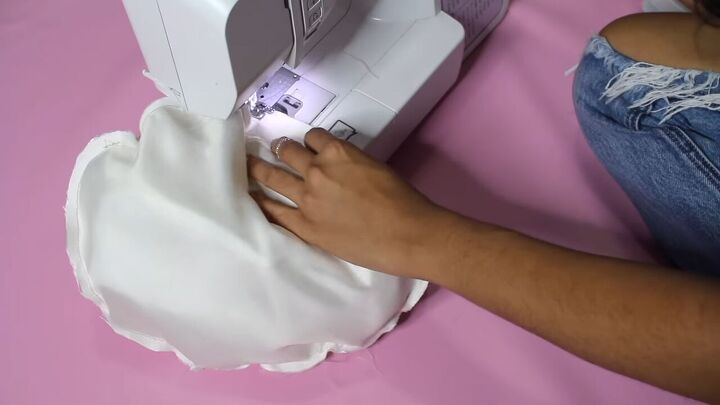
12. Pull the hat through and sew up the hole
Pull the hat through those unsewn two inches.
Then, pin together the open edge that’s left and stitch it together with a clean finish. The clean finish can go all the way around so that the lining doesn’t slip through while wearing.
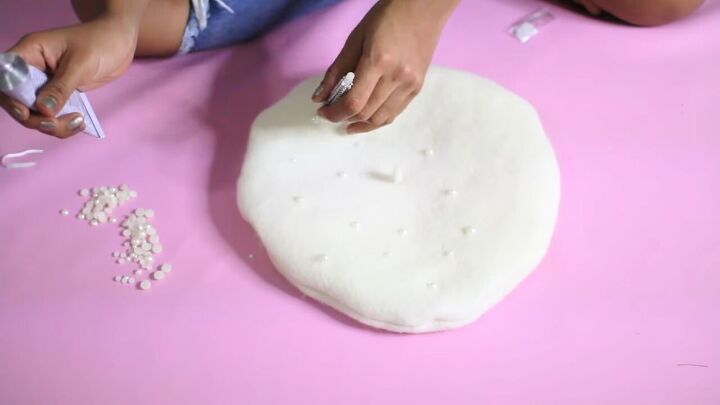
12. Decorate
The hats are done, but they kind of look like pancakes, so it’s time for the fun part. I’m going to add a variety of different sizes of pearls. Get creative with this part! It’s totally up to you.

For the black beret, I went a little crazy with the rhinestones because I wanted it to have a 90s vibe.


How to make a beret
That’s it for these embellished DIY beret hats! I wasn’t sure how these were gonna come out when I first started, but I’m pretty happy with the results. They’re a cute way to make your outfits both sparkly and chic. What do you think?
The author may collect a small share of sales from the links on this page.


Comments
Join the conversation
Great project would love to see a video. I will try this with a wet wool fabric I made.