Shirt Tail Too Long? Try This Simple and Easy Hemming Technique

While longer shirts look great when paired with leggings, sometimes they are too long in the back when worn with jeans, shorts, or skirts. But what can you do if you don’t plan on wearing your button-down shirt with leggings? This easy hemming technique will help you Hem the shirt tail. In this easy-to-follow sewing tutorial, I will cover the essential steps to shortening your shirt tail in less than 1 hour!
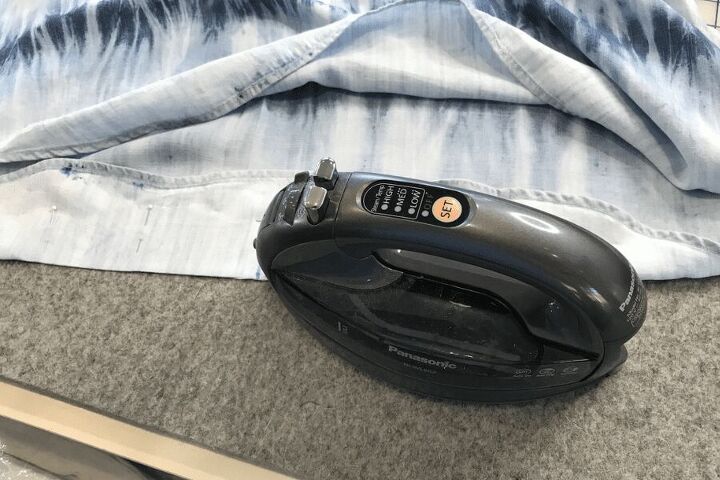
Before starting, press or steam your shirt. Wrinkles can impact your finished result, so it is extremely important to remove them prior to marking. Follow the manufacturer’s recommended heat settings for your shirt.
Step 1: Determine your shirt length
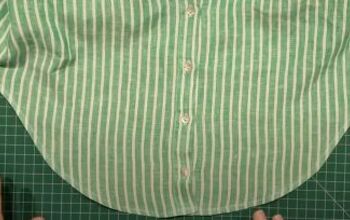
Before trying on the garment, locate the CENTER BACK of the hem. The easiest way to locate this point is to lay the shirt on a table and fold in half making sure to line up the side seams. The ‘fold’ point in the back should be the center. Don’t worry if you don’t have the exact center, we can measure the shirt before pinning the hem in place and locate the exact center. We just need a starting point. Place a straight pin or safety pin at this fold. In my example, I marked the center with a disappearing purple pen.
For this next step, you will need an assistant.
Try on your shirt with the bottoms you intend to wear (if you are pairing it with shorts, try it on with shorts.)
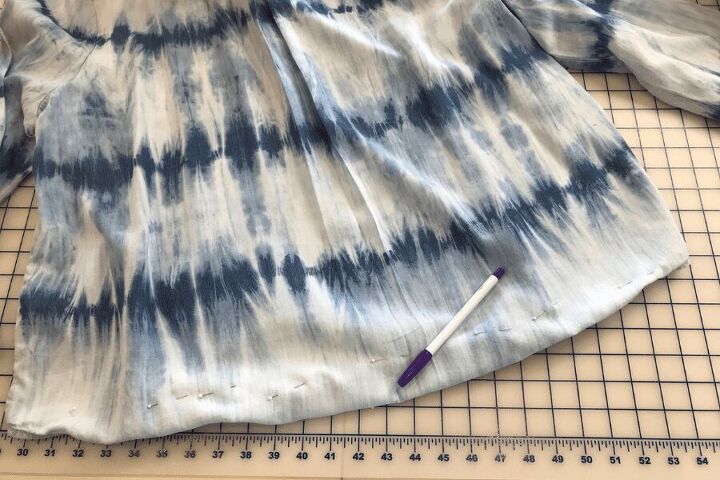
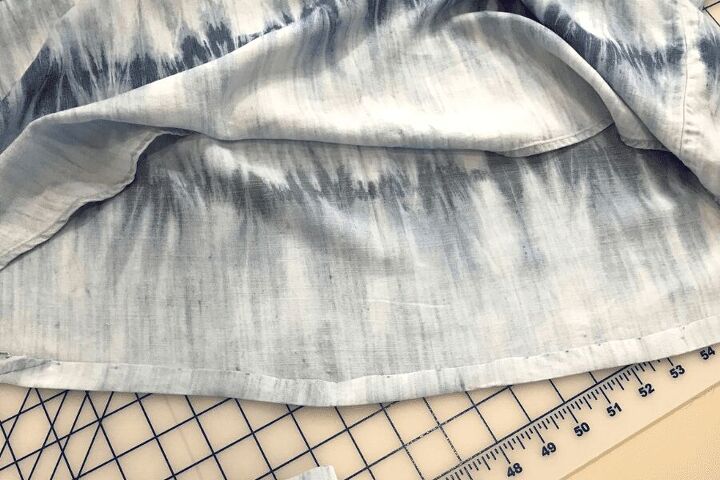
If possible, stand in front of a mirror SIDEWAYS and have your assistant turn under the shirt at the center point to your desired length. Once you are satisfied with the length, evenly pin the hem so that it is as straight as possible across the back. You will be tapering the hem allowance to the side seams. We won’t be hemming the front. If your hem is curved, you will notice that the tail dips to a low point and then angles up to the side seams.

A side note on hem marking. If you have uneven hips or a spine curvature and struggle with even hemlines, try this: Standing as straight as possible and looking ahead, have your assistant use a yard stick to mark your shirt tail hem line. He/she will measure the SAME distance from the floor beside the yardstick and place a pin. As an example, if your perfect shirt length is 35” from the floor, mark the hemline along the back at 35”. While there will be extra fabric on one side, the finished result will look even when you wear the shirt since it was adjusted to your body’s slope.
Once pinning is finished, carefully take it off. Be sure not to pull out any of the pins.
Step 2: Pinning your new shirt tail hem line
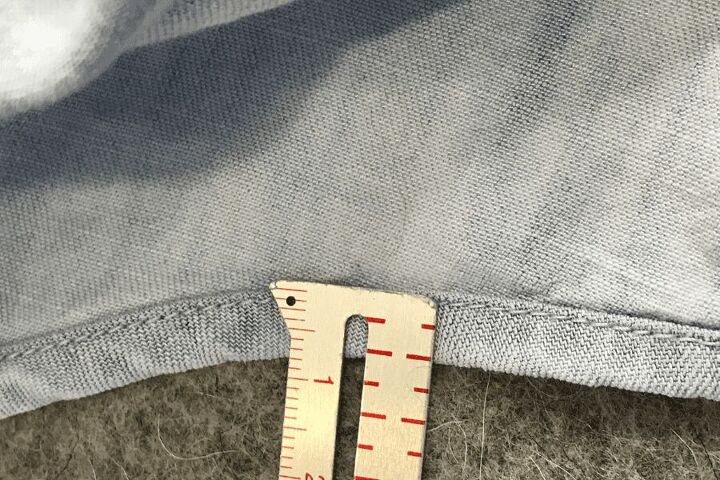
On a flat surface, measure the amount of fabric you’ve turned under at the center point. In my example, I turned under the shirt 3 inches. Now measure 2 inches left AND right of the center pin. Make sure that you’ve turned under the tail the same amount. In my example, I turned under the shirt tail, 2.75 inches at these points. If your initial pinning measurements at these new points are within ¼” of each other, you should be fine. You can refine them at this time. (NOTE: If you have a hip or spine curvature, follow the pins your assistant placed when marking for you.)
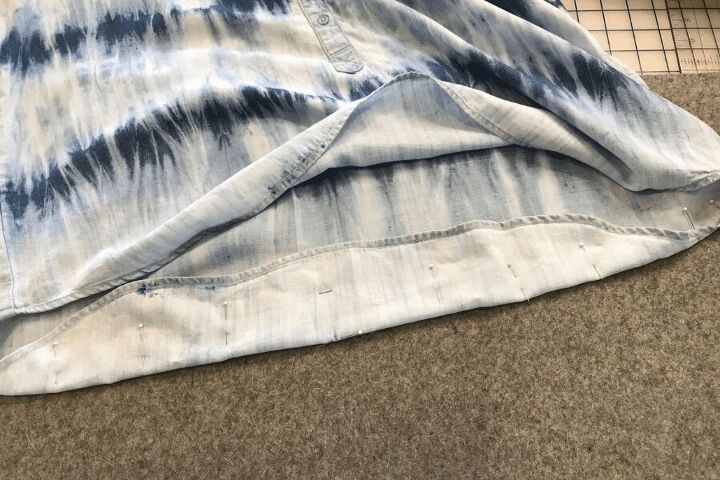
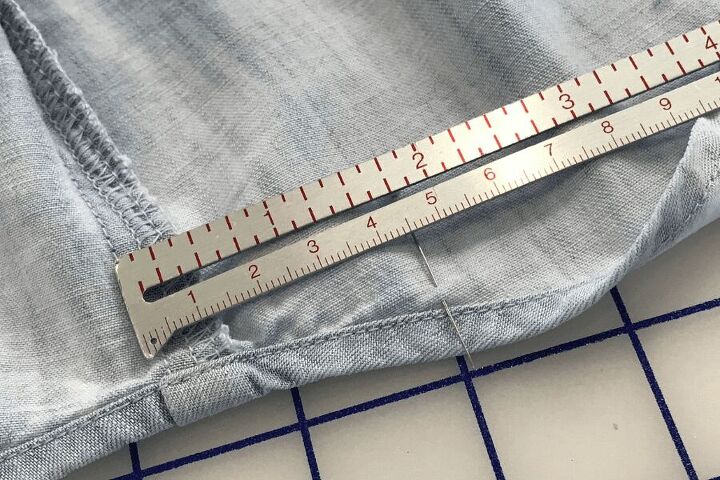
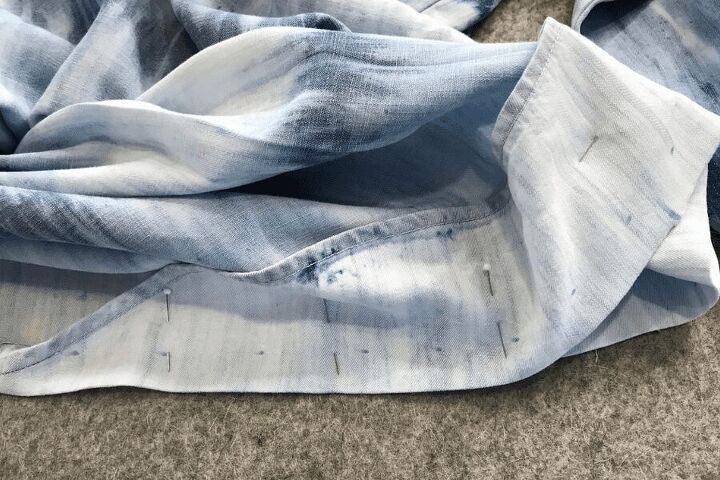
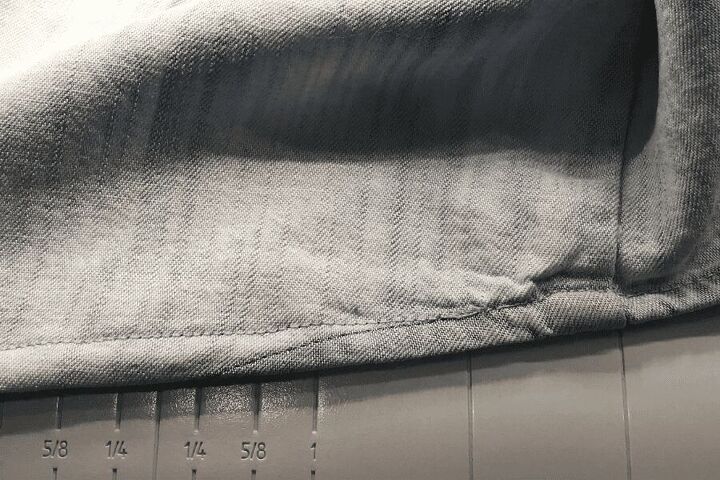
Continue this process until you are about 4 inches from your side seams. Now, we must begin to taper the fabric to meet the side seams. Measure about 1 ¾” from the side seam. Place a pin. Make a mental note that at this point, you will merge the old and new seams. You will need to remove the existing stitching approximately 1” to the left and right of the pin. If you need more room to work, remove more stitching. The less stitching you need to remove is best to maintain the original hem.

Once the shirt tail is pinned and checked for accuracy, press the new hem line. Try to avoid pressing over the straight pins.
Step: 3: Trimming and sewing prep
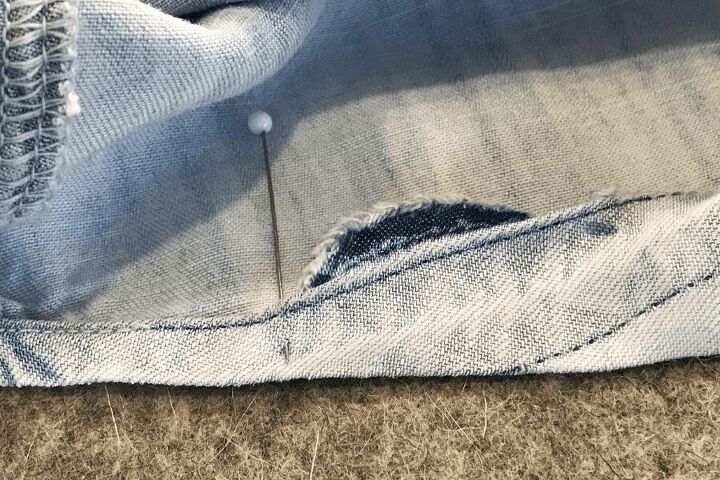
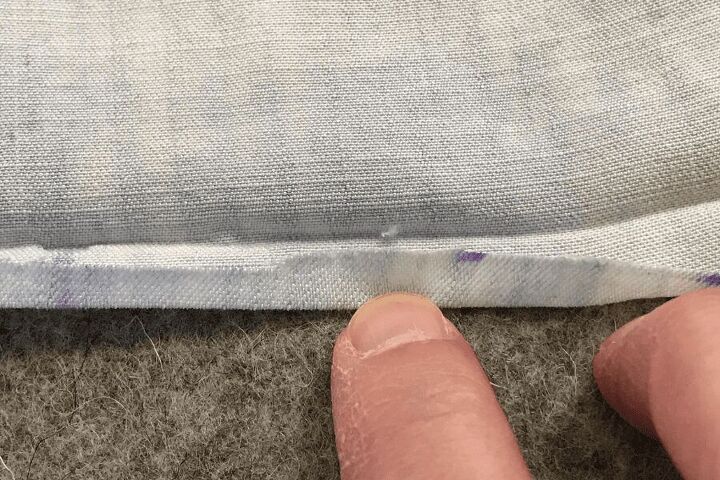
Measure the existing shirt tail hem. On my example, the shirt has a ¼” hem seam. I wanted to use the same hem allowance to maintain the hem aesthetic. I didn’t want it to look altered or new.
To maintain the hem allowance, I doubled the hem and added 1/8”. (¼” + ¼” + 1/8” equals 5/8”).
Using a disappearing ink pen, I placed cut marks 5/8” from my pressed hem line.
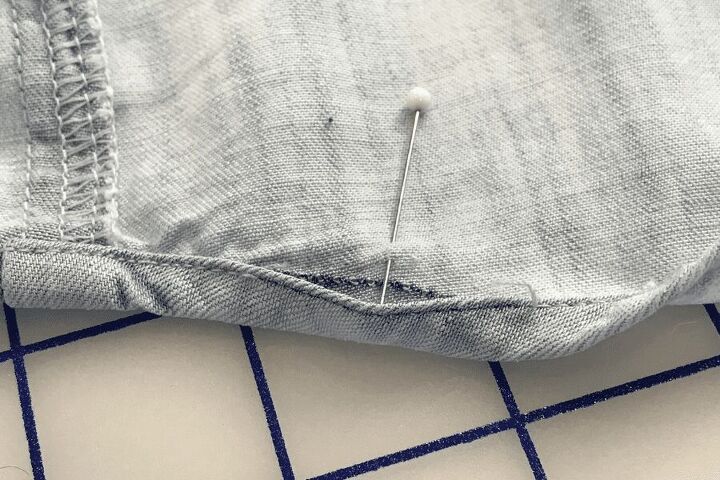
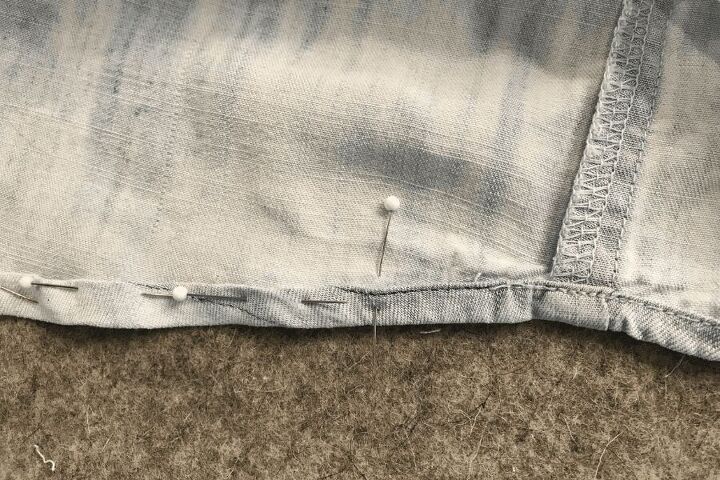
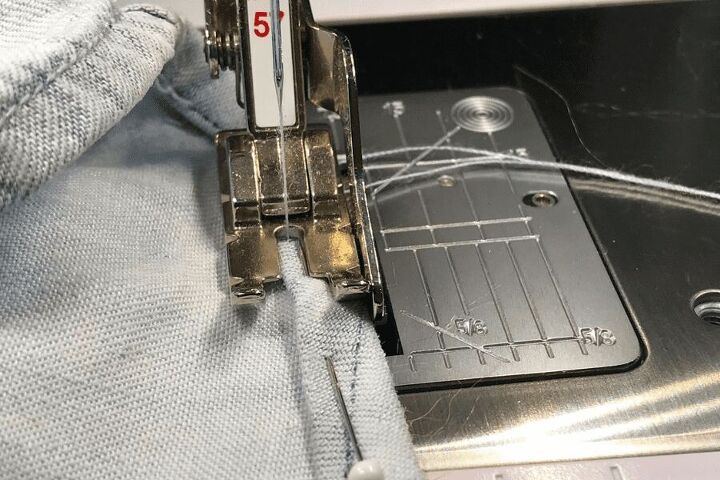
I had to slightly open the seam near the side seam so I could trim excess fabric and maintain my 5/8” hem allowance. This may be tricky the first time you do it but be patient. The result and attention to detail is worth the effort!
With your dress making shears, CAREFULLY cut along your marked line. You can use snippers when you reached the side seam intersections since you won’t be trimming as much fabric.
Step 4: Turn under your hem allowance
To prevent the hem from fraying, turn under the raw edge to the inside of the new hem fold. Press as you fold. Be careful to NOT press out your new fold line.
Once you have the edge turned under and pressed, pin the hem on the underside.
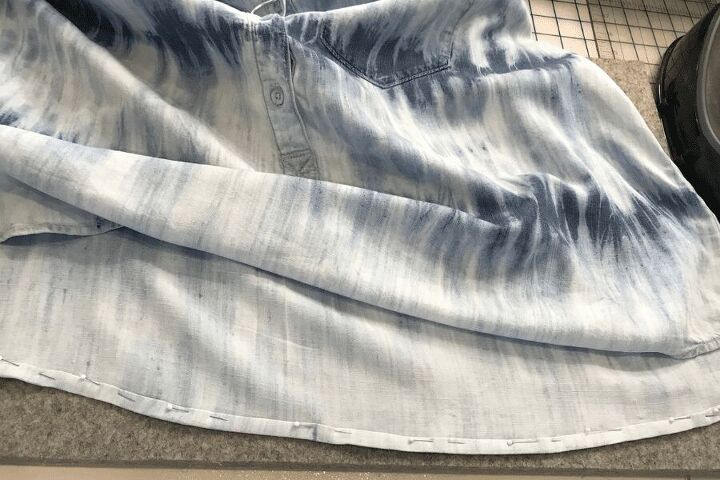
Step 5: Sewing
Using a general use sewing thread that matches the color of your shirt as close as possible, sew a straight stitch hem. Be sure to backstitch at the beginning and end to secure your seam. It’s important to NOT pull the fabric while sewing. You can stretch and distort the fabric.
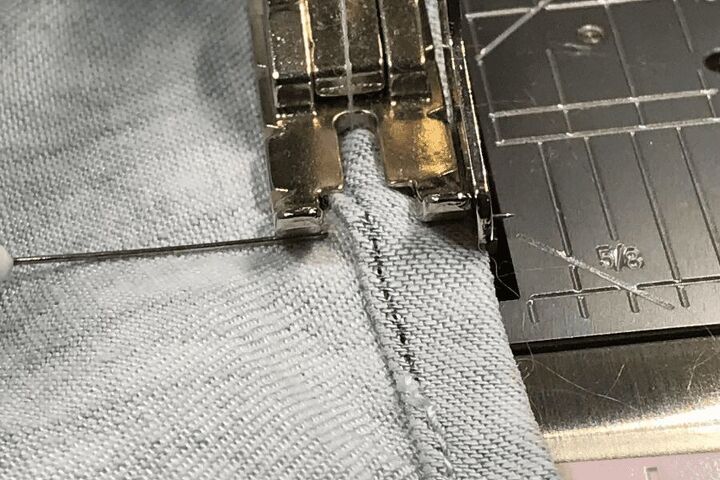
After sewing, trim threads as close as possible to your stitching line.
Step 6: Press
To set your new seam, press.
Now that you have completed your shirt tail hemming, you can wear your improved shirt proudly with that custom ‘made for you’ look!

If this tutorial has helped you, please consider sharing it with others on social media. Also, be sure to sign up for The Creative Sewist email list so we can send you helpful sewing advice.
If you have a question or tutorial suggestion, please leave it in the comments below. We would love to hear from you!
AdviceAlterationsHacksHemmingHow toSewingsewing projectssewing toolsewing tutorialsSewist
The author may collect a small share of sales from the links on this page.


Comments
Join the conversation
Can be done in an hour??? Surely you jest.
Amazing!
The bigger my belly gets the shorter my shirts get!