Quick and Easy Sewing Tutorial: How to Alter a Shirt

Altering clothes is a great way to get more wear from them, and that’s good news for most people these days.
Shortening a hem is one of the simplest alterations you can do and it can easily turn an unwearable garment into a favorite.
Shirt alterations can seem a bit intimidating if you’ve never done them before.
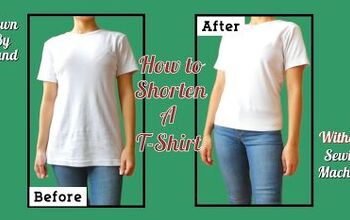
Today, I want to show you how to alter a shirt with a curved hem and give it a professional finish.
Let’s do it together!
Tools and materials:
- Shirt with curved hem
- Ruler
- Fabric marker
- Scissors
- Rotary cutter and cutting mat (optional)
- Pins or clips (optional)
- Iron
- Sewing machine
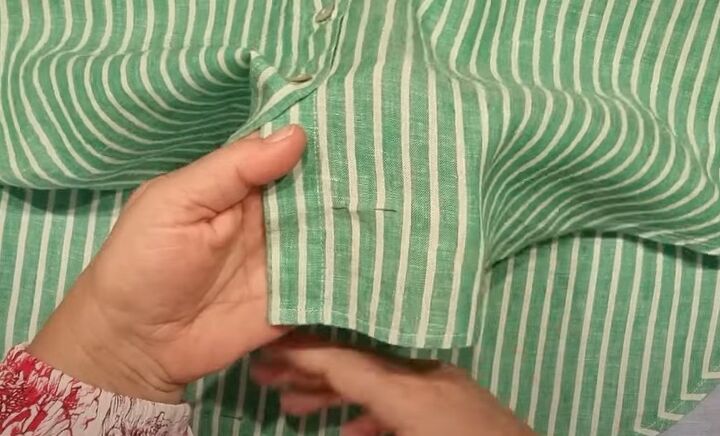
1. Mark the cutting line
Try on the shirt and place a pin at the front edge where you want the shirt to finish.
This shirt has a quarter inch (6.5 mm) deep double fold hem, so I know I have to make the cutting line a half inch (1.3 cm) longer than the finished length to allow for that.
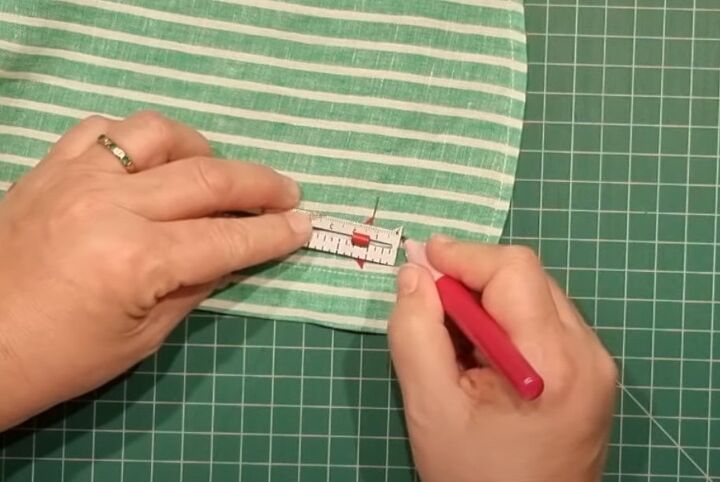
The first thing I do is measure and mark half an inch (1.3 cm) below the pin, for my cutting line.
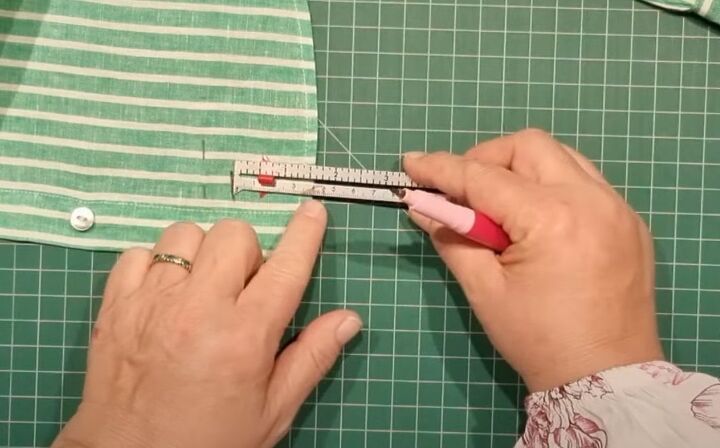
Then I measure from the cutting line mark to the bottom of the existing hem to see how much I need to take off.
In this case it’s 1.5 inches (4 cm).
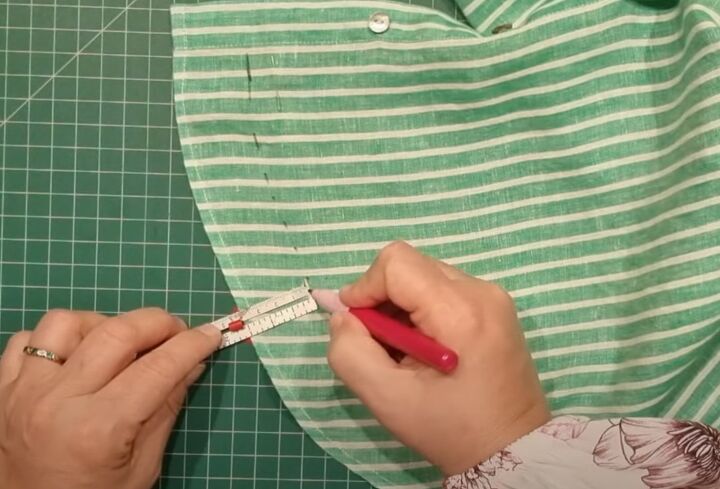
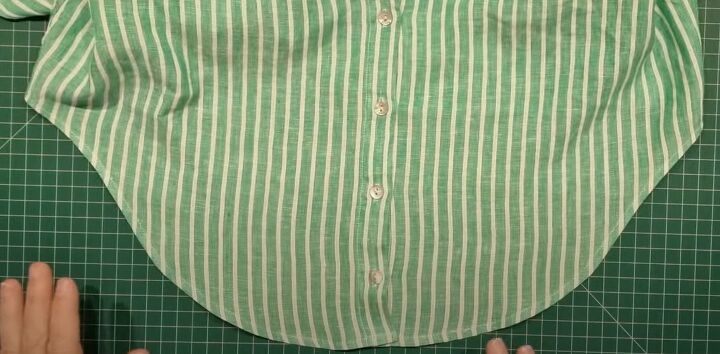
Unbutton the shirt and lay it flat.
Following the curve, mark 1.5 inches (4 cm) from the lower edge of the shirt right across the width from one front edge to the other.
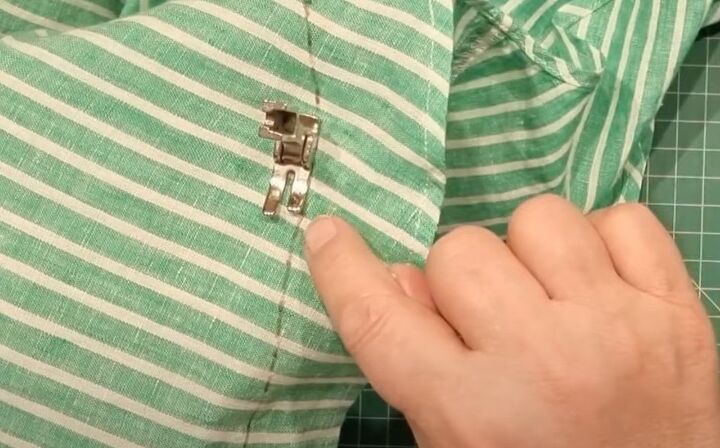
2. Stay stitch
Before cutting the shirt, we’re going to stay stitch it a quarter inch (6.5 mm) inside the cutting line.
This will make it easier to turn a very narrow hem and will also keep the integrity of the fabric, so that it doesn’t stretch when we sew the hem.
The “fingers” of my presser foot are each a quarter inch (6.5 mm) wide, so I’m going to guide the outer edge of the foot along the cutting line, to ensure my stay stitching is even and in the right place.
Set the stitch length on your sewing machine to 3.5 as this will also help to prevent stretching.
Sew your stay stitches on the right side and work slowly.
Allow the fabric to feed though the sewing machine by itself and only use your hands to guide it and keep it flat.
3. Cut the fabric
Cut along the marked line.
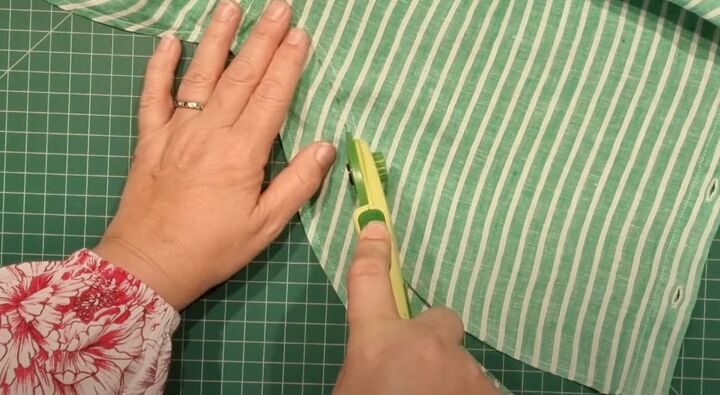
You can use scissors, but I find it much easier to follow the curve with a rotary cutter.
It gives a smoother finish and there’s also much less risk of making a mistake or stretching the fabric.
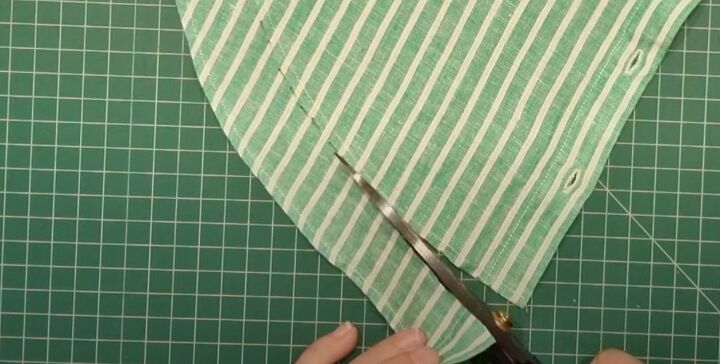
If you use scissors, keep the fabric as flat as possible as you cut.
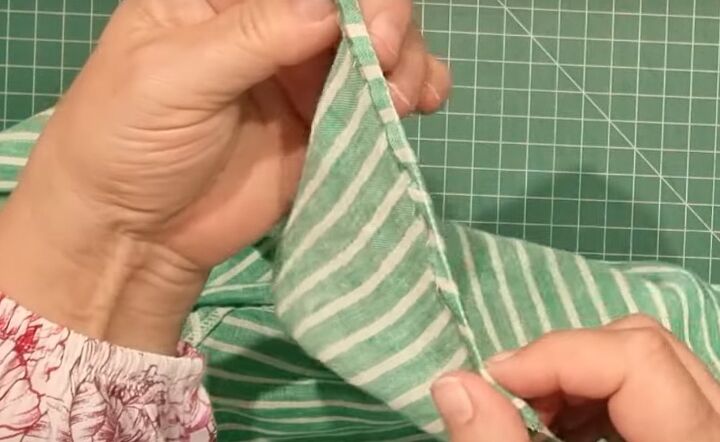
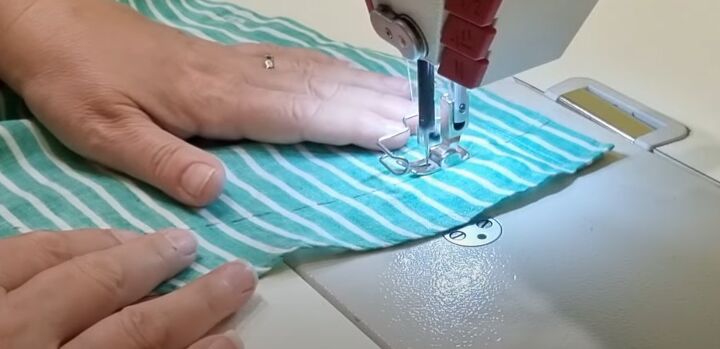
4. Double fold hem
You can fold and pin the entire length of the hem before you start sewing, if you want.
I find it easier to turn the hem at the machine as I sew it.
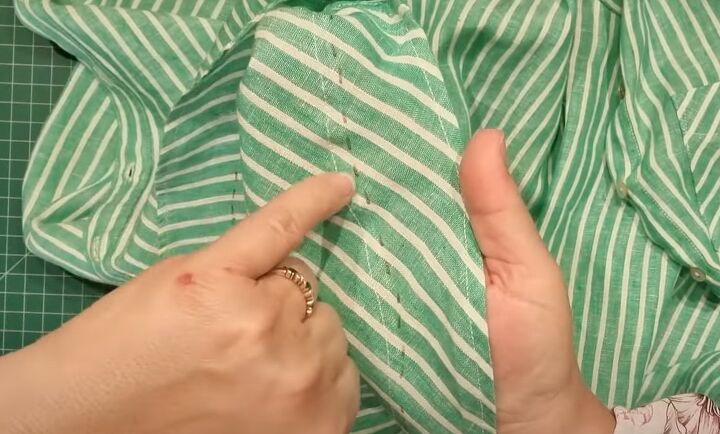
Make the first fold to the inside along the stay stitching line itself and finger press it.
This gives a firm edge and a good crease line to the hem on the first fold.
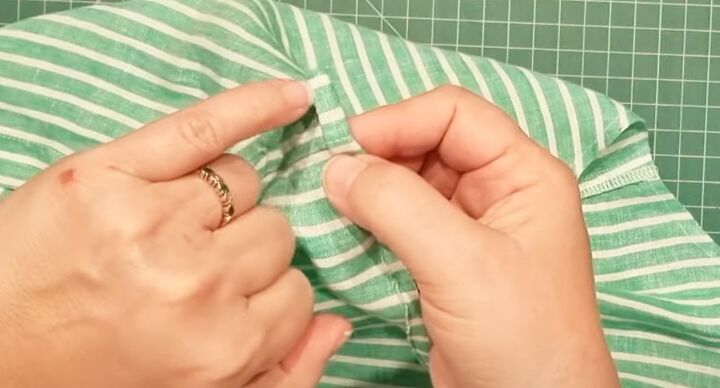
Turn the hem over again. The stitching line is no longer visible and you can sew close to the edge of the hem.
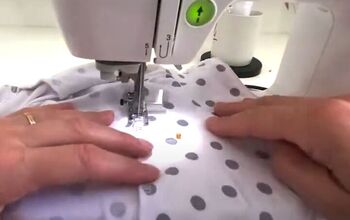
Sew the hem on the wrong side at the same stitch length, and use the edge of the presser foot as a guide again.
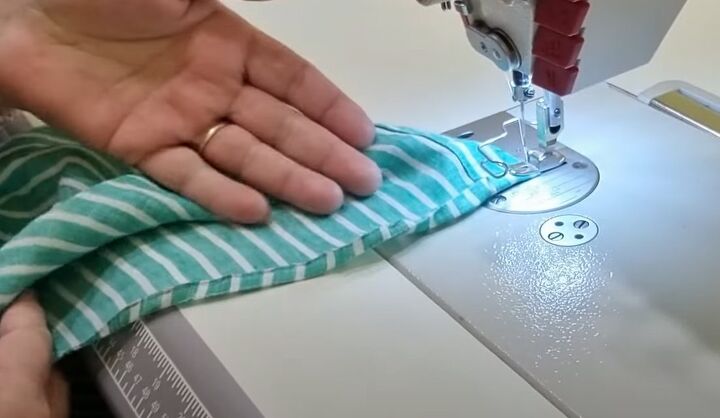
Work in short sections of a few inches. Make sure your needle is in the down position while you’re folding in the next section, so the fabric doesn’t move.
As you go around the curve, make sure any excess fabric that forms into pleats goes inside the hem.
It took me about 8 minutes to sew the length of the hem.
When you’ve finished, press the hem flat.
How to alter a shirt
If you’re able to do small alterations like this, it can be a useful extra source of income.
Many people have difficulty altering clothes and I usually see a lot of interest when I announce I’m taking alterations again.
I hope this gives you the confidence to tackle something like this for yourself. Do let me know in the comments if you have any questions.
Next, learn How to Sew a Hair Scrunchie Using the Super Easy Burrito Roll Method.
The author may collect a small share of sales from the links on this page.


Comments
Join the conversation