How to Customize Your Old T-shirt With a Simple Circle Design

In this sewing tutorial, I will show you how to customize your old t-shirt to make it stand out and look expensive. We’ll be making a t-shirt with an African print design for ladies! I can’t wait to show you the results of this t-shirt redesign, so let’s get started!
Tools and materials:
- Cut-out circular patterns in various patterns (I used a cardboard box for this)
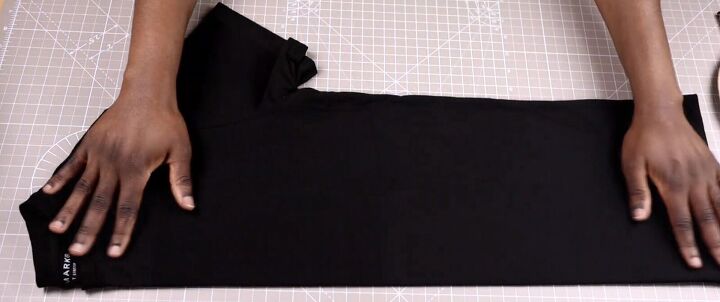
- Plain black t-shirt
- Scissors
- Tribal African print cotton fabric
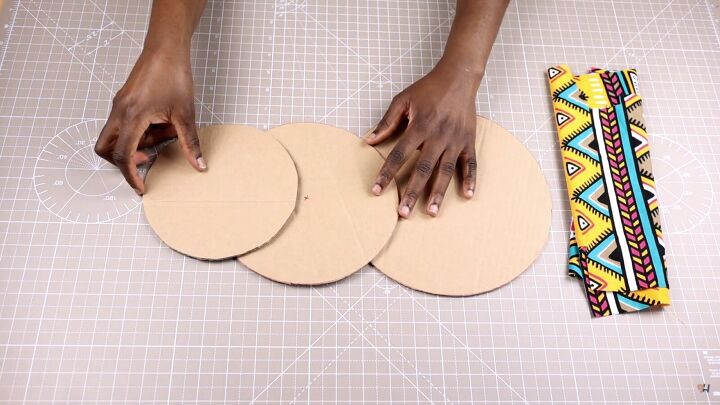
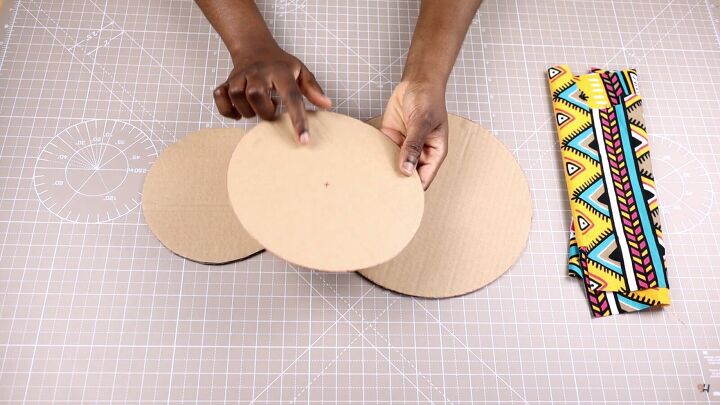
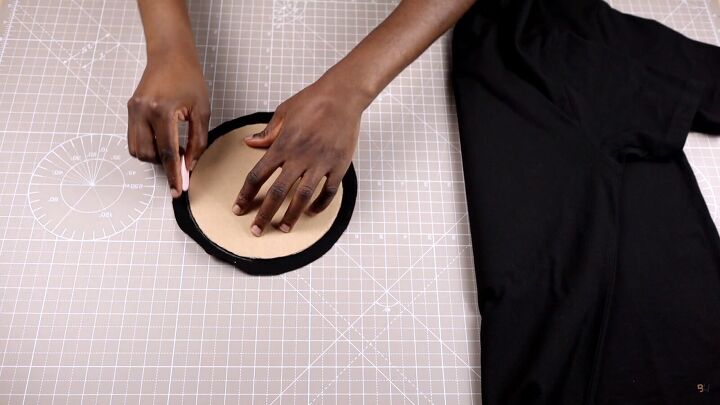
1. Make the circle templates
I cut out three circular pieces (small, medium, and large) by tracing around some plates onto a cardboard box.
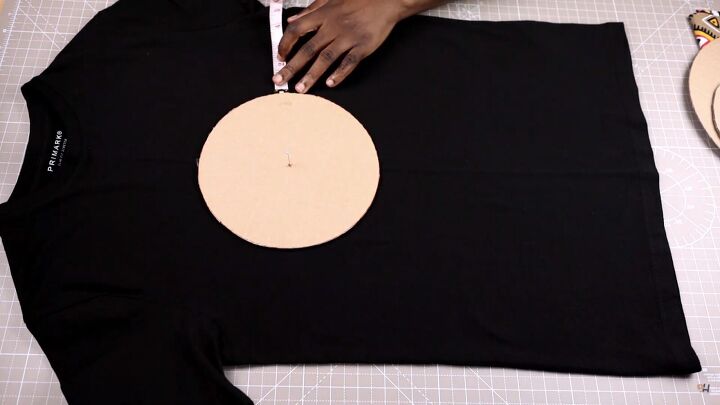
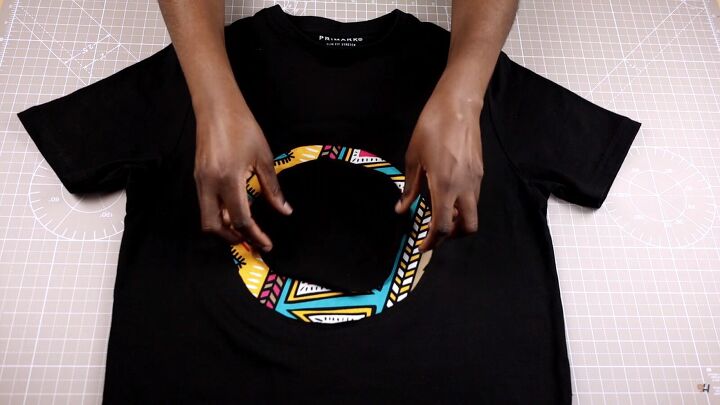
Use the medium template to cut a hole at the center of the t-shirt.
Then, use the large template to cut out a circle with the African print and will replace the hole on the t-shirt.

Use the small circle to trim down the medium fabric that you’ll cut from the t-shirt. So, when you layer the smallest circle on the largest, you’re African print will peek through and create a bullseye t-shirt design!
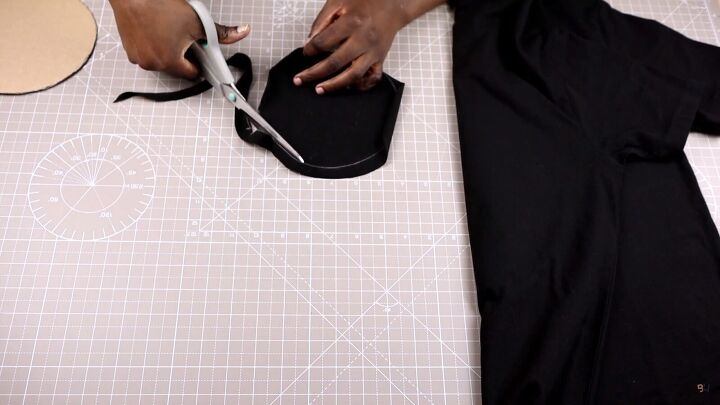
2. Cut the t-shirt
Fold your t-shirt in half and iron it to find the mid-point.
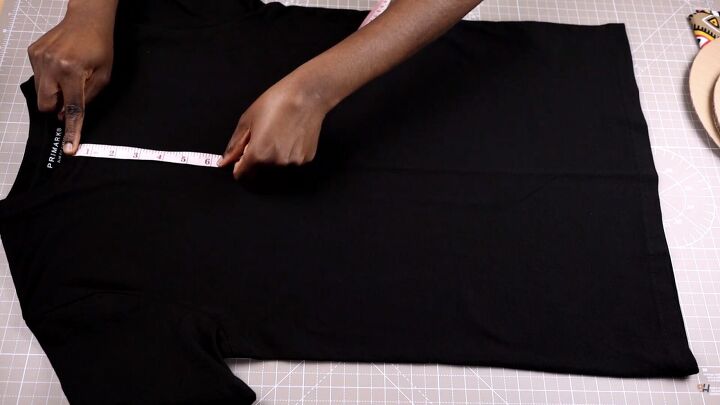
Next, measure and mark 5½“ from the tip of the neckband. This is from where the medium circle template will start.

Ensure that the circle is centered and equally spaced out on the left and right side. To do this, mark the center of the medium circle and place a pin through the center mark onto the center line of the t-shirt.
Measure the sides to ensure they’re both equal.
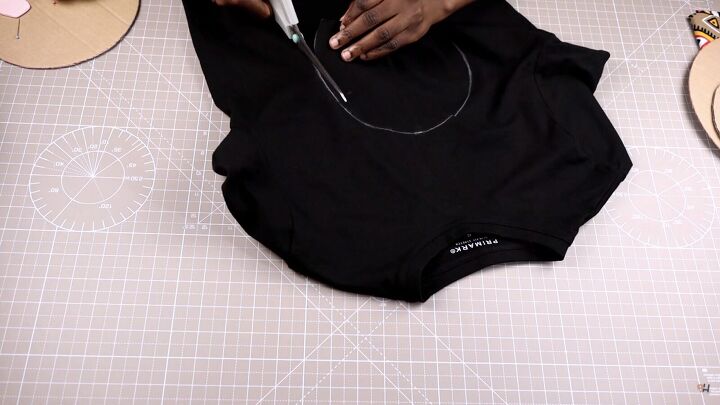
Trace around the circle with chalk and cut around the top layer of the t-shirt.
Tip: Be careful not to cut through both layers of the t-shirt.
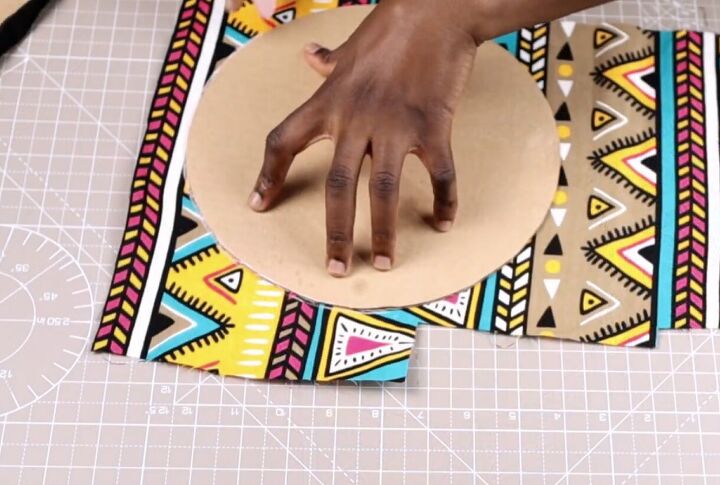
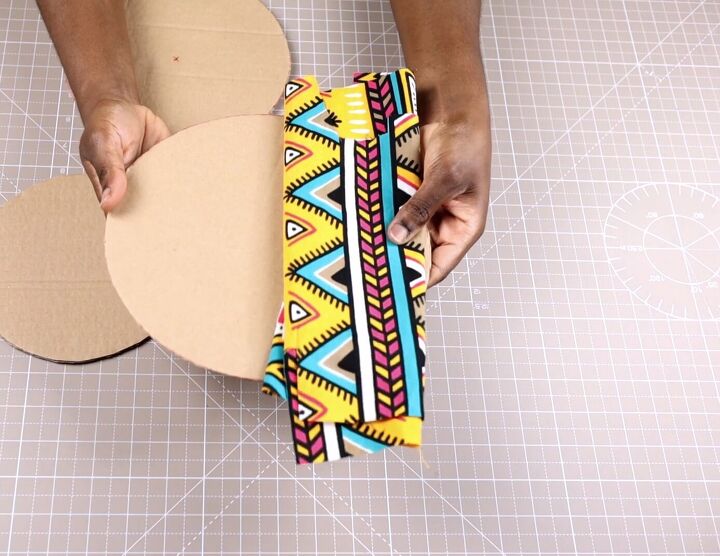
3. Cut out the large circle pattern
Trace the largest template onto the African print and cut around. The largest circle is wider than the t-shirt’s medium-sized hole, and this automatically gives us seam allowance to work with when covering the hole.
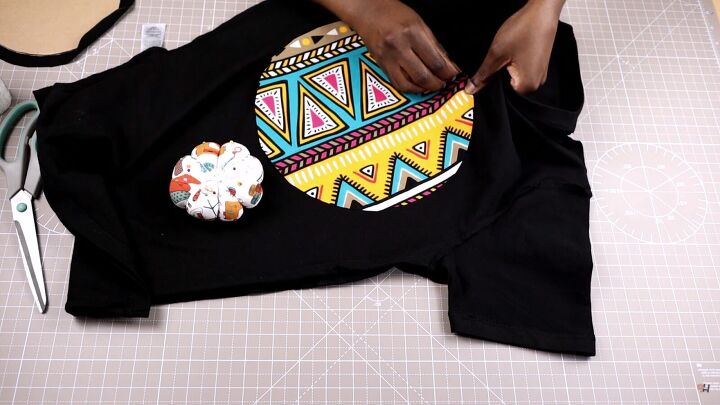
4. Cover the hole
Next, pin the large circle onto your t-shirt. Take your time with this as you don’t want to stretch or lay it on incorrectly.
Next, take it to your sewing machine and sew around the edge, just like a topstitch (right sides out).
5. Make the small circle
Next, take your smallest template and use it to reduce the medium-size cut-out.
Trace around the circle with chalk and cut.
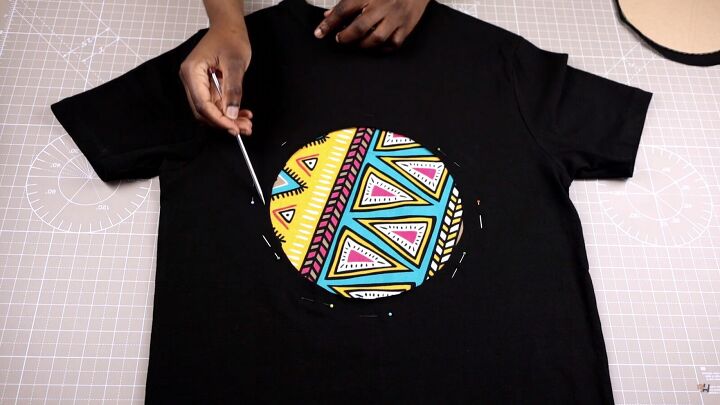
6. Sew the small circle
Then, place the small circle on the t-shirt. As you can see, this will create a lovely bullseye t-shirt design.
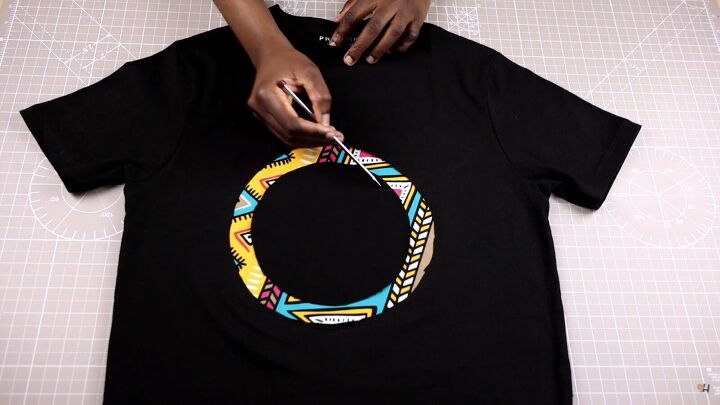
When you’re happy with the placement, pin it down and sew a topstitch around the edge, just as you did the the large piece.

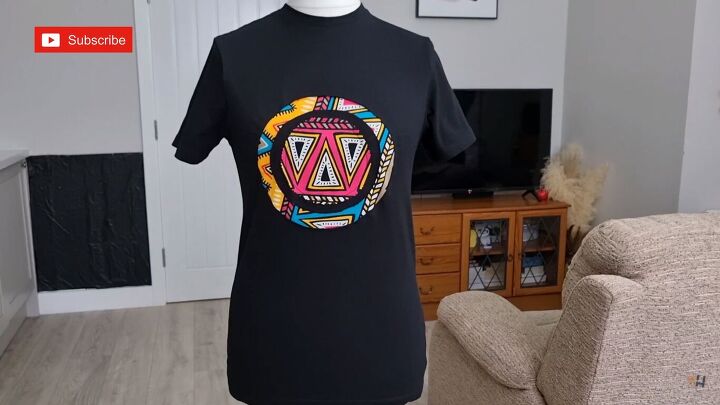
7. Place a smaller circle (optional)
I decided to place a smaller fabric in the middle to give the bullseye t-shirt a better effect. You can keep layering more circles if you want; this is your t-shirt redesign and totally up to you! Again, sew a topstitch around once everything is pinned.
How to customize a t-shirt
I hope you enjoyed this tutorial on how to customize a t-shirt. Let me know in the comment section whether you'll try this DIY out. Thanks for joining!
The author may collect a small share of sales from the links on this page.


Comments
Join the conversation