How to Make a Peasant Crop Top That's Perfect for Spring & Summer

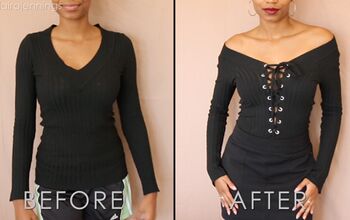
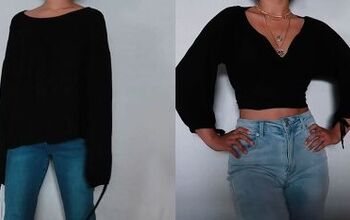
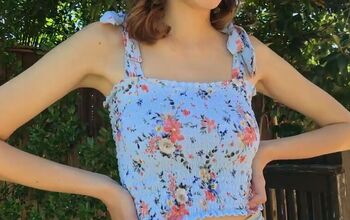
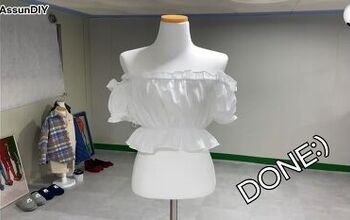
Today, I'm going to show you how to do a really fun upcycle on a thrifted blouse. I'll demonstrate how to make a peasant crop top out in a flattering style with waist ties. This look is perfect for spring and summer.
Tools and materials:
- Blouse
- Ruler
- Fabric marker
- Sewing machine
- Pins
- Elastic
- Iron
1. Cut the blouse
The blouse I am going to use has some really pretty collar details that I love and I was so excited to make it over.
Since I wanted to turn this blouse into a crop top, the first thing I did was to cut it off at the waist. I started by marking it at my waistline.
Then, I used a ruler to make this a straight line and cut it across.
2. Cut the waist ties
Next, I used the excess fabric to cut out some waist ties. I wanted them long enough to go around my waist and tie into a bow at the back. So, I needed my tie to be at least 68 inches long.
I had a little bit more fabric than that, so I ended up making the ties about 74 inches long by 4 inches wide. To make the tie, I cut four strips of fabric and then set them aside.
3. Hem the top
Back to the blouse, I turned it inside out, ready to hem. Since I was going to use a half-inch wide elastic I need to make sure my hem was at least half an inch wide so that I could fit the elastic through.
I did a double fold for my hem and then pinned it in place.
Next, I sewed the pinned edge and sewed as close to the top of the fold as I could because I really needed to make sure that the elastic would slide through.
I left a little opening on one side so that I could insert the elastic.
4. Add the elastic
When I was done sewing, I went ahead and measured my waist with the elastic. Don’t forget to overlap it by an inch for a seam allowance.
Once it was measured, I went ahead and cut it.
To slide it through the blouse, I attached the elastic to a safety pin. This is the easiest way to slide elastic into a waistband.
I fed it through by bunching the blouse up at the bottom as I went. The elastic will cinch the blouse in at the waist and make it nice and fitted.
Once I got to the end, I pulled on the other end of the elastic to overlap the edges.
Then, I sewed them together with a zig-zag stitch. A zig-zag stitch is perfect for anything stretchy. I went back and forth a few times to secure it.
Next, I pulled on the blouse a little so that the elastic slid in completely.
All that was left to do was to close up the little opening. I used a straight stitch for this.
5. Sew the ties
It was then time to finish the waist ties. I started by taking my strips of fabric and placing them one on top of each other, right sides together.
Then, I pinned one end of each set.
To make one long tie, I joined the two pinned pieces right sides together and pinned and sewed those together.
With the pieces together, I folded it over, right sides together, and pinned it.
Then I sewed them together and also closed one end of the tie.
With the tie all sewn together, I used a knitting needle to turn it right sides out. I slipped the blunt end of the knitting needle into the closed end and scrunched the tie over it until it was right side out.
Once it was turned right side out, I pressed it nice and flat with an iron.
To close up the open end, I folded it in, pressed, and sewed it closed.
6. Attach the tie
Next, I folded the waist tie in half to find the middle point and I marked it with a pin.
I then took the waist tie and lined it up with the front middle point of the blouse.
I pinned it along the front side of the blouse, stopping where the side seams are. I wanted to leave the back open so that you can see the elastic edge.
To finish off my blouse upcycle, I sewed the tie down along the waist of the blouse and that was it.
How to make a peasant crop top
This was such a fun, easy upcycle. I hope you enjoyed seeing how to make a peasant crop top.
If you have a blouse that you found at the thrift store, or maybe one that you want to make look a little more modern and fun, I hope you will give it a try.
Let me know your thoughts and comments below.
Enjoyed the project?
The author may collect a small share of sales from the links on this page.


Comments
Join the conversation
What a great tutorial. I sew a lot and I appreciate simple clear instructions so much, and yours were perfect! I love the top :)