How to Make a Cute DIY Cowl Neck Crop Top For Summer & Beyond

Want to know how to make the perfect DIY cowl neck top? I’m here to take you through this step-by-step guide on how to sew a cowl neck top with this easy cowl neck top pattern.
This is a lovely addition to your DIY projects and looks absolutely chic and flawless when worn. It’s also great for summer and can be worn alone or styled with a blazer or top. Let’s start!
Tools and materials:
- 1-yard fabric
- Sewing machine
- Loop turner
- Pins
- Thread
- Scissors
- DIY cowl neck pattern
- Fabric glue
- Iron
Strap adjustments
I did a few adjustments to this pattern, as explained at the beginning of the video. One of these adjustments was making the straps longer so you can place the straps in different ways; tying them around your neck as a halter top or sewing them as regular straight straps across your shoulders. The choice is yours, just make sure they’re long.
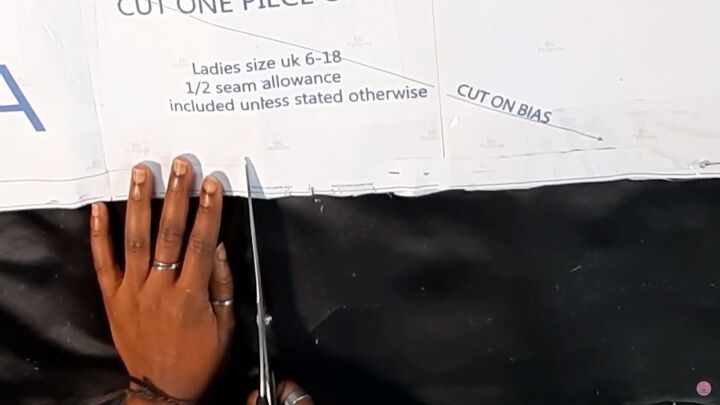
1. Cut out the fabric
Make notches at the bottom of the main bodice. Make one center notch and two notches on either side of the central notch. Next, go ahead and cut out the pattern on your desired fabric.
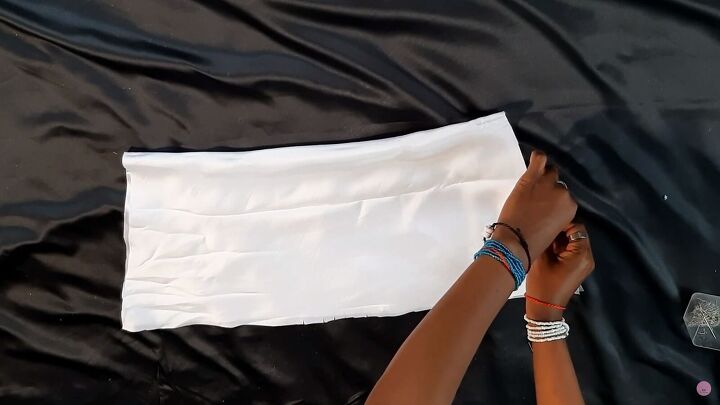
2. Sew the sides
Open up your fabric piece and fold its right sides facing. Cut the pattern on the fold and pin down the fabric, so it doesn’t move when cutting.
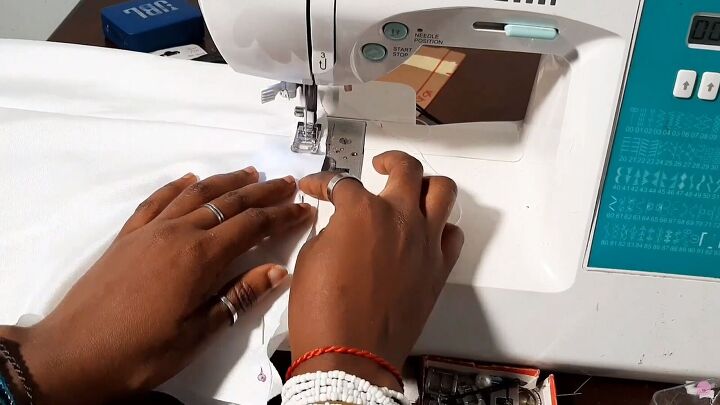
Next, sew a ½” seam allowance on both sides. I struggled to sew with this slippery fabric, so I took my time here to be extra cautious.
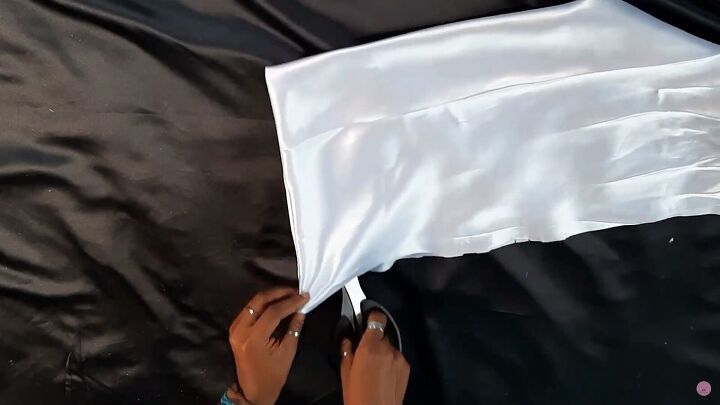
Flip the fabric to the right sides and pop the sides out using an object with a blunt edge. I used my scissors for this.
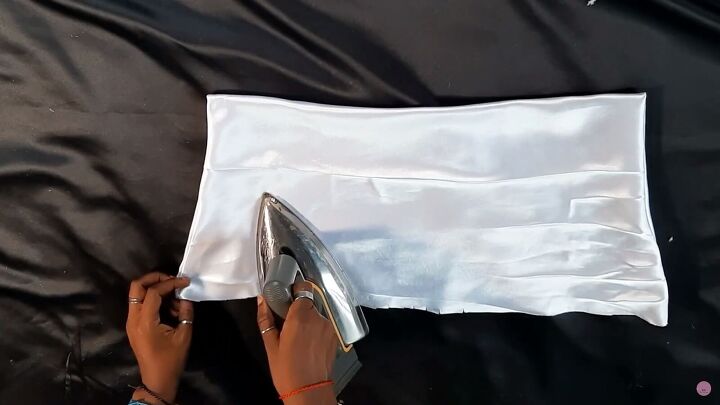
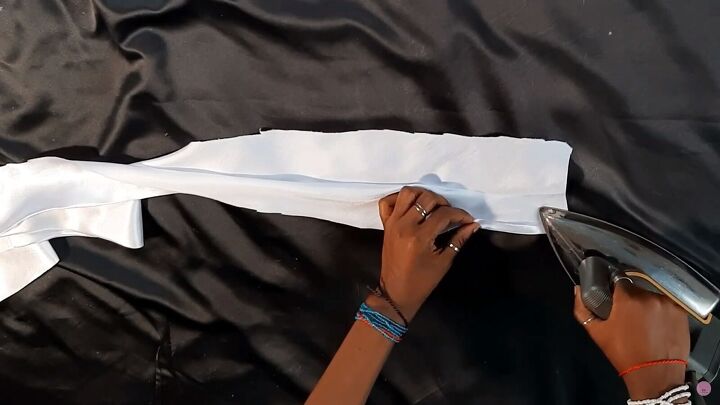
3. Iron the DIY cowl neck top
Iron out the fabric, especially at the edges. This will make the next step more manageable, so don’t skip this!
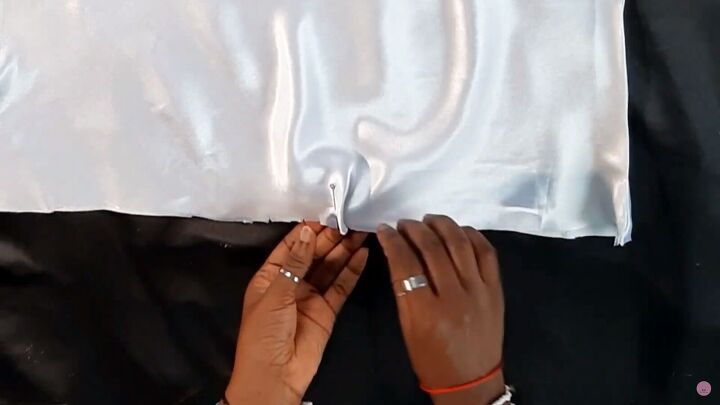
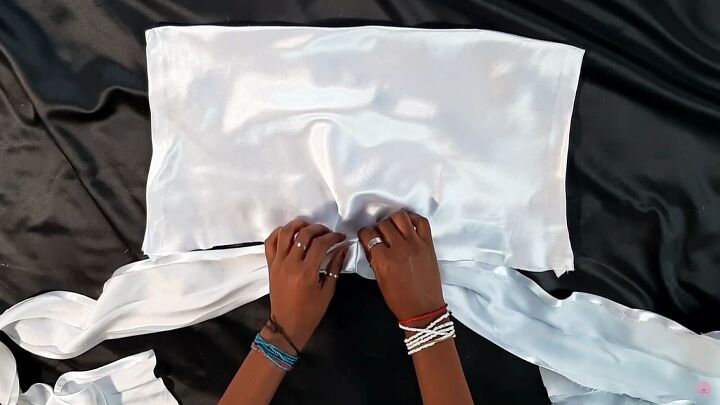
4. Make the bottom pleats
Make pleats using the notches at the bottom. Fold the outer notch to the one next to it., ensuring they are both aligned. Then, pin it down.
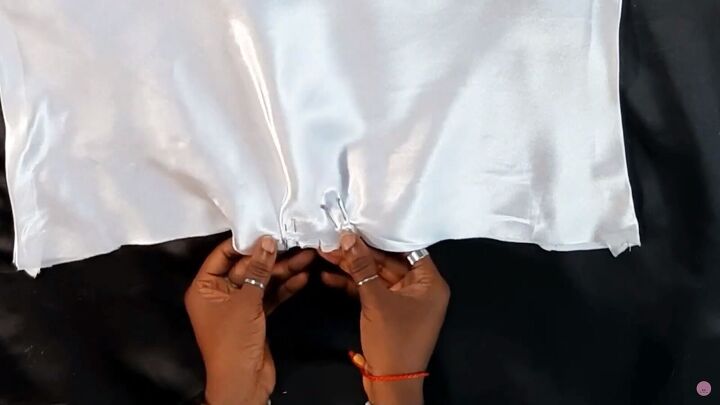
Do the same to the other side. You won’t use the center notch for anything; it’s just there as a guide. This is what you should have; two pleats on either side of the center notch.
Sew the pleats with a ¼“ seam allowance.
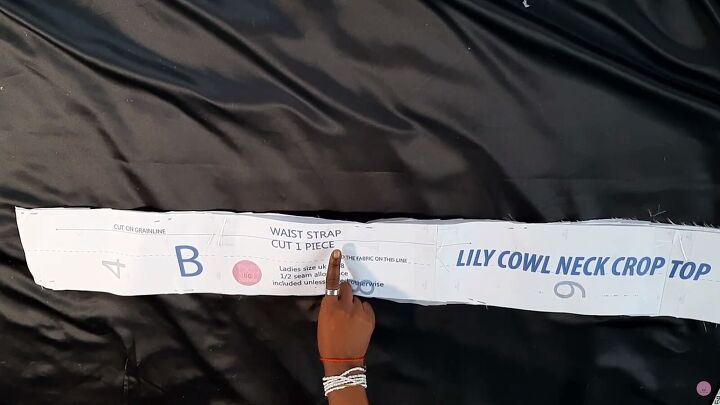
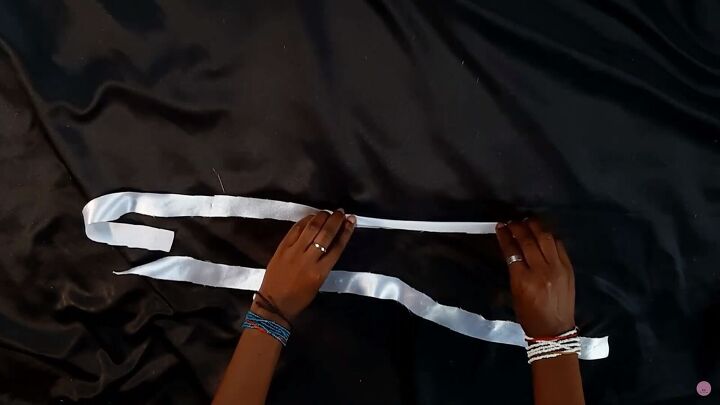
5. Make the waist strap
The waist strap should be cut as one piece on fold. But, if you don’t have a long piece of fabric, you can cut two just as I did. Then, sew both pieces together by the short ends and cut the notches for the center and side seam allowance.
Tip: When cutting the fabric for the strap, ensure it’s cut on the grain line and not the bias. This way it won’t be slippery when attaching to the main bodice piece. I cut one strap on the grain line and one on the bias, which was harder to sew since it was so stretchy.
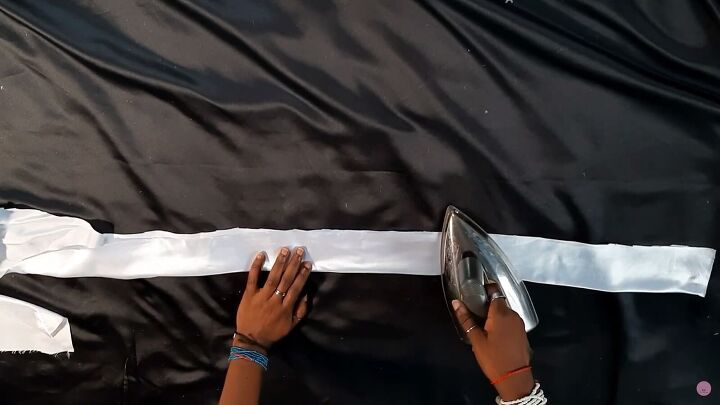
Fold the strap in half and iron it.
Fold the edges using a ½“ seam allowance and iron on both sides.
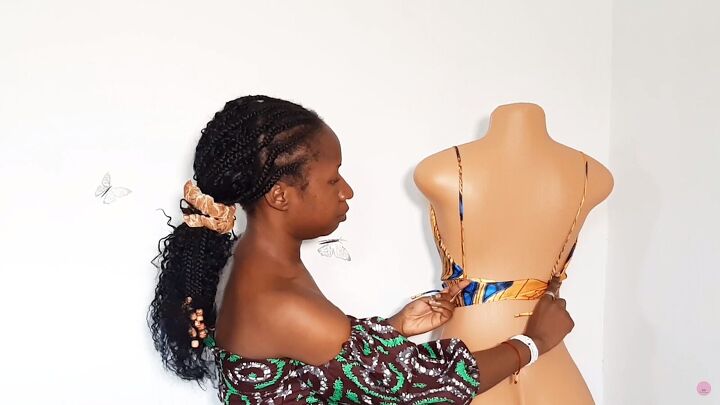
6. Attach both pieces
Aligning the center of both pieces and pin. The bottom edge of the main bodice should be sandwiched between the strap. Continue pinning the strap along the bodice, then sew.
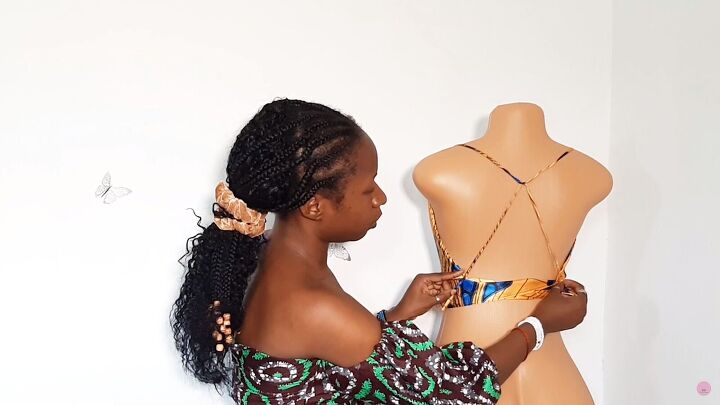
7. Make the straps
Cut the two strap pieces following the pattern provided. Fold each strap right sides facing and sew the edges with a ¼“ seam allowance.
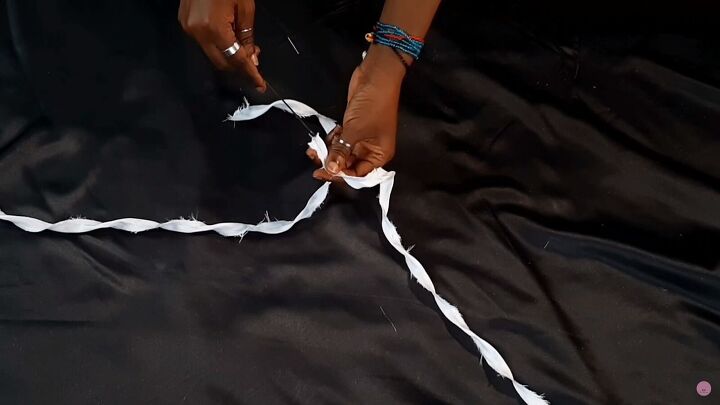
Next, use a loop turner to turn the straps right sides out. You can use a hair or safety pin if you don’t have a loop turner. However, remember that this is a thin spaghetti strap; a loop turner would work better as a safety pin may not pass through easily.
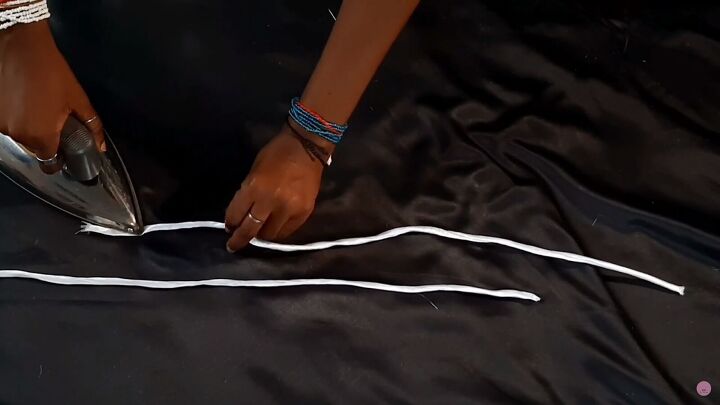
Iron the straps.
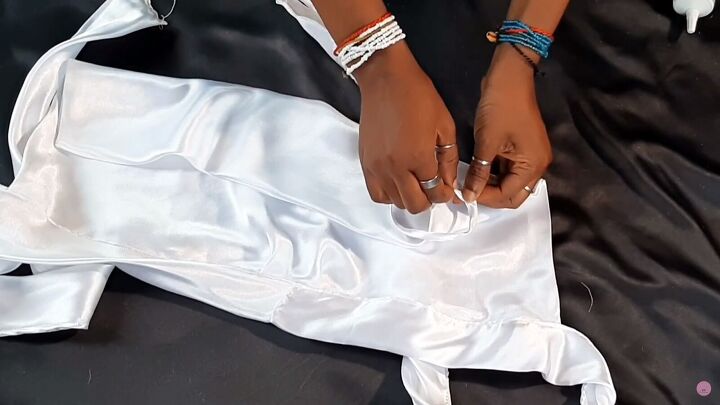
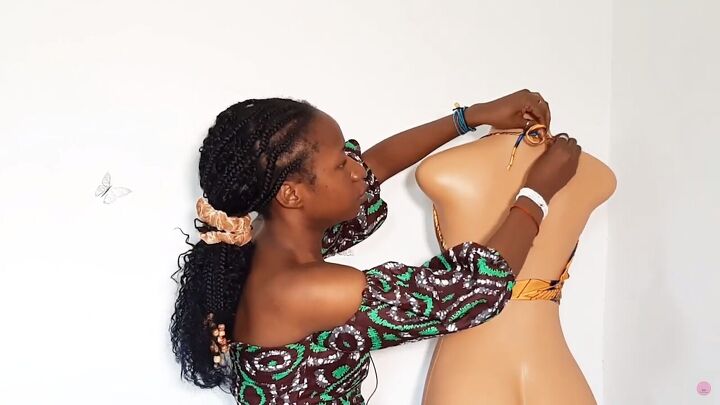
8. Attach the straps
You can attach the straps to the DIY cowl neck top using one of two methods. The first is to hand stitch the end on the top’s wrong side using a needle and thread.
The other method I’m doing is using good-quality fabric glue. For this, put a generous amount of the fabric glue on the wrong side of the top, and press the strap’s end for a couple of seconds.
Tip: If you use fabric glue, let the glue dry for a couple of hours.
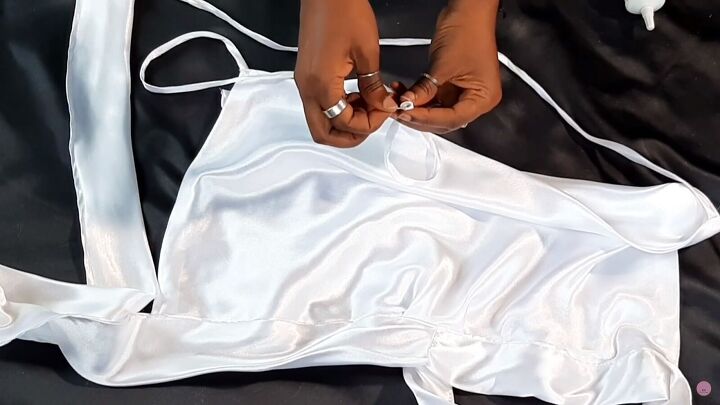
For the other end of the top, push in the frayed raw edge and either hand stitch or glue it down.
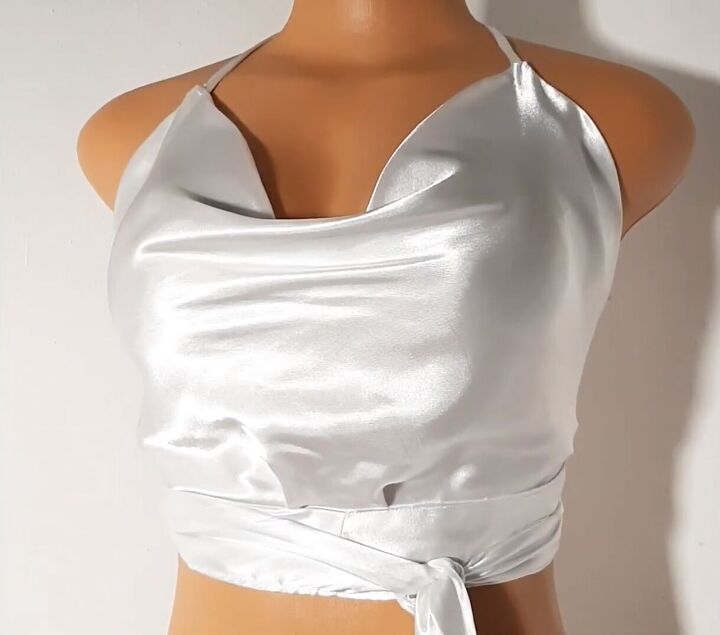
DIY cowl neck crop top tutorial
Your DIY cowl neck top is ready and good to go! How lovely is the design? I hope you took some inspiration from the backless cowl neck top tutorial and that you will make one of your own!
Leave a comment below and tell me what you think of this DIY; I’d love to hear your feedback.
The author may collect a small share of sales from the links on this page.


Comments
Join the conversation
Looks great
What a beautiful blouse! Im definitely adding this pattern to my repertoire.
Thank you.