How to Make a Ruffle Wrap Skirt & Matching Crop Top From a Maxi Dress

In this tutorial, I’ll show you how to make a ruffle wrap skirt and top out of an old dress. This two-piece set is so pretty and perfect for summer or a beach vacation!
I’ll show you a freeform ruffle wrap skirt sewing pattern, and how to sew a waistband on a wrap skirt. Let’s get started making your own DIY wrap skirt and top!
Tools and materials:
- Old smocked top dress
- Scissors/rotary cutter
- Pins
- Ruler
- Pen
- Clear button
- Sewing machine
- Iron
- Needle/coordinating thread
You’ll need to cut off the skirt part of the dress and use the fabric to make the main skirt, ruffle, and waistband. Keep the smocked top to the side for now.
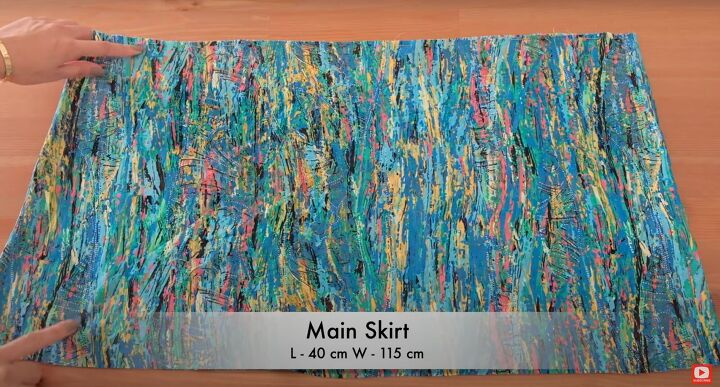
1. Cut the pieces for the skirt
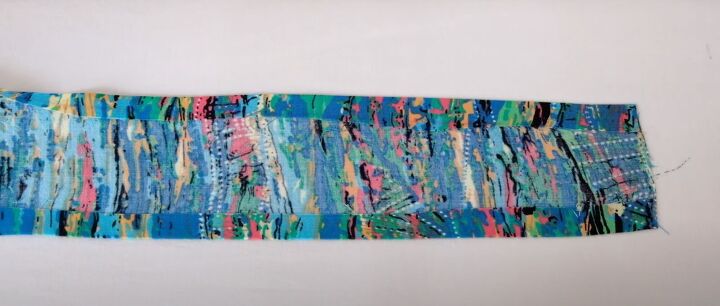
Cut the fabric for the skirt to be about 16 inches in length and about 45 inches wide.
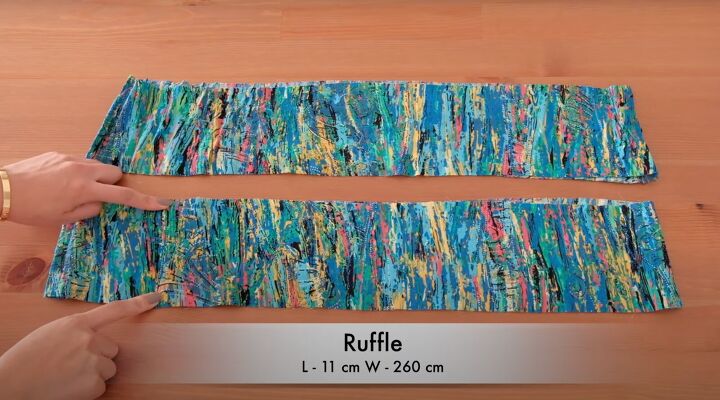
Cut the ruffle to be 102 inches long and about 4¼ to 4½ inches wide.
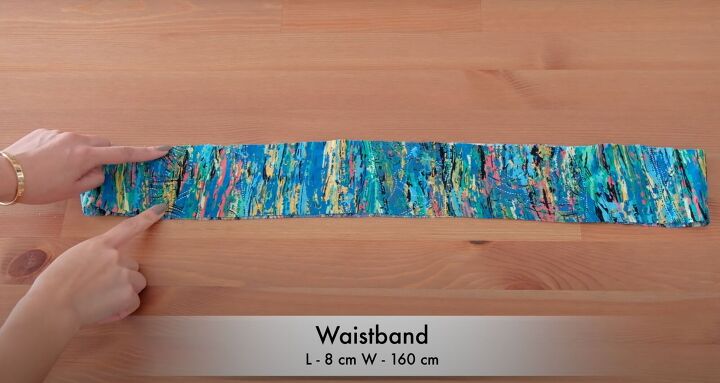
Cut the waistband to 3.15 inches wide and 63 inches long.
2. Sew the ruffle
Make a hem at the bottom of the ruffle by folding the fabric to the wrong side at ⅜ inch or ½ inch. Pin and sew in place.
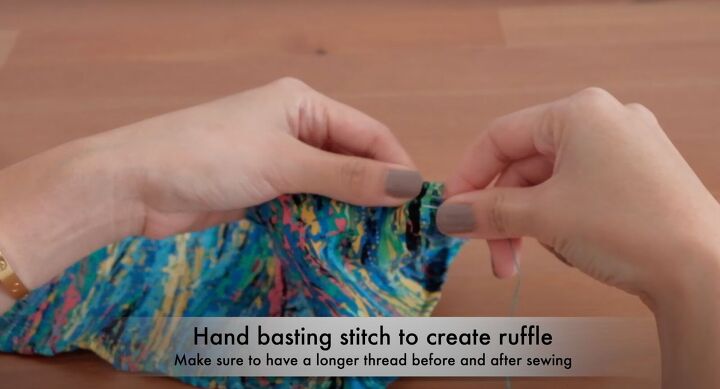
At the raw edge, hand-sew a gathering stitch, making sure to leave extra threads at both the beginning and end of the sewing to pull.
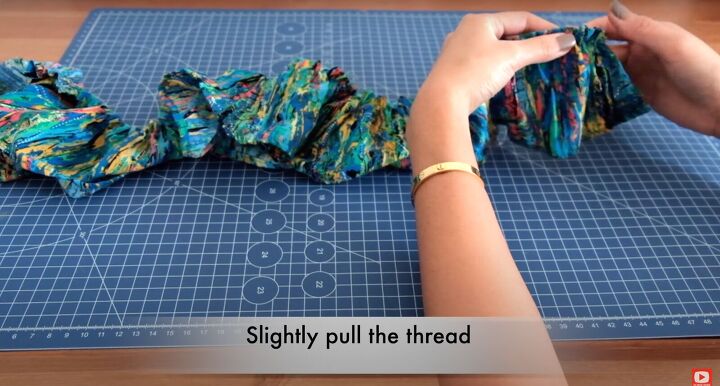
Once you’re done sewing, slightly pull the threads to gather in the ruffle.
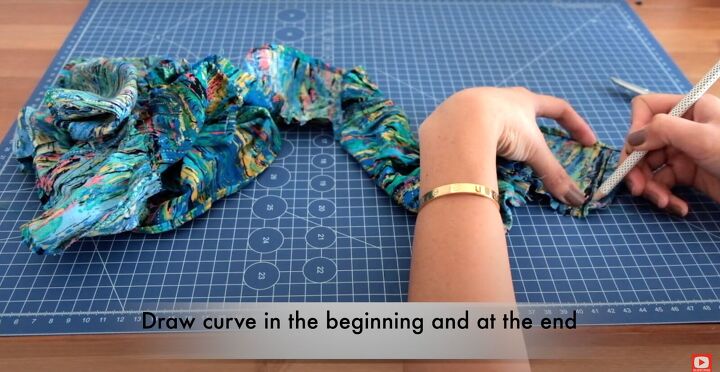
Lay the ruffle down. At each end, handdraw a small curve.
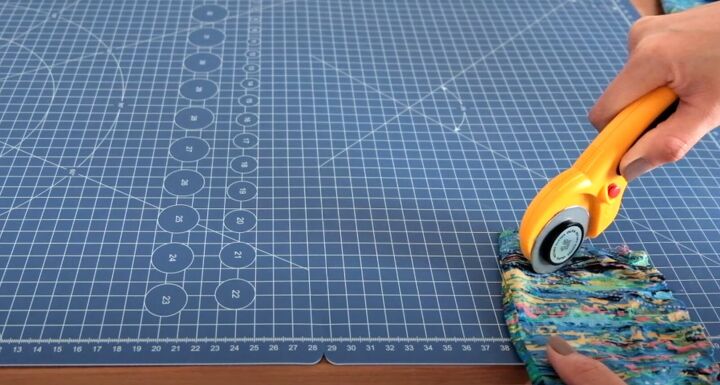
Use a rotary cutter to cut the curves out. Hem the curved ends.
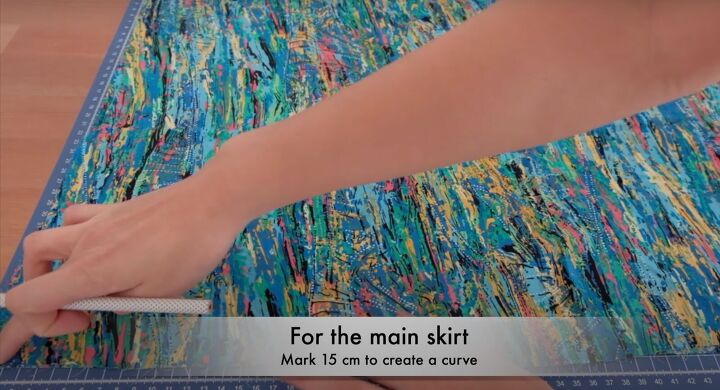
3. Make the skirt
Fold the fabric in half. On the open end of the fold, use the ruler to mark down 6 inches.
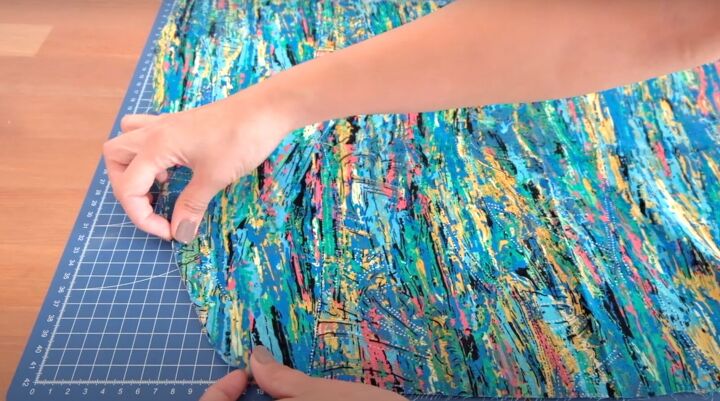
From that mark, mark a curve upward and trim the excess off.
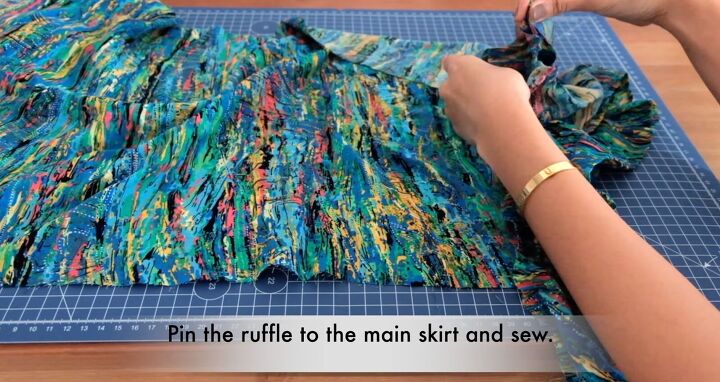
4. Attach the ruffle to the skirt
Pin the ruffle to the skirt, with the right sides up for both, matching the curved end of the start of the ruffle to the curved end of the skirt, working your way down across the whole skirt at the bottom.
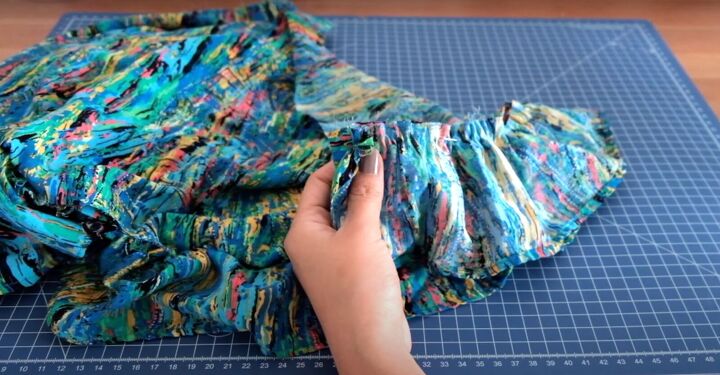
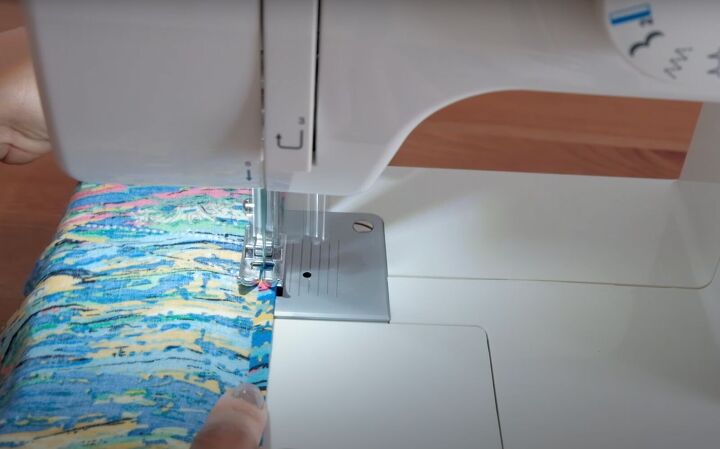
Sew the ruffle to the skirt on the wrong side, using a straight stitch. Make sure to backstitch at the beginning and the end of the ruffle.
5. Make the waistband
Fold in ⅜ of an inch at either end of the waistband. Press both folds as flat as possible.
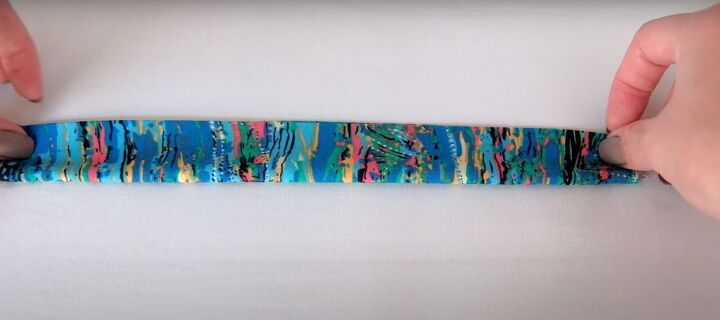
Then fold the waistband in half widthwise and press again.
Unfold just at the top and fold down a ⅜ inch hem at the short end.
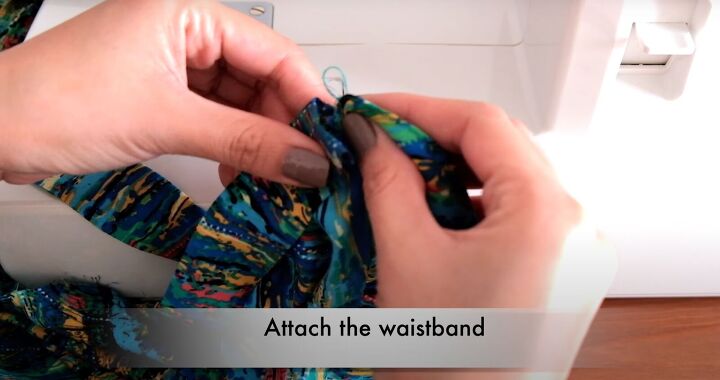
6. Attach the waistband to the skirt
Insert the skirt’s top raw edge into the open fold of the waistband, sandwiching it, and pin it in place.
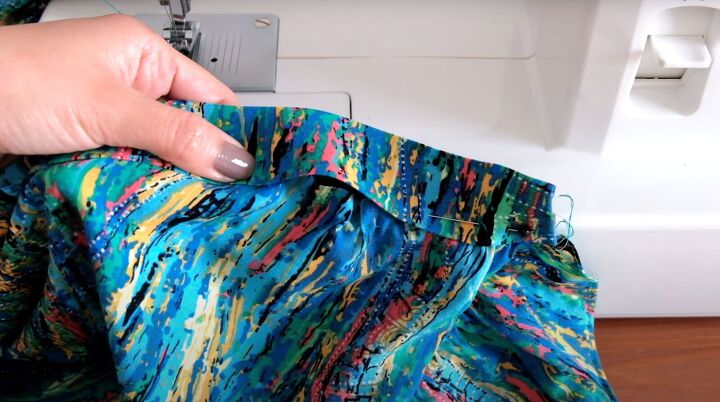
Start at the beginning of the skirt, sewing the waistband to the skirt with a topstitch. You’ll have an extra long tie.
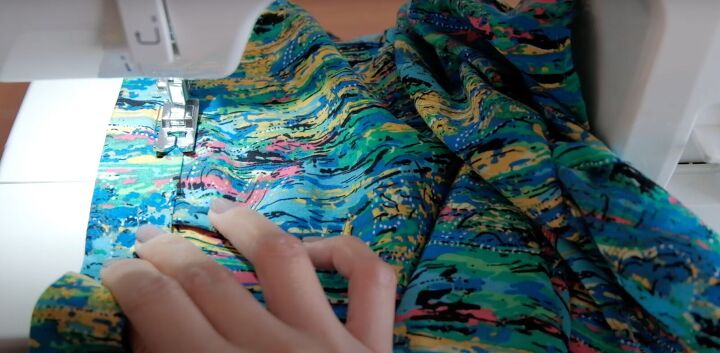
Mind the ruffle as you sew.
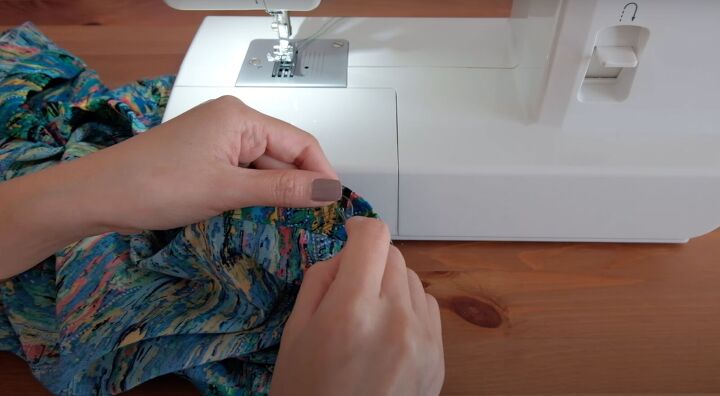
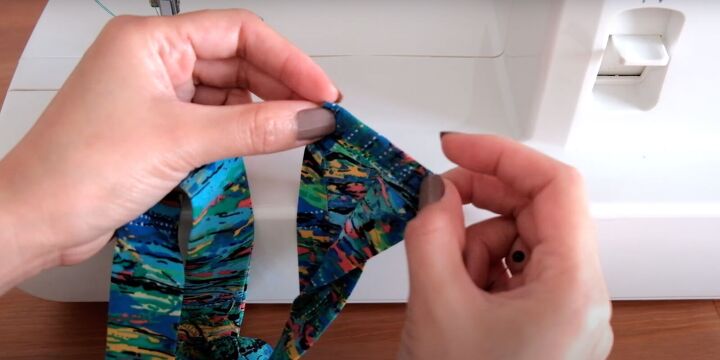
7. Add a button
Lay the skirt right side up. Mark the fabric for a button at the right side of the waist on the inside of the skirt. Hand-sew the button in place.
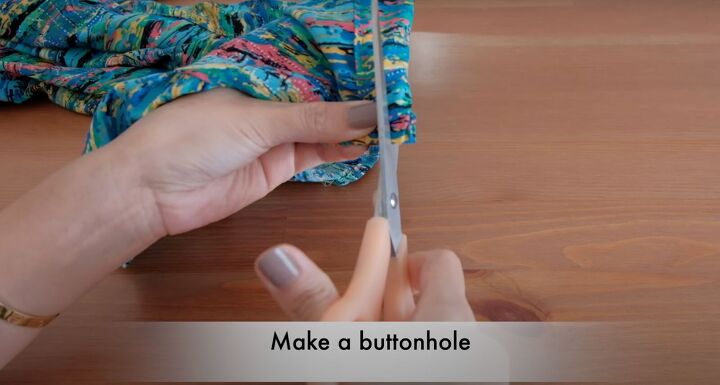
Make a buttonhole by marking the buttonhole spot on the waistband and then snipping with the scissors horizontally.
Handsew to finish the edges of the buttonhole so the fabric doesn’t fray or unravel.
8. Add the tie
At the edge of the waistband, where you have the extra waistband fabric, mark at the end where the skirt fabric ends. Cut off the rest of the tie.
At the raw edges of the tie, fold in ⅜ of an inch. Sew to the skirt on the right side so you can make a pretty bow.
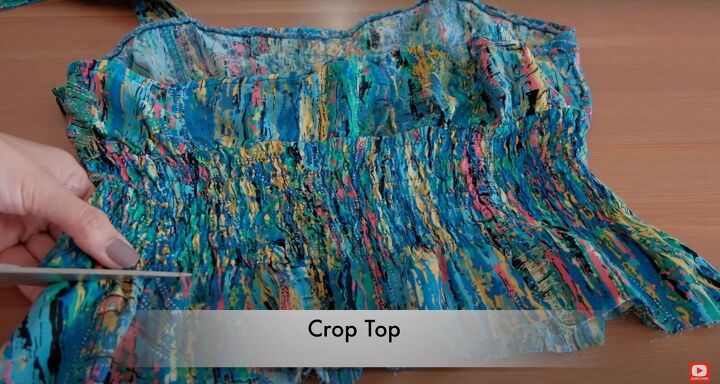
9. Make the crop top
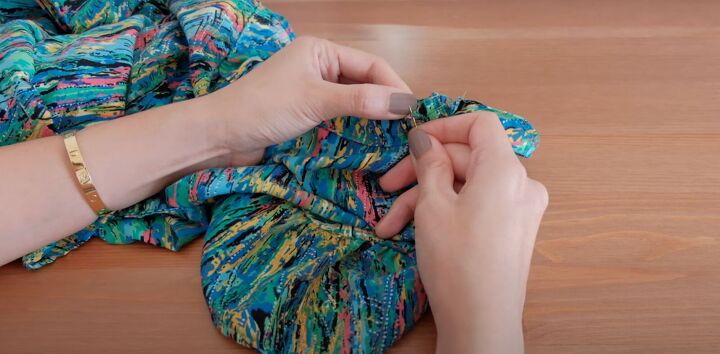
Here you’ll use the smocked top you cut off previously. Trim any excess fabric that isn’t smocked from the bottom. Remove any shoulder straps.
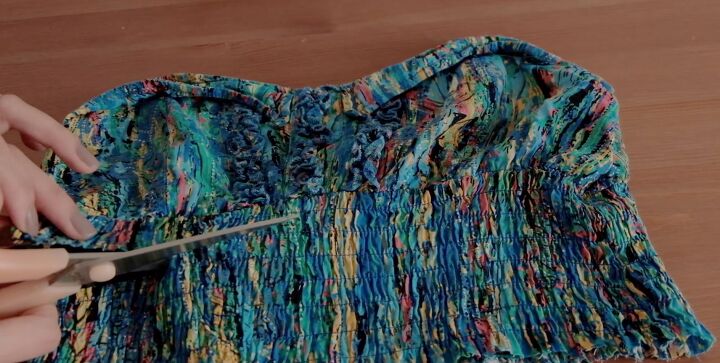
Carefully cut across the smocking, making sure to leave the bustier intact and at least two rows of smocking just below the bust.
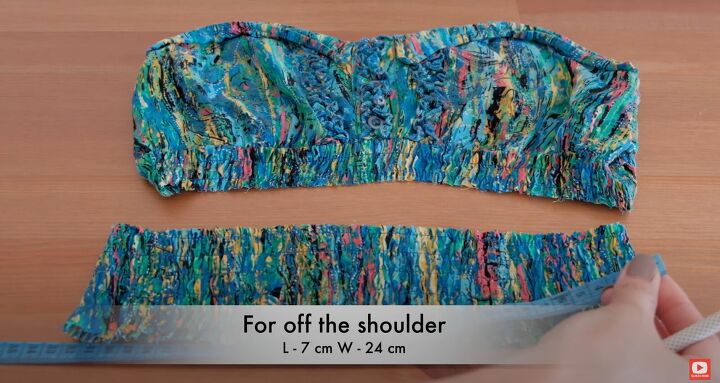
Use the leftover pieces of smocking to add the detached arm pieces. Hopefully, your smocked piece is at least 2½- 3 inches in length.
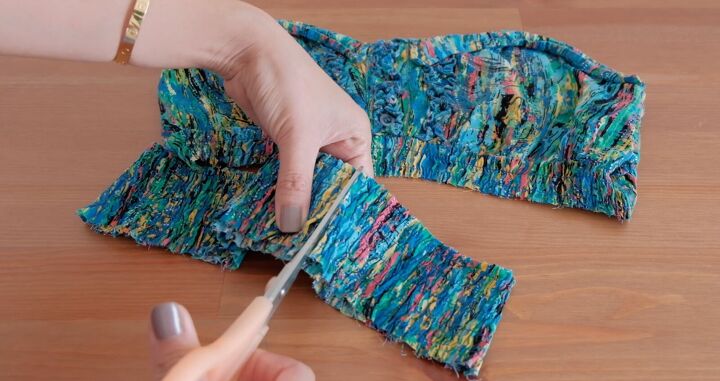
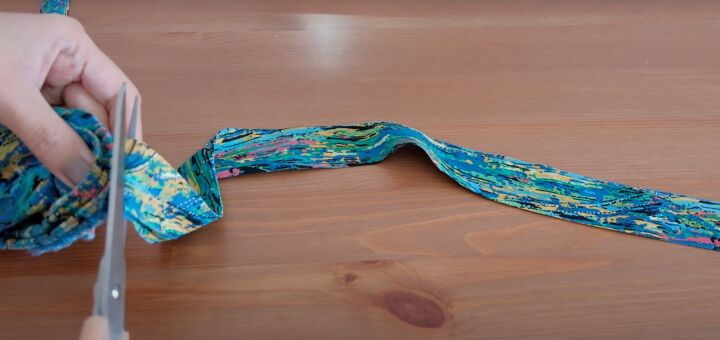
Measure in about 9½ inches from either side seam and cut so you’ll have two pieces. Turn the pieces to the wrong side.
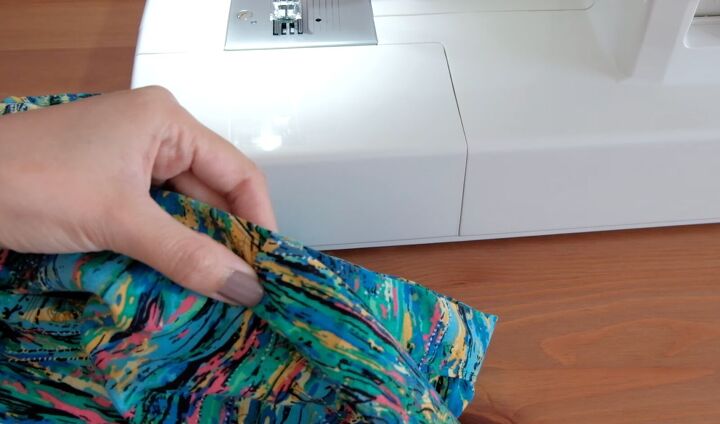
Pin in place. Sew with a straight stitch, making sure to backstitch at the beginning and end of your seam.
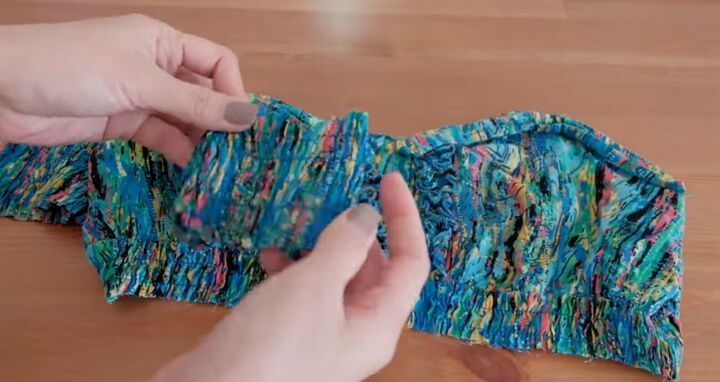
10. Attach the arms to the top
Lay the top right side up. Pin the arm pieces to the top of the bustier. Sew together. Make sure to backstitch.
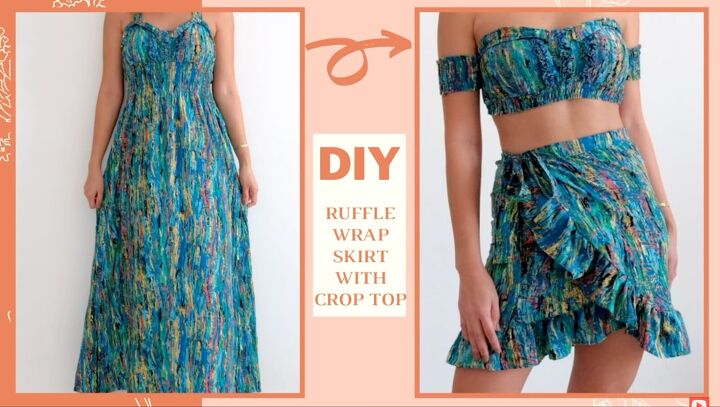
From this long unflattering dress to this sexy ruffle wrap skirt with crop top!
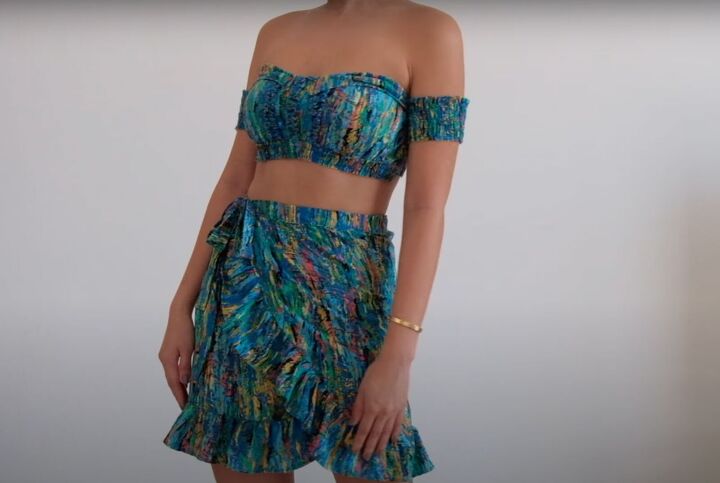
How to make a ruffle wrap skirt and matching top
I hope this tutorial showed you how to make a ruffle wrap skirt! Please let me know in the comments if you’ve made it and how it looks. Thanks for joining.
The author may collect a small share of sales from the links on this page.


Comments
Join the conversation