How I Upcycled a Flannel Shirt Into a Cute Top

Some women look trendy and stylish in a button-down plaid shirt. I am not one of them! I hate the feel of a high collar and tight cuffs.
So, today, I’m going to be upcycling a shirt I found in the thrift store. It’s my size, I just don’t like the style.
I found some ribbing in a toning shade so I’m all set.
Follow along and see how easy upcycling flannel shirts can be!
Best fabric scissors!
Tools and materials:
- Flannel button-down shirt
- Ribbing
- Fabric marker
- Scissors
- Pins
- Sewing machine
- Zipper foot
- Serger (optional)
1. Mark out the neckline and sleeve length
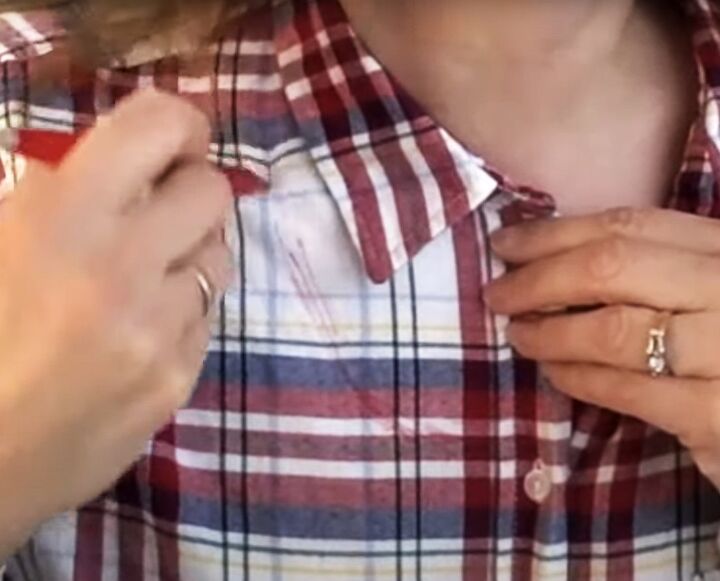
I decided to keep the first button below the collar and shape the neckline from just above it.
I tried the shirt on and used a fabric marker to draw in the new neckline shape up to the shoulder.
The sleeves have a placket above the cuff that I don’t want to mess with, so I’m going to cut the sleeves just above it.
2. Cut the new shape
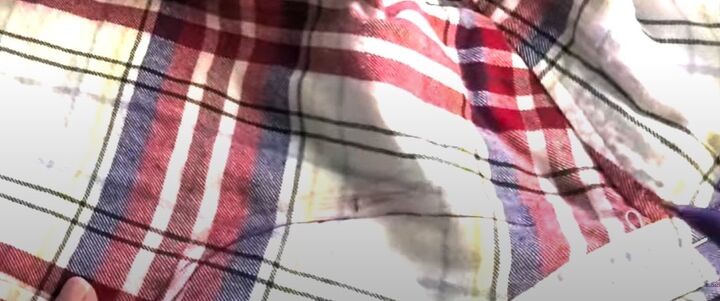
I folded the shirt in half lengthways, pinning the collar stand together.
I drew a line straight across the buttonhole placket and curved it around to taper into the neck, so I could remove the collar completely.
I cut my new neckline shape.
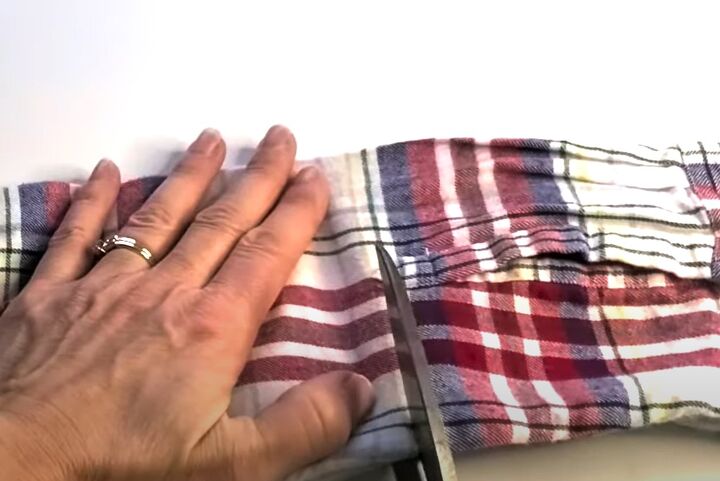
I brought both sleeves together, matching the cuffs and side seams, and cut them straight across above the placket.
3. Try on and adjust
Next, I tried on the remodeled shirt and checked that the neckline and sleeve length were what I wanted.
I decided that I wasn’t going to spend time ironing the buttonhole placket every time I washed it and I hated the way it gaped open.
So I’m going to sew the front closed and pull the shirt over my head to wear it.
4. Front closure
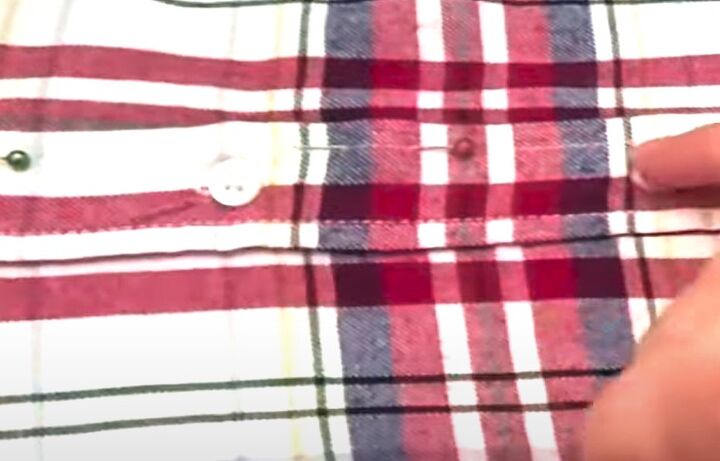
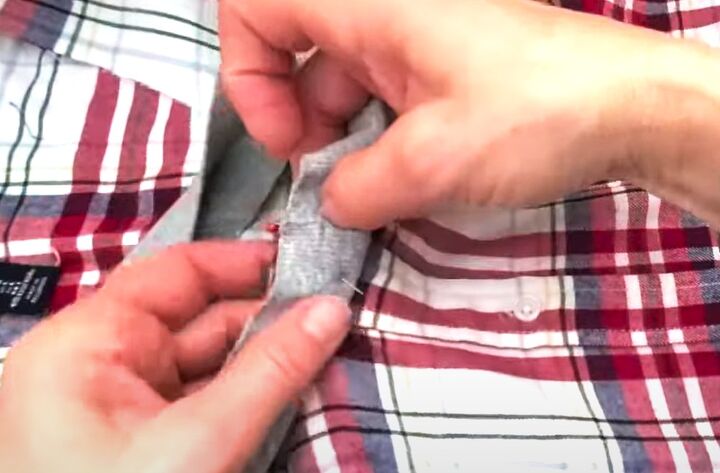
I pressed the button and buttonhole plackets flat and buttoned the shirt back up.
I still want it to look as if the buttons are functional, so I’m not going to sew it past the lowest buttonhole and I’m going to sew directly on top of the inner row of stitching.

I used my zipper foot and moved my needle all the way to the left so I could sew close to the buttons.
5. Prepare the ribbing
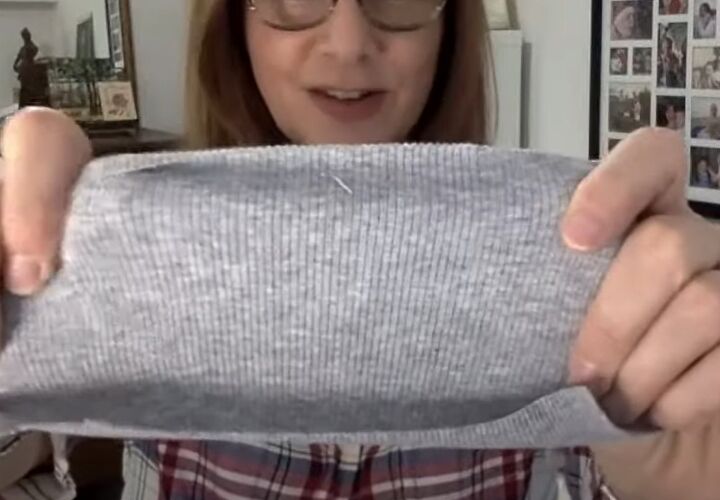
With ready made ribbing, be careful to use it with the ribs running vertically to the garment, so the ribbing stretches widthways.
I folded the neckline in half and measured it at 14.5 inches (37 cm), so the full neckline was 29 inches (74 cm).
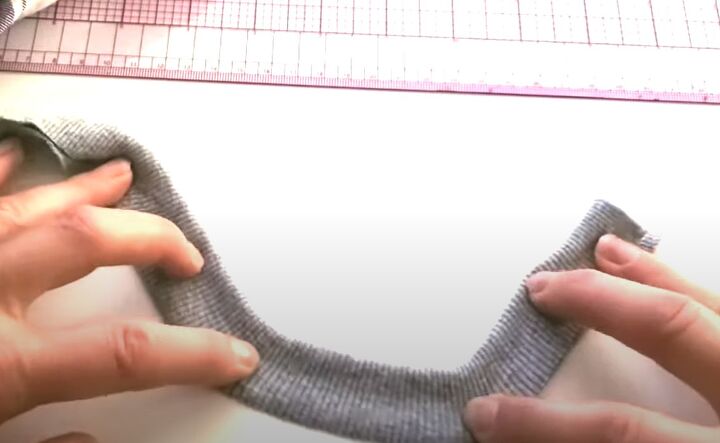
To get ribbing to lay flat around a neckline, it needs to be stretched around the curve.
As a general rule, you want the unstretched ribbing to be 75% of the neckline measurement.
In my case that was 22 inches (55 cm), so I cut the ribbing to the correct length and 2 inches (5 cm) wide.
The cuffs didn’t need to stretch much so I made them 1 inch (2.5 cm) shorter than the bottom of the sleeves. They are 3.5 inches (9 cm) deep.
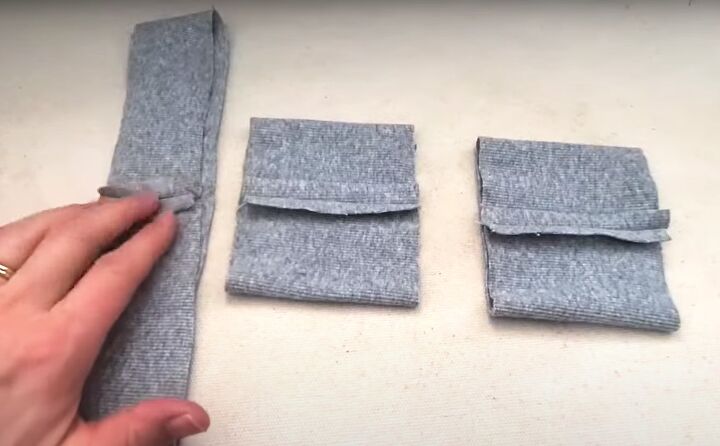
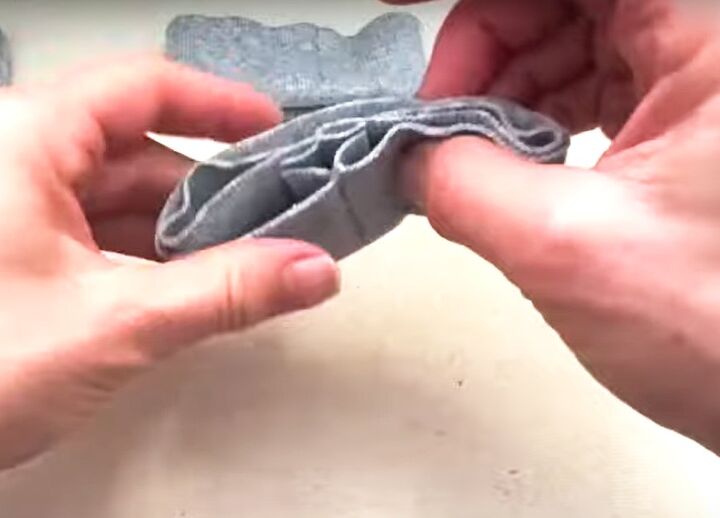
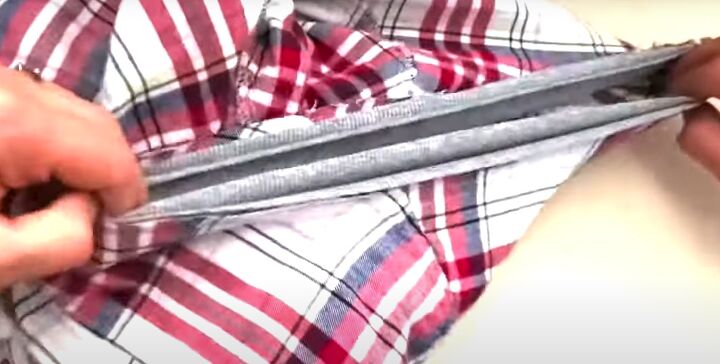
I joined the short edges of each piece of ribbing into a circle with the right sides together and pressed the seams open.
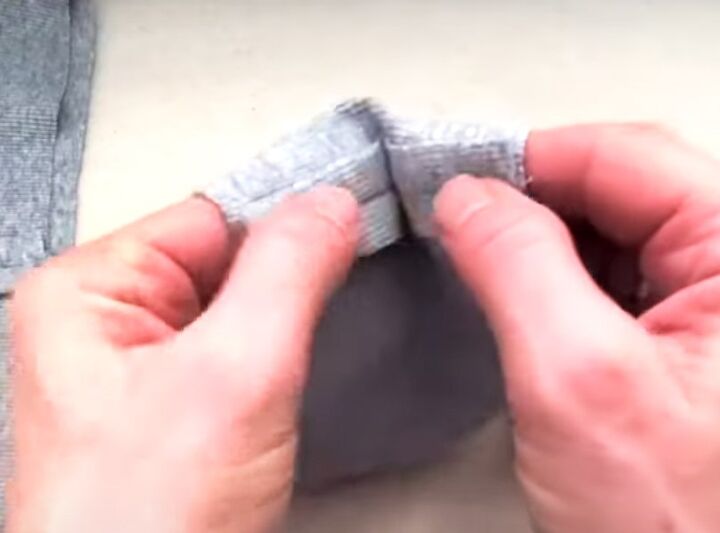
I folded the cuffs in half with the wrong side inside, keeping the seam allowance flat.
Then flipped them so the seams were on the inside and the edges were together.
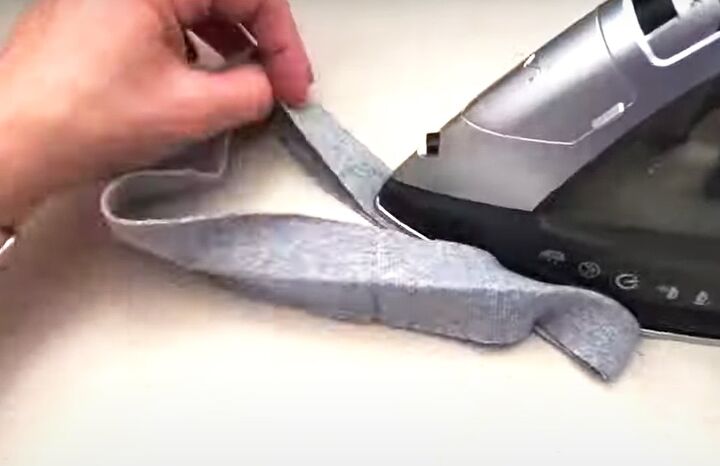
I folded the neck ribbing in half and pressed it.
6. Attach the ribbing
I removed the top button to make sewing easier.
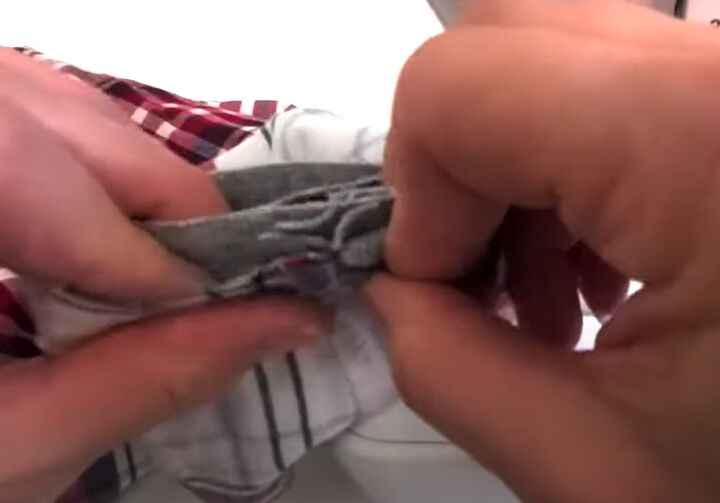
I finger pressed the seam allowances to one side and pinned the seam to line up with the edge of the button strip, with the right sides together.
I pinned the opposite side of the ribbing to the center back of the neckline, then pinned the rest of the ribbing in place, stretching it slightly and making sure all the raw edges lined up.

I sewed the neckline ribbing in place, running the edge of my presser foot along the raw edges and stretching as I sewed.
I turned the sleeves inside out and tucked the cuffs inside them so the right sides were together, then sewed them in the same way.
I serged all the edges, but you could overlock or zigzag them on your sewing machine.
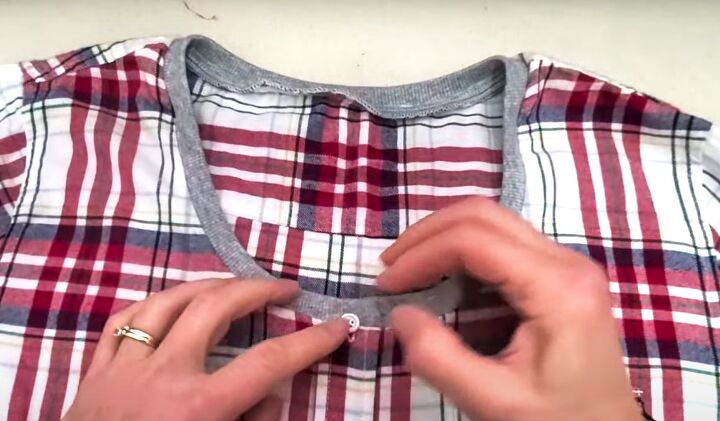
7. Finishing
I gave the ribbing a final press and replaced the top button by hand.
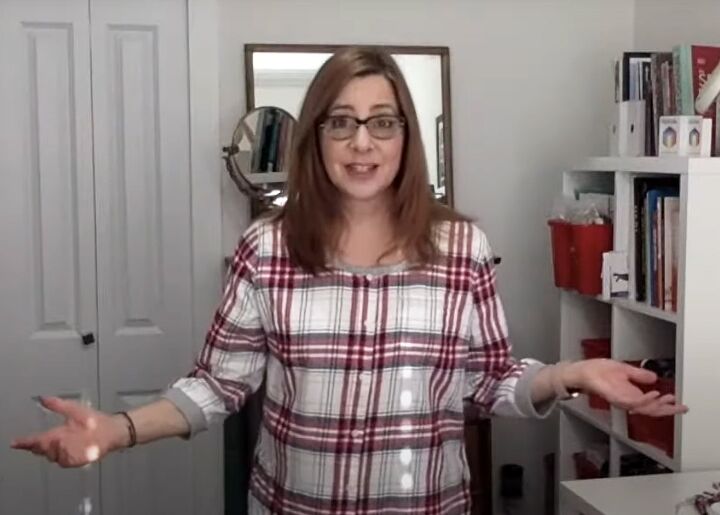
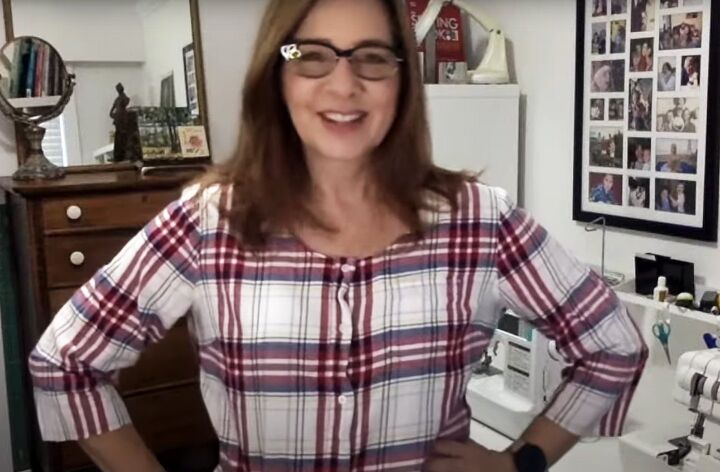
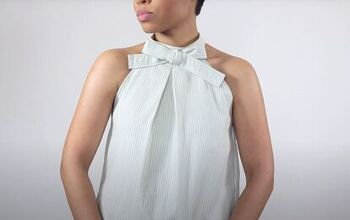
Upcycling flannel shirts
My finished top is comfy and soft and I feel a lot better in it.
Upcycling and thrift flipping are definitely the way to go! We don’t need more stuff when we can remodel and restyle what we already have.
I’d love to know in the comments what you think of this upcycled shirt.
Next, check out my Quick and Easy Zipper Pouch Pattern Tutorial.
The author may collect a small share of sales from the links on this page.


Comments
Join the conversation
It looks great!!! Excellent idea!!!
Looks great! Wish I could sew.