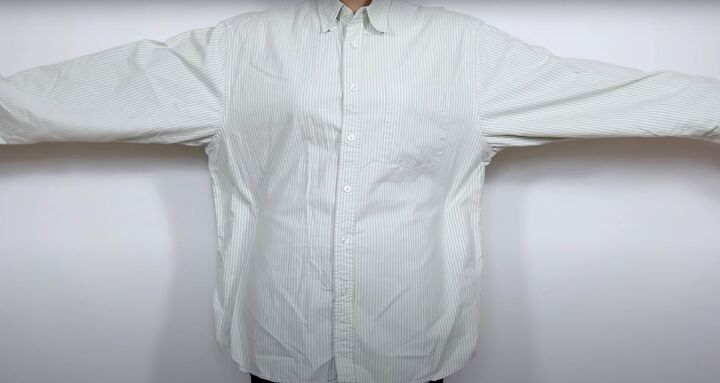
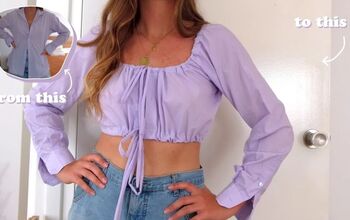
How to Upcycle a Men's Shirt Into a Cute Bow Top

This upcycle men's shirt project was inspired by a Ulla Johnson top with an inverted front pleat.
Halter neck tops are flattering to almost everyone and this is an easy men's shirt refashion, even for a complete beginner.
A seam ripper makes deconstructing the shirt so much faster. I recommend you get one if you don't already have it.
Tools and materials:
- Men's shirt, medium-weight, 1 or 2 sizes bigger
- Seam ripper
- Pins
- Ruler
- Scissors
- Fabric marker
- Measuring tape
- Sewing machine
1. Deconstruct the shirt
Use a seam ripper to remove the pocket, sleeves and the complete collar with the stand.
Separate the stand from the collar and pin and sew the top of the stand closed.
Cut off the shirt yoke completely at the back and shoulder seams.
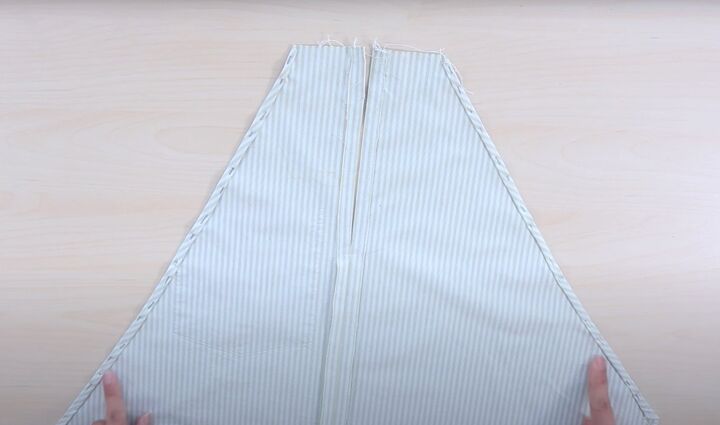
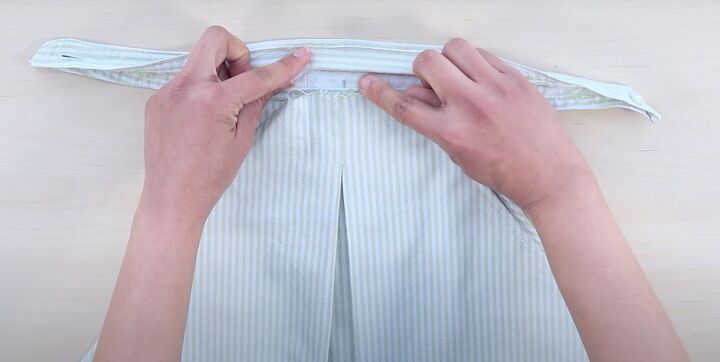
2. Make the inverted pleat
As the back of the shirt will be the front of the top, I'm going to refer to it as the front from now on.
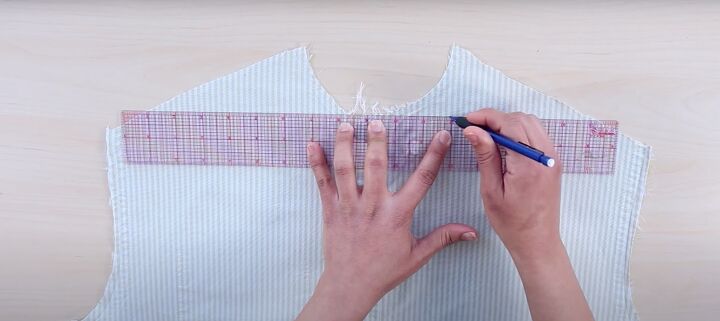
Unstitch the box pleat if your shirt has one and press. With the right side facing you, fold the front in half lengthways.
Measure 2 inches horizontally and vertically from the fold and mark with pins. With the front still folded, sew from the top edge to the lower pin.
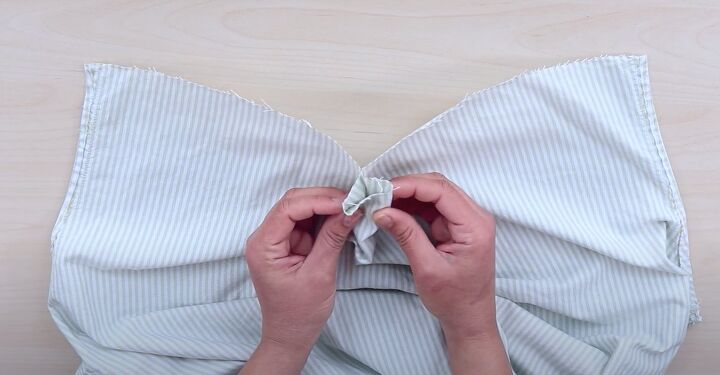
On the wrong side, open out the fold and lay it out evenly on either side of the stitching.
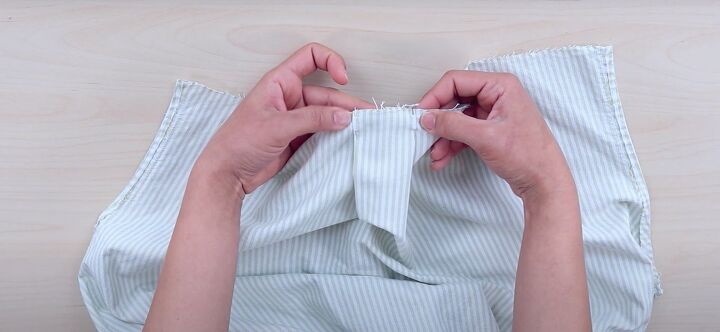
Pin it flat to the top edge. Sew the edges of the fold to the front, 2 inches down.
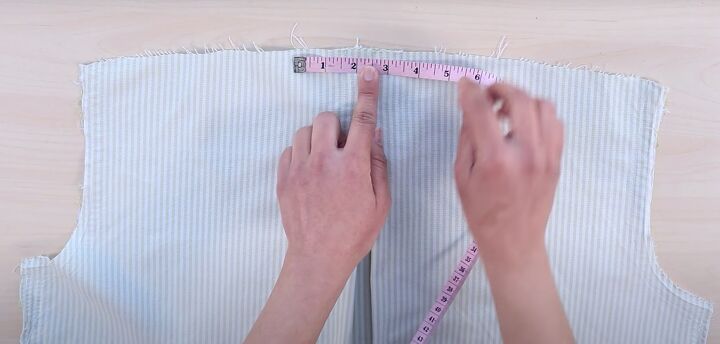
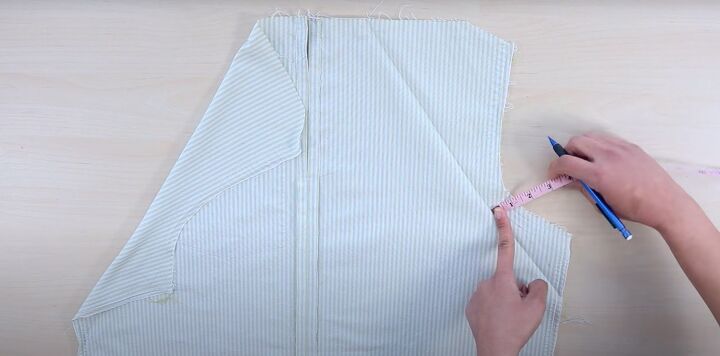
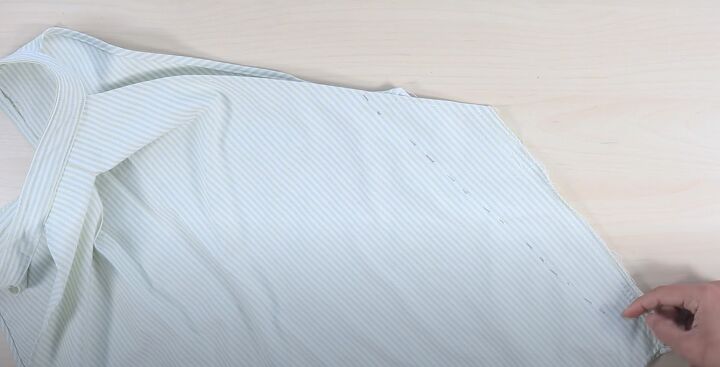
3. Create the halter neck
Open up the side seams and press the edges.
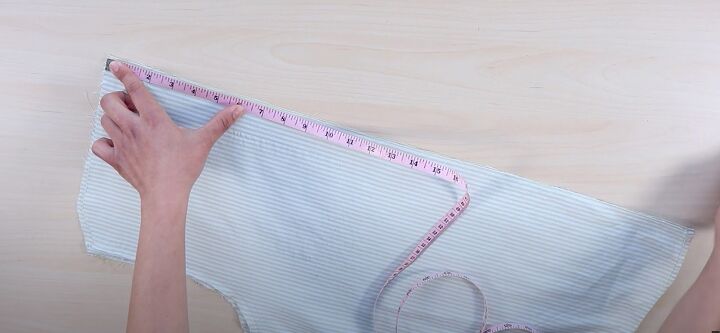
Decide how wide you want the center of the halter neck to be. Place a pin at half of that measurement either side of the inverted pleat.
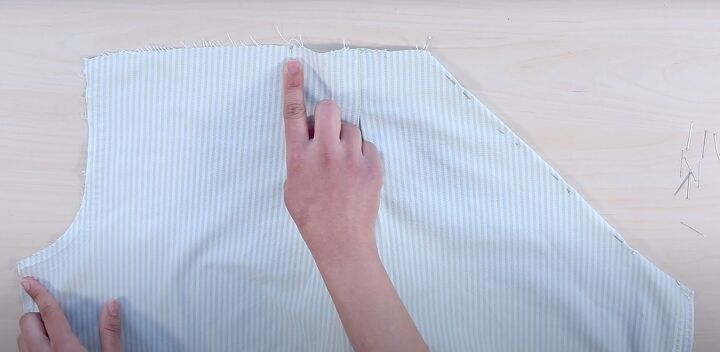
Fold in the diagonal from the pin to half an inch below the lowest point of the armhole, and pin in place.
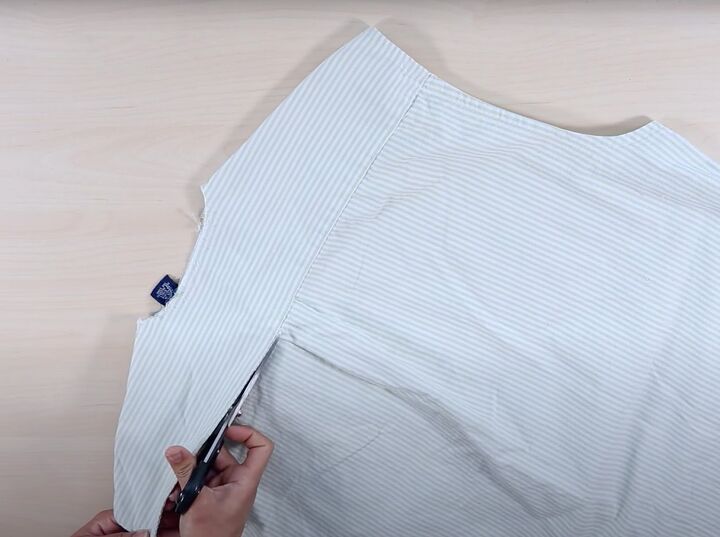
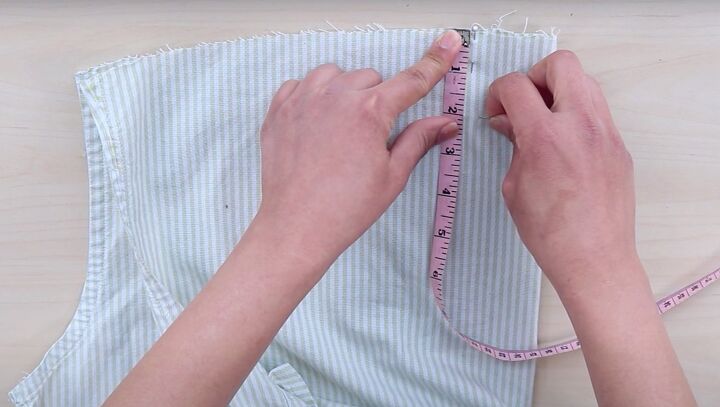
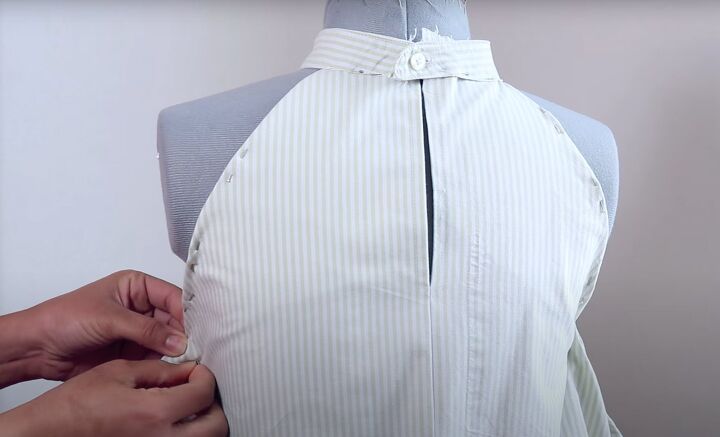
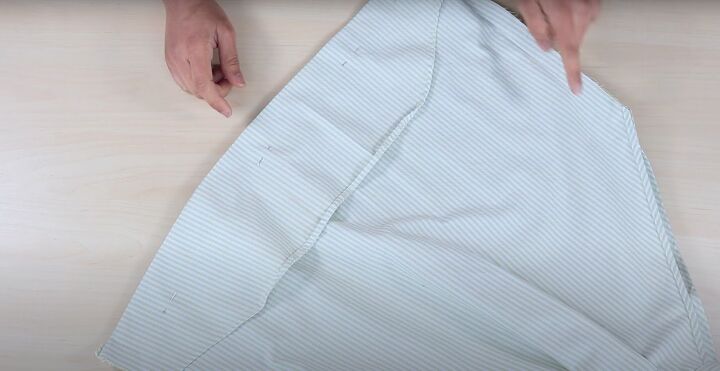
4. Prepare the back
Mark a straight line from the lowest point of the neckline to the shoulder seam on each side, and cut it off.

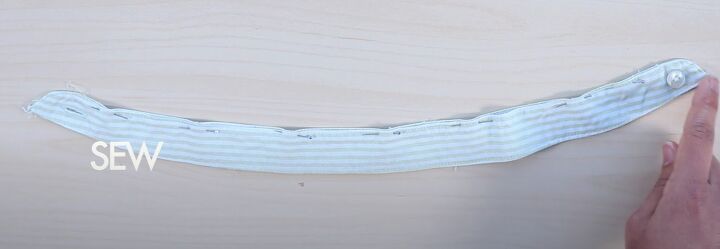
Cut off the button and buttonhole plackets and remove any collar buttons. Put the button placket aside.
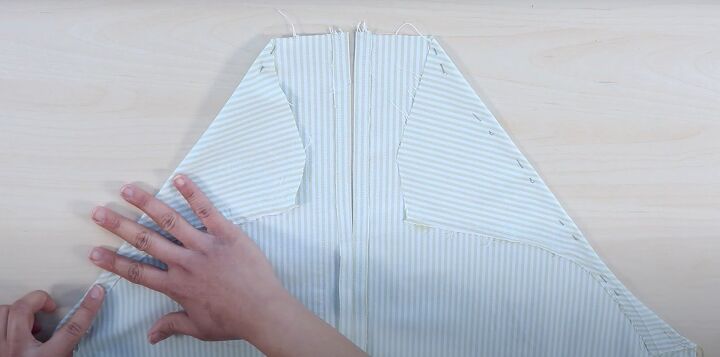
Place the two halves of the back together with right sides facing and match the raw edges.
Measure 7 - 8 inches from the top center back for the keyhole. Pin and sew the rest of the center back seam.
Finish the raw edges and press the seam open.
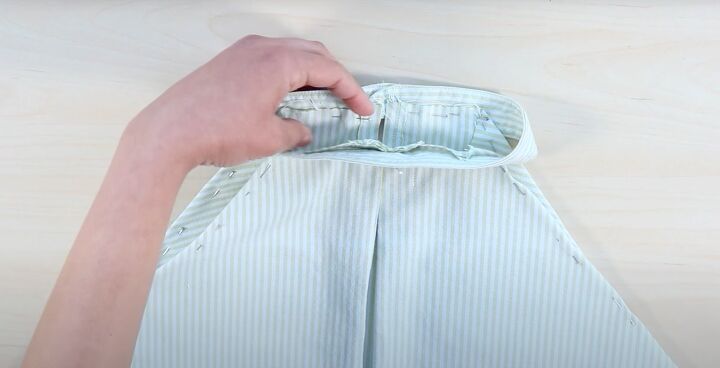
Sew a quarter inch from the fold around the neck opening.
Fold in the halter neck armholes at the back in the same way as you did for the front.
5. Fit the top
Place the front and back together with the wrong sides facing.
Fold the collar stand in half and pin to mark the center. Align the center of the front pleat with the center of the stand and temporarily pin the collar stand to the neck edge.
Fasten the collar stand button to find the center back.
Try on the top or use a dress form. Pin the sides together and make sure there's no creasing or gaping around the armholes.
6. Finish the armholes
Press the armhole folds in place and unpin the collar stand and side seams.
Open the armhole folds and mark a half inch from the crease for the seam allowance. Cut off the excess fabric.
Fold the raw edges under twice, pin and sew with a straight stitch.
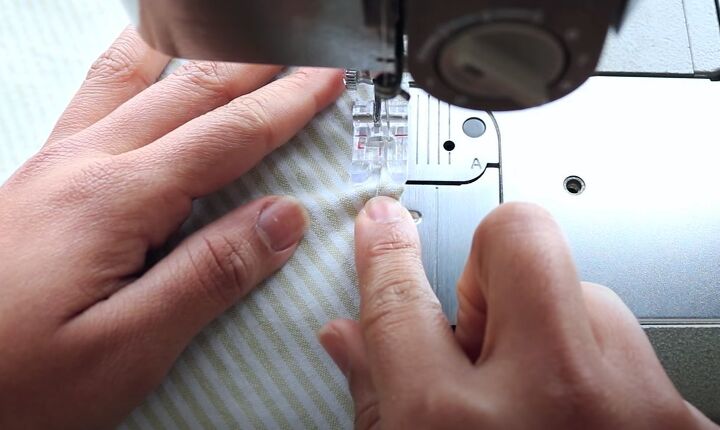
Gently feed the hem under the needle manually, to avoid stretching the fabric and creating wavy armholes.
7. Attach the collar
Open up the lower edge of the collar stand. Fold it in half and mark the center on the wrong side.

Wedge the neckline between the open edges of the collar and pin through all three layers around the neck edge.
Sew with a straight stitch on the right side, along the lower edge of the collar.
8. Fit side seams and hem
Try the top on again and pin the side seams to fit. Turn up and pin the hem at the length you want.
Cut off the excess fabric, leaving a half inch seam allowance, and sew the side seams.
Finish the lower edge in the same way as you did the armholes, with a narrow double hem.


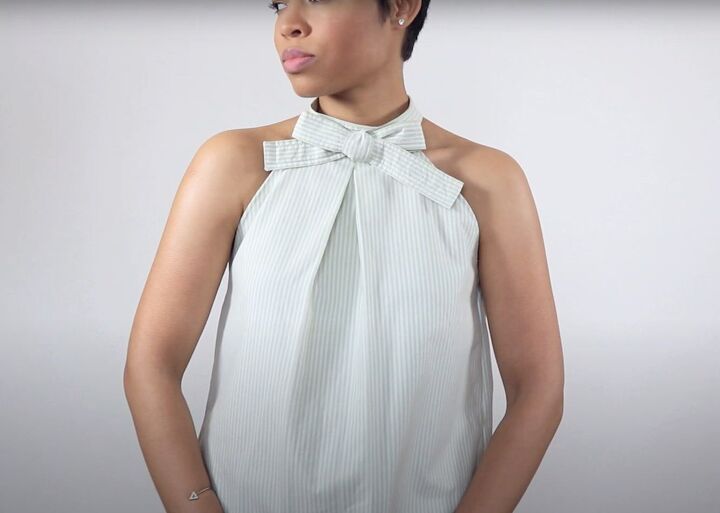
How to upcycle a men’s shirt: DIY bow top
The detachable bow is constructed from the button placket and I've given the full details of how to do it in my men's shirt refashion blog post. It makes a cute addition to the bow top and is easy to make.
I love finding new ways to upcycle men's shirts into something stylish for us.
I hope you enjoyed this project and if you want to see more like it, please let me know in the comments below.
For more sewing content, check out my post on How to DIY a Super Cozy Belted Poncho.
The author may collect a small share of sales from the links on this page.


Comments
Join the conversation
Thank you! Finally something elegant for change. 💕
Adorable! Good for you!