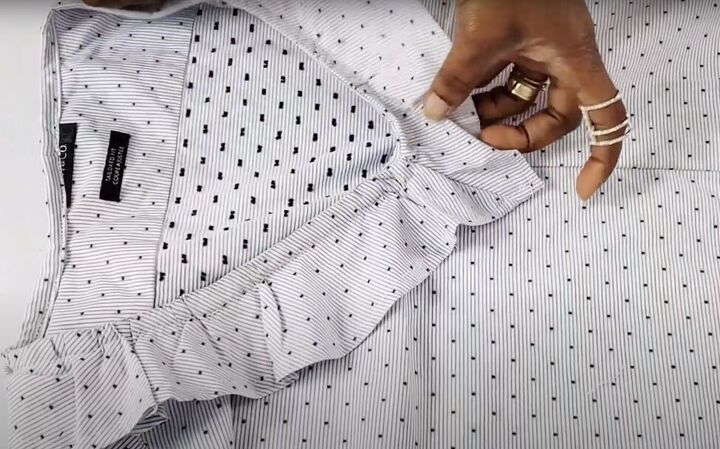
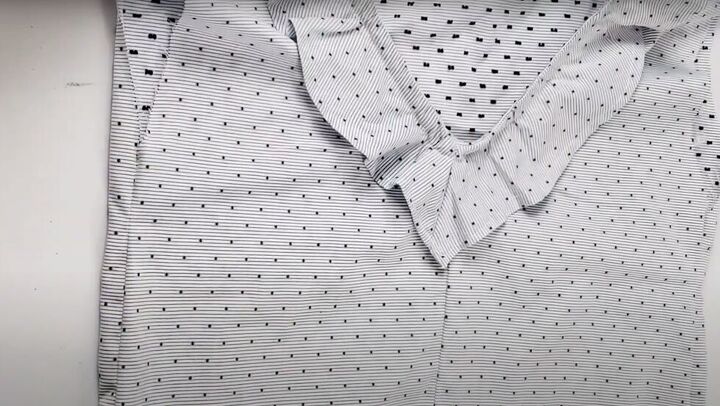
How to Turn a Men's Shirt Into a Cute Top in a Few Simple Steps

There are so many things you can do with an old, oversized men’s shirt, and in this tutorial, I will show you how to transform one into a cute top. You probably have old, oversized shirts in your closet, so this men’s shirt transformation shouldn’t cost you a penny! Ready? Let’s begin.
Tools and materials:
- Old, oversized men's shirt
- Scissors
- Ruler
- Sewing pins
- Sewing elastic
- Thread
- Sewing machine
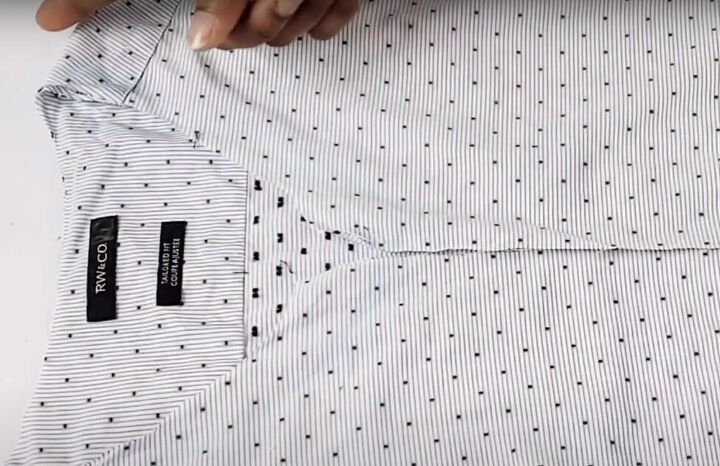
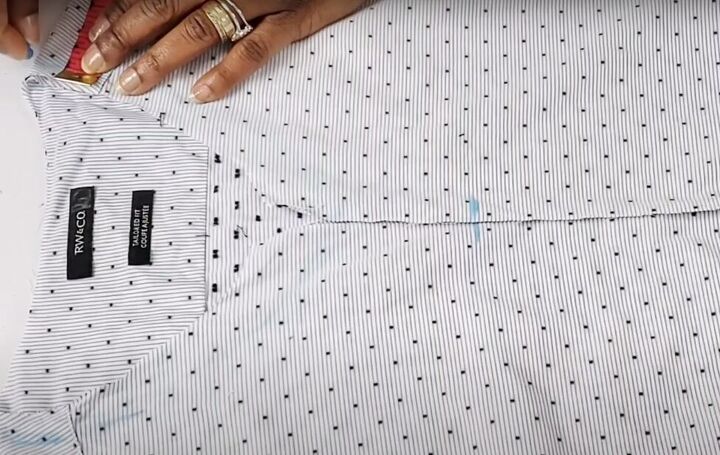
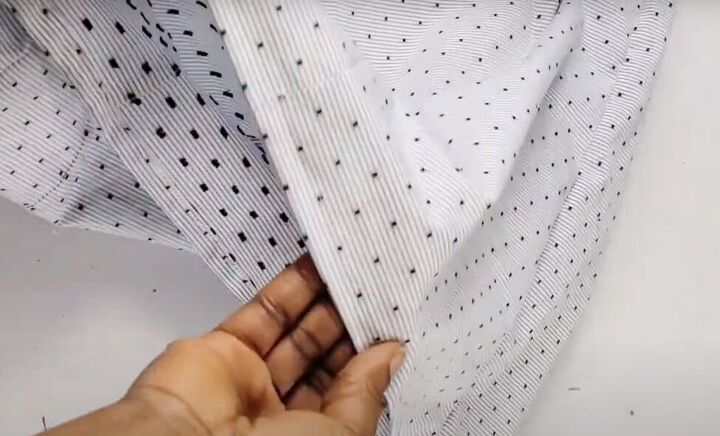
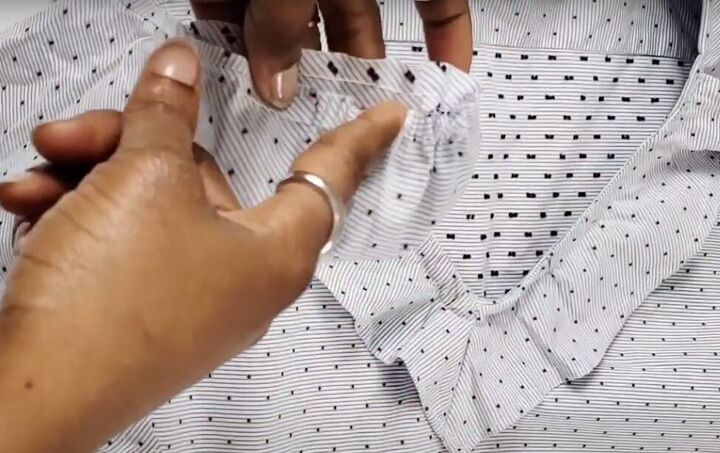
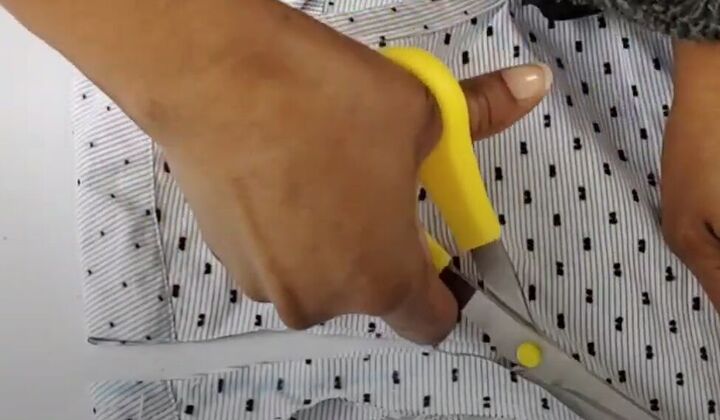
1. Disassemble the shirt
Cut off the collar, the plackets, and the sleeves from your old shirt.
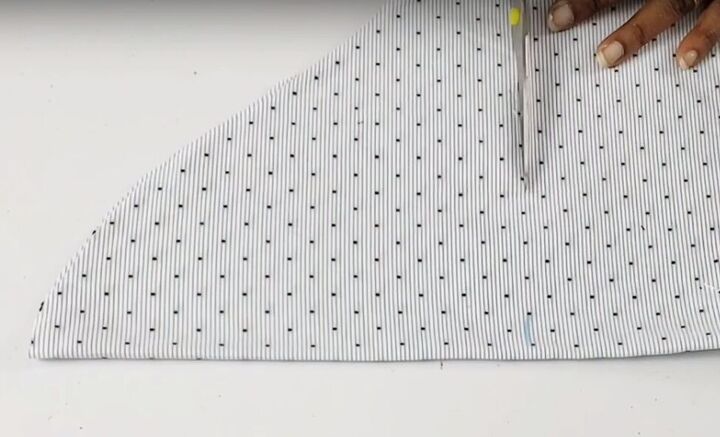
2. Make a V-neckline
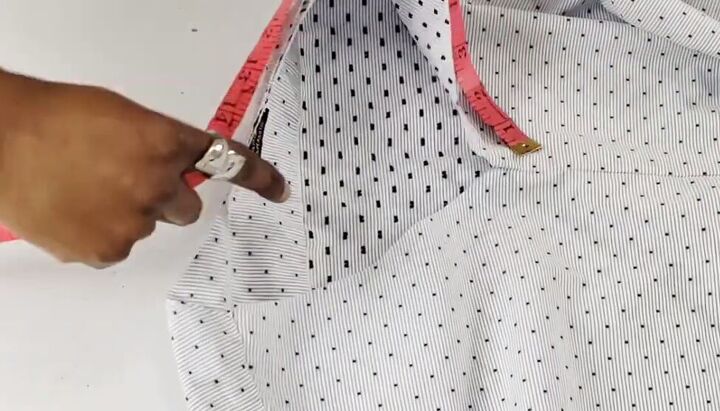
Mark your neckline a ½ inch away from the neckline edge at both shoulders, and 4 inches down from the neckline on both front-center edges. Connect those marks to create a new neckline guide.
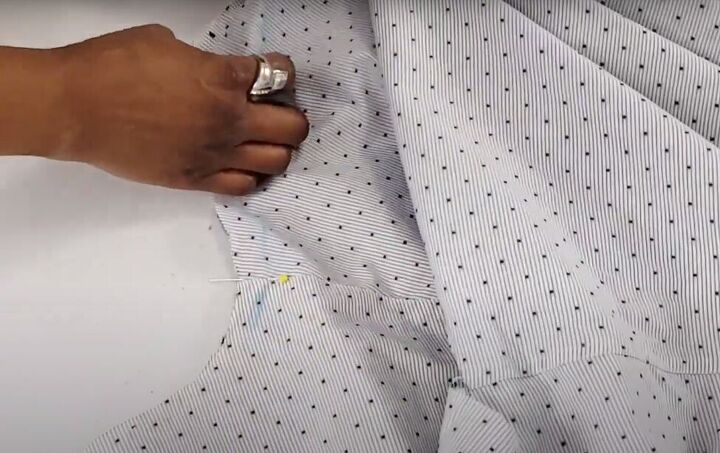
Fold your shirt, right side facing out, so the two halves of the neckline are aligned, and shoulder seams meet. Pin the shirt together along the neckline and down the front, and then cut out the neckline along your marked guide.
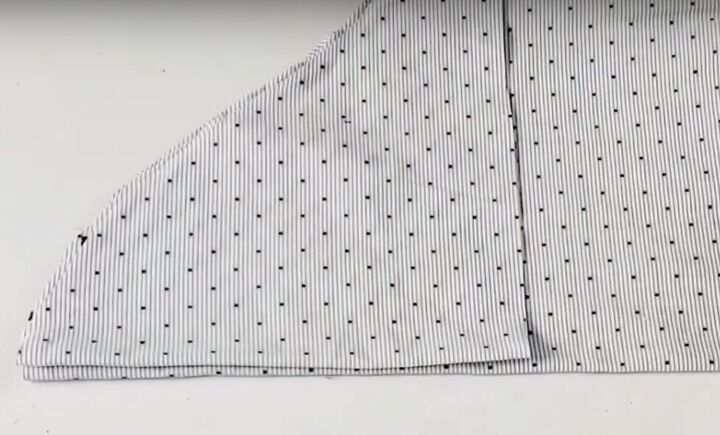
3. Sew the front seam
Turn your top inside out, fold it in half lengthwise, and pin it in place.
Sew the front center seam.
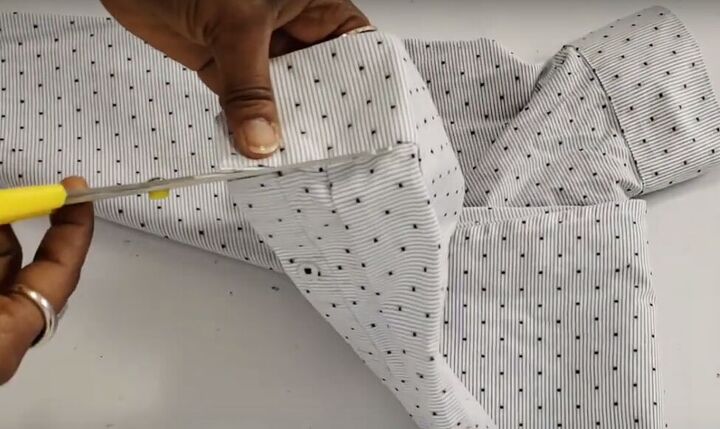
4. Make puffy sleeves
Fold the sleeve you cut off the men’s shirt in half lengthwise. Measure 7 inches down from the shoulder point and cut the sleeve there.
Use that sleeve as a template to cut the second sleeve.
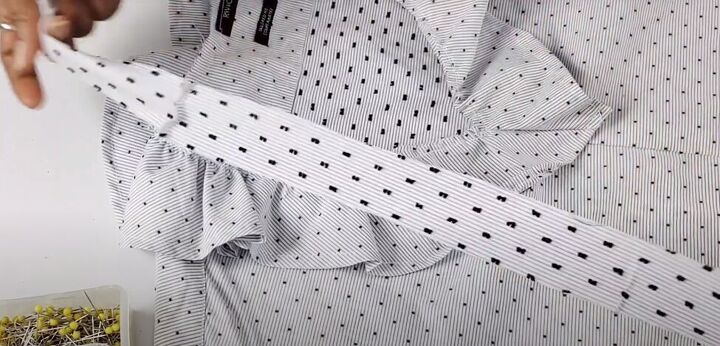
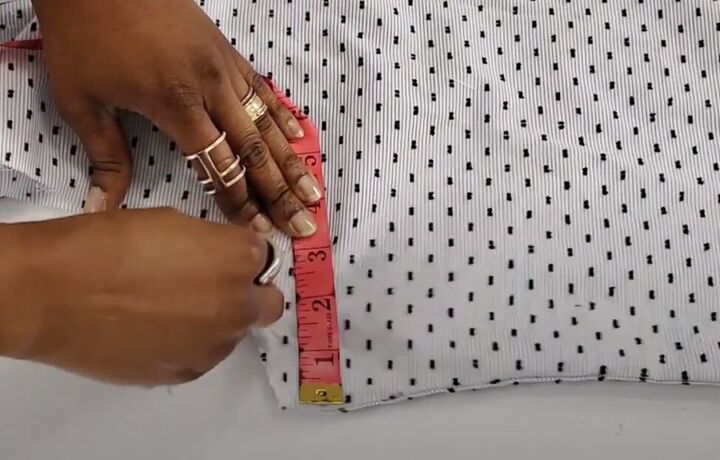
5. Create a ruffle for the neckline
Remove the cuffs from your discarded sleeve fabric.
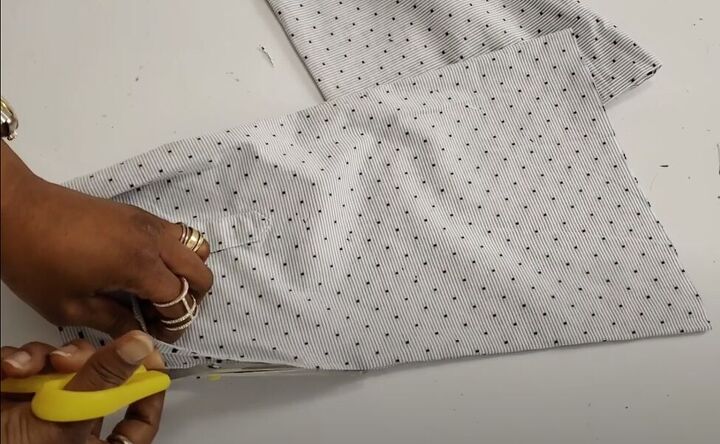
Cut open both discarded sleeve side seams.
Measure the full circumference of the V-neckline on your top. Mine was 29 inches. Your neckline ruffle should be 1½ times as long as the circumference of your neckline, and 2½ inches wide plus a ½-inch seam allowance.

Fold the discarded sleeve in half lengthwise, with the right side facing in. Mark and cut a 3-inch-wide curved diagonal strip from one of your discarded sleeves, starting at the fold of the sleeve. Use that piece as a guide to cut the same piece from the other discarded sleeve.
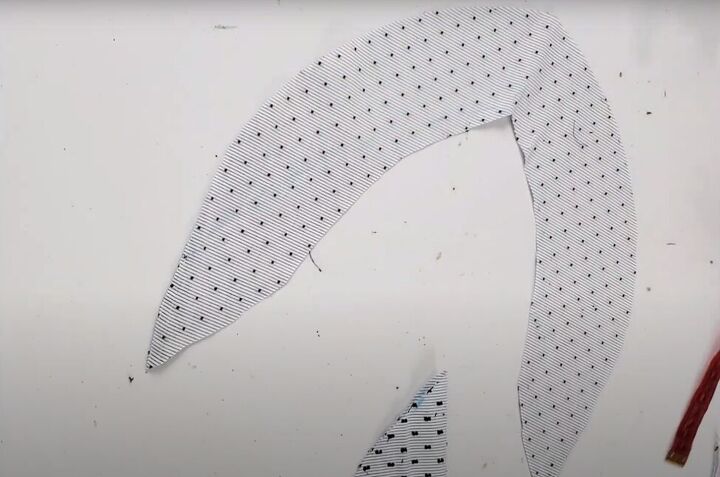
This is what each piece will look like when unfolded.
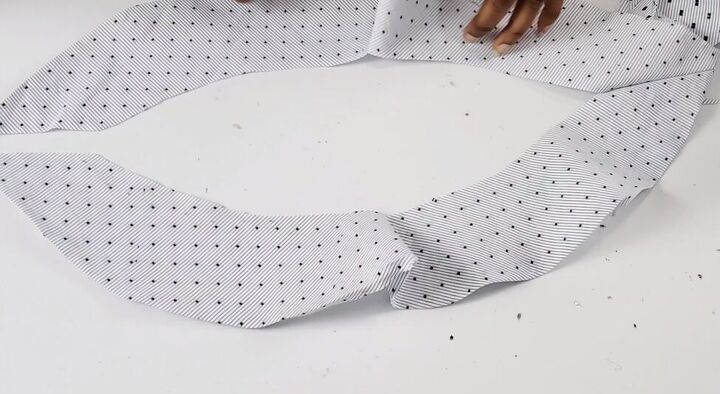
Sew the two pieces together along a short edge to form one long piece for the neckline ruffle.
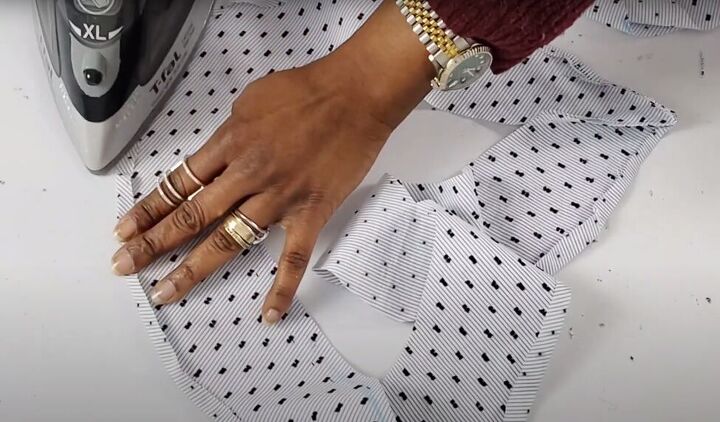
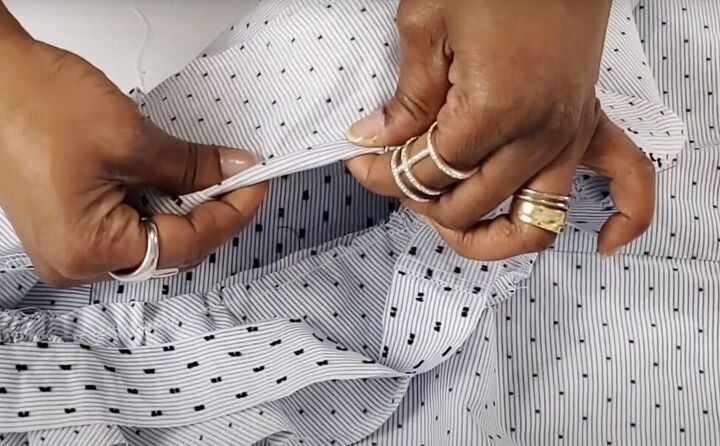
Fold down and iron the outside edge of the ruffle fabric 1 centimeter.
Baste stitch all along the inside edge of the ruffle fabric and pull on the end of the basting row to gather the ruffle.
Pin the gathered ruffle edge to the outside of the neckline of your top, aligning the center seam of the ruffle with the center seam of the top. Adjust the gathering to make sure it’s even all the way around the neckline. Sew the ruffle ends together at the back with a straight stitch and then sew the ruffle to the neckline on the front of the top.
Use your leftover fabric to make bias tape to cover the rough neckline edge of the ruffle. Cut 2-inch diagonal strips until you have enough for the circumference of your neckline. Sew all the pieces together so you have one length of bias tape.
With right sides facing, pin and sew the bias tape to the raw edge of your neckline so half of the bias tape is one side of the neckline, and the other half is folded over to the other side.
Now you have a nice, clean finish on your neckline.
6. Adjust the sizing
Turn your top inside-out and mark 3 inches in from the underarm, on the front of your shirt.
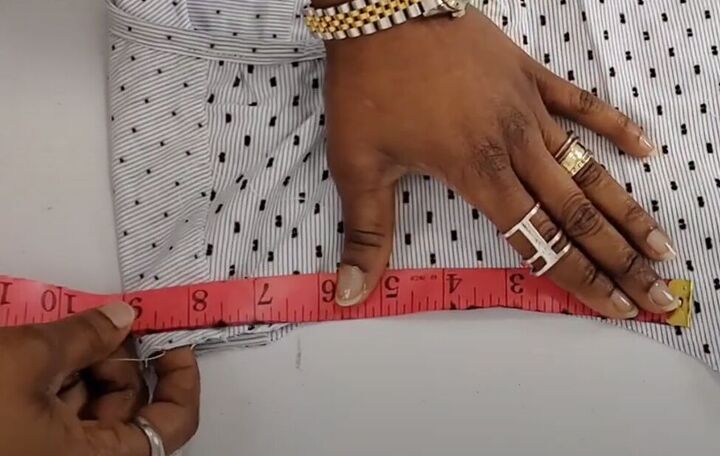
Now mark 9 inches down from the outside shoulder. That will be the size of your armhole.
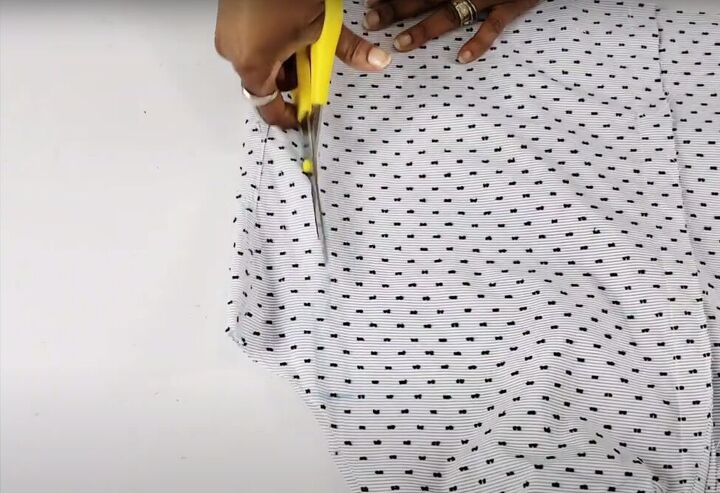
Join the 9-inch mark to the 3-inch mark and continue to draw a diagonal line slanted down the side of your shirt to the outside bottom hem. Trim the side and armhole of your top along that line and repeat this step on the other side.
Straight stitch the side seams of your top.
7. Hem the bottom
Fold in and sew the bottom hem of your top.
8. Attach the sleeves to your top
Baste stitch around the top edge of your sleeve and gather the edge in the middle of the sleeve so the puffiness will appear at the top of the sleeve when attached to the top.
You may need to trim the armhole before sewing in the sleeves. I needed to trim off 1 inch starting at the shoulder and tapering to the armhole bottom.
Repeat for the other sleeve.

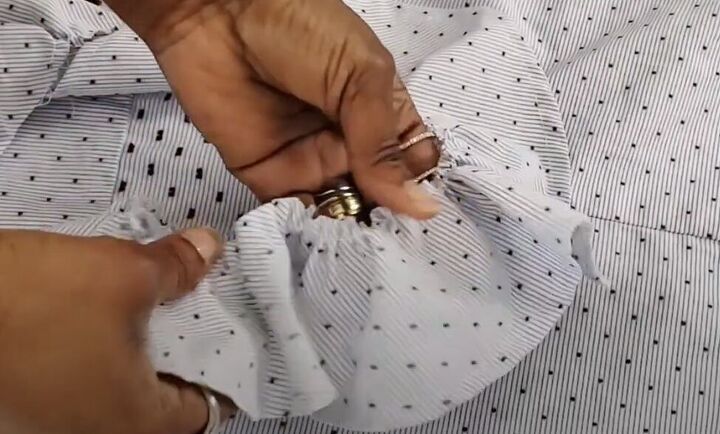
Once you’ve sewn in your sleeves, add elastic to the bottom of them.
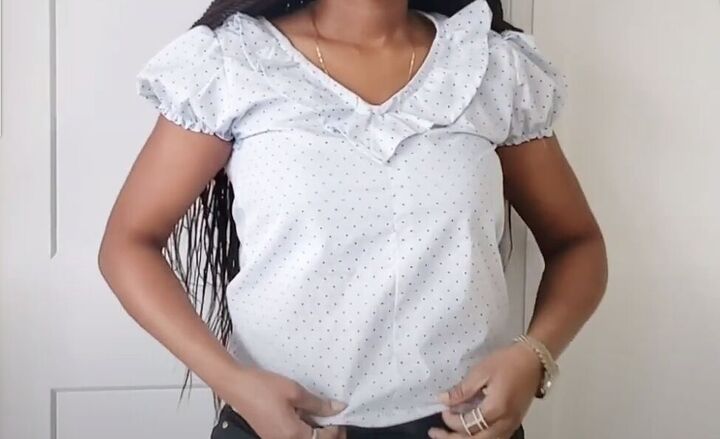
How to turn a men's shirt into a cute top
Here is the completed top and it’s hard to imagine that it started as an oversized men’s shirt. I hope you try this DIY top tutorial and leave a comment to let me know how you liked it and how your men’s shirt transformation looked.
The author may collect a small share of sales from the links on this page.


Comments
Join the conversation
Truly amazing!
Wow…. That’s clever and looks an amazing transformation…. 👏👏