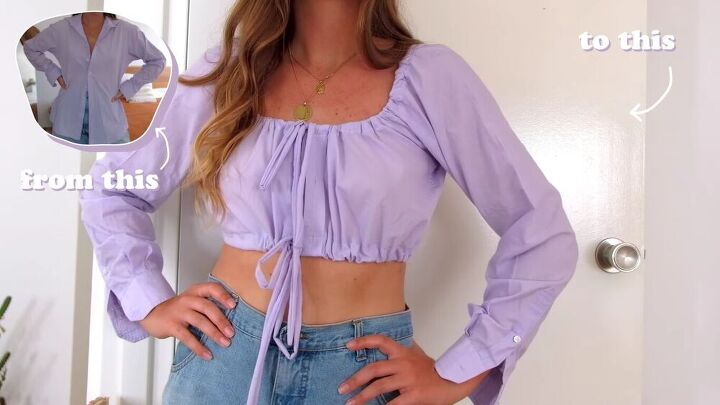
Fun Thrift Flip: Transform a Men’s Shirt Into a Cute Drawstring Top

Today we’re jumping into a tutorial to thrift flip a men’s shirt into an adorable drawstring crop top. This shirt has become one of my absolute favorites, and I have been wearing it all summer. I hope you try this tutorial, and fall in love with the results, just like I did.
Tools and materials:
- Thrifted men’s shirt
- Pins
- Thread
- Clean paintbrush or any other long, thin stick
- Fabric scissors
- Fabric chalk
- Sewing machine
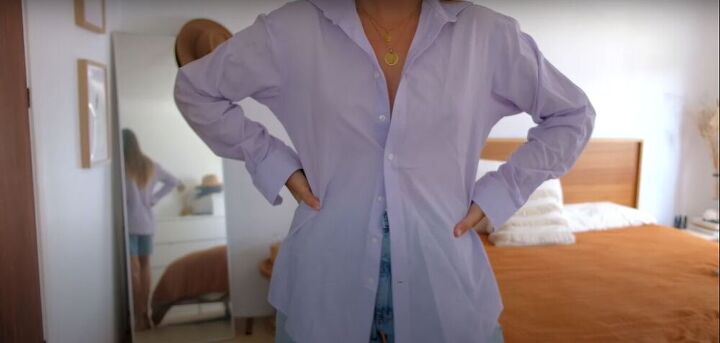
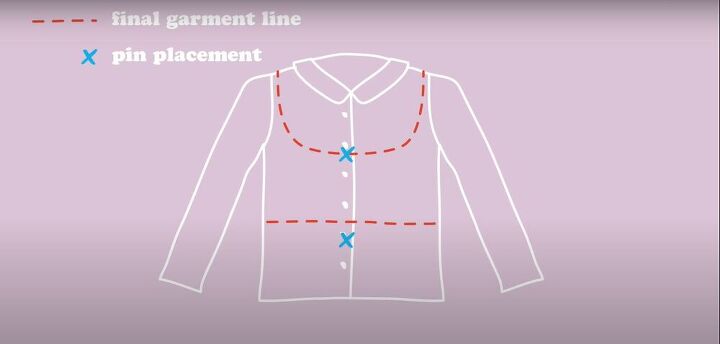
Try on the shirt and plot where to cut
I put the shirt on to determine how far down I wanted the neckline to be, and where I wanted the bottom hem of the shirt to fall.

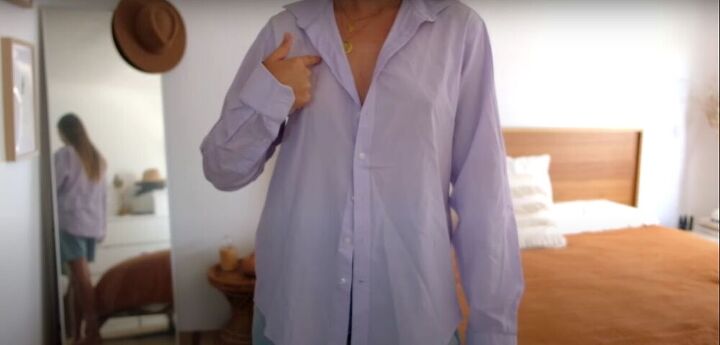
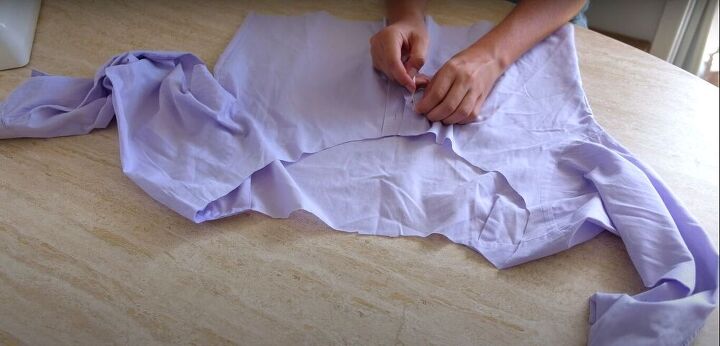
Pin those points
I put a pin into the point on the shirt where I wanted the neckline to be. I did not need to leave a seam allowance for the neckline since the drawstring will pull the neckline up, making up for any inches lost to the seams.
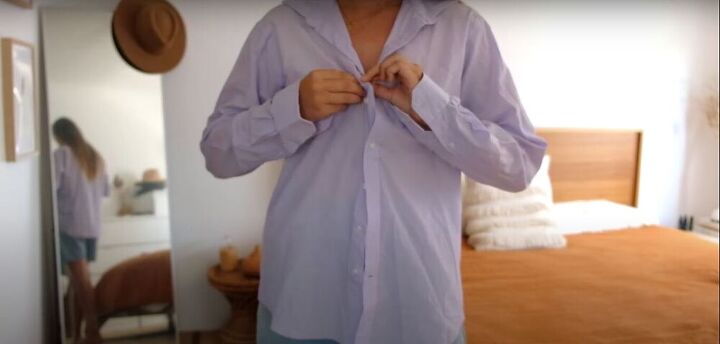
I used a pin to mark where I would cut the bottom of the shirt. To do this, I determined where I wanted the bottom hem of the shirt to fall, and then added two inches of seam allowance.
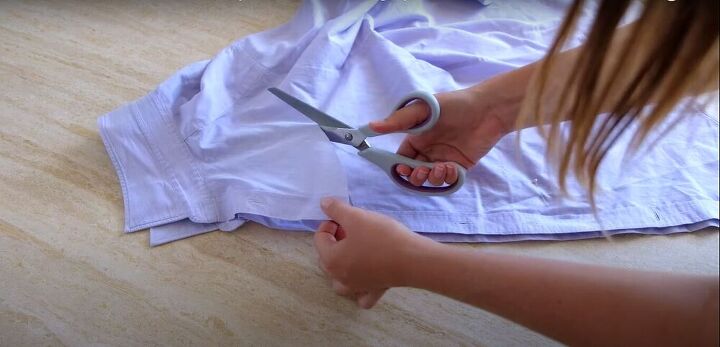
Cut the neckline
I took the top off and cut from the top pin in a curve up towards the shoulder. Ideally, try to stay about one inch away from the sleeve seam.
Then I cut across the back, curving around the neckline one to two inches from the collar. If jumping straight into cutting isn’t your thing, you can draw out the lines you want to cut with fabric chalk first.

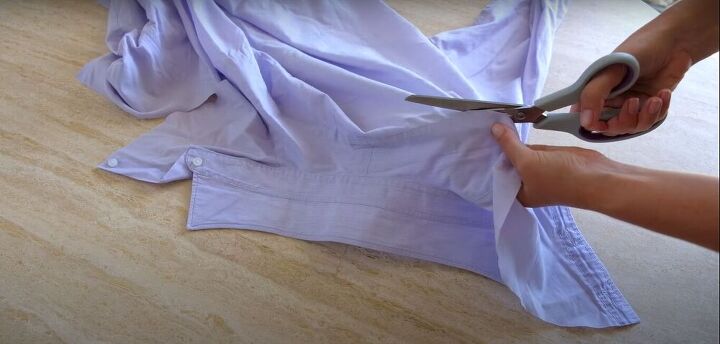
Cut the bottom
I cut the waist area in one straight line from the designated pin, across the front and the back of the shirt.
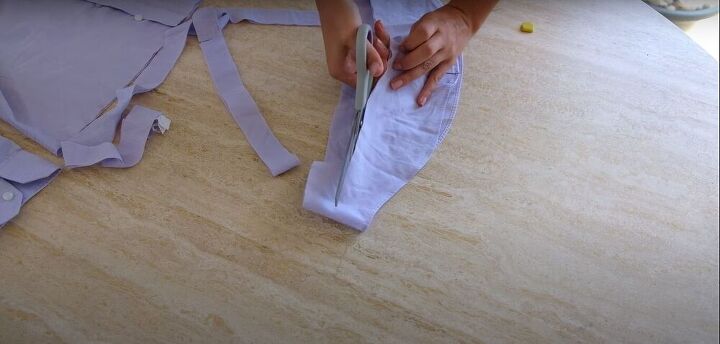
Cut strips for the drawstrings
From the offcuts of the bottom of the shirt, I cut four long strips, about one to two inches wide. If there is not enough excess fabric from the shirt to make the strips, any other fabric will do. Just make sure they are one to two inches wide, and long enough to wrap twice around your waist.
Attach the strips
I cut four strips of fabric--two for the neckline drawstring, and two for the waist. For each set of two strips, I laid one on top of the other, with the good sides facing each other.
Then I sewed along one short end to join them, to create an extended strip of fabric. Repeat this for the second set of strips.
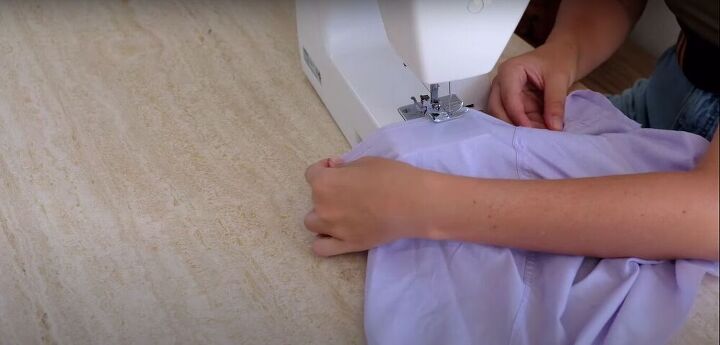
Fold and sew the drawstrings
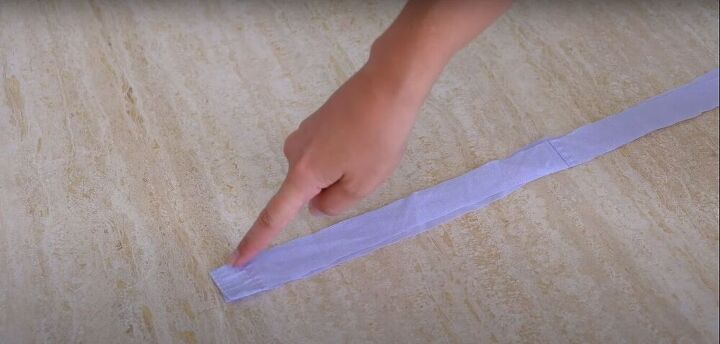
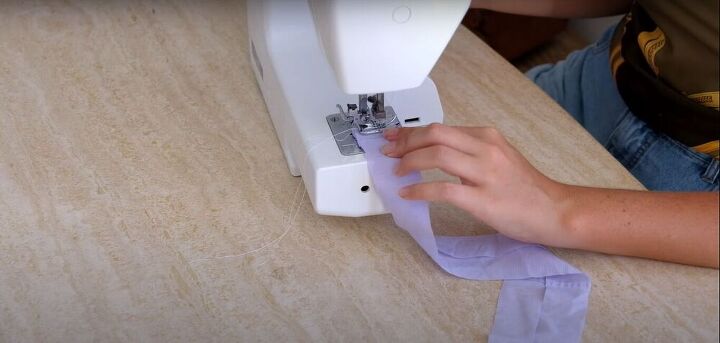
I folded the strips of fabric, good sides facing each other, and sewed as close to the edge as possible on one short side, then continued to sew down the length of the strip, leaving the other end open.
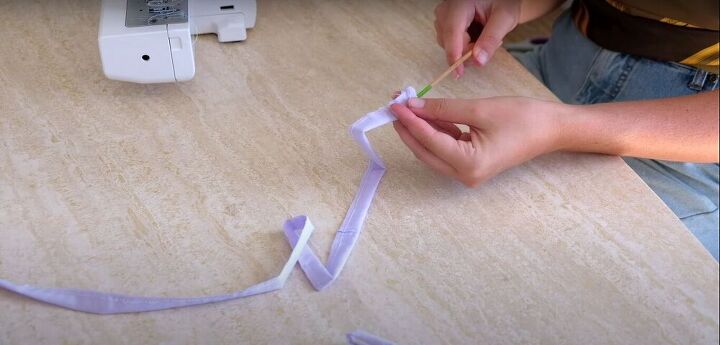
Flip the drawstrings good side out
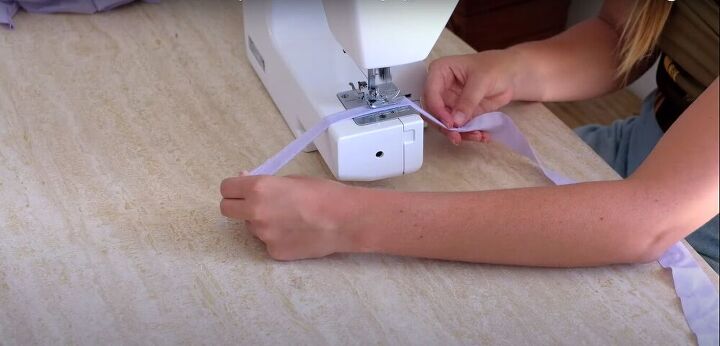
Next, I grabbed a clean paintbrush, and placed the tip of it at the end of the drawstring that I had sewn closed, and used it to push the closed end through the tunnel to the open end of the drawstring.
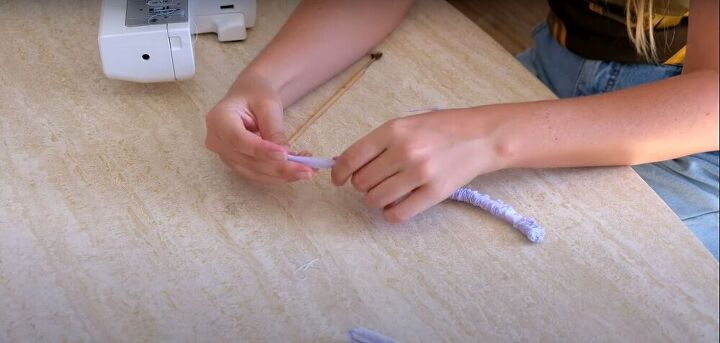
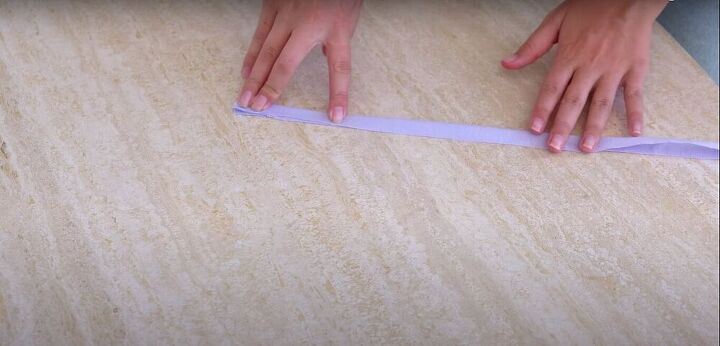
Once the closed end came out the other side, I pulled it through and gently worked the bunched-up fabric down, until the entire drawstring was no longer inside out. Then I simply tucked the raw open edge inside and sewed it closed.
Remove buttons
Before making a hem, I removed the buttons from the center. I cut them off with a seam ripper and left the center panels as they were. If you wish, you can also cut these panels off entirely, and hem them for a clean edge. However, keep in mind that this will cause you to lose some of the width of the shirt.
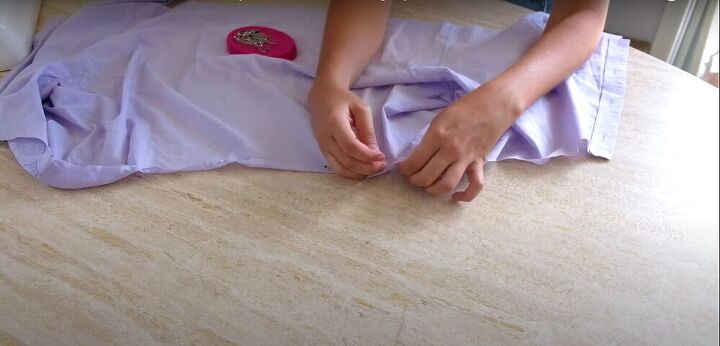
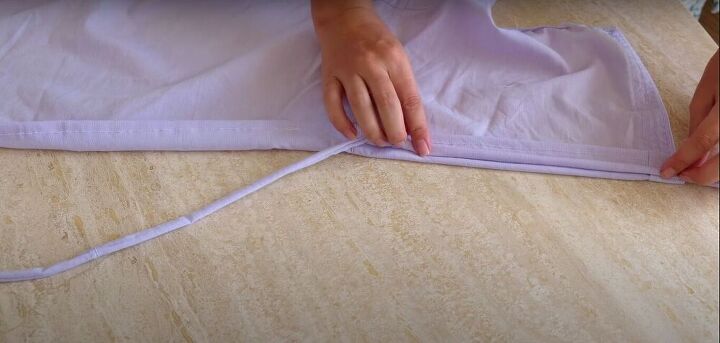
Fold and pin the hemlines
Turning my focus to the waist and neck area, I folded a single hemline, about a quarter of an inch all the way across both edges, and pinned everything down.
Sew the hemlines
Once everything was pinned properly, I sewed up the hems on both the waist and neckline with a straight stitch all the way across.
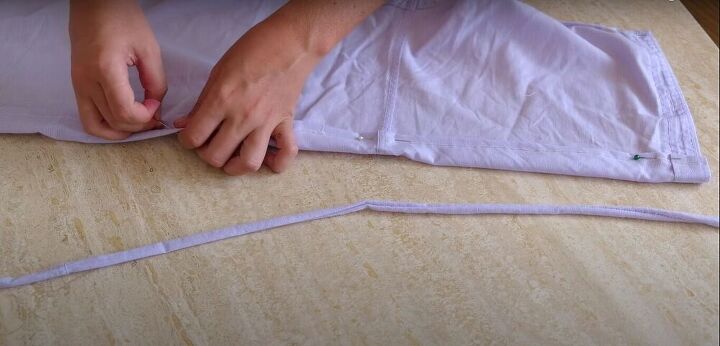
Create tunnels for the drawstrings
I folded the hem up once more and laid the drawstring across it to make sure it would be wide enough to pull the drawstring through once it was sewn down, leaving about half an inch for sewing space. I did this for both the neckline and the waistline.
Once I was satisfied with the width of the hems, I pinned the fabric in place and sewed everything down.
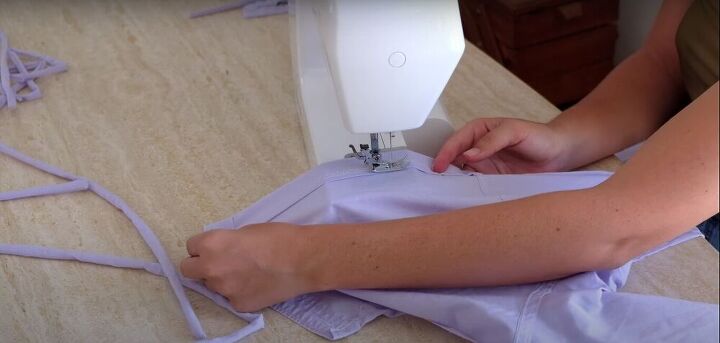
At this point, I became a bit frustrated with this project because the hemline around the neck is curved, and it can be difficult to sew a curved line neatly. However, I discovered that even though some of it came out looking a little wonky, once the drawstring was in, creating a gathered effect, the less-than-perfect parts were completely unnoticeable. If you want to prevent this, I suggest starting to sew the hem of the neckline at the back center, and working towards the front of the shirt, and then doing the same thing for the other half of the neckline.
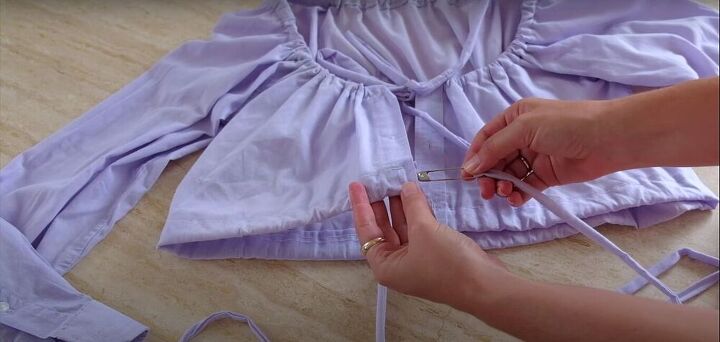
Insert the drawstrings
I attached a large safety pin to the end of the drawstrings and pulled them through the tunnels I had created with the hem, bunching the fabric around the pin, and then pulling it down the drawstring until I could pull the drawstring out the other side of the tunnel. I played around with the strings a bit, pulling them out so they were equal in length, and made sure the gathering was even all around, and then I was done!


If you’ve made this shirt, enjoy styling your brand new, insanely cute drawstring top! And please show me your results. I’d love to know how it turns out!
The author may collect a small share of sales from the links on this page.


Comments
Join the conversation
It would be fun
Love this!!! You found the perfect color shirt to make this top