How to Upcycle a Men's Shirt Into a Feminine Top

A quality thrifted men’s or young men’s shirt can be resized and revamped to make a pretty top. While it seems like major shirt surgery, I hope my tutorial on how to upcycle a man’s shirt will inspire you to try this project.
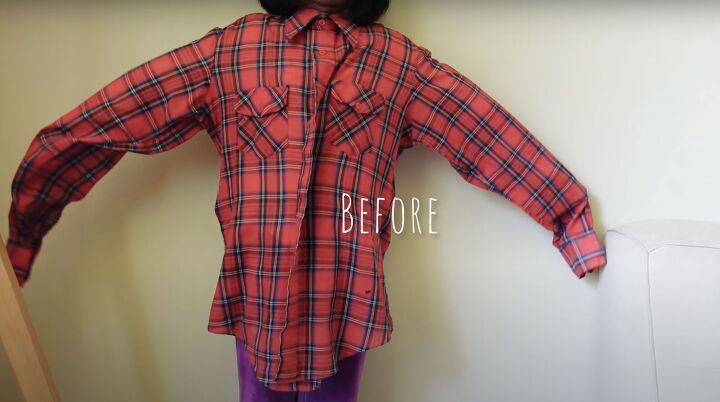
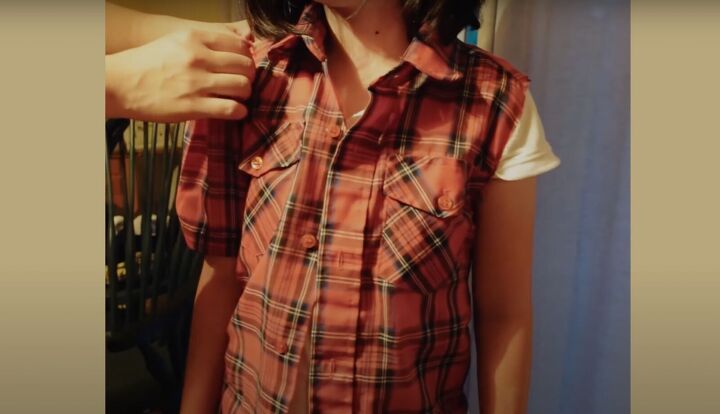
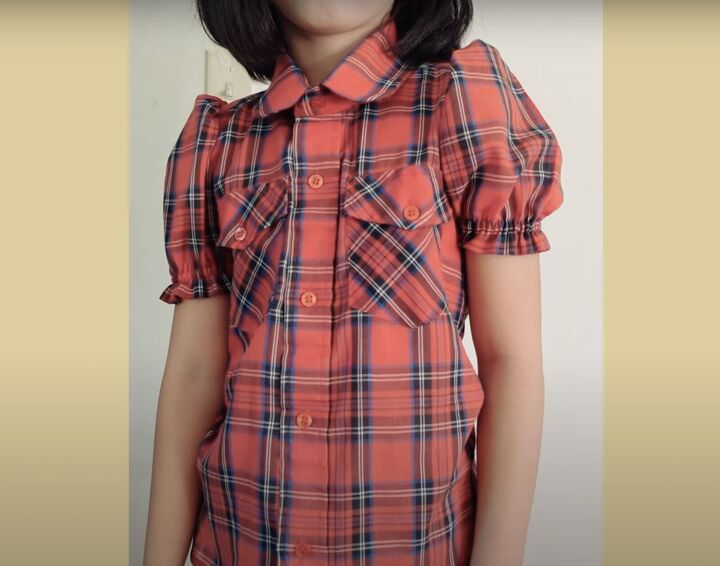
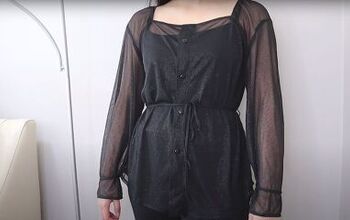
I changed the silhouette from straight, boring, and boxy to a feminine top with a round collar, slimmer bodice, puff sleeves, and a small ruffle on the sleeve. Let me show you how to thrift flip from boring to beautiful!
Tools and materials:
- Men’s shirt
- Own well-fitting shirt
- Tailor’s chalk
- Measuring tape
- Scissors
- Pins
- Seam ripper
- Sewing machine
- ¼-inch elastic
- Safety pin
- Iron
Pro-tips:
- Check the shirt at the thrift store for damage.
- Plan how you’re going to revamp it.
- Wash the shirt before working on it.
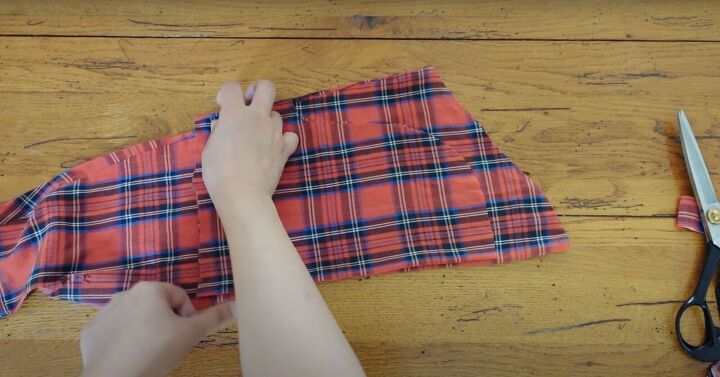
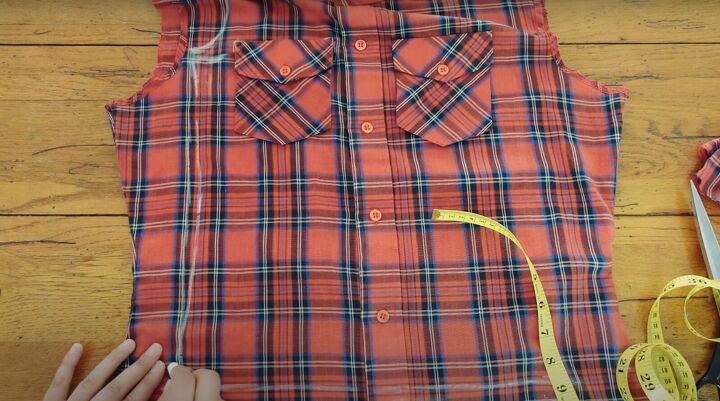
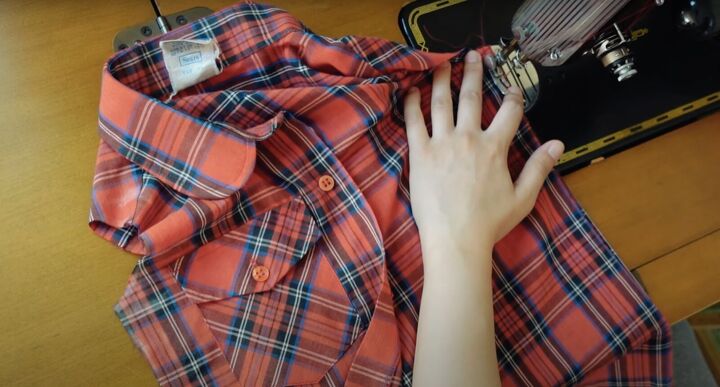
1. Make the pattern
Put the shirt on to gauge the measurements.
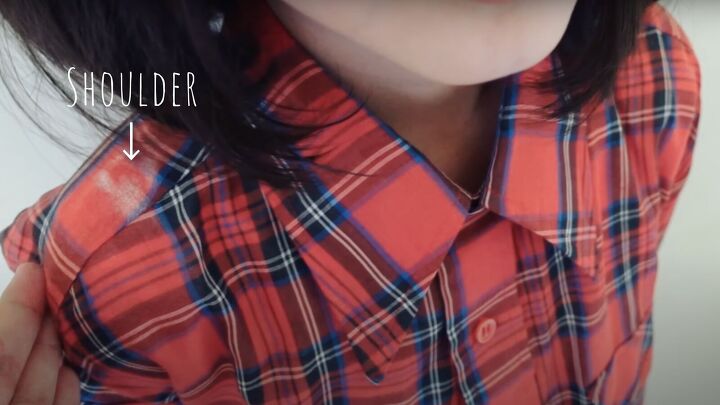
Mark the shoulders.
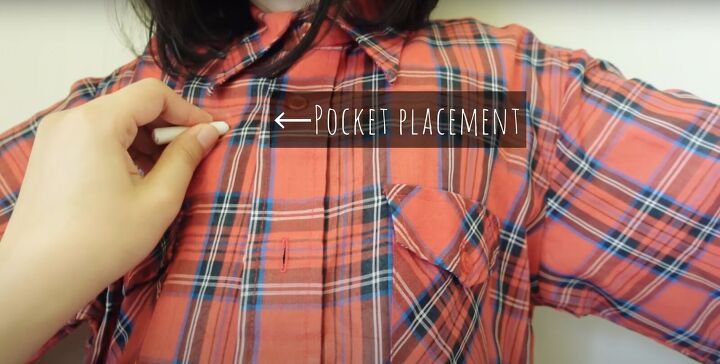
Mark the new pocket placement (if present).
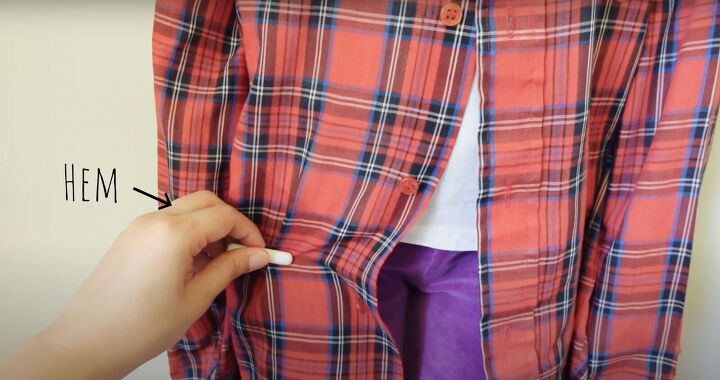
Mark the new sleeve length, bodice width, and hem..
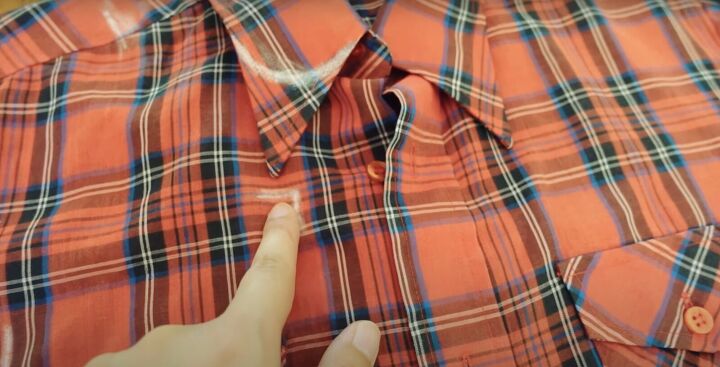
To make this shirt more feminine, mark a rounded collar shape.
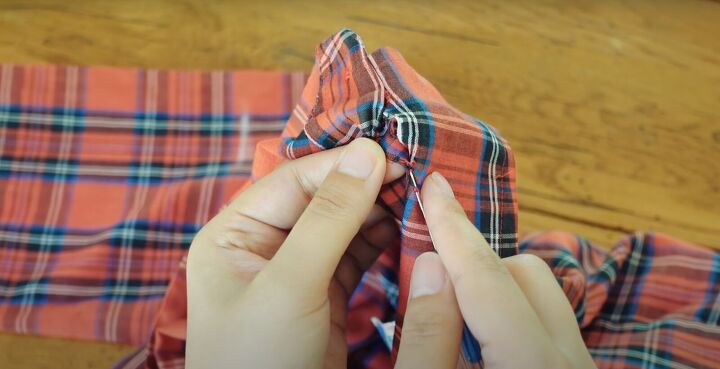
2. Change the collar
If you’re planning on reattaching the collar, don’t cut it off.
Use a seam ripper to carefully detach it.
Pick apart the topstitching along the collar.
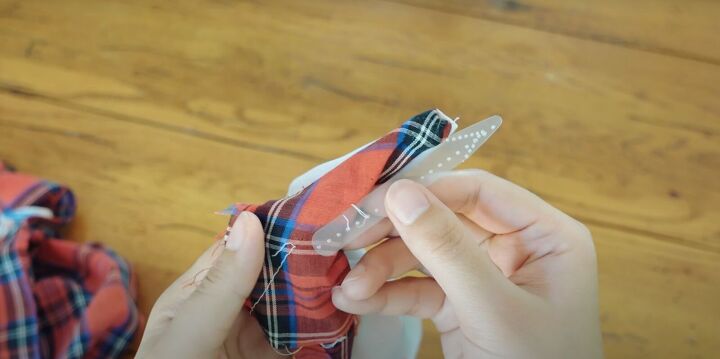
If there are collar stays, remove them.
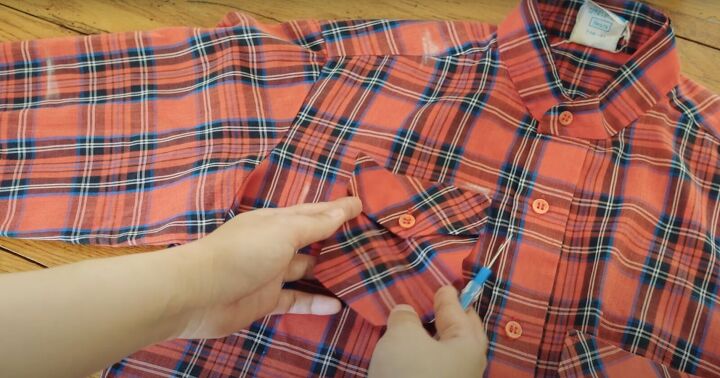
3. Change the pockets
Carefully detach the pockets using the seam ripper and reposition them to your desired measurement.
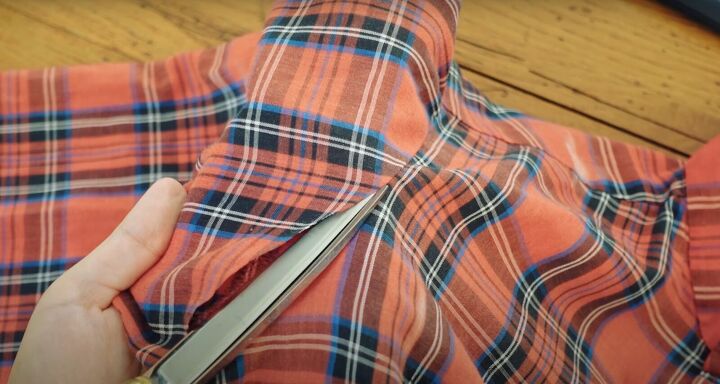
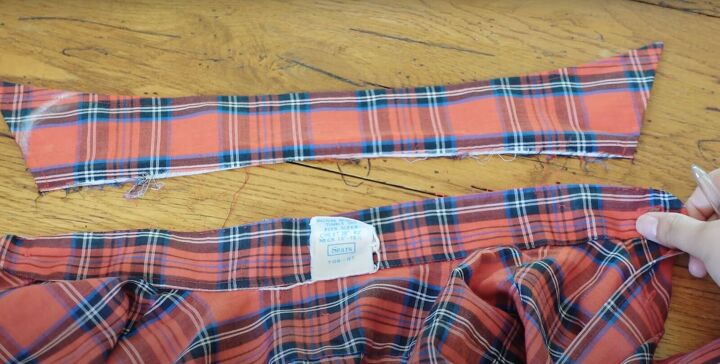
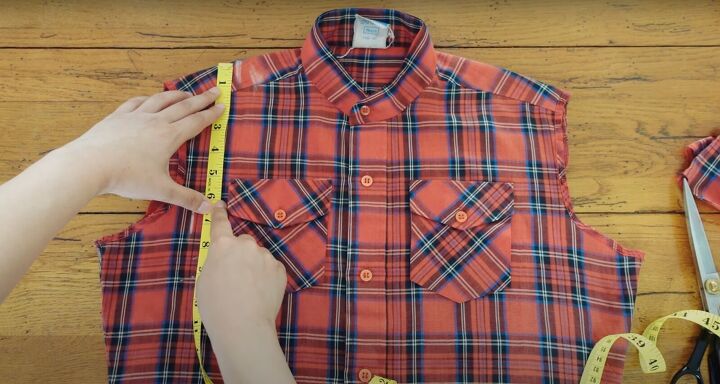
4. Change the sleeves
Cut off the sleeves, leaving the shoulder seam intact.
To make a rounder and puffy sleeve, you’ll need to redraw the top of the sleeve. Add 1 ½ inch hem allowance at the bottom. Redraw the top with a graceful swoop. Cut out the pattern.
Use it as a template for the second sleeve. If you’re using a patterned fabric, it may be impossible to match it exactly. Match it as best you can even if one sleeve is a bit smaller than the other. It’s better to have matching patterns.
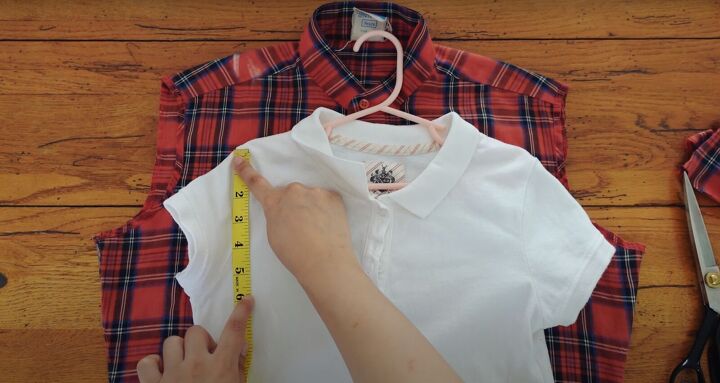
Use a well-fitting shirt as a template for the armhole length. Measure the vertical drop from the shoulder to the armhole.
Mark the new-to-you shirt with these measurements. Mark the armhole with ½ inch outside of your original shoulder mark.
Draw the curve.

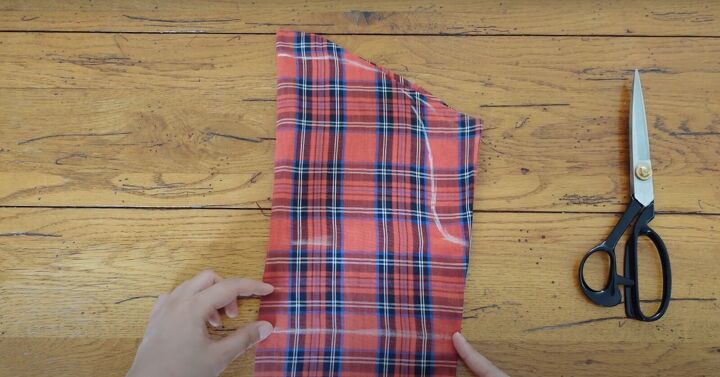
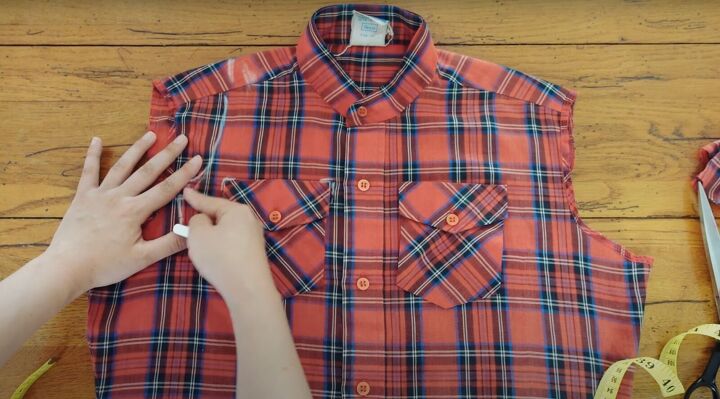
5. Change the bodice
Draw the bodice measurement down on one side to the hem. Add 1½ to 2 inches seam allowance.
Finish at the hem.
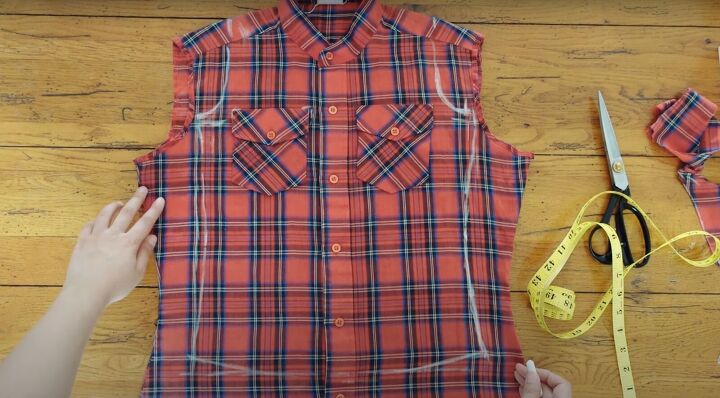
Mark the other side of the shirt by measuring the first side and mirroring the measurements.

Cut the shirt out.
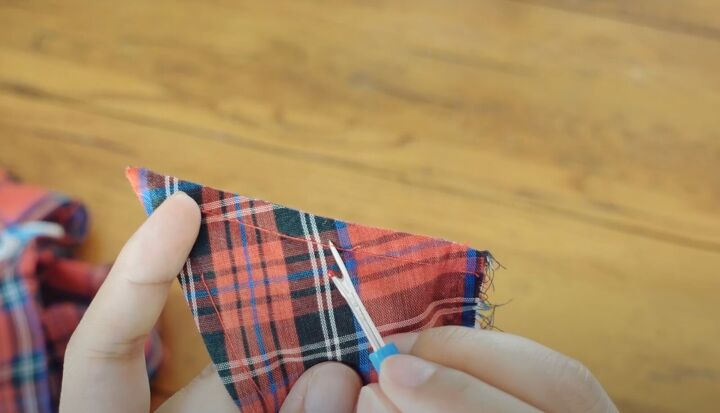
6. Sew the collar
Sew along the rounded line on the wrong side. Trim off the corners.
Make tiny notches in the seam allowance along the curve.. Turn the collar right side out. Topstitch the collar ¼ inch away from the edge.
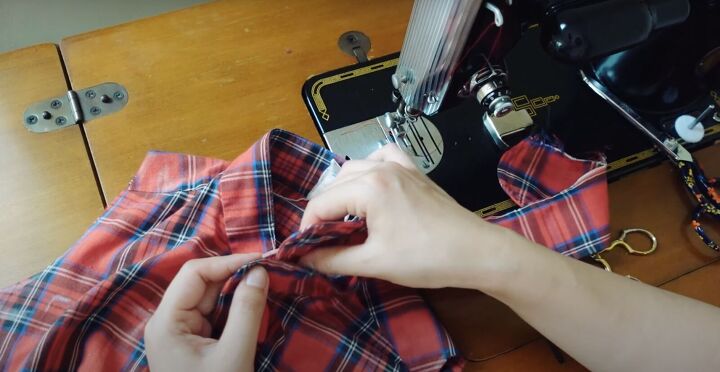
Place the collar back in the collar stand and secure it with pins.
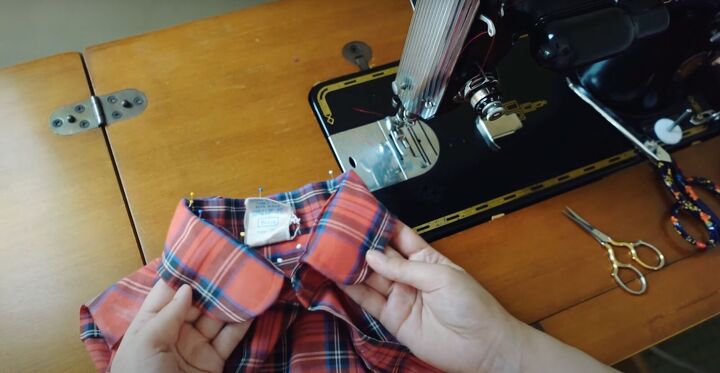
Check that the collar lays nicely. Topstitch the collar into position through all the layers of fabric.
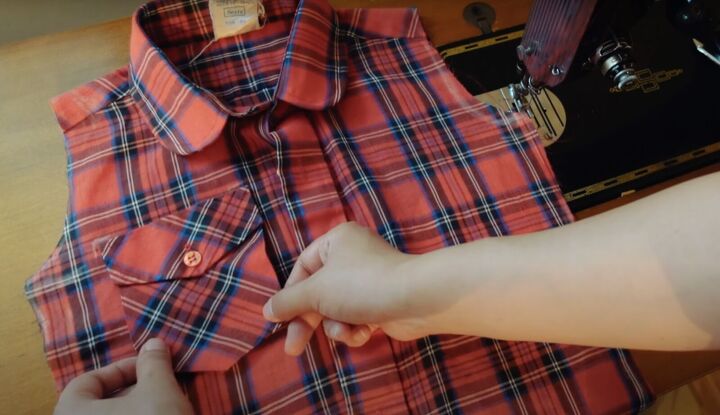
7. Sew the pockets
If your shirt has pockets, pin and topstitch them into their new position.
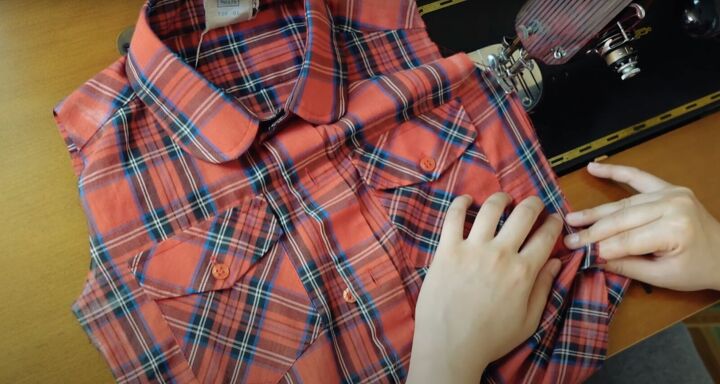
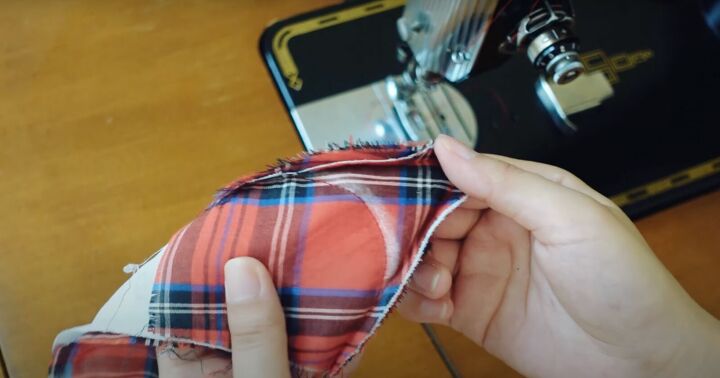
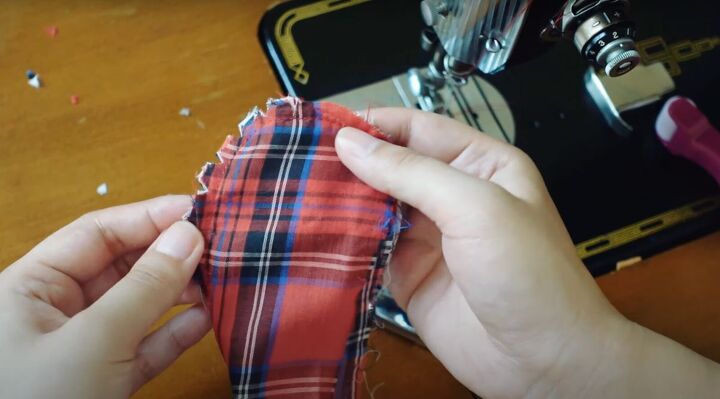
8. Sew the bodice
A French seam gives a professional look. First, sew the side seams with the wrong sides together with ⅛ inch seam allowance.
Then flip it so the fabric is right sides together. Sew a ¼ inch away from the first stitching.
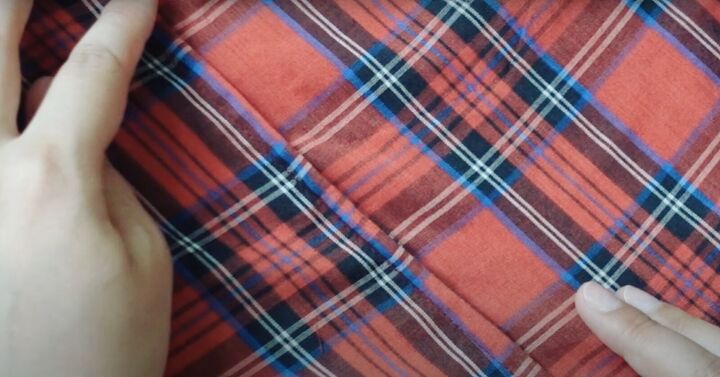
The result is a nice strong seam and an encased raw edge.
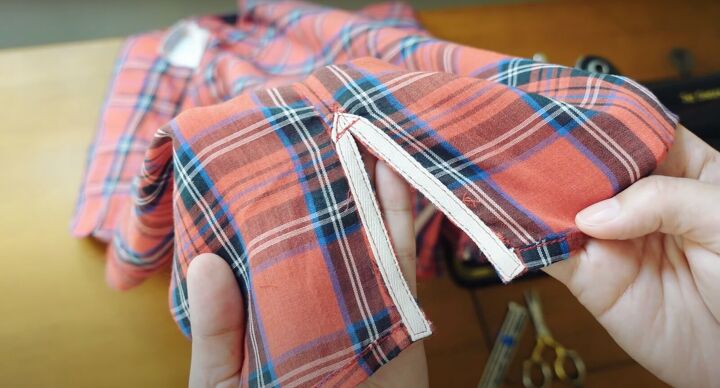
If there isn’t enough wiggle room, add small vents at the bottom.
9. Sew the hem
Double fold the bottom hem. Sew into position with a topstitch.

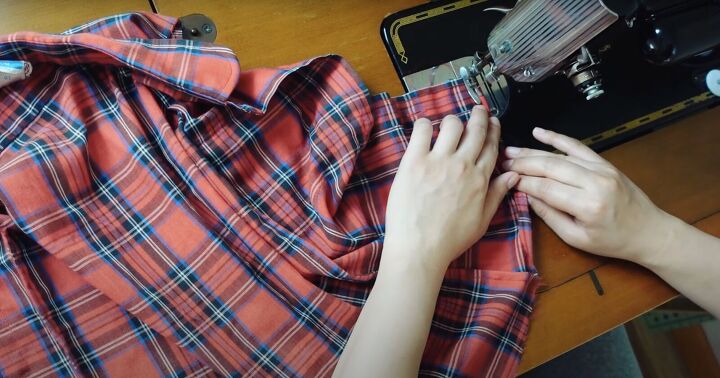
10. Sew the sleeve
Fold the sleeve in ¼ inch upward. Then fold up an additional 1 ¼ inch. Press to flatten both folds.
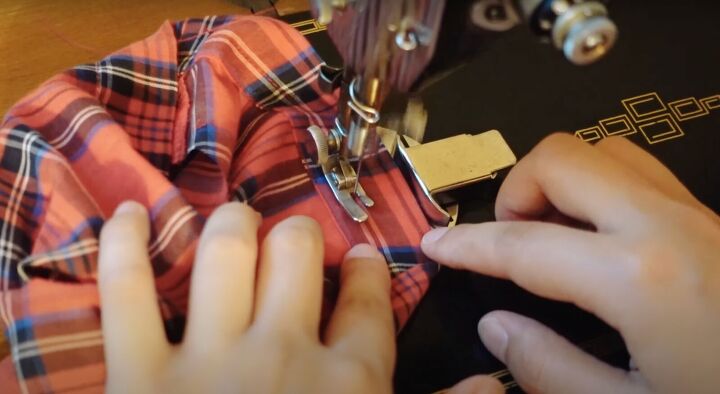
Sew close to the edge of the fold, leaving a ½-inch opening unsewn. Do a second parallel stitch about ⅜ inch from the first stitch.
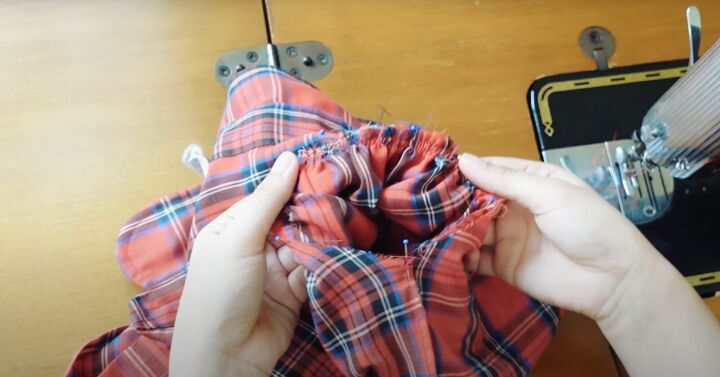
At the top of the sleeve do two rows of gathering stitches. Pull on the threads to gather the fabric. Distribute the gathers evenly.
Try on the shirt and see how the sleeve looks. The sleeve attachment affects the overall silhouette of the garment so make sure they are balanced.
Insert the sleeve into the bodice right sides together. Pin in place and sew into position. Serge or zigzag stitch over the seam allowance to finish and secure the seams.
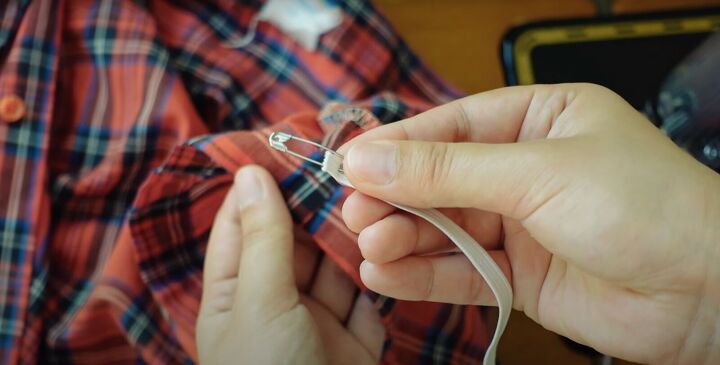
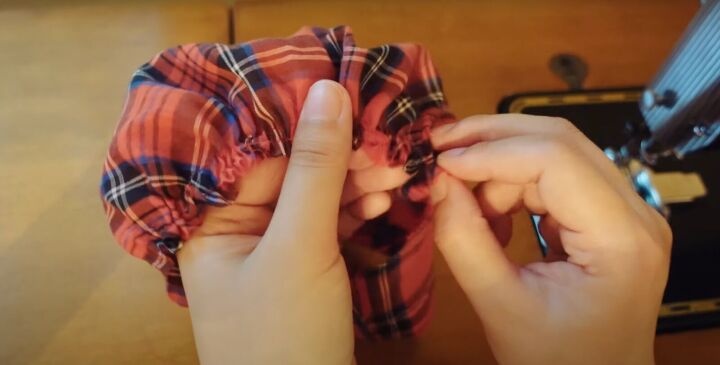
Insert the ¼ inch elastic using a safety pin into the space in the sleeve. Tunnel it through to the other end. Stitch the elastic to secure, tuck back in, and close the space. Repeat for the other sleeve.
How to upcycle a men's shirt
I hope my tutorial on how to upcycle a man’s shirt helped you transform a boxy shirt into a feminine top.
Please let me know in the comments if you did this DIY.
The author may collect a small share of sales from the links on this page.


Comments
Join the conversation
👍️😍
LOVE this, Great refashion and thank you for sharing :)