How to Sew a Camisole Out of Your Nana's Old Nightgown

In this tutorial, I’m going to show you how to sew a camisole from an oversized slip dress.
I found this oversized slip at the thrift store for $3. It's a size 3X, and I was super excited about that because there is so much material to work with.
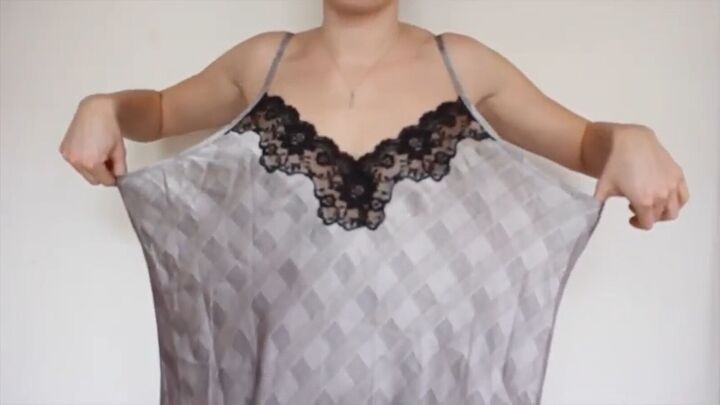
I got such a good deal, and I knew that I could make multiple pieces out of all this fabric.
Tools and materials:
- Oversized slip dress
- Sewing machine (with a serger)
- Scissors
- Pins
- Seam ripper

1. Adjust the width
Start by wearing the dress and pinching the sides to get the fit you want. Then, either mark or pin your new width measurement (you may need someone to help you with this).
Once done, take the dress off and turn it inside out.
2. Sew the new sides seams
Sew down each side to the approximate length that you want your tank to be. Also, as you’re stitching, gradually widen down as you sew towards the bottom to give the top a bit of an A-line shape.
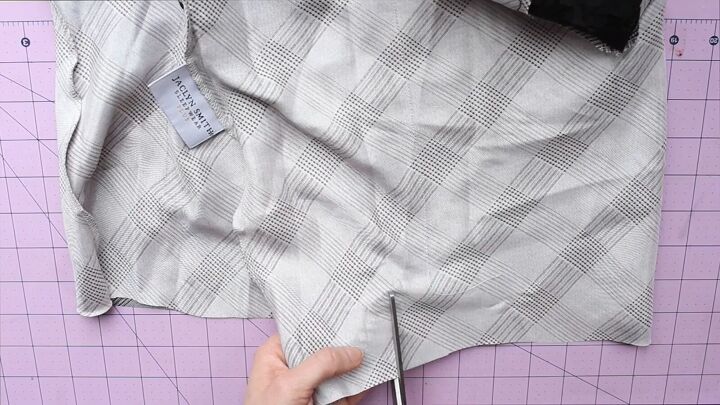
3. Cut and serge
With each side now taken in, you can now chop the bottom of the skirt off.
With all that extra fabric on the side seams, I suggest using a serger to take it off. But before you do that, cut a small slit on each side from the bottom so you can serge those separately.
If you don’t have a serger, you can always use a zigzag stitch instead.
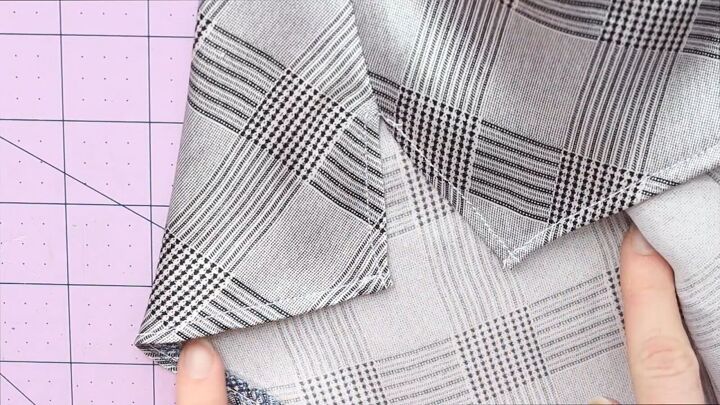
4. Hem
Now you can hem the bottom and those slits. To do this, fold the material in once towards the inside of the tank and stitch that down. That turned out to look like this on the outside.
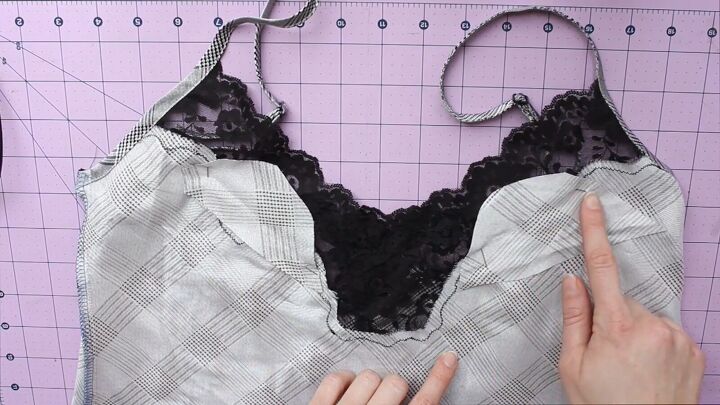
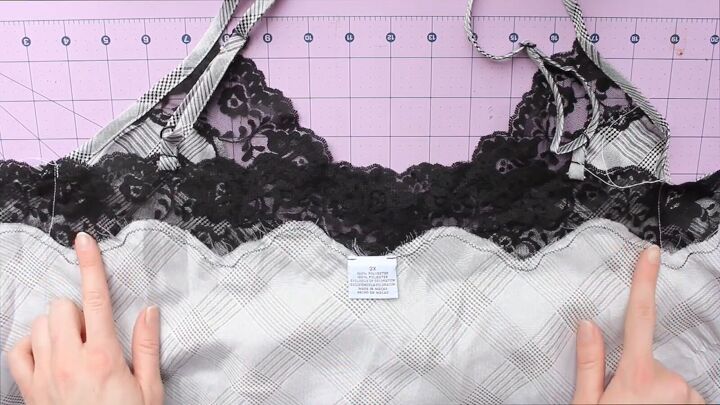
5. Cut pieces to add to the lace
With the extra side seam fabric, cut two small pieces to add to the lace on the inside to provide some more coverage.
Pin these pieces where you want them, and then sew them on, following that original zigzag stitch around the borders and the original stitching underneath those little pieces.
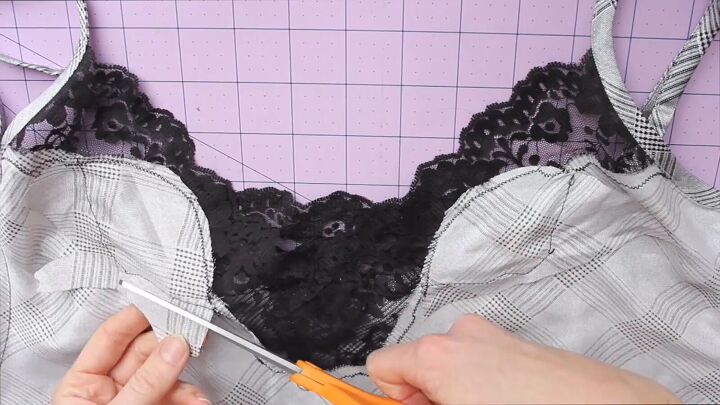
Then cut off the excess.
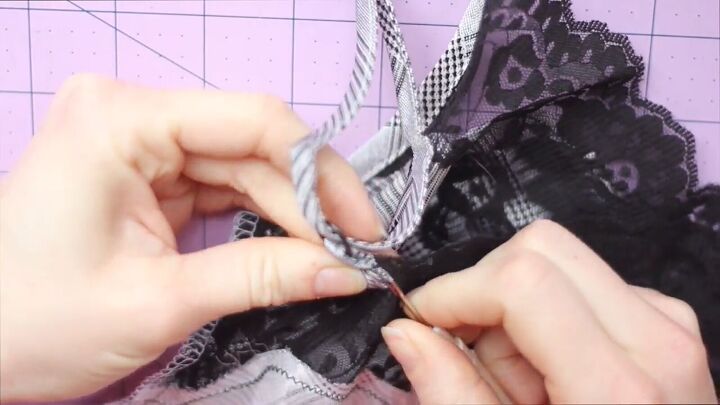
6. Adjust the straps
The last step is to move the straps in more to get them to where you want them to be. To do this, very carefully seam rip them off of the lace.
Then move and restitch them down with two straight stitches, which is exactly how they were originally sewn.
In a few quick minutes, this is what I ended up with. From nana's nightgown to…

...a stylish camisole!

How to sew a camisole tutorial
I’m so happy that I was able to thrift a huge oversized nightgown and turn it into something trendy and stylish that I can wear!
The adjustments were really simple to do, and the top now fits me perfectly.
Join me in part 2 as I turn the rest of the fabric into a pair of DIY cropped pants.
The author may collect a small share of sales from the links on this page.


Comments
Join the conversation
Looks good ! Well done !
Love it