Sew a Thrifted Skirt Into an Off the Shoulder Shirt
I can’t get enough of the boho chic trend. When I spied this folk-inspired peasant skirt at the thrift store, I threw it in the cart before anyone else could get their grubby little hands on it. I’m seeing lots of off the shoulder blouses in the fashion blogs and wanted to do a boho spin on it with this skirt.
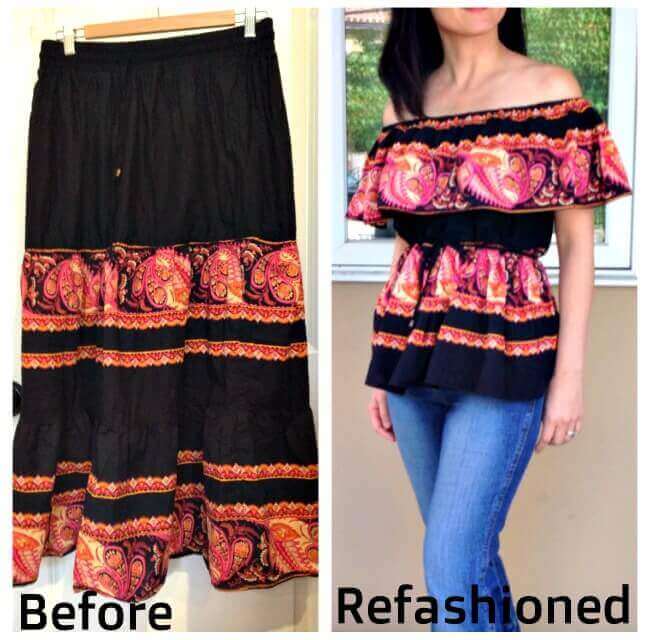
In this tutorial, I will show you how to refashion a skirt into an off the shoulder blouse in 2 hours.
Here’s an overview of this project:
- Step 1: Chop up the skirt
- Step 2: Cut and finish armholes
- Step 3: Attach shoulder ruffle to the top
- Step 4: Make casing for the elastic
- Step 5: Insert elastic into the casing and finish the bottom hem
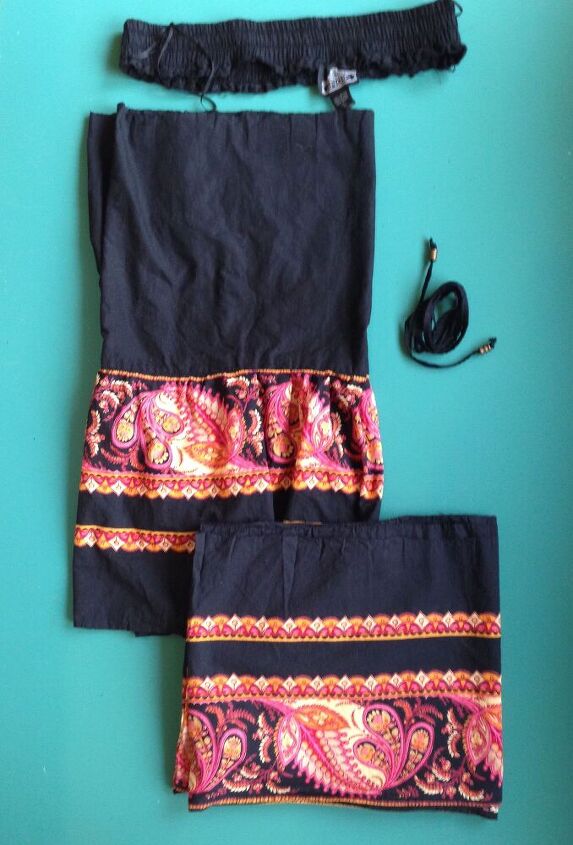
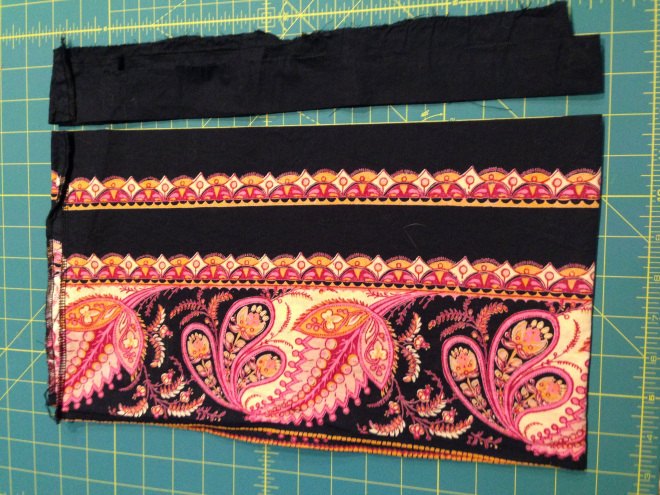
The skirt is made of 3 tiers. I chopped off the bottom tier, which will become the top of the blouse. The top 2 tiers will become the bodice of the blouse. I’ll be reusing the the skinny belt with beads on the end.
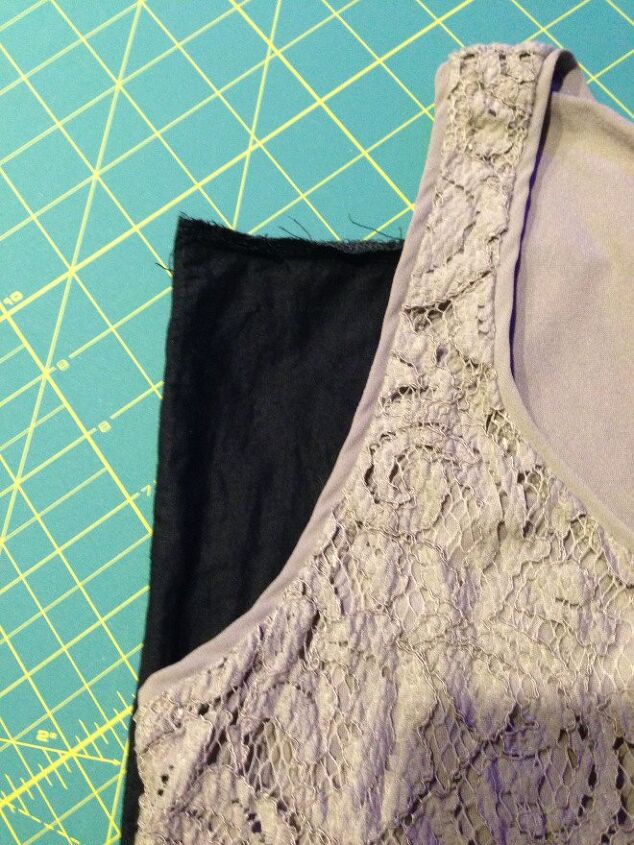
I traced the armhole on the bodice using an existing ready to wear tank top. Since this is going to be an off the shoulder blouse, I only traced the bottom 2 thirds of the armhole.
Repeat and cut on both sides. I finished the armhole by folding the edge 1/4″ inch and stitching it down.
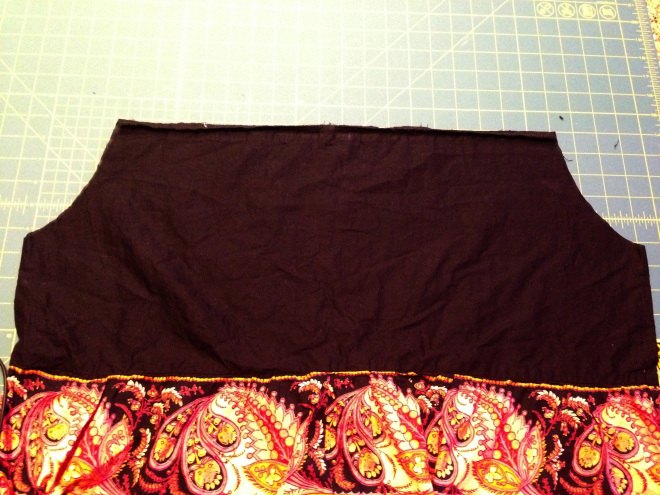
For the top of the blouse, I trimmed the bottom tier and finished the edge with my serger.
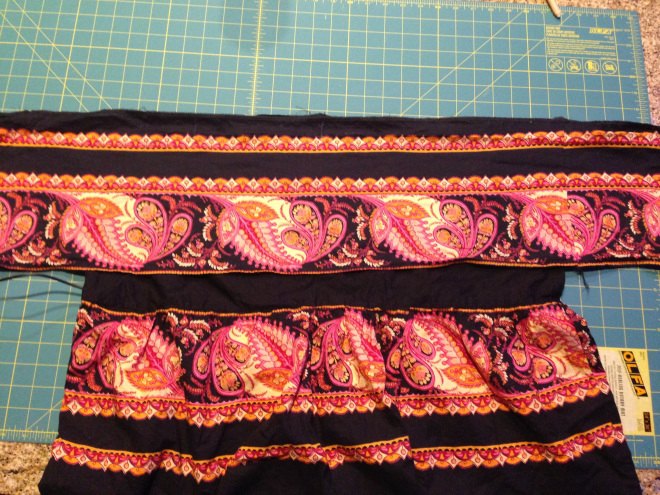
I placed the bodice in the middle of the top ruffle, aligning the edges.
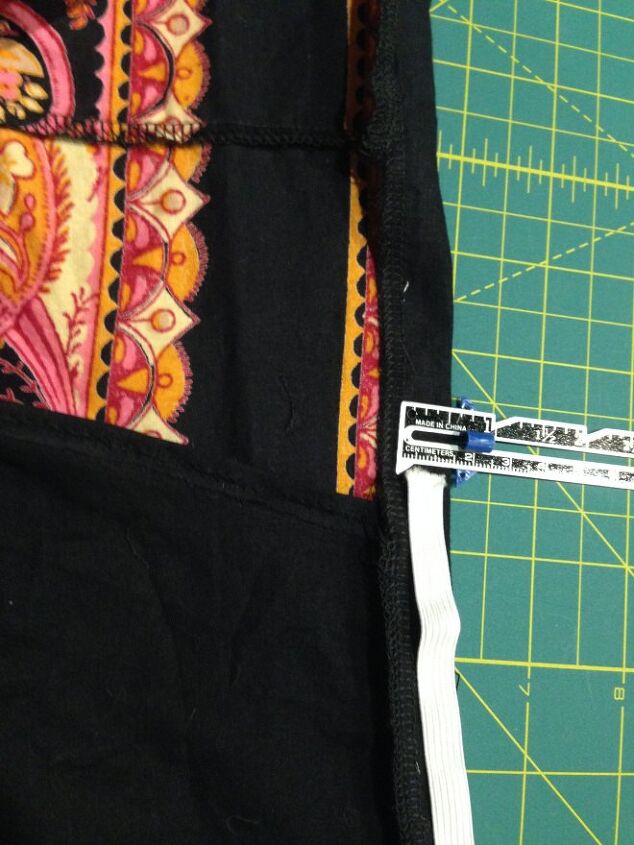
I folded the edge down to create a casing for the elastic that will create the ruffles for the top. I had to make sure it was large enough for the elastic to lay flat, so I used a gauge to measure a casing that was a smidge wider than the elastic.
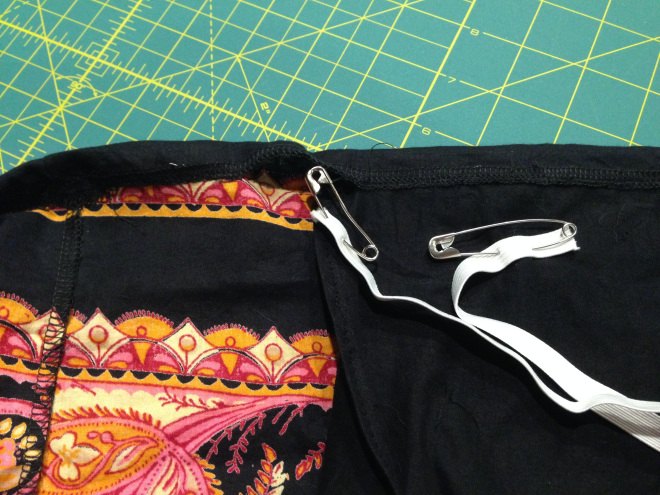
I sewed the casing all the way around the top but left a 1 inch gap for the elastic. I “threaded” the elastic by attaching a safety pin to the elastic and mushed it through the casing. Notice how I pinned the end of the elastic to the bodice? That’s a precaution I make so I don’t pull the end of the elastic through the casing. I need both ends sticking out so I can sew the ends together to make a circle. After sewing the ends together, I sewed closed the 1″ gap, completely enclosing the elastic.

And here’s the finished shirt. The bottom tier of the shirt has a peplum vibe to it when it is belted. The shirt is blousy, which I like as my weight can fluctuate quite a bit.
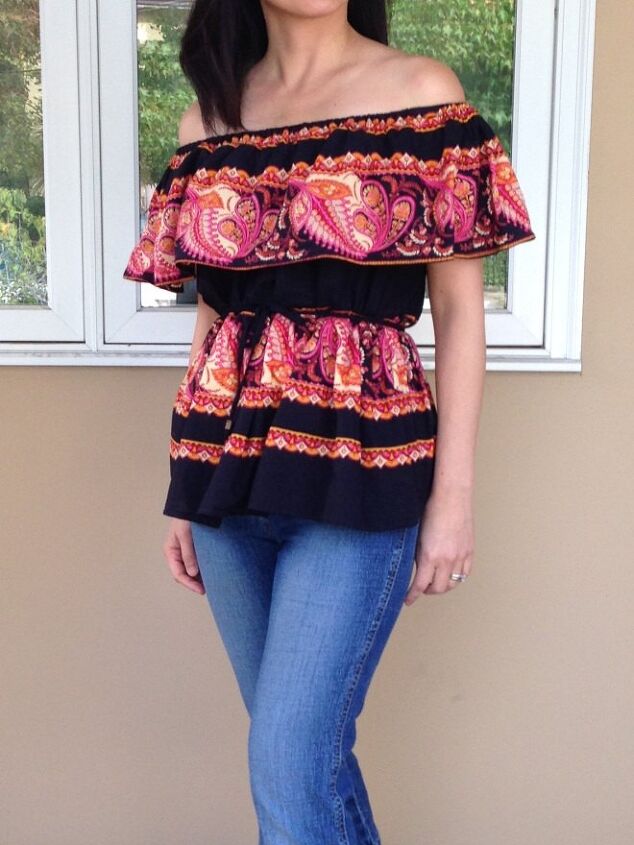
Here’s a closeup of the front.

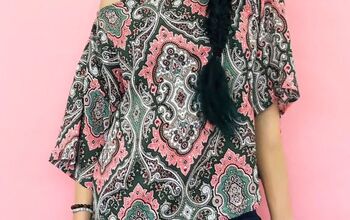
And here’s a close-up of the back. Hooray for thrifted, upcycled, DIY fashion!
The author may collect a small share of sales from the links on this page.


Comments
Join the conversation
Wow!! That's really amazing! Thank you for sharing.