Sleeveless Shirt Refashion


Today, I’m sharing one of my favorite shirt refashions I’ve made so far. I used a vintage floral buttoned shirt. I really liked the fabric and the colors, so that’s the reason I started working on it. The result was even better than I imagined.
If you have a sleeveless shirt at least two sizes bigger, maybe you can give it a try. If you do, I would love to see a picture of your creation.
For the tutorial you’ll need:
- Sleeveless shirt of your choice
- Scissors
- Cotton thread to match your fabric
- Pins
- Sewing machine
- Iron
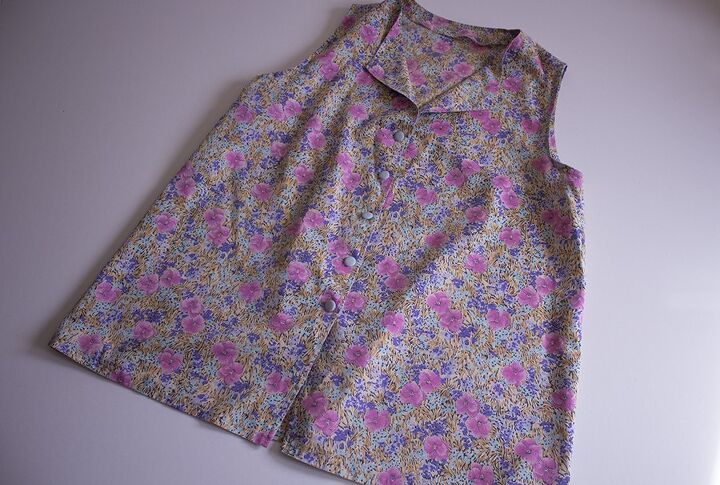
First take a look of the shirt I used.
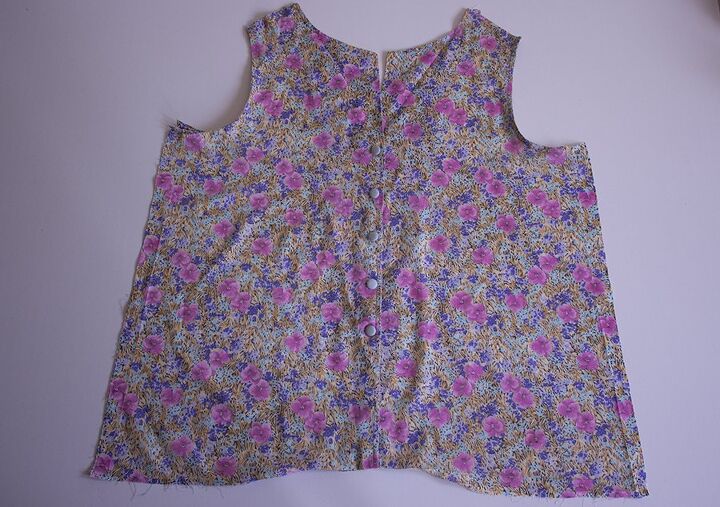
Deconstruct the shirt using seam ripper, rotary cutter or scissors. Start with tearing apart the side seams, then any bias tape that might be around the armholes. Finish with cutting the shoulder seams to the neckline.
Take the front panel of the shirt and turn it upside down. Measure yourself shoulder to shoulder and add 5 cm. This will be the width of your shirt.
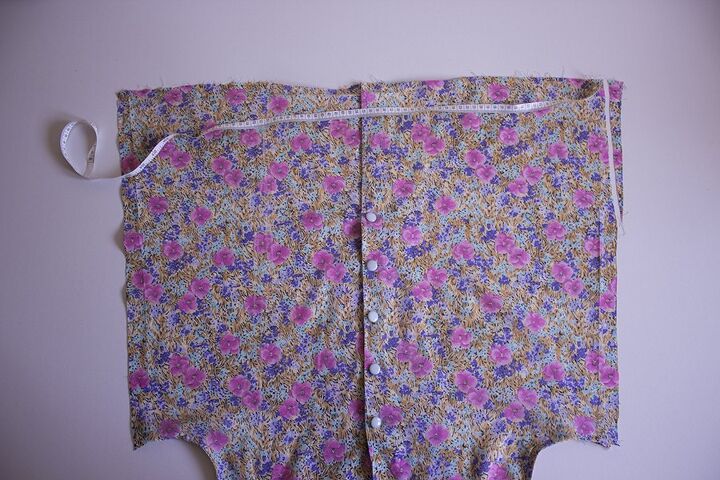
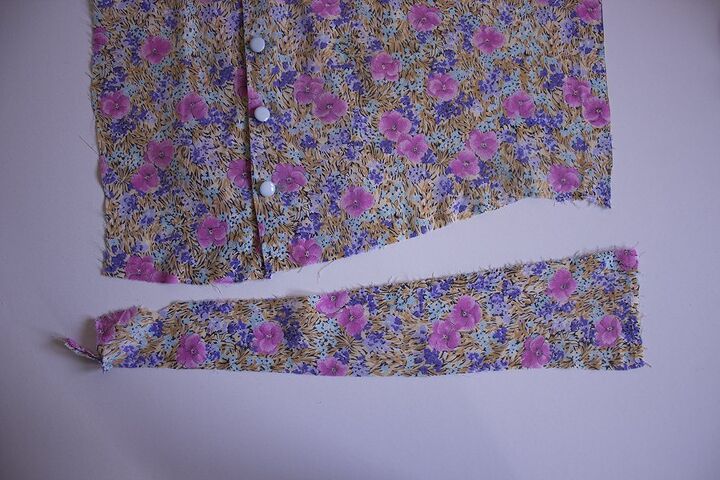
It’s your choice from where to start cutting the front fabric panel. I started from the edge because I wanted that the buttons to be one the side. If you start from the edge of the panel, straighten a bit if necessary like I did in the picture above. As for the length cut as you are allowed, near the edge of the arm.
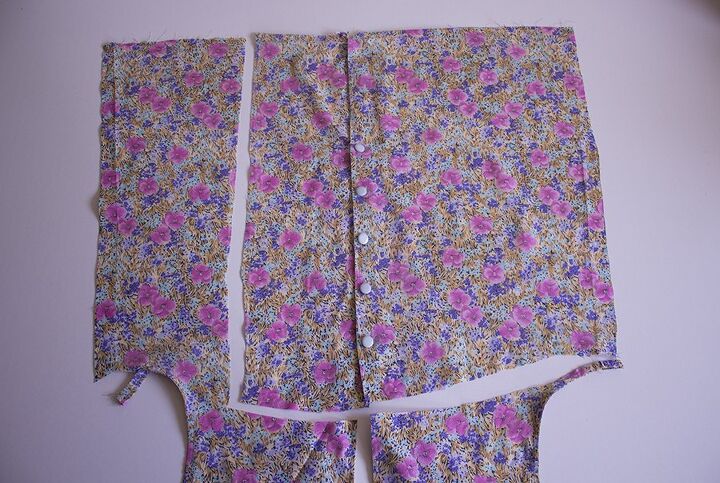
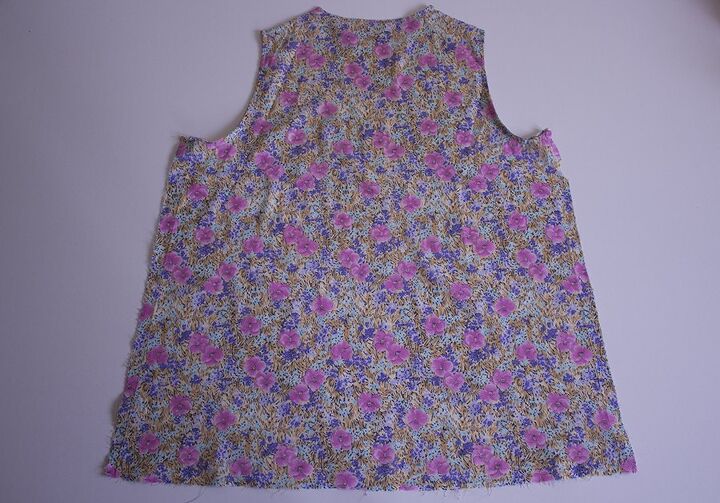
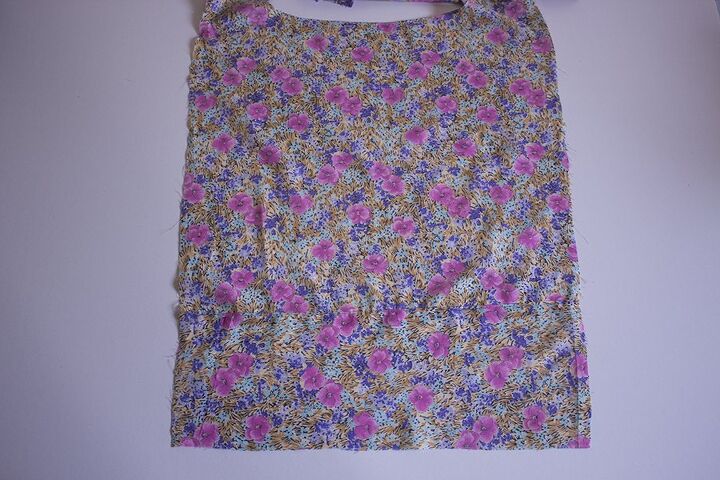
Now lay the back panel flat and cut it based on the front one.
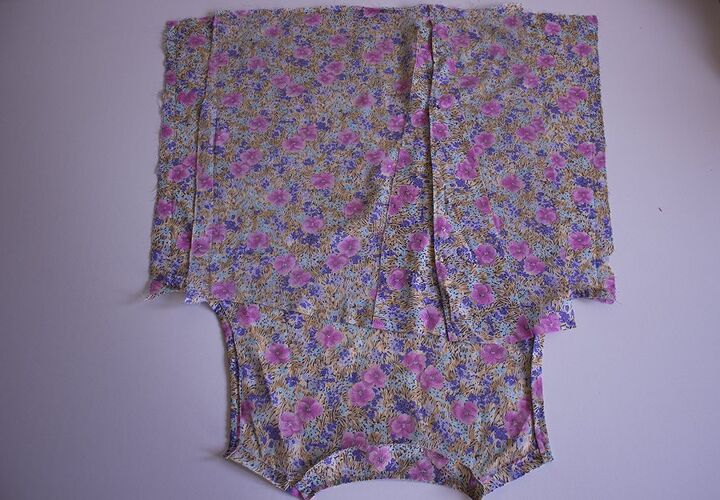
Here’s a look of the two panels.

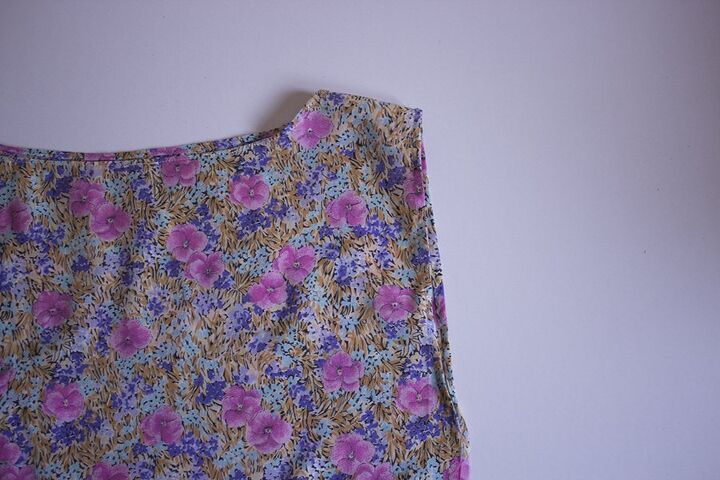
Grab a shirt the neckline form of which you like. Lay it flat on the front panel, copy the neckline and leave 1.5 cm seam allowance. After that, fold the edge of the neckline twice and sew along it. Repeat for the back panel.
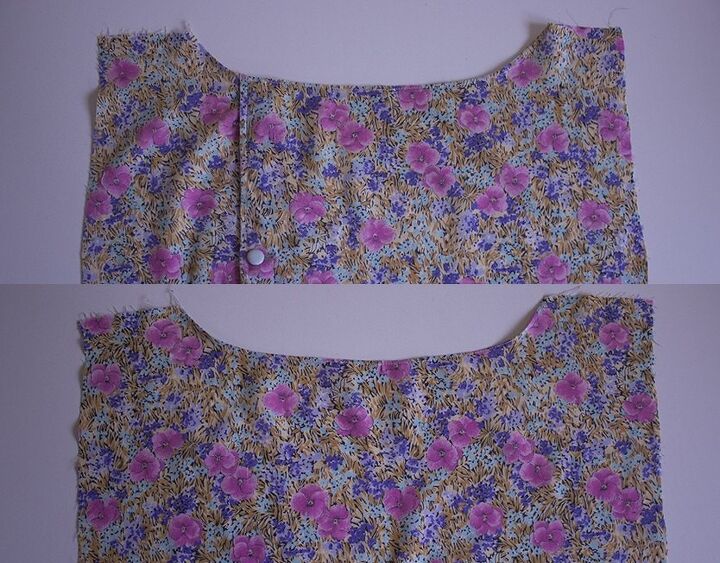
After you finish making the necklines for the two panels, lay them on top of each other. Put the right sides together and sew the shoulders.
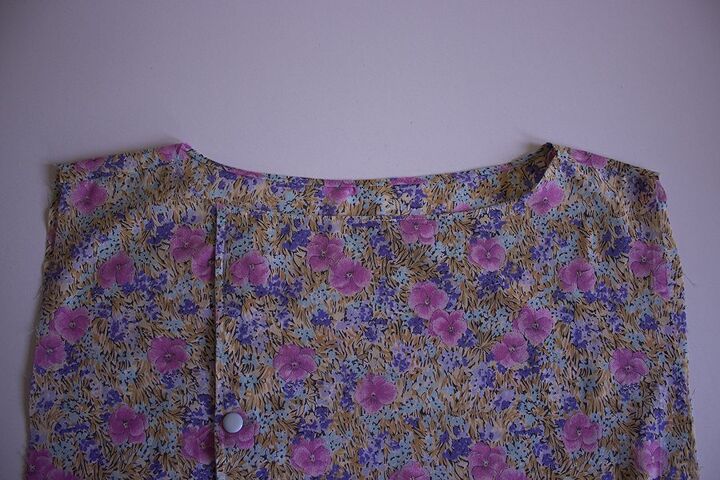
Here’s a picture of after sewing the shoulders.
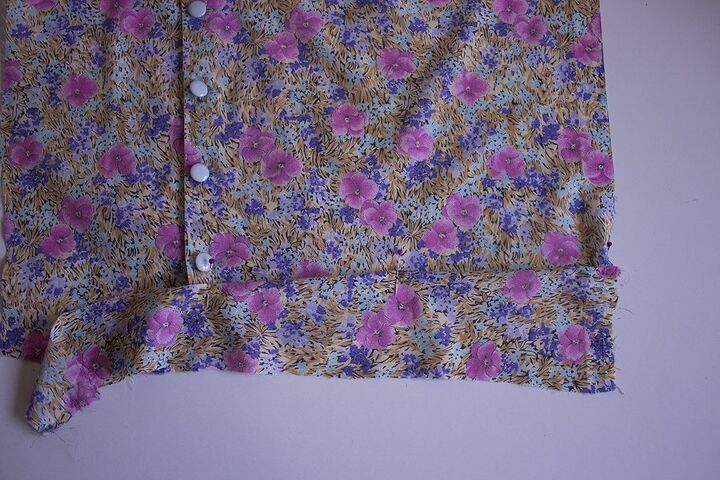
Now it’s time to mend the bottom of the panels. As we saw on the pictures above, they aren’t even. So here’s what you can do. You can maybe add lace tape or use some of the scraps left from the shirt, like I did. Take a piece or a band of fabric that is wide and long enough.
Fold the band over 1 cm and press it. Position it on the edge of the bottom panel, secure it with pins and topstitch all around. Repeat for the other side.
Here’s a look of after sewing the fabric bands on the front panel.
I did the same for the back panel. If you’re left with little fabric from the shirt, you could use any other type of fabric you have.
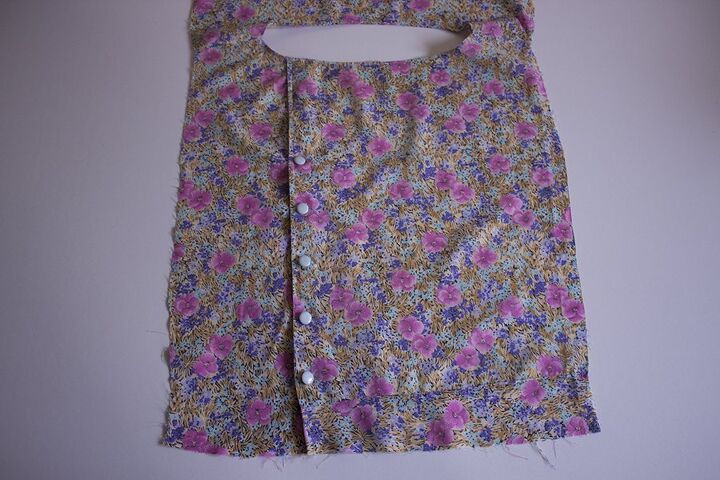
Sewing the arm openings; Try out the shirt and define how space you want left for the arms. Lay out open the shirt on the wrong side and determine from where to where are your arm openings. Next fold the edges twice, pin and sew using a straight stitch.
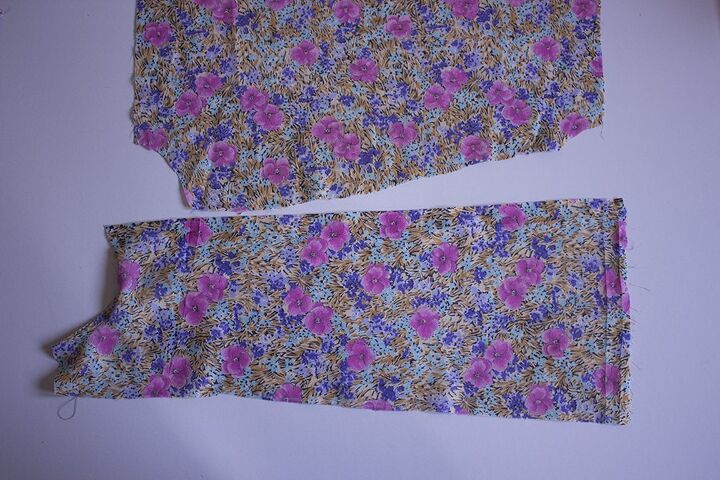
Sew the both sides of the shirt and create side slits if you want. Finish with hemming the bottom of the shirt.
That’s all and I hope you enjoyed this refashion.


The author may collect a small share of sales from the links on this page.


Comments
Join the conversation