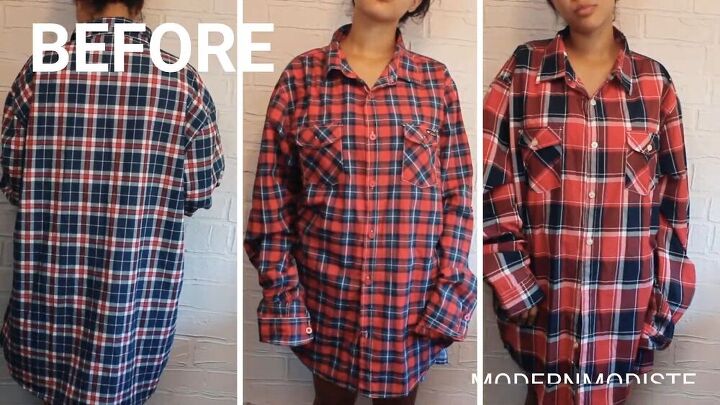
Shirt Refashion 101: Make a Unique 3-Way Plaid Dress

Talk about having a unique dress, huh? So I love this dress for so many reasons; it's unique, it's a refashion, meaning a good upcycle, it's funky, and it's super comfy. There's really nothing to it- this DIY button-up shirt refashion only takes a few simple steps. This shirt refashion tutorial will give you a clear, step-by-step guide on this delightful transformation. So, grab 3 old, different printed, men's shirts from your dad, brother, boyfriend, cousin, or friend, and let's get sewing!
Tools and materials:
- 3 Men’s shirts
- Sewing Machine
- Buttons
- Thread
- Pins
- Scissors

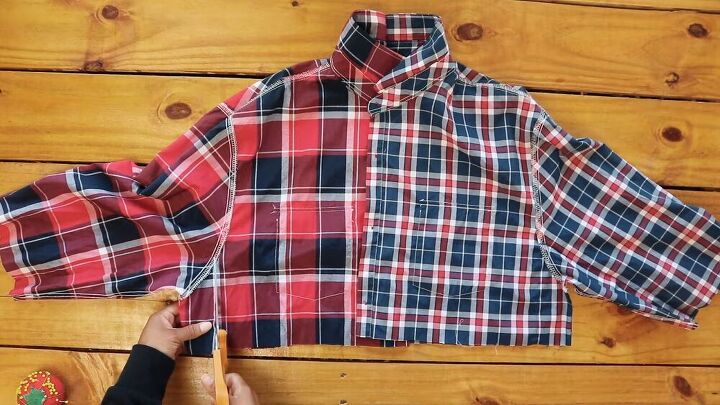
Find the middle point and cut
Find the middle point of two of the shirts, and cut them in half. Cut slowly and carefully all the way down the shirt, so you land up with two separate pieces.
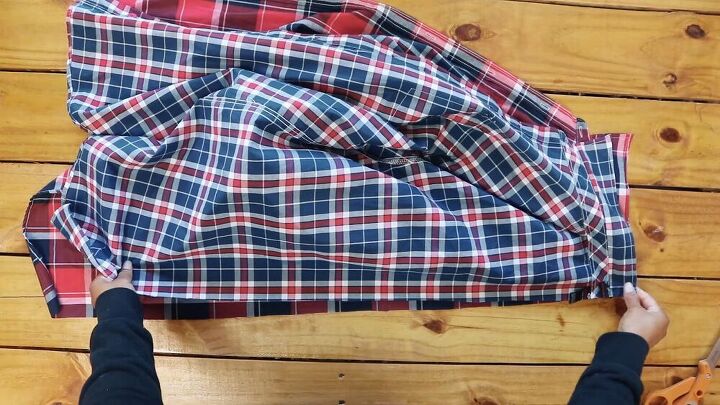
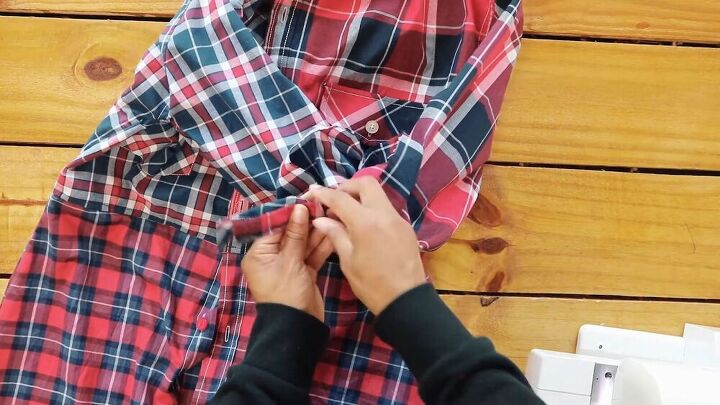
Stitch the shirts together
Before you stitch the shirts together, finish off the seams to prevent any fraying; zigzag stitch the ends and sew a straight stitch in the center of the zigzag stitch. Take one shirt and face it right sides together with the other printed shirt. Then, sew them together.
TIP-
Don't sew all the way down to the bottom of the shirts, as you will be cutting this shirt in half once they are sewn together.

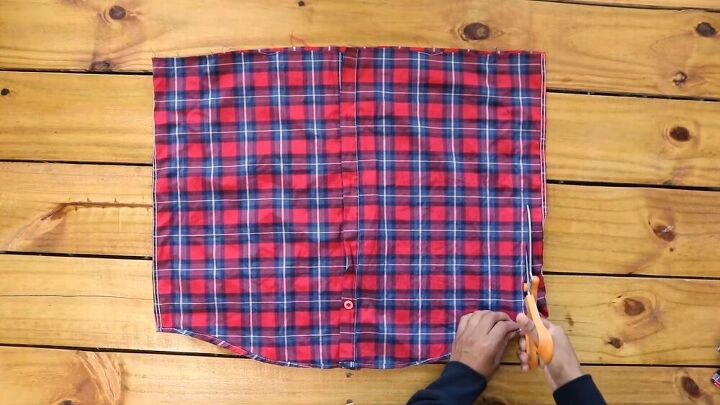
Cut your shirt
Now that your two shirts are assembled wear it and pin where it sits at your waist. Cut the shirt across, through the waist.
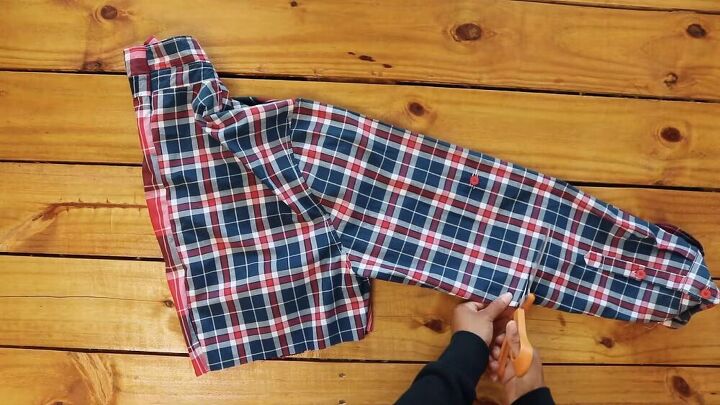
Then, I also shortened the sleeves.
Modify the sleeves
The shirt size itself is way too big for me, including the sleeves. Instead of taking the whole shirt apart, I sewed a curved and straight line from the one end of the sleeve, through the armhole, and down to the bottom of the cut shirt.
Once done, I cut off the excess fabric. Now, isn't that a quick way to resize a shirt?

Zigzag stitch the raw edge of the section where you cut out. This will ensure that no fraying occurs.
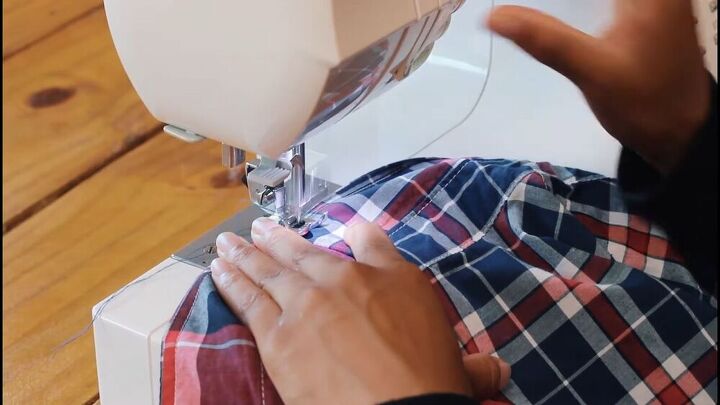
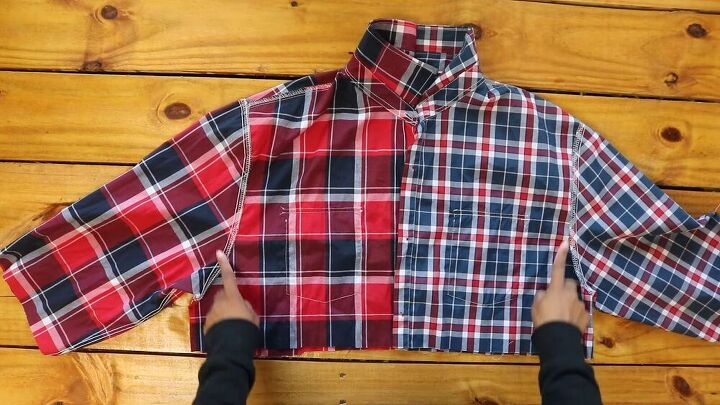
Topstitch
Topstitch down the center seam of the shirt at the back.
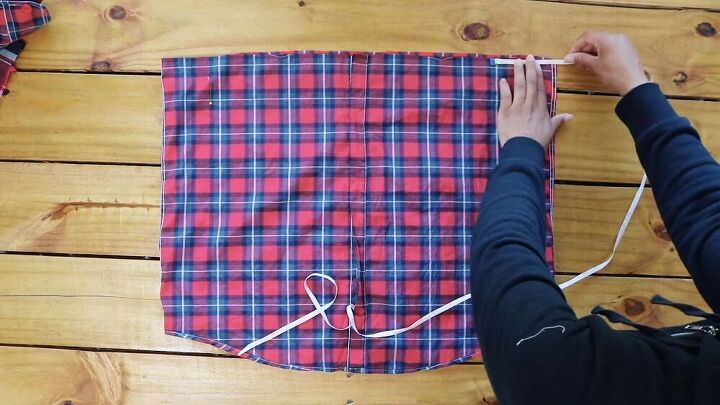
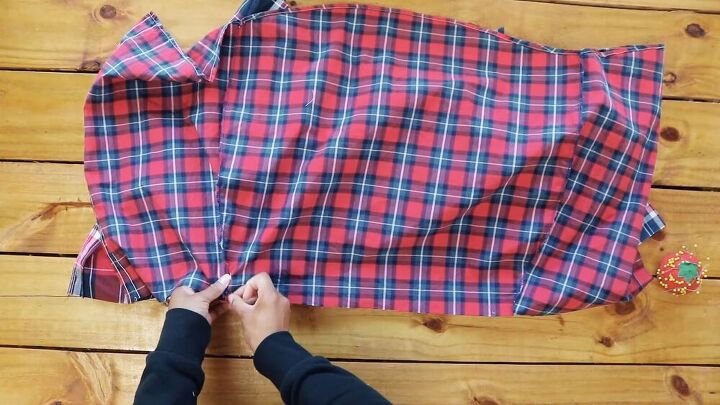
Create the skirt portion
Cut the third shirt just below the sleeve. Next, measure 3.5 inches on each side (according to my waist measurement) and pin a straight line down from the 3.5-inch mark.
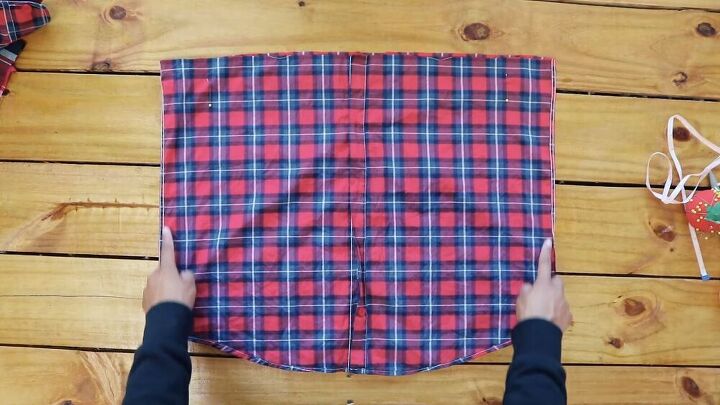
Sew your two sides on a curve so that the sides of the skirt angle out enough to fit the widest point of your hips.
Just as you did with the sleeves, cut off the excess fabric and finish the raw edges with a zigzag stitch and a straight stitch along the center of the zigzag stitch.
Attach the skirt to the top area
Line up the two raw edges of both the skirt and top, right sides facing. Pin together along the two side seams.
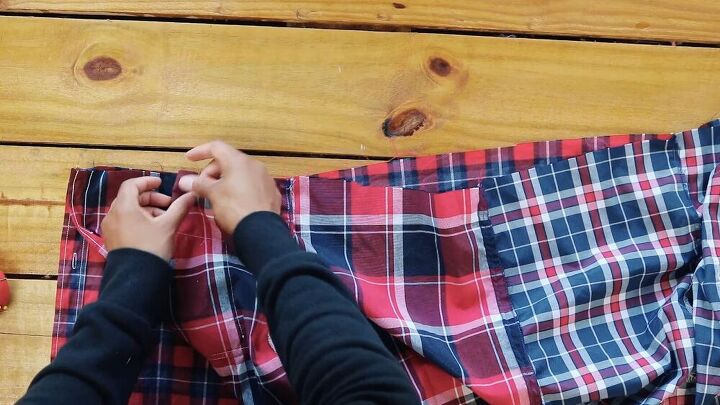
The top is slightly longer than the skirt, so I pinned a neat little pleat to the center front, right below the pockets. I also pinned two pleats to the back to match the edge of the top.
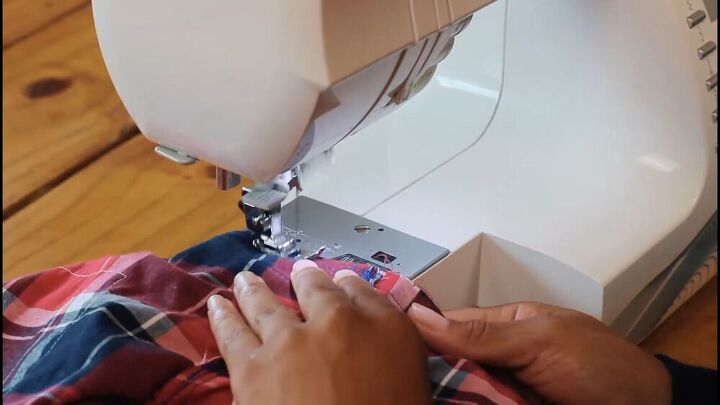
Sew the two sections together. Zigzag stitch the raw ends ( yes, I like doing this because it seriously prevents fraying). Next, open the dress and topstitch.
Modify the ends of the sleeve
Cut the two strips of the mini belts on the sleeve so they are the same length, and fold the sleeves. Hem the sleeves once folded as well the raw edge of the two strips.
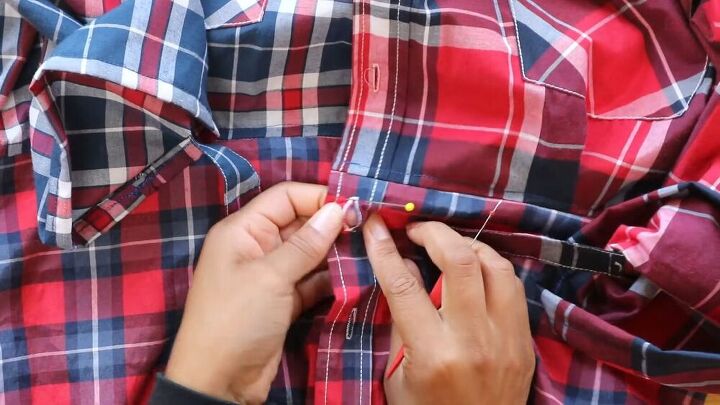
Add and remove buttonholes
Make sure the buttons align. On my dress, two buttons didn't align with the other half of the dress, so I removed them. I added a buttonhole to the top portion of the dress and two buttonholes on the sleeve strips. For the buttonholes, I used a buttonhole foot.
Use a sewing pin as a stopper and seam ripper to rip open the holes.

Mark where the buttons should go with the buttonholes and align to the side of the dress. Next, hand sew the buttons.
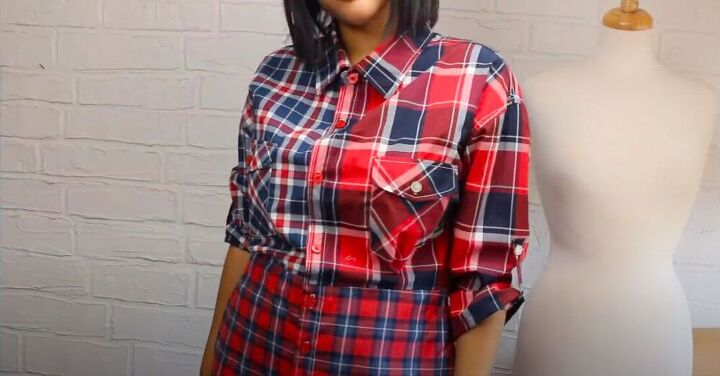

Here it is, ladies. A customized and unique shirt to dress refashion. It's really stylish and can be worn casually or even on a fun night out! I hope you enjoyed my comprehensive step-by-step guide on the button-up shirt refashion.
The author may collect a small share of sales from the links on this page.


Comments
Join the conversation
It is so cute! I can’t sew but I would definitely wear that! ❤️
Awesome cool thank you