Learn to Fix a Dress Shirt That’s Just Too Big

Thrifted clothes that are just too big is a problem we all face! There’s no need to get rid of your clothes when you can learn how to fix them. I thrifted a dress shirt that I adored but it was just too big for me. I decided to get sewing and fixed the shirt and now it fits just right. I am totally obsessed with my dress shirt and I am so glad I didn’t get rid of it. If you have a shirt that is a little oversized, follow my tutorial and learn the ins and outs of fixing a dress shirt that is too big. My simple, step-by-step guide will leave you with the perfect fitting shirt in no time.
Tools and materials:
- Scissors
- Measuring tape
- Pins
- Sewing machine
- Needle and thread
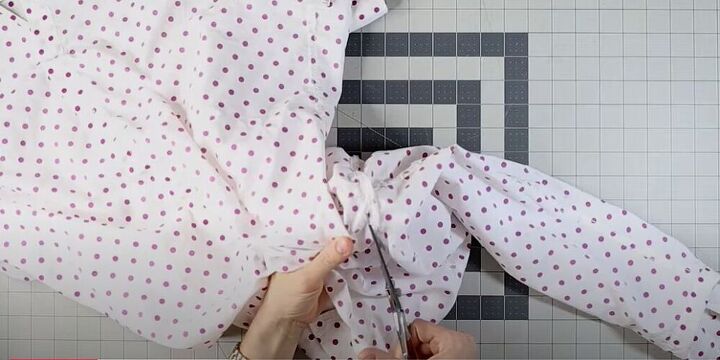
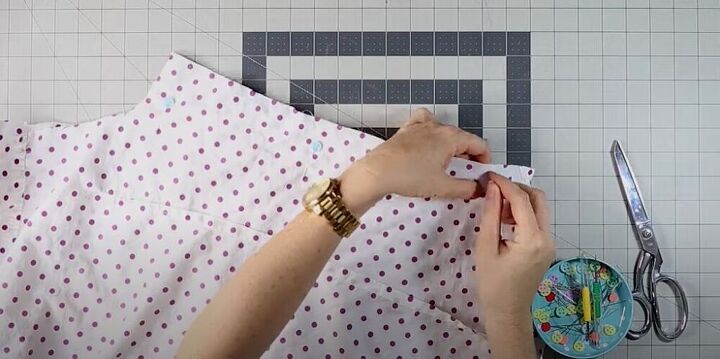
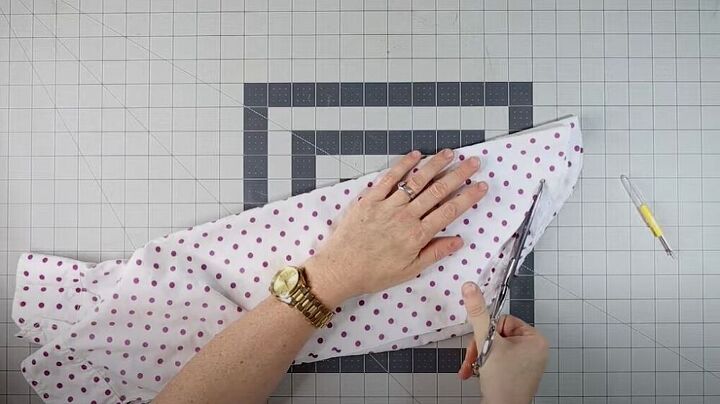
Cut the shirt
To kick off this refashion project, I turned the shirt inside out and then cut off the sleeves.
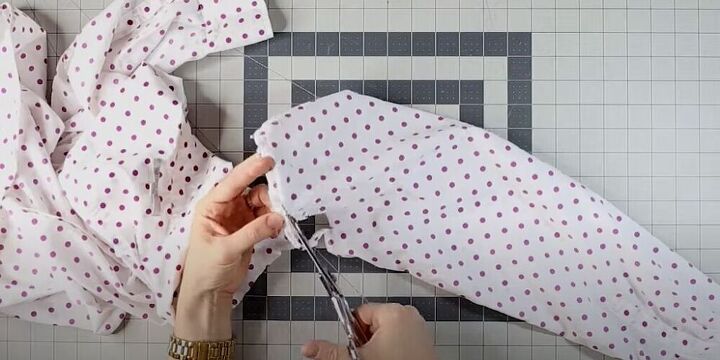
Once the sleeves had been cut off, I cut off the seam allowance from the sleeve itself. If you are cutting a lot off of the sleeve head, later on, you can probably just skip this step.
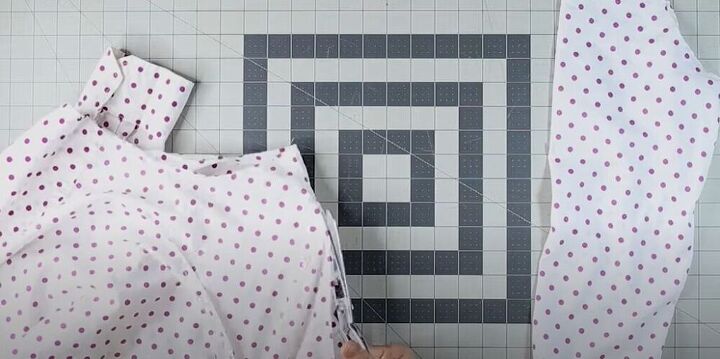
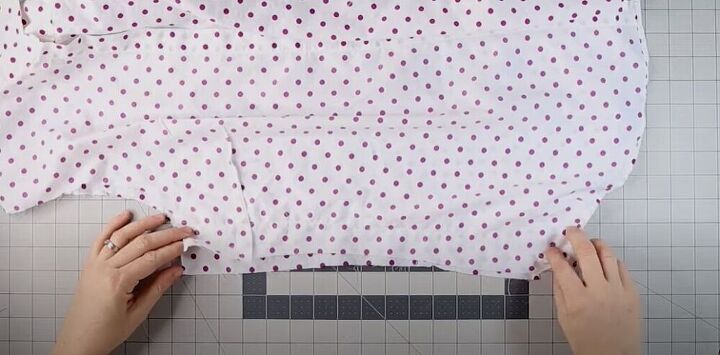
Next, I cut the side seams of the shirt open so that I could take in the shirt later.
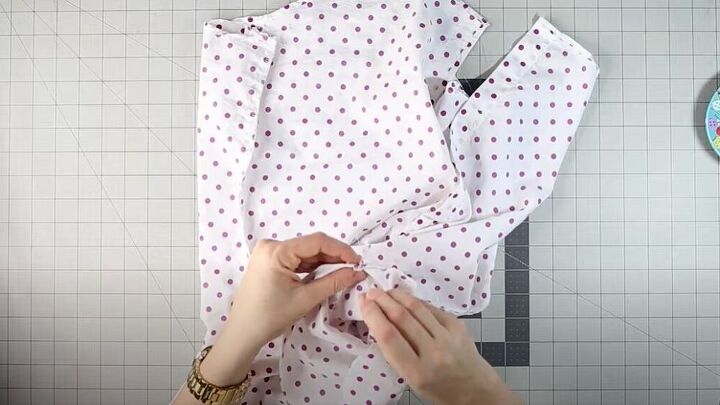
Make adjustments
I realized that I needed to adjust the darts on the front of the shirt to get the perfect fit. I tried on my dress shirt and decided to move the darts an inch inwards towards the apex of the breast. This is also the perfect time to adjust the width of the shoulder seams if you need to. I have broader shoulders so I didn’t need to change much but if you have more narrow shoulders, you’ll want to cut off enough so that the shoulder seam fits you just right.
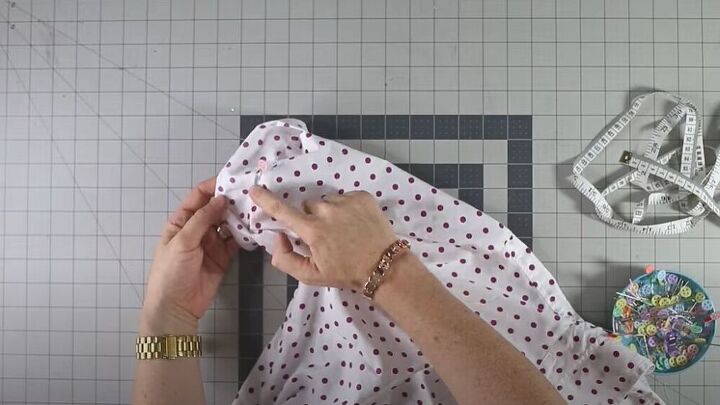
Take in the side seams
After those adjustments, I decided where I wanted my new side seams to be. I took in about an inch and a half on each side of the shirt. I made sure to pin the two sides together.
I sewed the sides together and cut off the excess material. I then finished off the raw edges using a serger but you can also use a zig-zag stitch. If you need to hem the bottom of the shirt, this is a great opportunity to do that as well.

Alter the sleeves
I measured the armhole of the blouse and took note of the measurement so that I could make sure my sleeves would fit perfectly on my refashioned dress shirt.
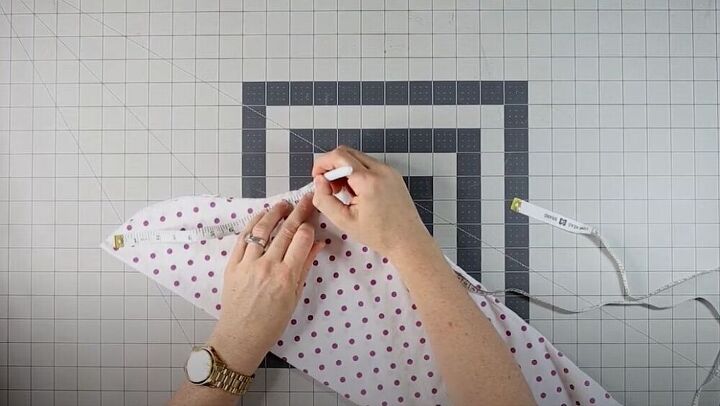
I then measured the sleeve head and marked it so that it would match the sleeve hole.
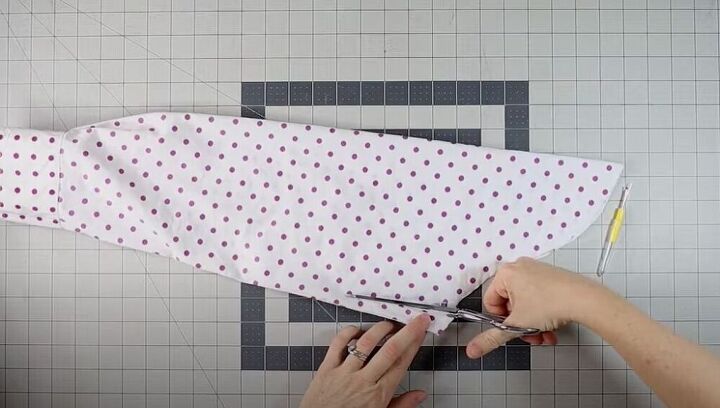
In the next step, I cut the underarm seam along my marking. I only cut halfway because I knew I would be making short sleeves later.
Once I had trimmed under the sleeve, I decided to get the best fit I would need to recontour the sleeve head. I cut the sleeve head shorter and made sure to match the curve of the original one.

This was the perfect time to try the sleeve on and find the new length I wanted. I cut the first sleeve and then used it as a template to cut the second so that they would be the exact same length.
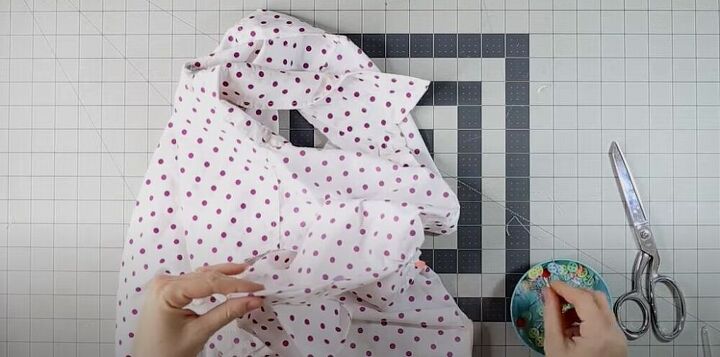
Reattach the sleeves
Finally, it was time to reattach my new and improved sleeves to the shirt. I left the shirt inside out and had the sleeve right side out. I placed the sleeve inside the shirt and matched up the underarm seam with the seam of the sleeve and pinned them together. I then pinned the fold of the top of the sleeve with the shoulder seam of the bodice. I pinned all the way around and then sewed on the sleeves. I finished the raw edges with my serger.
Hem the sleeves
Next, I had to hem the sleeves. I serged the raw edges and then double folded the sleeve to create a cuff. I made sure to tack down the top and bottom of the cuff to the sleeve. Once I tried on the shirt, I decided I wanted a more polished look for the sleeve so I slip-stitched it instead. Slip stitching involves hand sewing the sleeve to the inside portion of the cuff where it won’t be seen. I made sure to press my cuffs to get a professional finish.
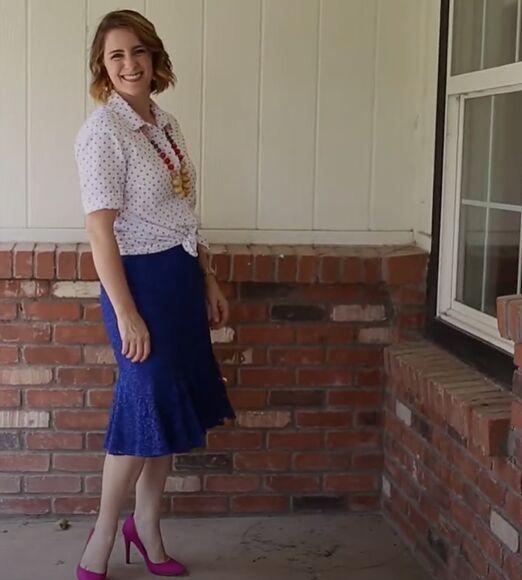
This dress shirt turned out perfectly! How would you style this piece? Let me know in the comments below!
How to make jeans bigger
The author may collect a small share of sales from the links on this page.


Comments
Join the conversation
Thank you for the detailed description of how you turned the oversized shirt into a practical, wearable shirt.
Will try this but I have seen large shirts/blouses with the collars too big. Could it be shortened from the middle bacK?