How to Paint Watercolor Designs on a Shirt: Creating Art on Clothes

Today, I'm going to teach you fabric painting techniques on clothes. This is no ordinary fabric painting; it is watercolor on shirts. If you wanted to learn how to mix fabric paint with water to give that ethereal quality watercolor painting gives, read how to do it.
This technique won’t feel like heavy paint on fabric so it is suitable for thin fabrics. Watercolor on clothes is dreamy, soft, and oh so beautiful. I’ll show you the steps I took on two projects and other completed ones. Pick up your paintbrush and let me show you how to do it.
Tools and materials:
- Garment of your choice
- Fabric paints in colors of your choice
- Pencil
- Watercolor brush
- Acrylic brushes
- Small jar of water
- Palette or tray for holding paint
- Cardboard
- Plastic wrap (like saran)
- Butterfly clips
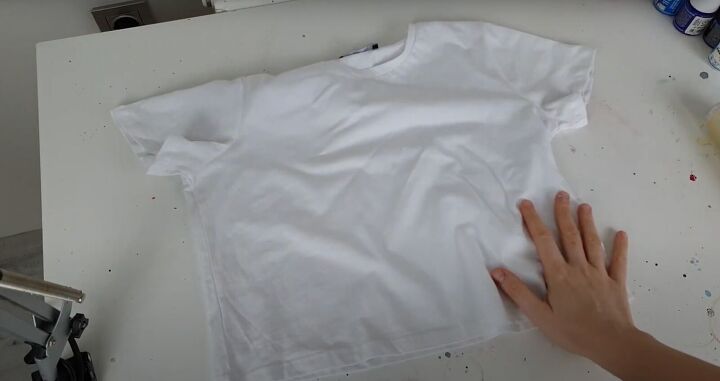
1. Prepare your garment
It’s easier to work on white fabrics, especially the first few times you try this technique. Keep your garment right sides out.
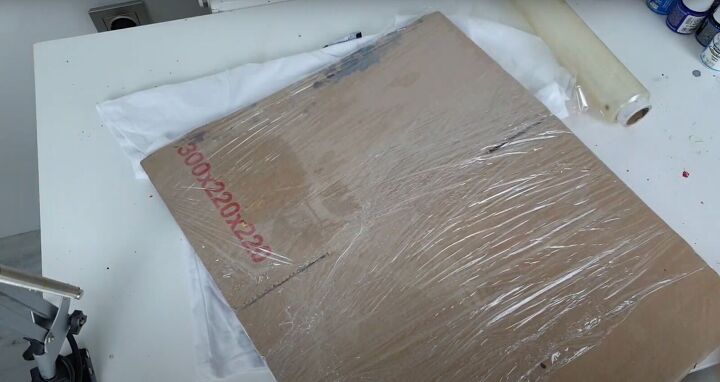
Take a piece of cardboard sized so that it will stretch the fabric enough to make it perfectly flat. Cover the coverboard with plastic wrap all around.
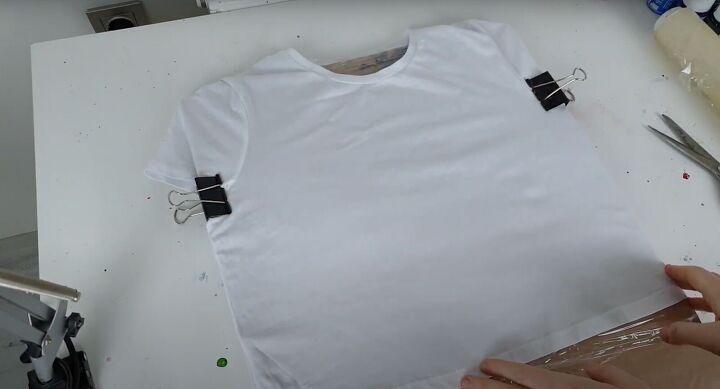
Insert the cardboard into the shirt to protect it from the paint and water leaking towards the back. Secure the cardboard with the butterfly clips.
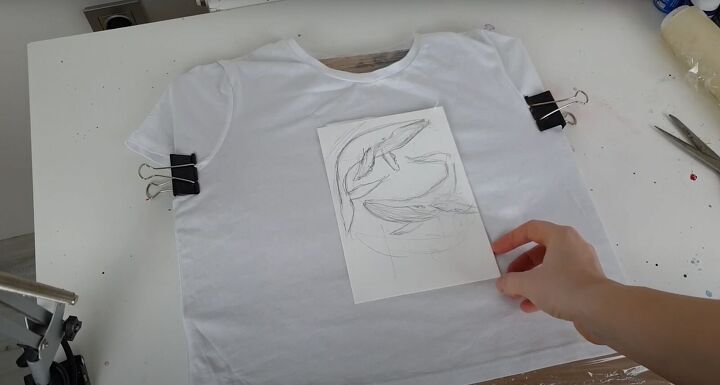
2. Prepare your design
Sketch out your design before applying it to your garment. You can also use tracing paper. Because watercolor is such a delicate art medium, don’t use a heavy hand in sketching or tracing your artwork on the fabric. Dark lines will ruin the whole watercolor asthetic.
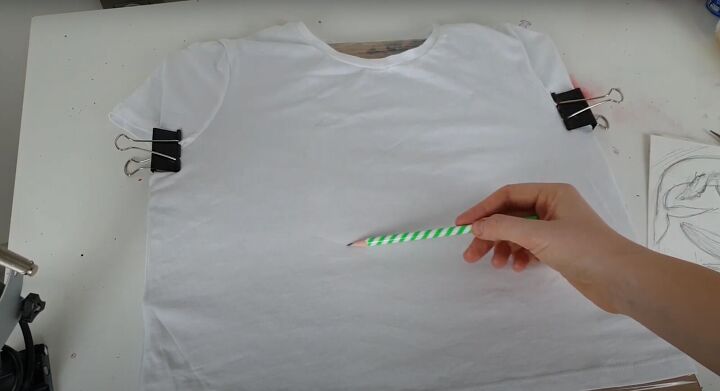
Use your pencil.

Use a light, almost invisible touch.
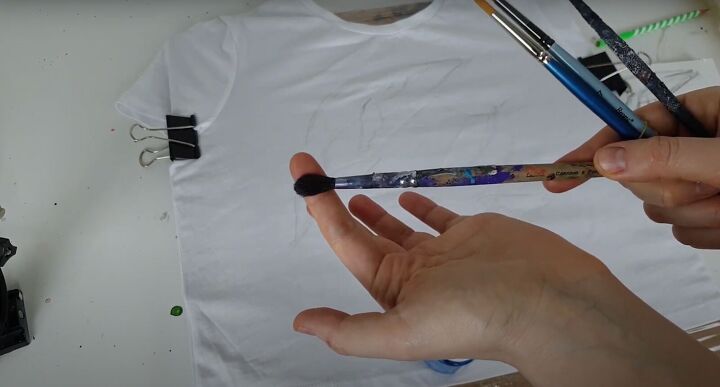
3. Start painting
Start with the watercolor brush. It is much fluffier than other brushes.
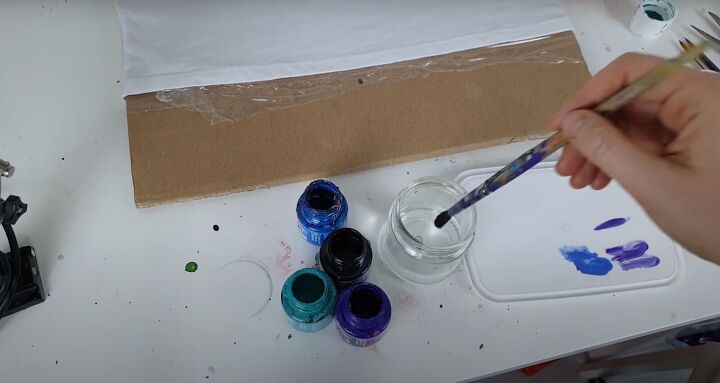
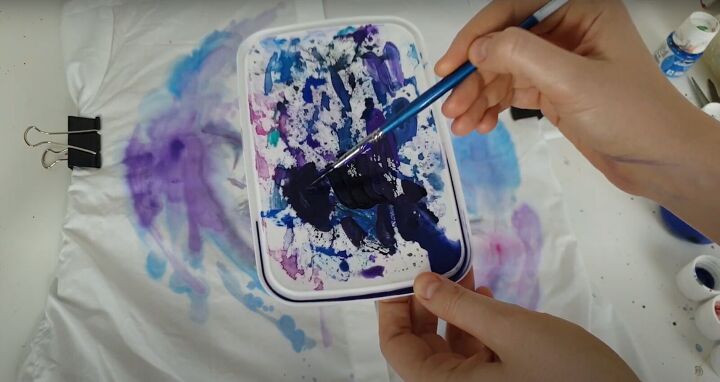
Here’s how to mix fabric paint with water. First put the watercolor brush into the glass of water.
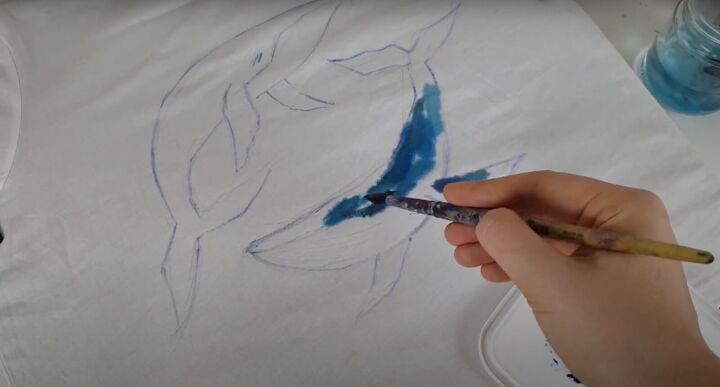
Then dip it in the paint, and lay the paint on to the palette. Use the brush to apply the diluted paint to the fabric. You may want to create a strong outline so you can paint in between the lines.
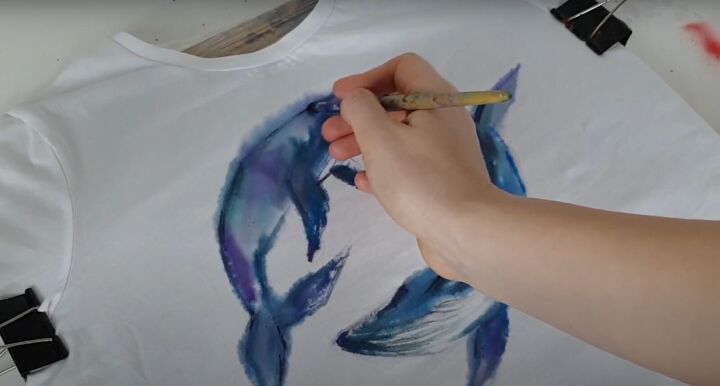
The more water you add, the lighter the color will be and the less control you will have over the blurring. Adjust the colors to your preference. Make sure to use less water near the edges of your artwork so you retain control with the paint. As you can see above, the more water you use the blurrier the art will be.
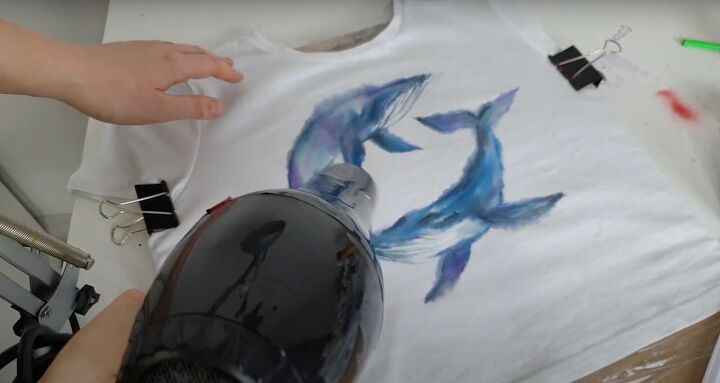
Once you’ve done your first layer, dry the paint with a blow dryer.
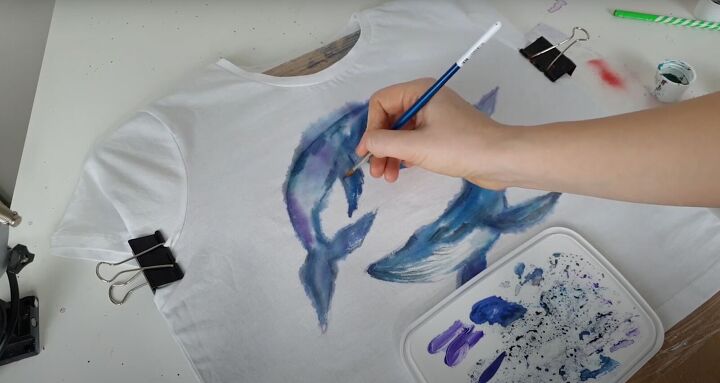
When it is dry, add the details. Here use less water and a stiffer acrylic brush to get clearer and sharper edges. Remember to blow dry the fabric in between layering the paint.
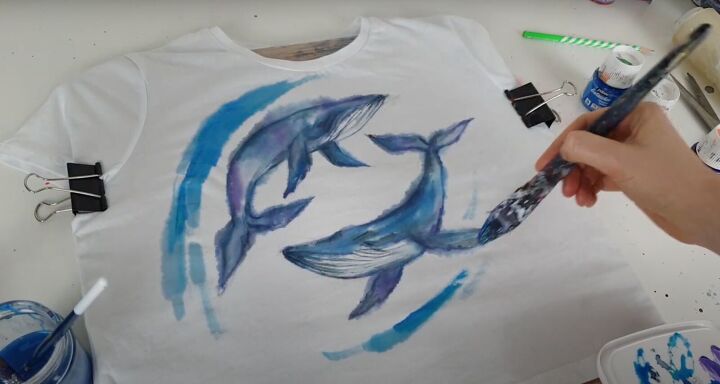
4. Add the background
Use a large fluffy brush and create strokes to add energy to the design. Here it’s best to use lots of water to create the beautiful watercolor asthetic.
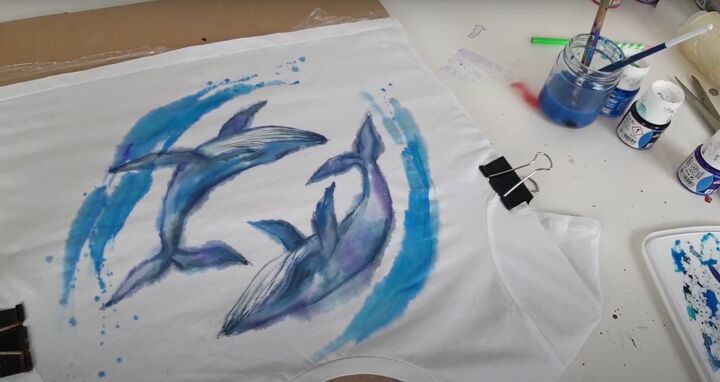
You can also add paint spatters and splashes by flicking the brush towards the fabric.
Don’t you love making art on clothes?
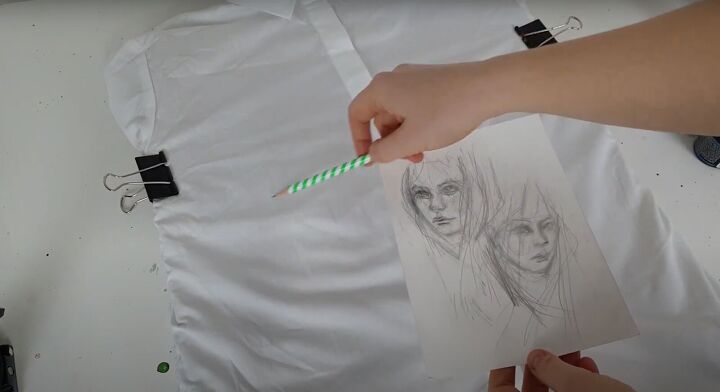
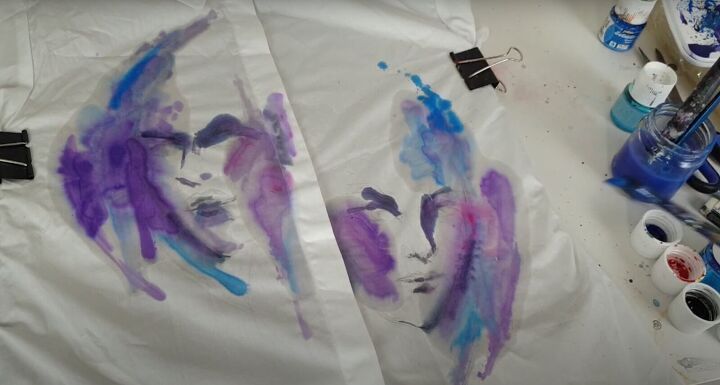
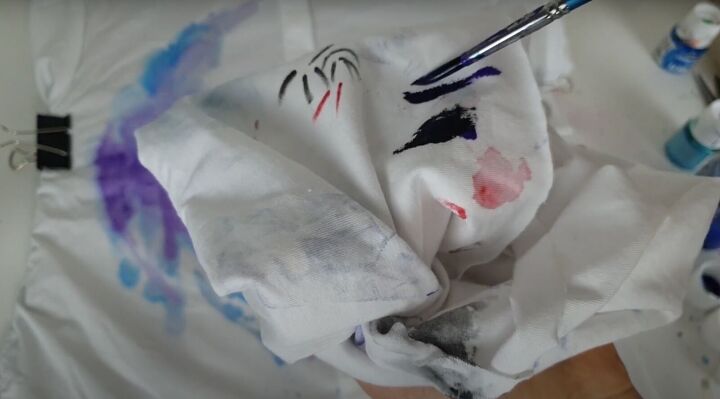
Here I’ve done a portrait design on a buttondown shirt. Faces are more complex to do in watercolor so I’ve made an abstract design. Prepare the shirt with the plastic wrapped cardboard and secure with clips.
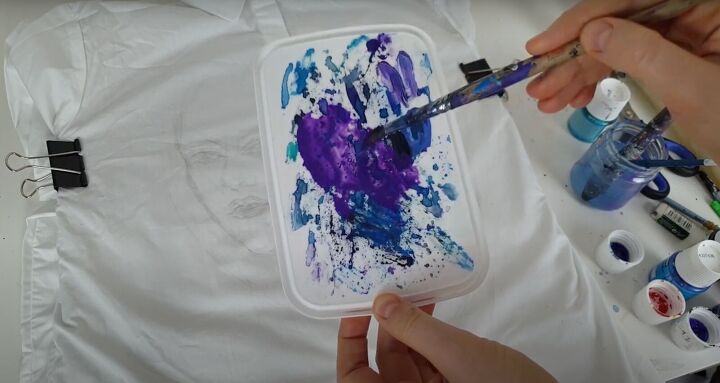
5. Paint the background
For more complex designs, you may want to do the background first. After you’ve sketched out the artwork, start on the background. Dilute the paint and use a fluffy watercolor brush.
After doing the background, use the darker color to define the shape and create shadows. Add spatters.
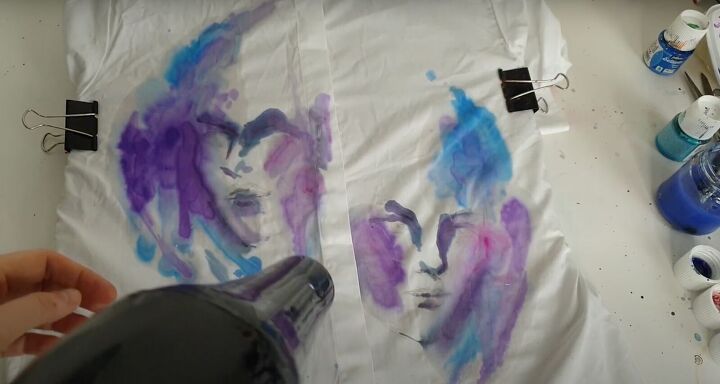
Dry the first layer with the blowdryer.
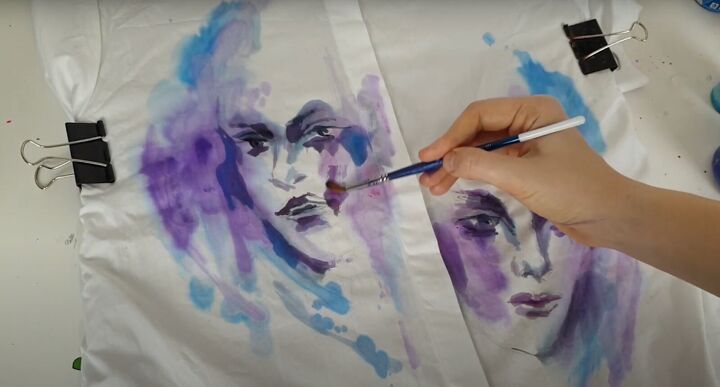
6. Finish the watercolor
To make clearer details with watercolor, use an acrylic brush with less water.
The paint will be a lot darker.
Dab the excess water with a piece of cloth.
Don’t limit yourself to just fabric paint or just watercolor. You can incorporate both elements to create unique and beautiful clothes that no one else will have. You are only limited by your imagination.

If you use white fabric paint with an acrylic brush to create the outlines, you can see how defined the jellyfish are on this t-shirt.
If you’re worried you won’t be able to create clear details, use watercolor as the background only. Draw your design with fabric marker or paint with straight fabric paint.
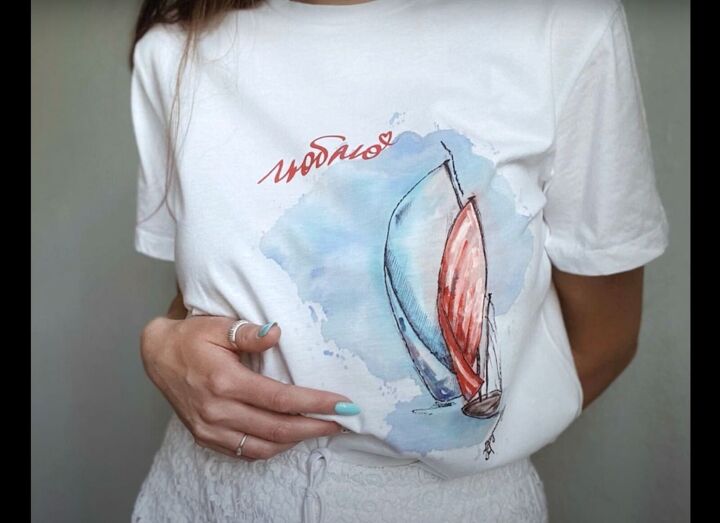
You can use lettering to add even more interest.
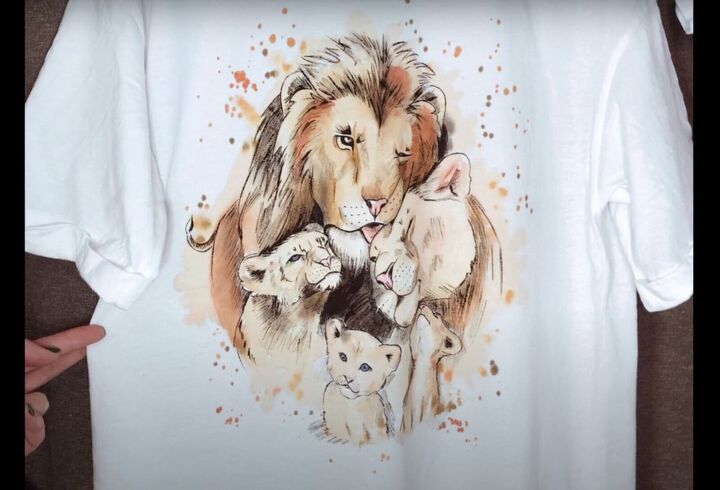
You see how beautiful watercolor on a shirt can be.
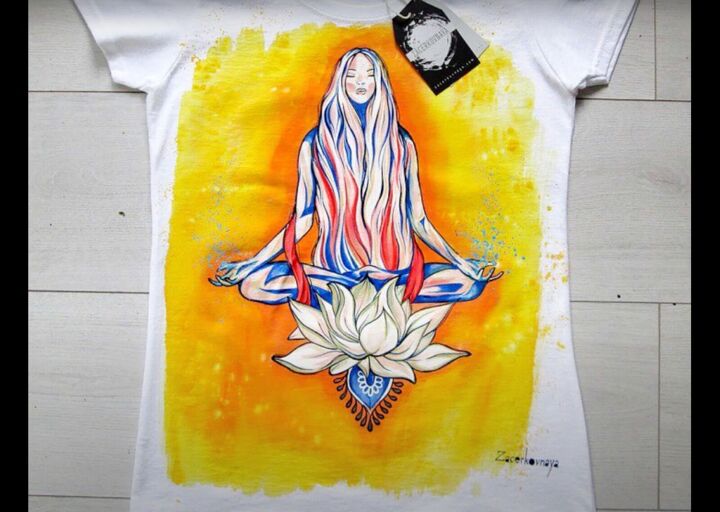
It softens any graphic and adds so much to your clothes.
Literally there is nothing stopping you from using this marvelous technhique to create the most stunning and unique clothing.

You can even use watercolor technique on light colored denim.

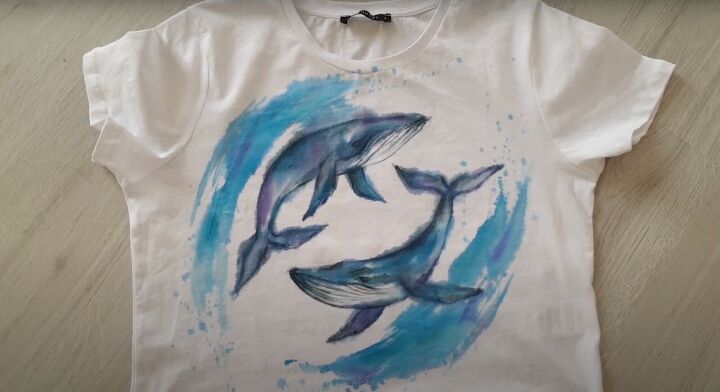
DIY watercolor shirt
What do you think of this DIY watercolor shirt? Let me know in the comments below how you liked this tutorial on fabric painting techniques on clothes. Thanks for joining!
How to fold a dress shirt
The author may collect a small share of sales from the links on this page.


Comments
Join the conversation
Absolutely beautiful!!!
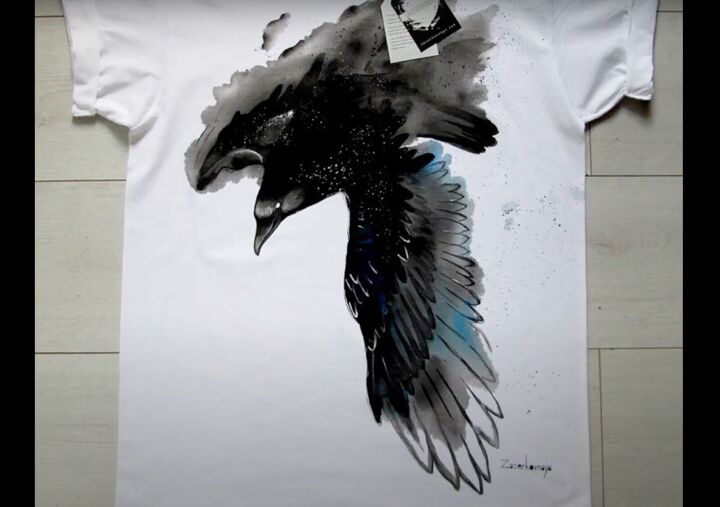
Hi Daria, Your artwork is beautiful but my favorite is the Crow. Thank you for sharing your process.