DIY Balloon Sleeves: How to Make a Cute Balloon Sleeve Blouse

Balloon sleeves are super chic and elegant for any age! Here’s an easy, simple balloon sleeve top sewing pattern that you can make using your own long-sleeved t-shirt as a template. This DIY balloon sleeve tutorial can be done even by a novice sewer. Let me show you how to sew a balloon sleeve!
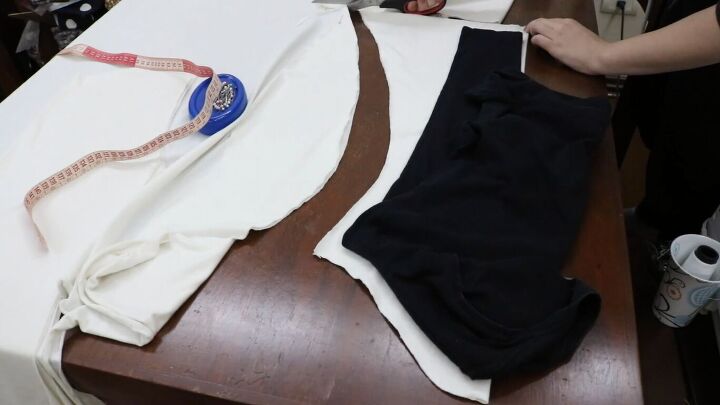
Tools and materials:
- Stretchy fabric
- Marking chalk
- Scissors
- Measuring tape
- Pins
- Sewing machine
- Serger (optional)
- Elastic
- Your own long sleeve t-shirt as a template
- Safety pin
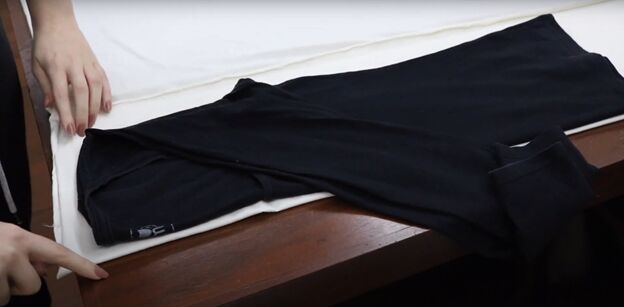
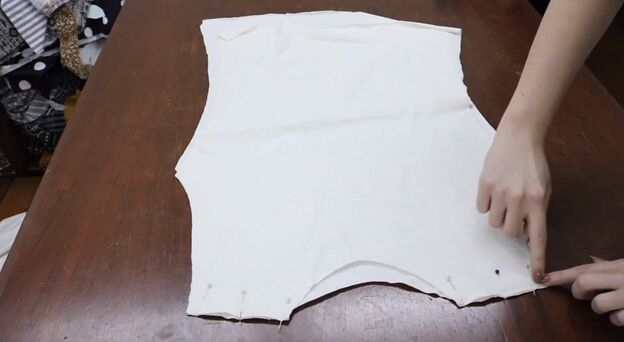
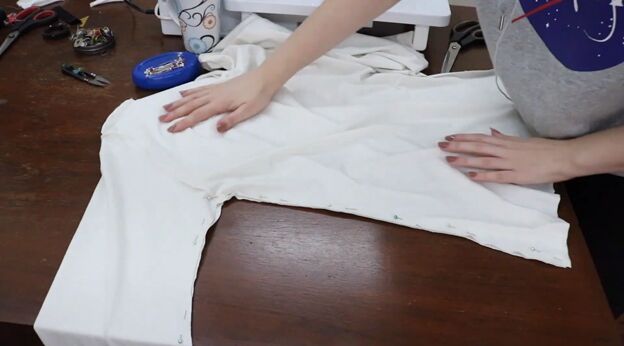
1. Cut the bodice pattern
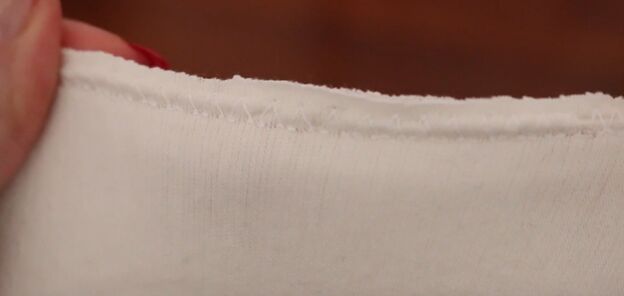
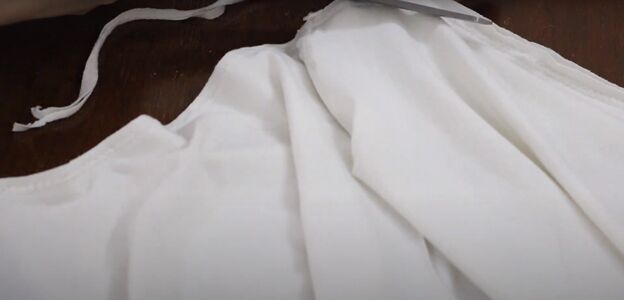
Fold the stretchy fabric in half on a flat surface. Place your well-fitting long-sleeve t-shirt on the fabric to serve as a pattern. Tuck in the sleeves all the way so only the bodice shows. Mark and cut around the pattern, leaving a ½-inch seam allowance.
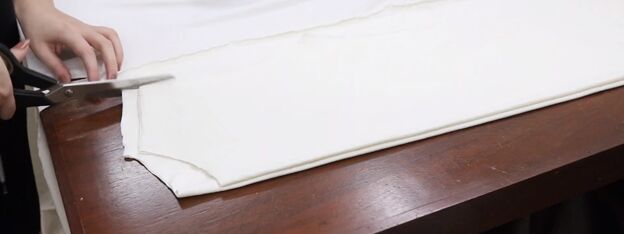
Cut the neckline for the front piece by snipping at the folded edge. Lay the newly-cut front piece on top of the folded fabric to cut the back piece. Mirror the front but cut the back neckline higher and ½ an inch higher on the shoulder.
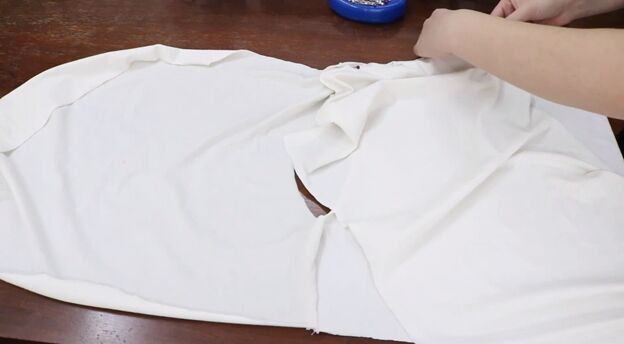
2. Create the sleeve pattern
Fold the fabric in half again to cut the sleeves. Lay just the sleeve on top of the fabric with the shoulder seam at the top, so the t-shirt’s bodice is pulled forward. This helps determine the size of the sleeve cap.
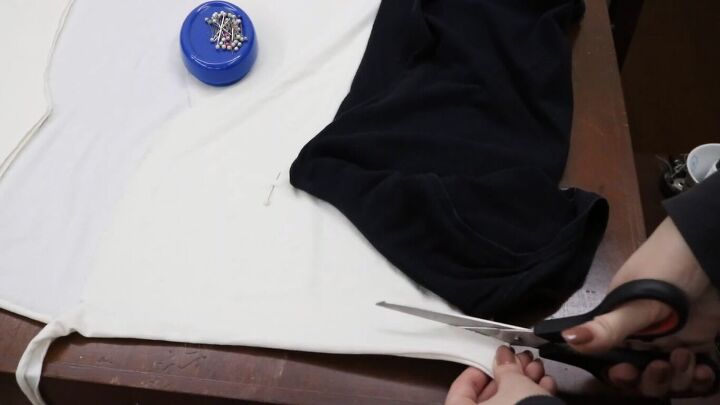
3. Cut the balloon sleeves
Measure the armhole at the top of the back piece and the front piece to determine the size of the sleeve cap. This way they measure up! Mark the measurements at the sleeve cap leaving a ½ inch seam allowance.
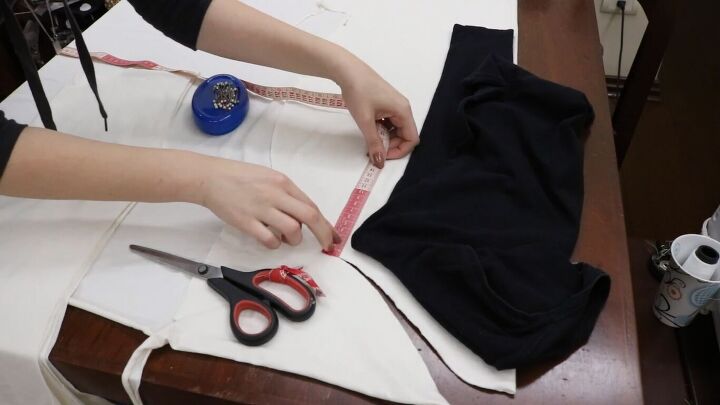
Now it’s time to make the balloon bottom of the sleeve. Mark about 10 inches at the bottom of the sleeve at the wrist length.
For the balloon sleeve, start marking at the top of the sleeve following the t-shirt template about ¼ way down the sleeve and then move outward to end at the 10-inch mark at the bottom.
Cut the first sleeve and use that sleeve as a pattern for the second sleeve.
4. Sew the shoulder seams
Unfold both the front and back of the shirt. Place them right sides together.
Pin and sew the shoulders only using a zigzag stitch or a serger if you have one. This is important because the fabric is stretchy!
Once the shoulders are sewn, open the top with the right sides facing up.
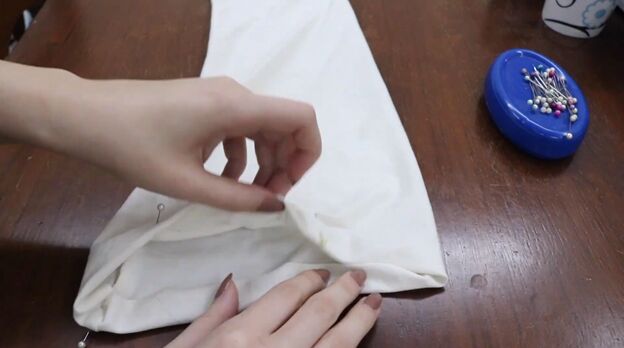
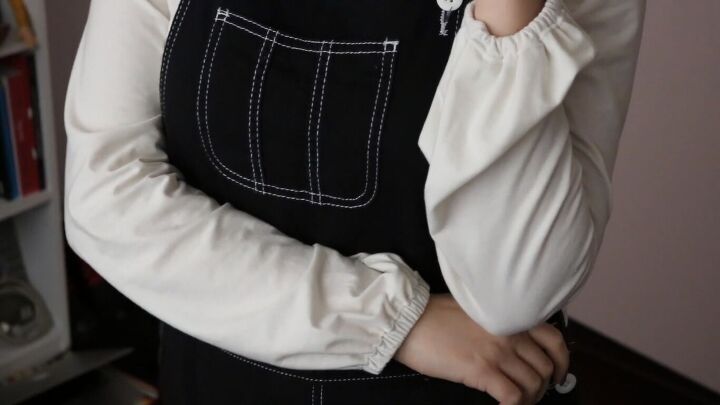
5. Attach the balloon sleeves
Take the sleeve and mark the sleeve cap at the shoulder line. Pin it in the armhole and stitch it in. Trim any excess fabric. Stitch the second sleeve using the same technique.
6. Sew the balloon sleeve blouse
Sew the top by flipping it to the right sides together, pinning the sides and the inside seam of the sleeve. Sew using a zigzag stitch.
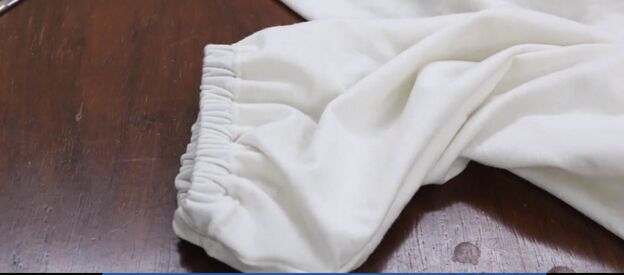
7. Make elastic wristbands
Measure the elastic around your wrist for the best fit. Cut 2 pieces following this measurement. Change the sewing machine needle to a double needle.
Fold the sleeve toward the inside about ¾ of an inch to snugly fit the elastic. If your elastic is wider or narrower, adjust this measurement.
Pin the casing in place and sew using a double needle. Leave a space to thread the elastic through.
Stretch the elastic and the sleeve to distribute the balloon sleeve fabric evenly.
8. Sew the neckline
Turn the shirt inside out. Fold the neckline in ¾ of an inch. Pin in place. Use the double-needle to hem the neckline at the edge of the fold for a perfect and professional finish!
I love the grace and elegance of balloon sleeves and I hope you do too!

DIY balloon sleeve tutorial
This top can be worn with virtually anything and always makes you look good! Let me know in the comments if you tried this DIY balloon sleeve tutorial or share photos of yourself in the top!
The author may collect a small share of sales from the links on this page.


Comments
Join the conversation