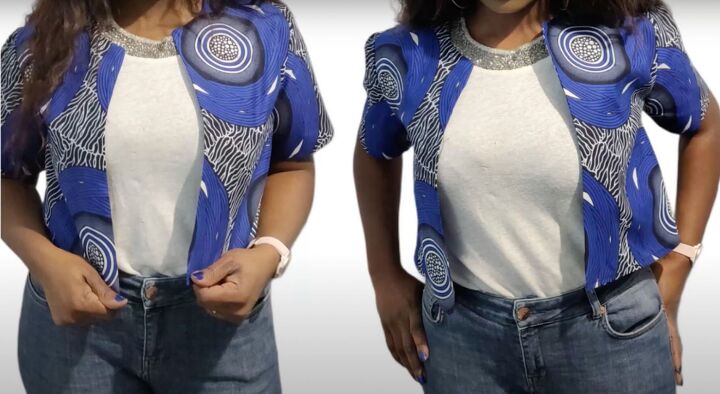
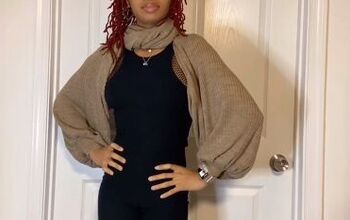
How to Make a Cute DIY Cropped Jacket With Short Sleeves

In today's tutorial, I am going to show you how to make a cropped jacket. This cropped jacket is super simple to make and the design on the Ankara fabric is so lovely and bright. Let's get started!
Tools and materials:
- Fabric
- Chalk
- Sewing machine
- Measuring tape
- Clips or pins
- Ruler
- Curved ruler
- Scissors
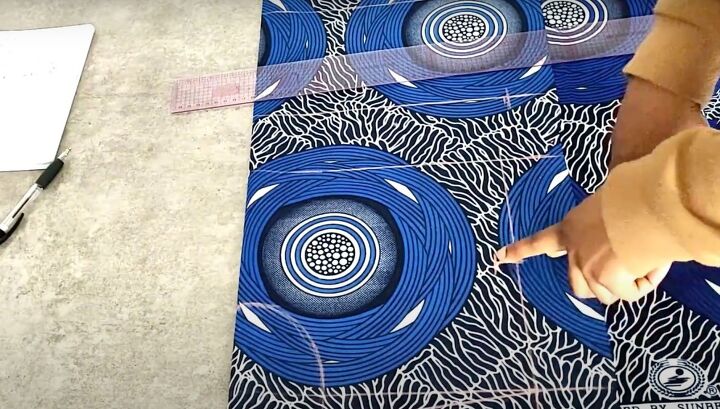
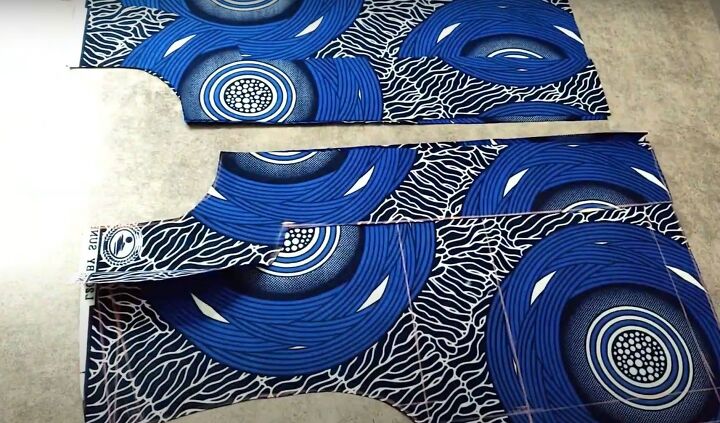
1. Make the pattern
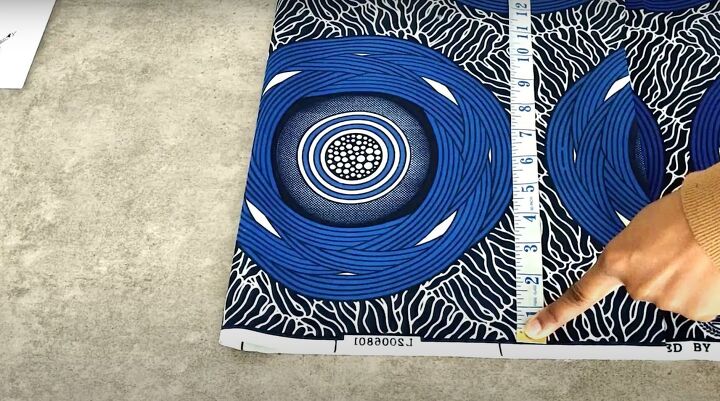
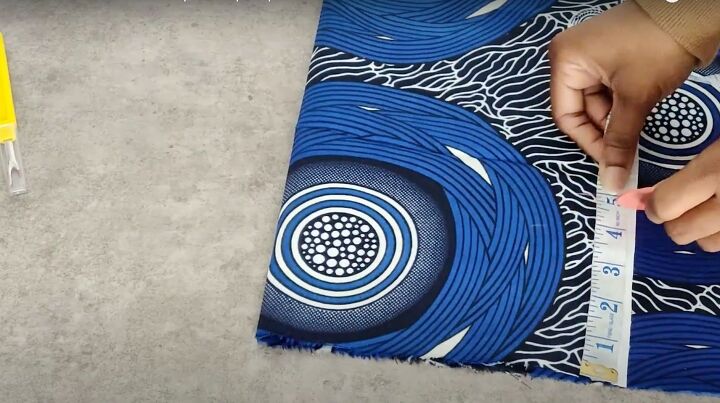
I started by folding my fabric in two, then marked the length of my jacket. The length I used was 18 inches, plus an inch for seam allowance. I squared out that line before moving on.
Next, I marked out my shoulder measurement, which was 9.5 inches.
I also marked 1 inch down from that shoulder measurement to form the shoulder slant.
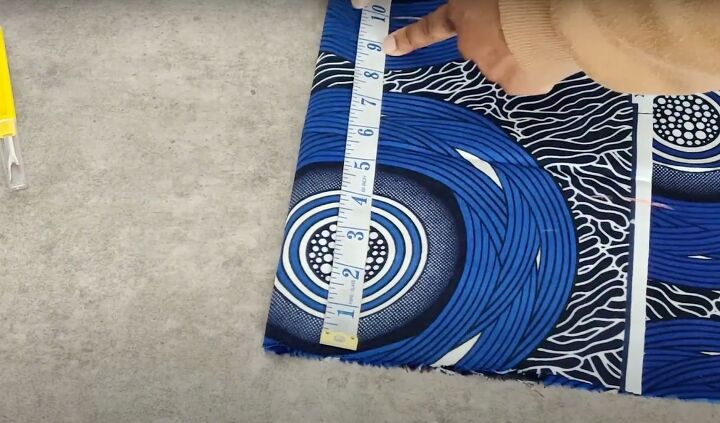
Next came the armhole measurement. I marked 9 inches from the shoulder slant. Then I squared out the line.
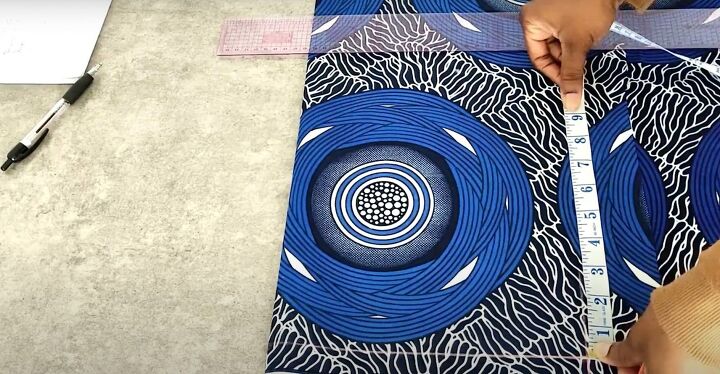
Next is the bust line. I marked mine at 12 inches, then squared that off as well.
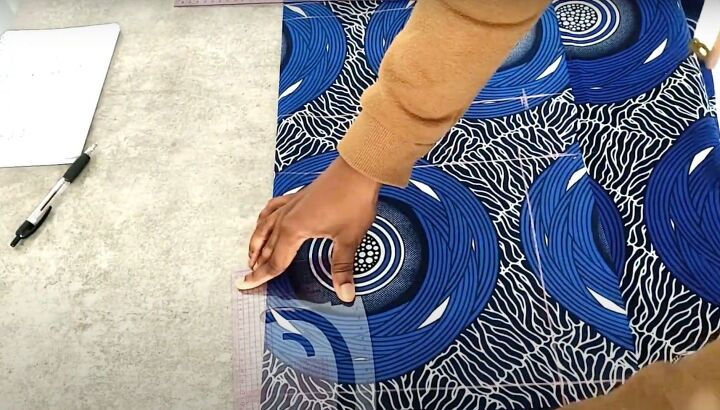
For the neckline, I marked 3 inches in and 4 inches down, then connected them with a round line.
Then I connected the neckline to the shoulder slant.
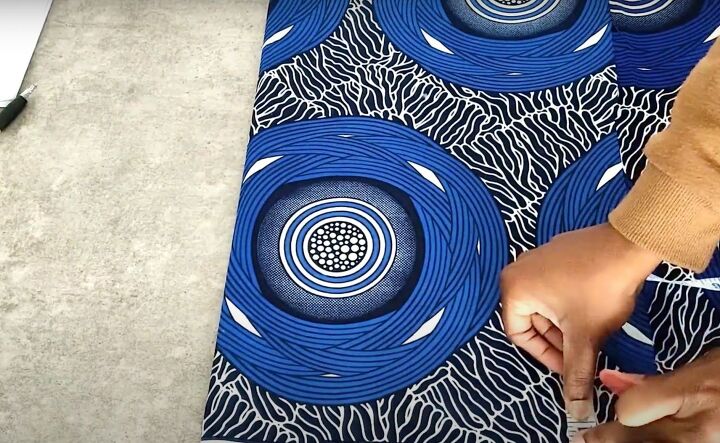
Next, I found the halfway point between my shoulders line and my armhole measurement. For me, this was 4.5 inches.
I marked that and then made a mark about half an inch inward from that line to serve as a guide to draw my underarm curve.
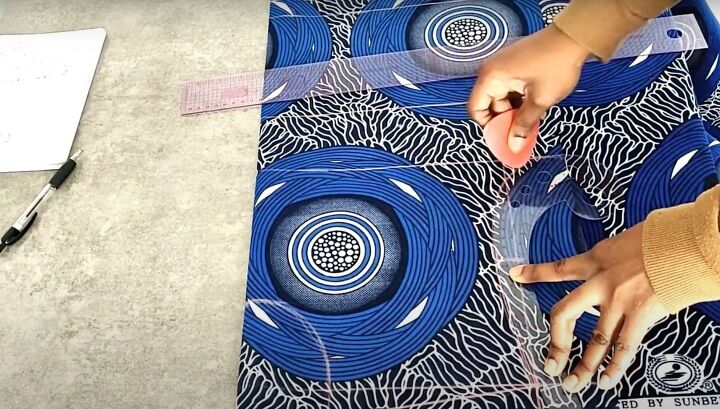
I used a curved ruler to draw out the underarm curve but you can freestyle it if you're really good with your hands.
To draw the underarm area, I drew two lines so that I could use one for the front of the jacket and one for the back. It was easier for me to have that drawn out already.
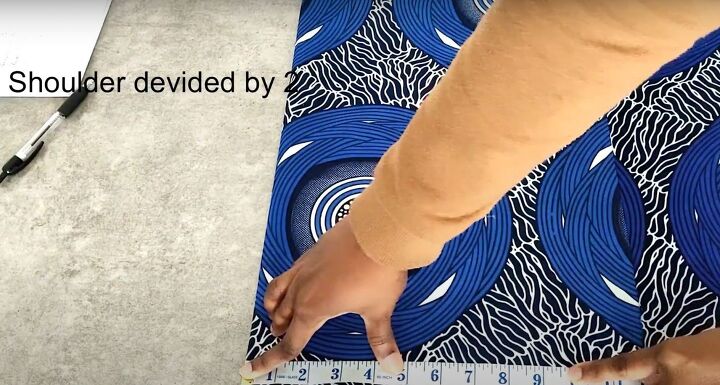
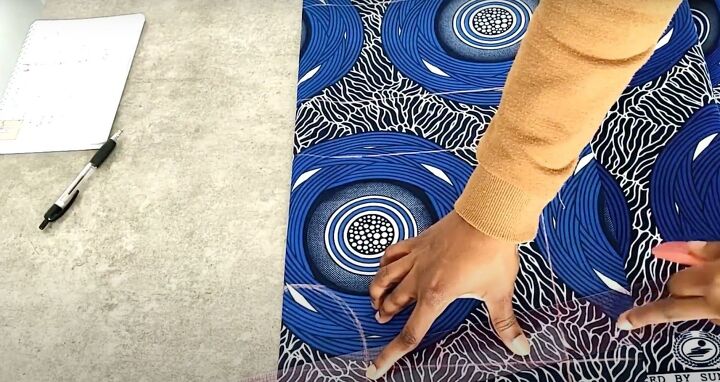
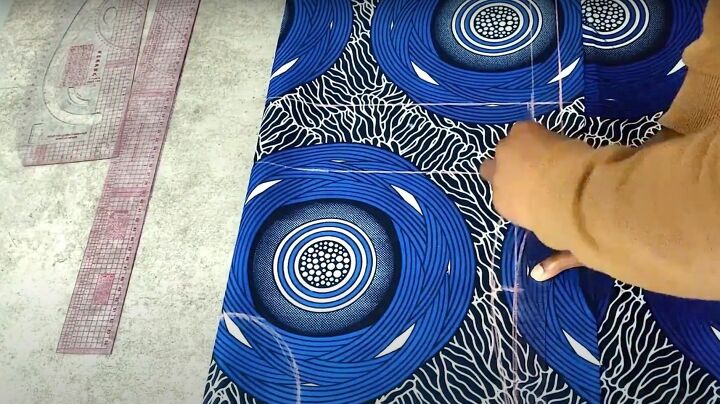
Once I finished that, I went ahead and marked my bust measurement (40 inches), divided by 4, plus an inch for a seam allowance. So, the total is 11 inches.
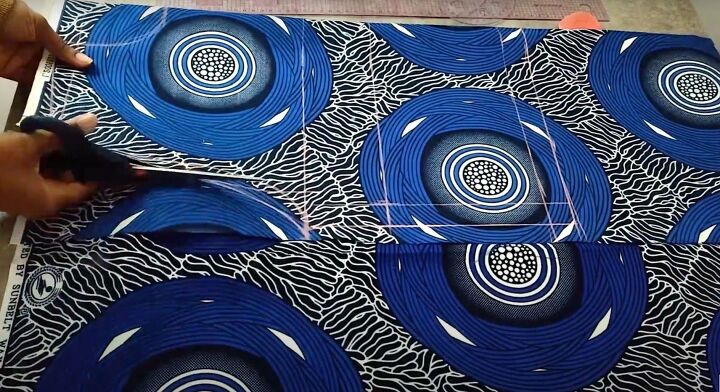
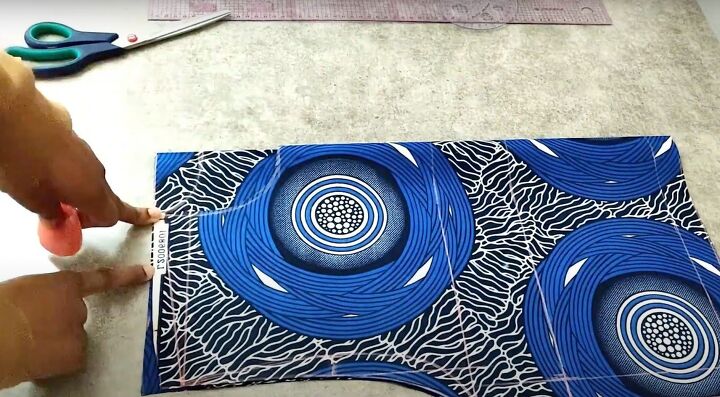
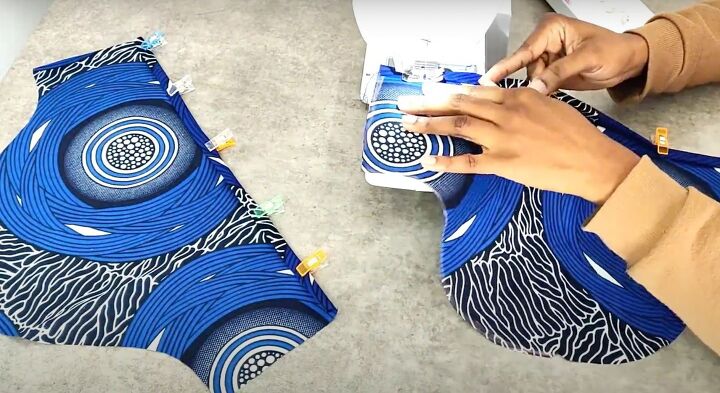
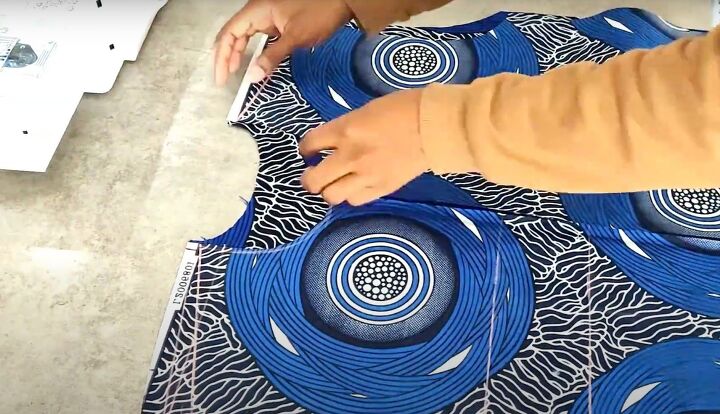
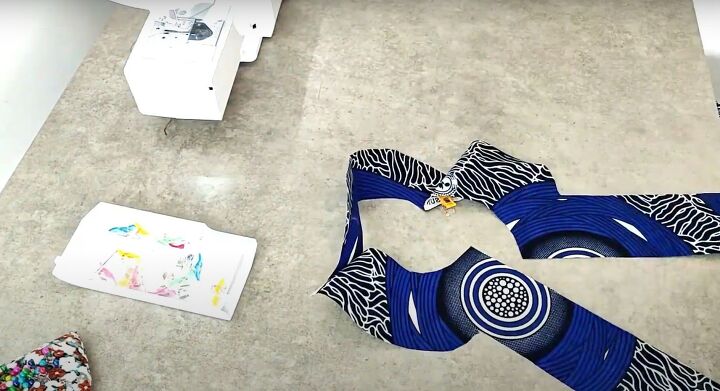
With all of the marks done I went ahead and cut out the front and back bodice pieces.
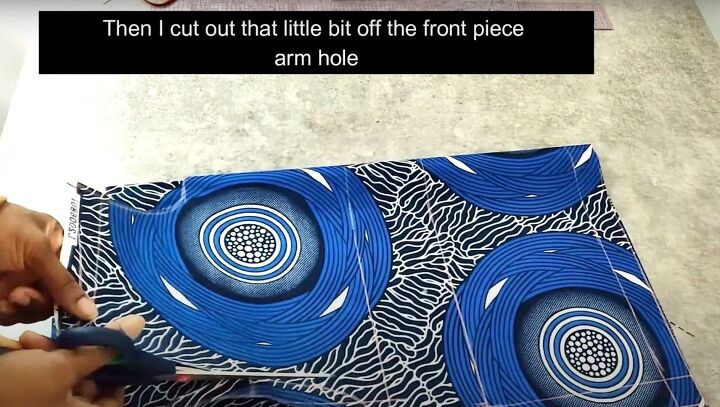
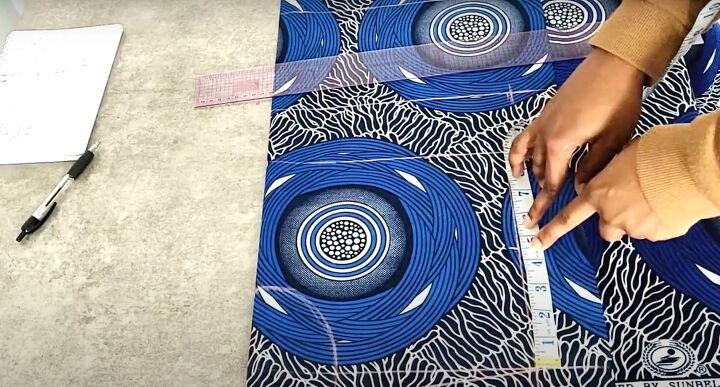
The neck depth for the back piece is 1.5 inches. I cut on the larger line for the front and the smaller line for the back armhole.
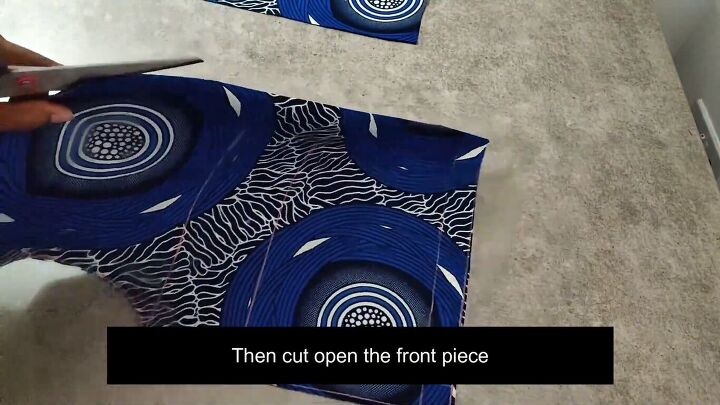
I cut open the front bodice piece on the fold to turn the top into a jacket.
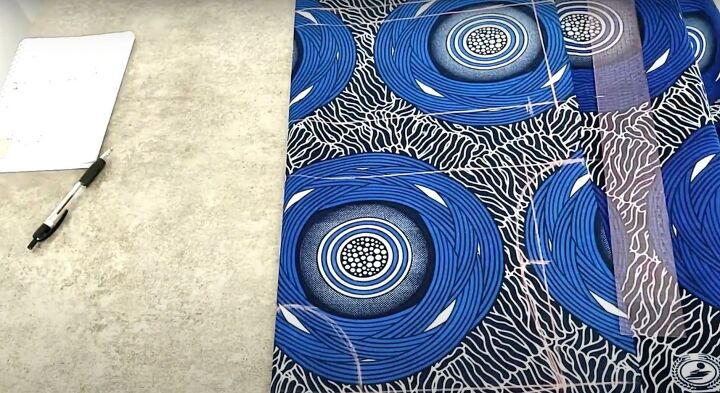
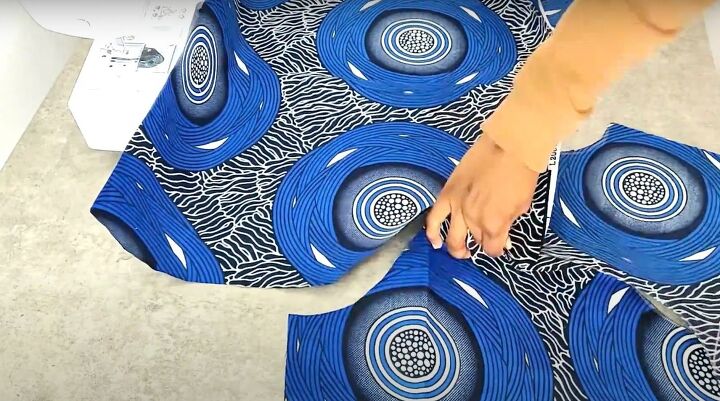
2. Make the facing
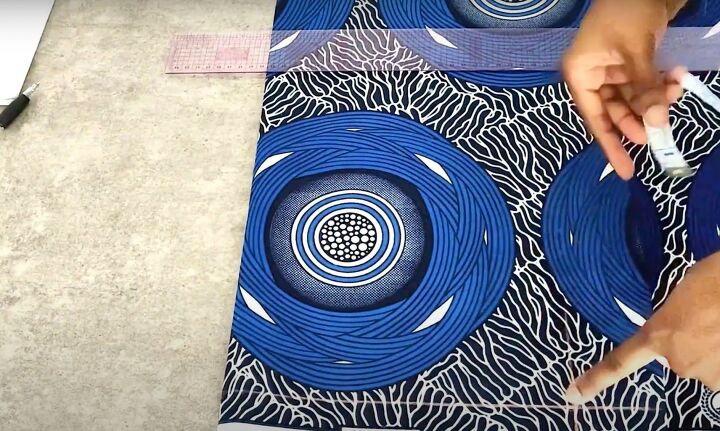
First, I cut out the facing for the back piece. To do that, I just traced out the neck area of the back piece and added about 2 or 3 inches to the width of it, then cut it out.
For the front facing, I did the exact same thing. The only difference was that this piece of facing was going to be for the neck area and also the open front part of the cropped jacket.
3. Make the sleeves
Cutting out the pattern for the sleeves was actually pretty easy. I folded the fabric in about 8 inches and marked 5 inches down on the raw side.
Then, I marked the length of my sleeve, which was about 9 inches, plus an extra inch for my seam allowance.
I marked the sleeve in 7 inches and then drew out the sleeve in an s-shape, connecting the top and the 5-inch point.
Once you have your sleeve length and and everything connected, make sure you add your sewing allowance all around, then cut out your sleeves.
Next, I hemmed the sleeves.
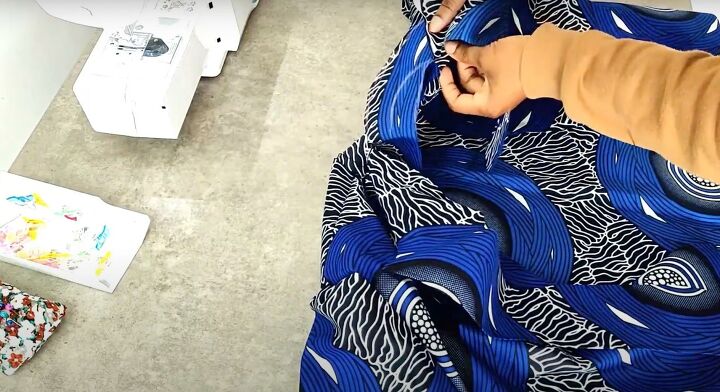
4. Assemble the DIY cropped jacket
With the sleeves done, it was time to put the jacket together. I started by pinning the sleeves together at the shoulders and sewing them down.
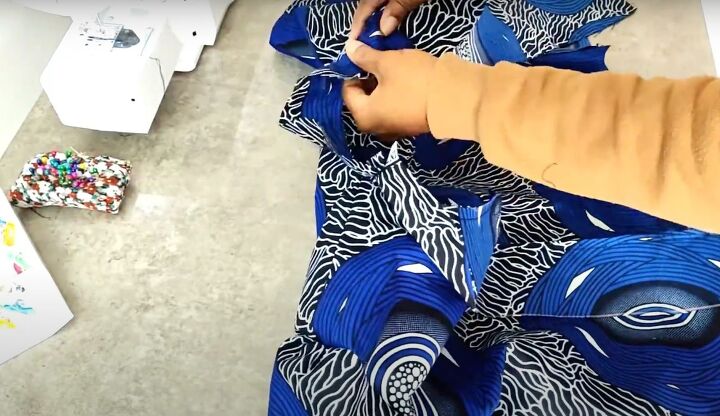
With that done, I cut notches at the armholes to mark the center. Then, I aligned this with the bodice shoulder seam and pinned the sleeves to the bodice.
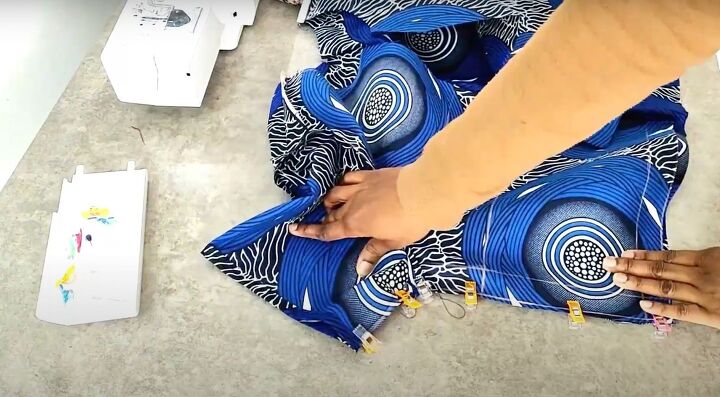
With the sleeves attached to the body, I finished sewing the underarms and the side seams.
5. Attach the facings
I pinned and sewed the facing pieces together.
Then, I attached them to the bodice of the jacket, making sure to match them at the shoulder seams.
Once I finished pinning everything, I sewed them down, right sides facing.
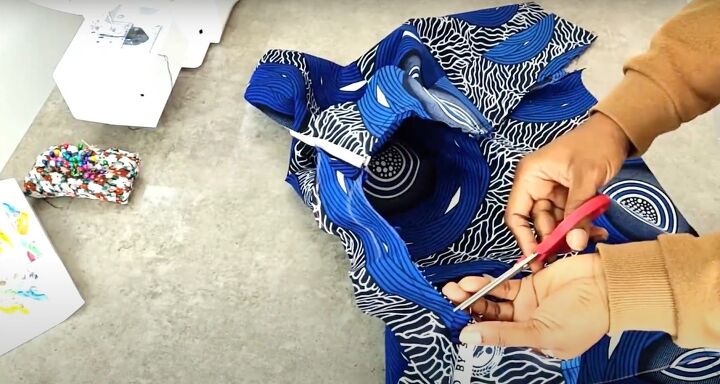
With the facing sewed to the body, I turned it inside and snipped around the neck area.
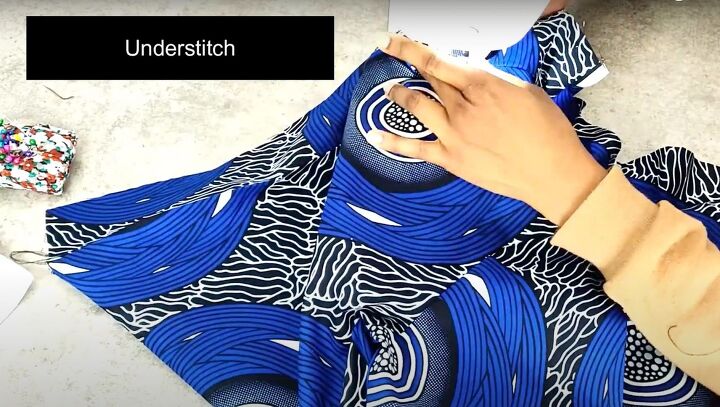
Once that was done, I understitched all the way around, making sure I sewed on the seam allowance.
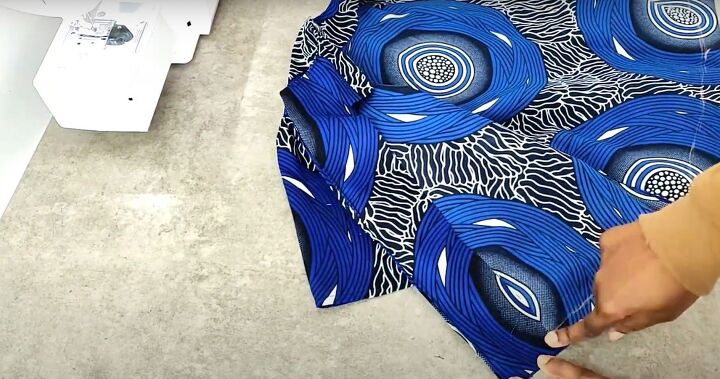
6. Hem
All I had left to do was hem the jacket!
How to make a cropped jacket tutorial
I hope you have enjoyed watching today's tutorial on how to make a cropped jacket. I loved this print so much, I also made a pencil skirt in the same fabric, so I can wear a matching set!
Let me know what you think of this tutorial and the final result in the comments below.
The author may collect a small share of sales from the links on this page.


Comments
Join the conversation