Make a DIY Cropped Jacket & Headband From Your Dad's Old Shirt

What better way to show your dad that you love him than taking one of his old shirts and making it into cute clothes for yourself? I’m just kidding, but really, my dad had an old shirt that he no longer needed, so I’m going to convert it into a DIY cropped jacket and headband. Let’s go!
Tools and materials:
- Shirt
- Pencil
- Scissors
- Fabric glue
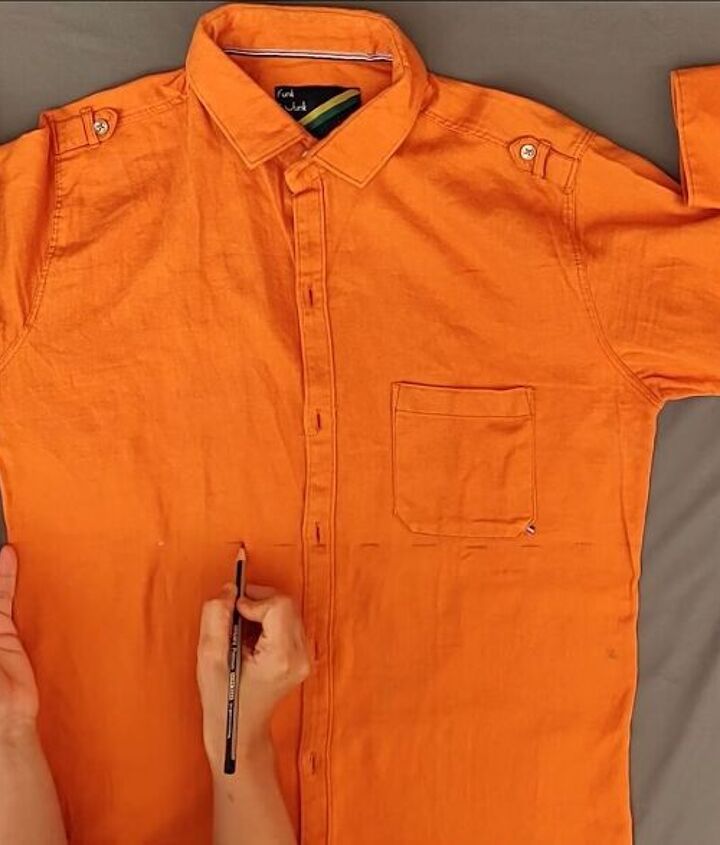
1. Mark and cut shirt
First of all, I’m going to crop my shirt, and for this, I’m just going to mark the length I want and then cut it out.
Now we are done with the top, so let’s move onto the bottom part.
I was thinking about making the bottom part into a matching skirt, but I wrapped it around my body to see whether it would work. As you can see, it was not big enough. No worries, there’s always plan B. Instead, I’m going to convert my leftover fabric into a headband.
2. Cut the remaining fabric
Cut out a rectangular piece from the remaining shirt and remove the button placket on either side.
3. Fold and glue
Fold it in half lengthways and draw a curve on both of the ends. Cut both ends and then stick all of the open fabric shut using fabric glue. Make sure you keep one hole, though, through which you can turn your fabric inside out.
4. Turn inside out
Turn your fabric inside out, glue the hole closed with the glue, and your headband is ready!
Here is the final look. I’ve tied the headband into a ribbon, and I think that it looks so cute! It’s such a fun accessory.
And here is the cropped jacket! Because it’s a bright orange color, I’ve paired it with some black jeans and a cropped black t-shirt. I love the cropped look; it looks very funky and on-trend.
How to make a jacket & headband from an old shirt
I hope that this DIY has inspired you to repurpose your (or your dad’s) old clothes and make something new out of them instead of just throwing them away.
Enjoyed the project?
The author may collect a small share of sales from the links on this page.


Comments
Join the conversation