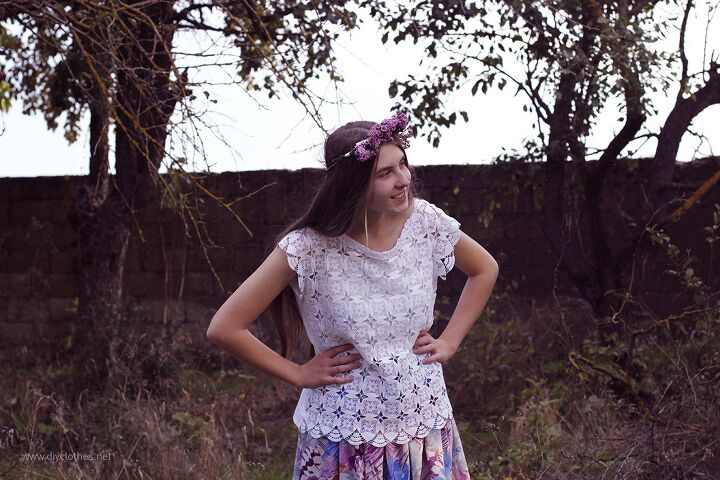
Crochet Front Top Tutorial

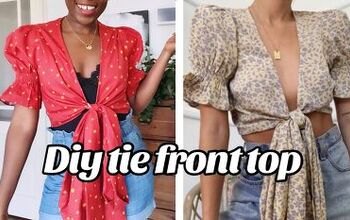
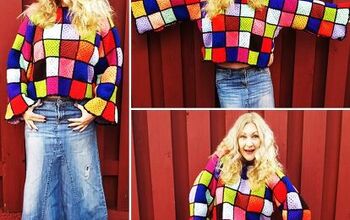
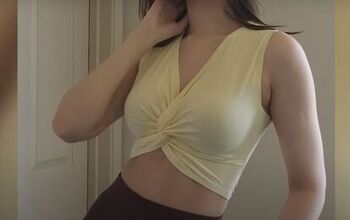
Today’s post is about crochet shirts, and how I made one using a crochet tablecloth. I always loved these type of tops but they’re kind of expensive so I decided to make one for myself. This project cost me nothing because for the back of the shirt I used an old white bed sheet and I took the crochet tablecloth from my mom´s crochet collection. I also searched on google for some inspiration and I liked these three the most.

For this tutorial you can substitute the crochet piece with lace fabric, the third picture of my inspirations is made from lace, so it’s an idea on how the shirt could look in lace fabric.
To make the shirt you can use a specific pattern, I didn’t follow any while making my shirt, mostly because I didn’t want to change the crochet piece shape. I only used a shirt for the back layer to copy the neckline shape.
For the tutorial you’ll need
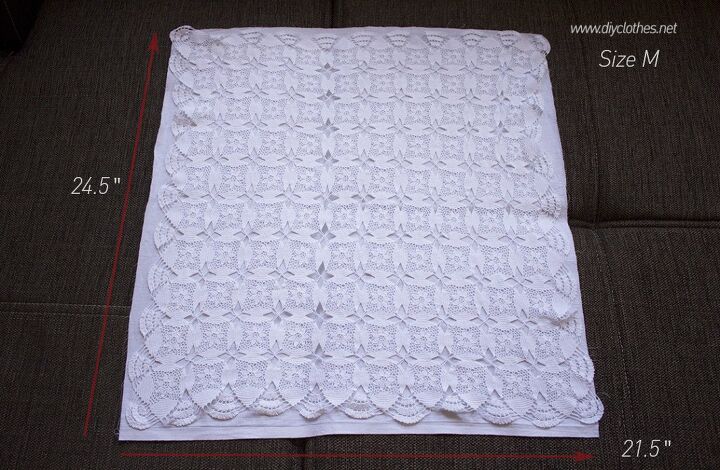
• Vintage cotton crochet tablecloth ( 24.5″ x 21.5″ ).
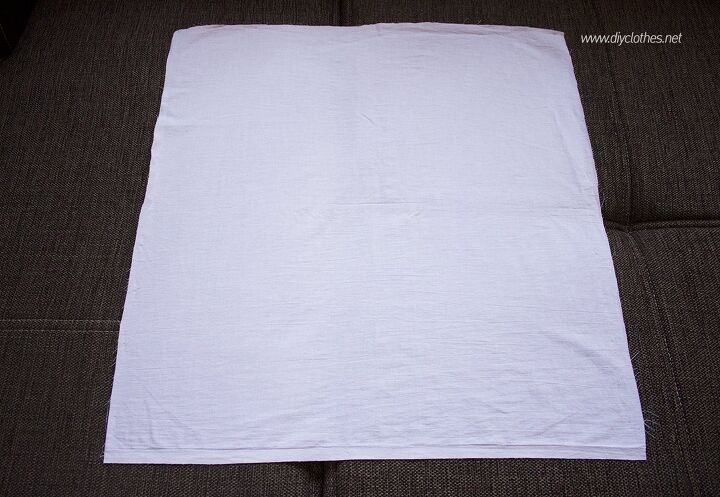
• Lightweight cotton fabric ( 24.5″ x 21.5″ ).
• Fitting shirt
• Cotton thread to match your fabric
• Pins
• Sewing machine
• Scissors
• Iron
Before you start, wash and iron the crochet piece and the cotton fabric. The shirt I made is size M, but using your own measurements or a desired pattern is better.
If you use your measurements, measure yourself shoulder to shoulder and add 3 inches, this will be the width of your shirt. Define the length and don’t forget to add seam allowance. Cut the cotton fabric based on your measurements, then continue in the same way with the crochet or the lace fabric.
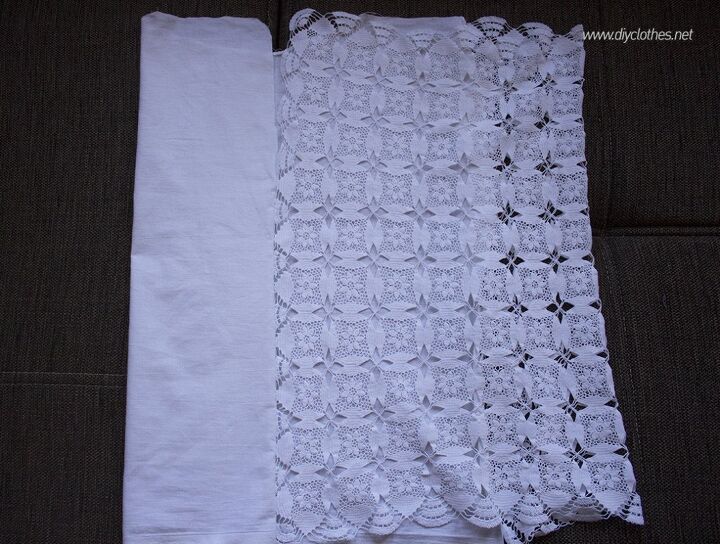
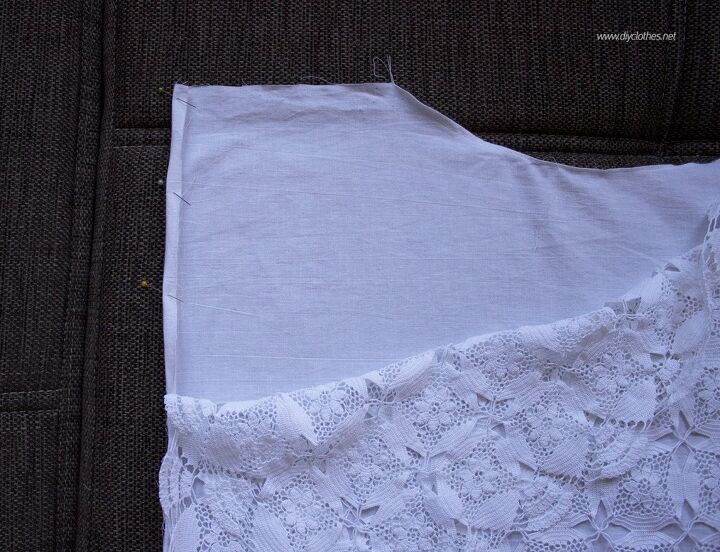
As you can see in the picture below, I didn’t cut the crochet tablecloth. Among other pieces I choose this one because it had the dimensions I needed.
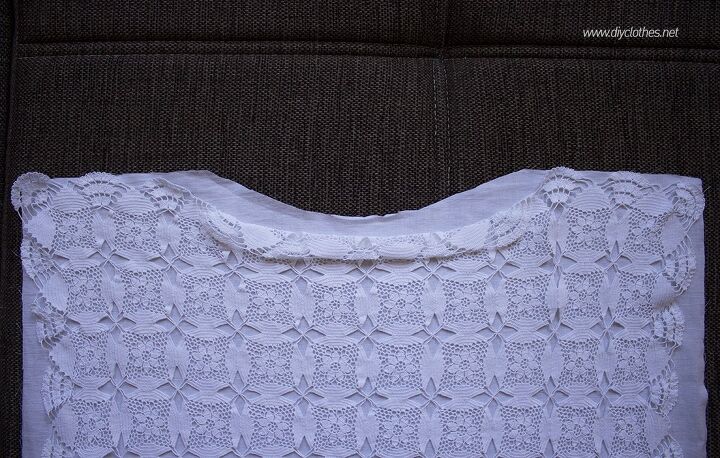
Remove the crochet and start working with the back piece. Lay a shirt, that you like the neckline shape, on the cotton fabric and cut around the neckline edge, also make sure to leave about a half-inch seam allowance.
You can do the same with the crochet piece. I wasn’t sure on mine, maybe a little afraid that I was gonna ruin my crochet, so I didn’t cut a neckline on it. I improvised something, you can see it later on the pictures.
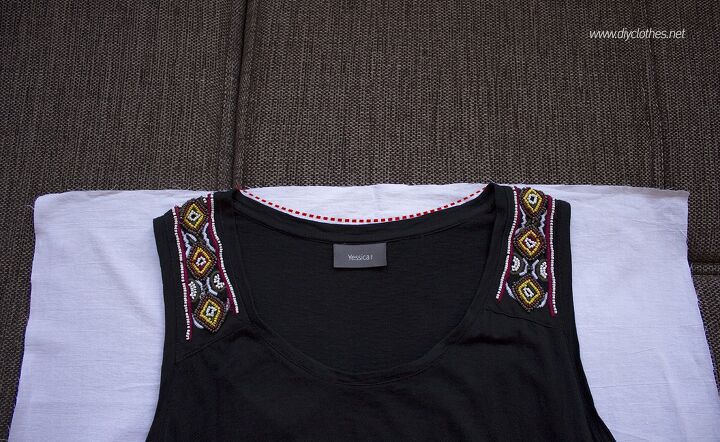
So after cutting the neckline of the back piece, the two of them together should look like this.
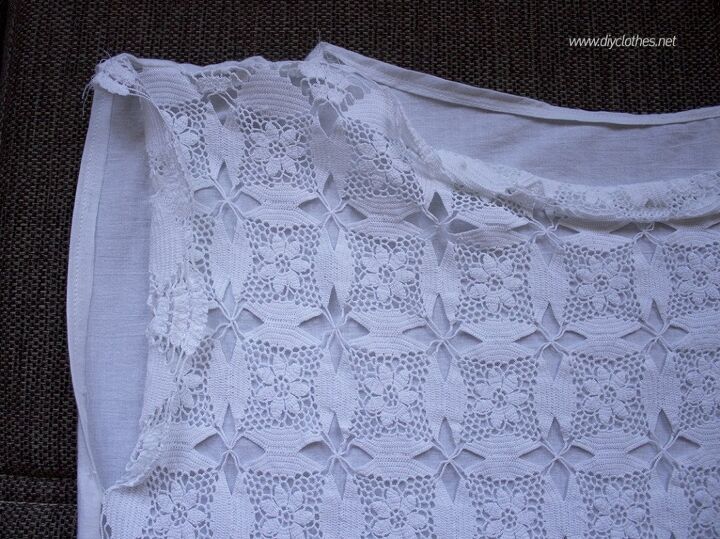
Next lay the pieces on top of each other, right sides together and pin along the sides. Leave approx. 8.5 inch unpinned for arms. You can use a similar size shirt to help with this step, to leave the needed space for your arms.
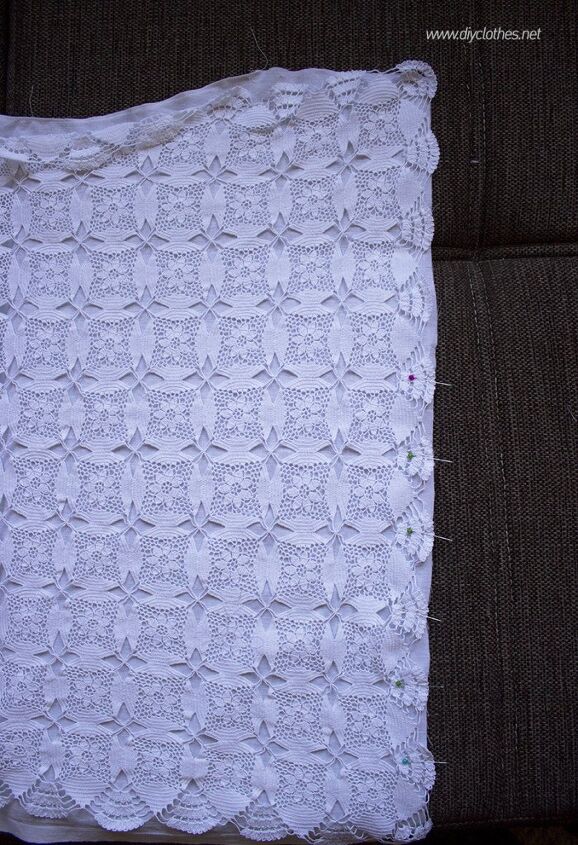
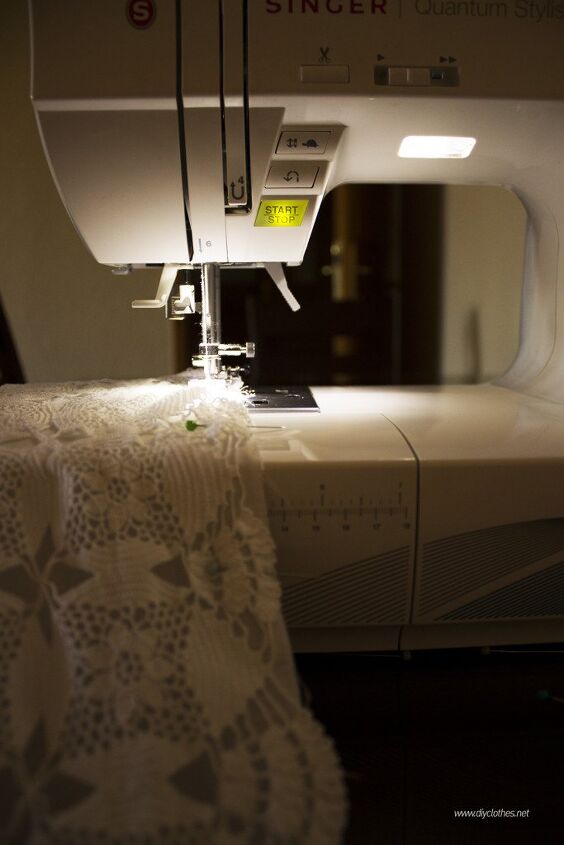
Sew along each side. I used a straight stitch. If you have any cotton tape pin it along sides and sew the tape to the crochet fabric. I didn’t have any so I just sewed without it.
After sewing each side, two pieces together should look like this, below.
It’s now time to pin and hem the arm holes, fold the edge once or twice and sew with a straight stitch.
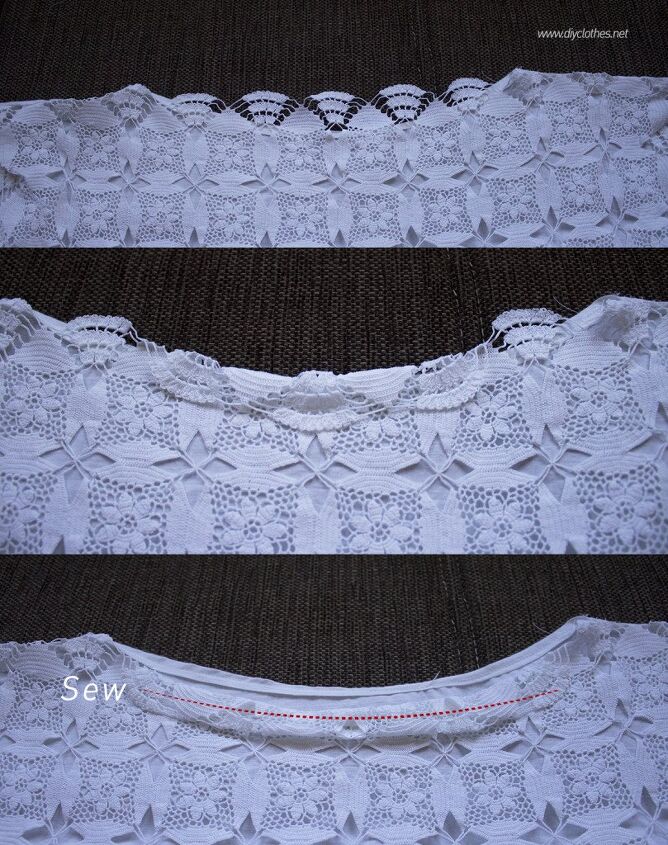
Next, fold the neckline twice and pin into it. Sew all along the neckline, in the end finish with sewing up the shoulders.
You can leave the shirt without adjusting the front neckline. This way you’ll get a draped neckline. You can easily moderate it in my way, folding the excess crochet twice and sewing it along the folded crochet.


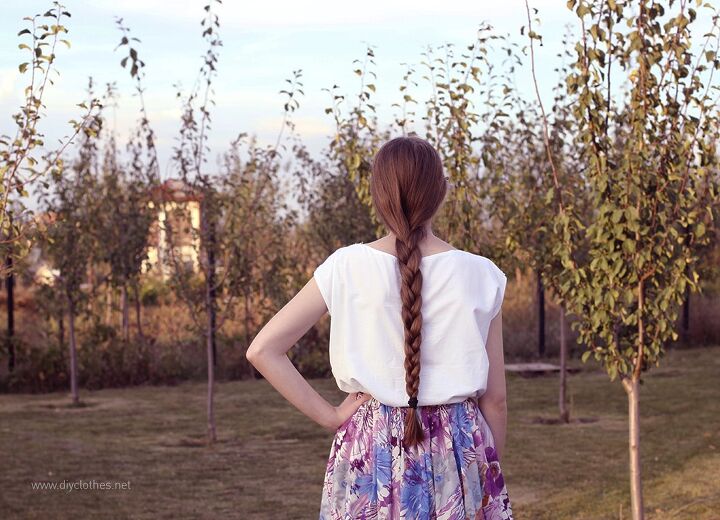
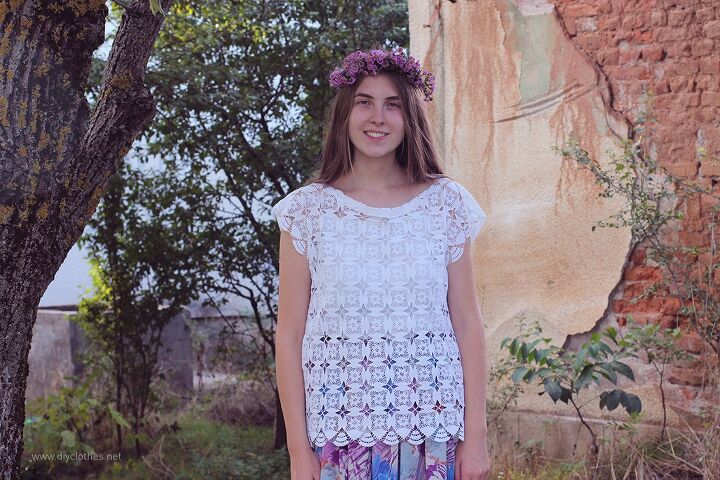

* On the pictures, my sister Margarita
The author may collect a small share of sales from the links on this page.


Comments
Join the conversation
The top is lovely but I wish the whole thing was in that lace which is very pretty.