How to DIY an Elegant Silky Blouse

Today, I want to show you how to sew a blouse quickly and easily.
A serger makes this a very fast project, but you can certainly use a sewing machine instead.
Just remember to finish the raw edges if your fabric is likely to fray.
The measurements I give for this DIY blouse will fit European sizes 38 - 44 (8 - 14 US).
Tools and materials:
- 48” (120 cm) satin or lightweight polyester fabric
- Narrow elastic
- Plate or pan lid as a template
- Ruler
- Measuring tape
- Fabric marker
- Pins
- Scissors
- Safety pin
- Plastic drinking straw
- Serger (optional)
- Sewing machine
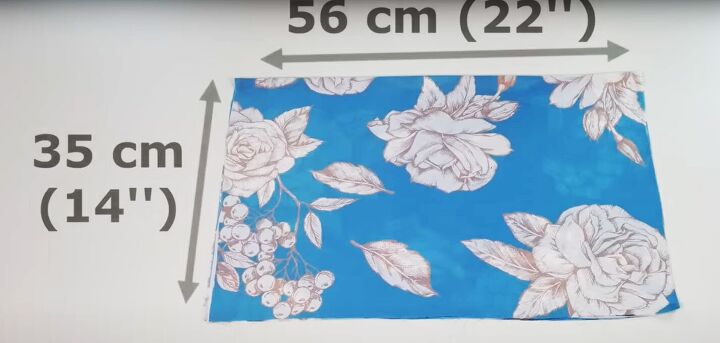
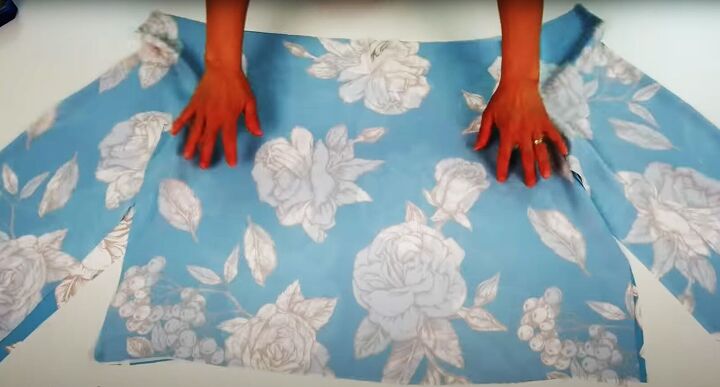
1. Cut the armholes
Cut a rectangle of fabric 22 inches (56 cm) wide and 55 inches (140 cm) long.
Fold it in half widthways twice, with the right sides together. Lay it flat, with the folded edge towards you.
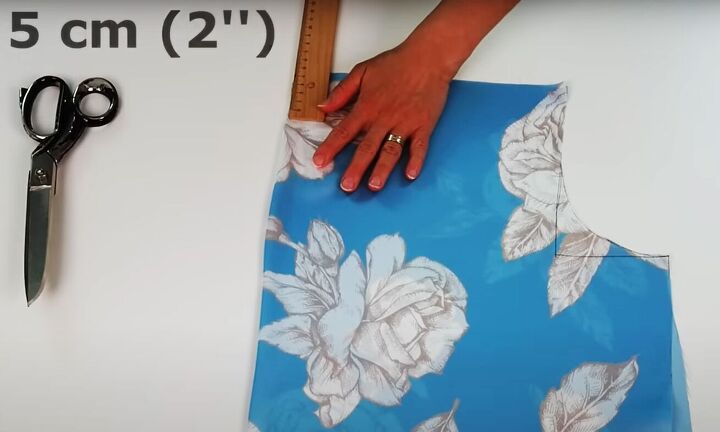
Measure 3.5 inches (9 cm) down the side edge and 7 inches (18 cm) from the side along the open edge opposite you. Draw a rectangle to join the points.
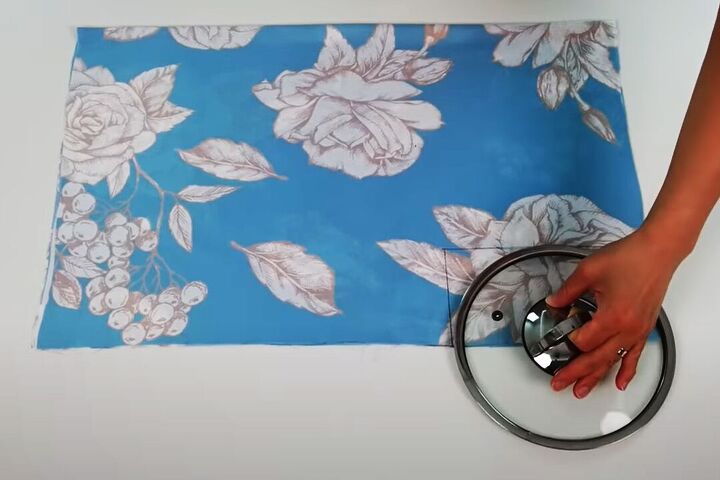
Using a plate or pan lid as a template, draw a curve where the two lines meet.
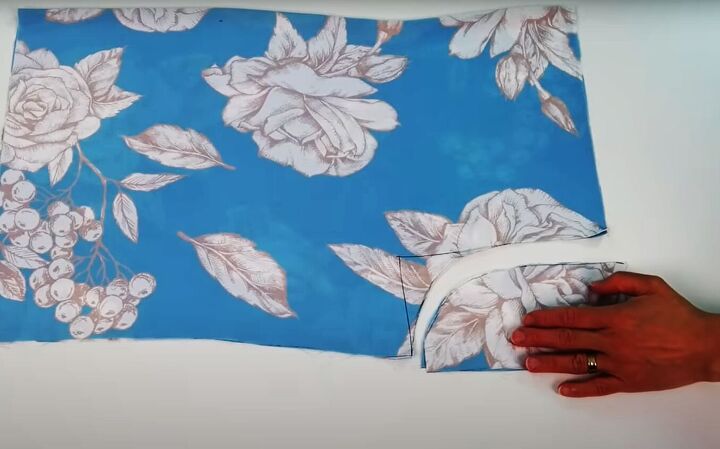
Cut out the curved section and put it aside.
2. Front neck opening
Open out the fabric and separate the two layers.
Fold one piece in half lengthways and make a 2 inch (5 cm) long cut on the center fold.
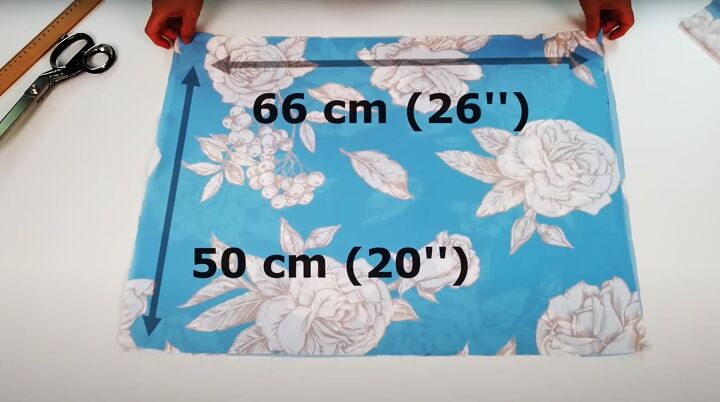
3. Cut the sleeves
Cut two rectangles of fabric 26 inches (66 cm) wide and 20 inches (50 cm) long.
Lay them flat with one on top of the other and fold them in half widthways.
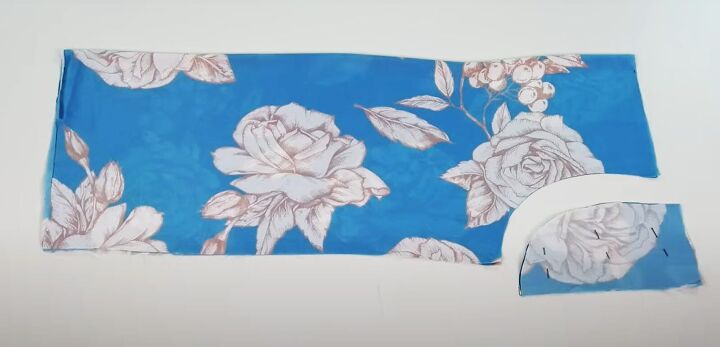
Pin one of the curved pieces you cut out in Step 1 to the top left corner of the fabric as a template, and cut around it.
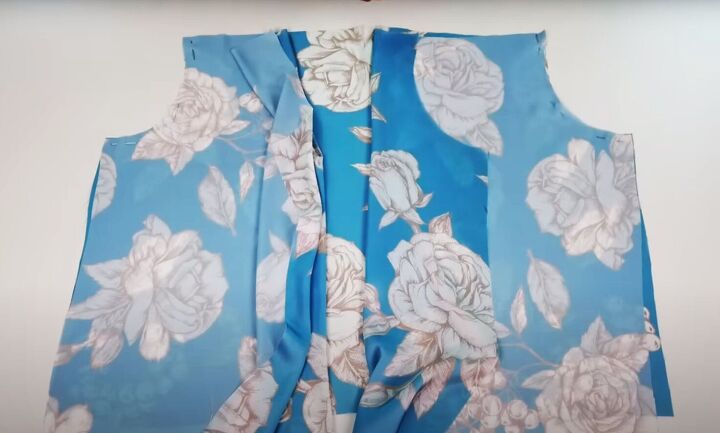
4. Insert the sleeves
Lay the front section flat with the right side towards you.
Place the sleeves on the front with the right sides together, matching the armhole curves.
Pin the sleeves to the front at the armholes.
Place the back of the blouse on top of the sleeves with right sides facing. Pin the sleeves to the back of the blouse at the armholes.
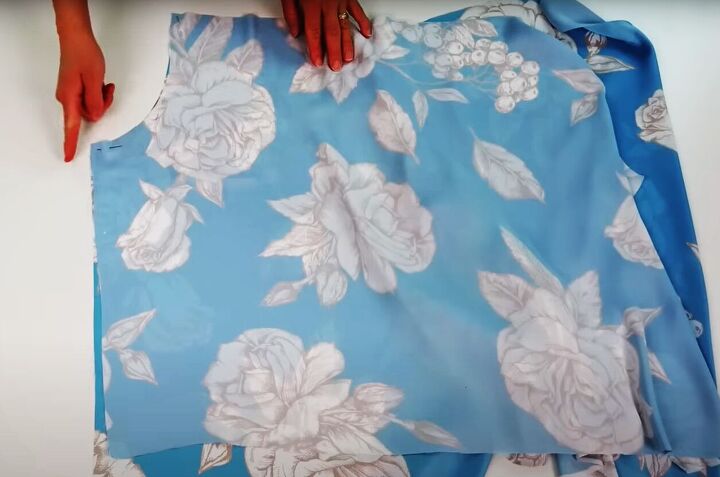
5. Side and sleeve seams
Match the underarm seams and pin the side and sleeve seams together on both sides.
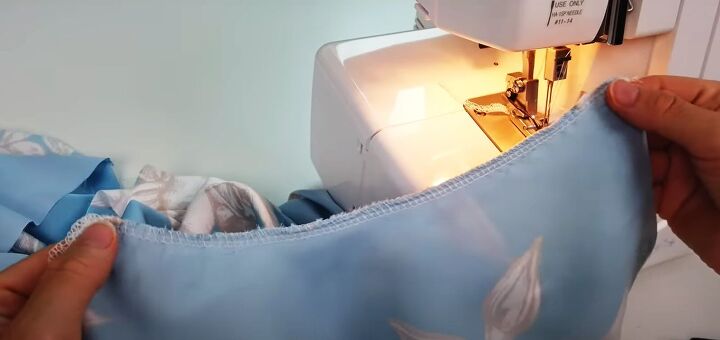
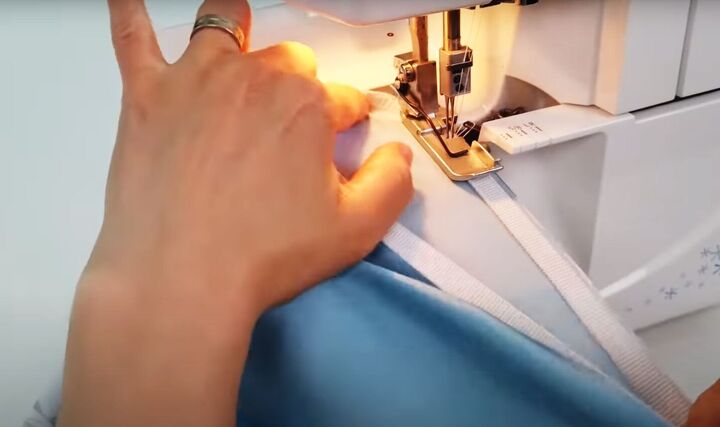
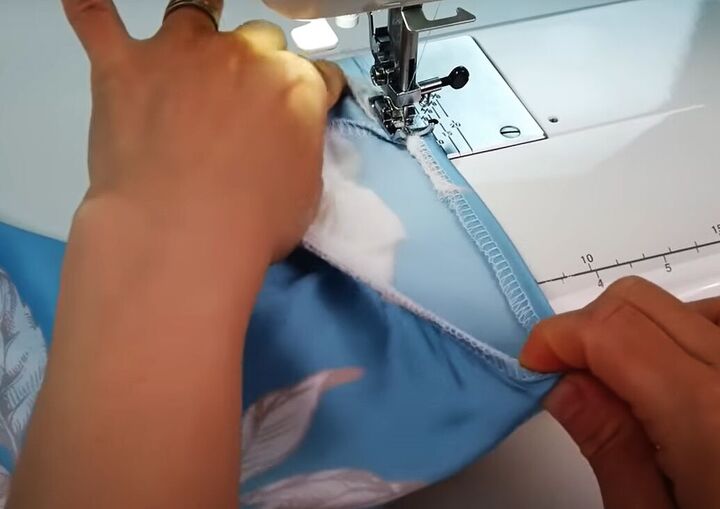
6. Sewing
Take your pinned blouse to your sewing machine or serger and sew the pieces together at the armholes.
Finish the raw edges around the neckline, along the sides of the front opening and the bottom edge of the blouse.
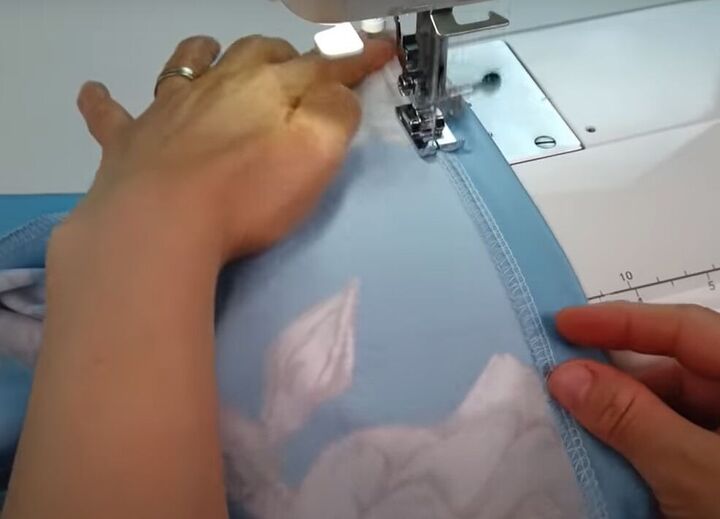
Sew the side and sleeve seams.
Turn up a narrow hem at the lower edge.
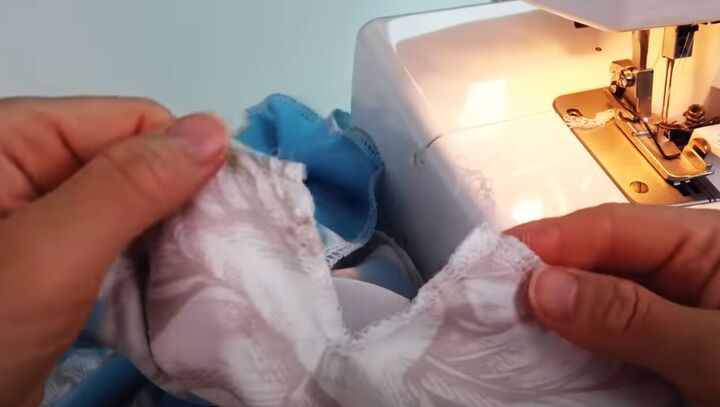
7. Sleeves
Cut two pieces of narrow elastic, 8 inches (21 cm) long. Overlap and sew the ends.
Pin the elastic to the inside of the bottom edge of the sleeve, at the seam and opposite point, stretching the elastic between them.
Sew or serge the elastic in place along the raw edge.
Turn the sleeve edge to the inside and sew it down.
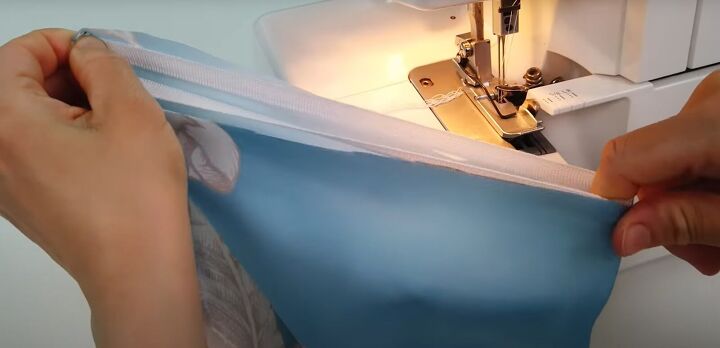
8. Neckline
Turn in a narrow hem around the front opening and sew it in place.
Fold the neckline edge to the inside by 0.75 inch (2 cm). Sew it down close to the edge, to make a casing.
9. Make the drawstring
Cut a strip of material 55 inches (140 cm) wide and 2 inches (5 cm) long.
Fold it in half lengthways with the right sides together.
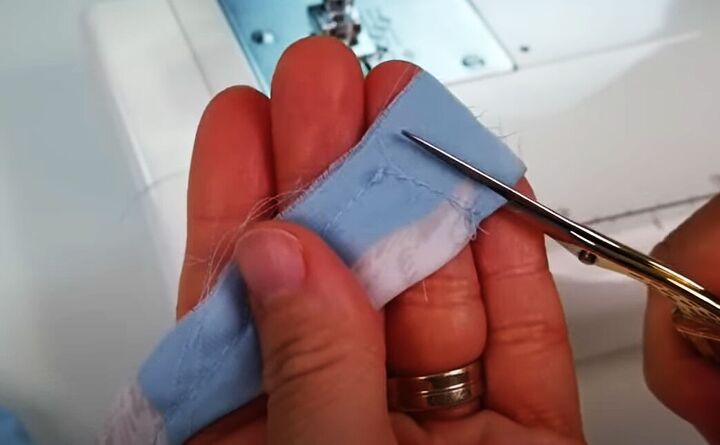
Sew the short edges on the diagonal.
Sew the long edge, leaving a 2 inch (5 cm) opening in the center.
Cut off the excess fabric at each end.
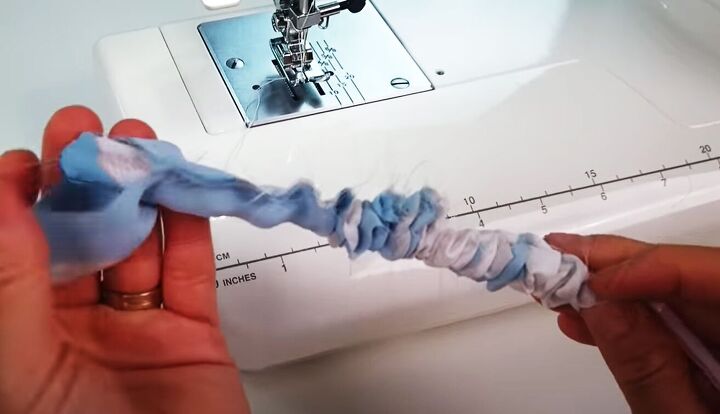
Use a plastic straw to push the closed ends out through the opening, to turn the drawstring right side out.
This is an easier method than pushing one end out through the other, when you have a long tube of fabric.
Fold the edges of the opening to the inside and sew it closed.
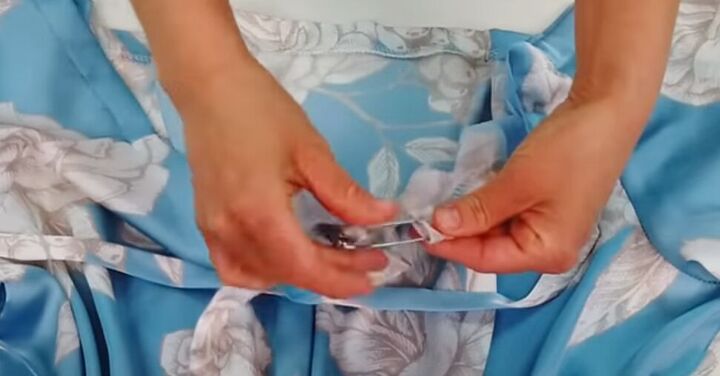
Use a large safety pin to thread the drawstring through the neckline.
Tie the ends in a bow at the front.
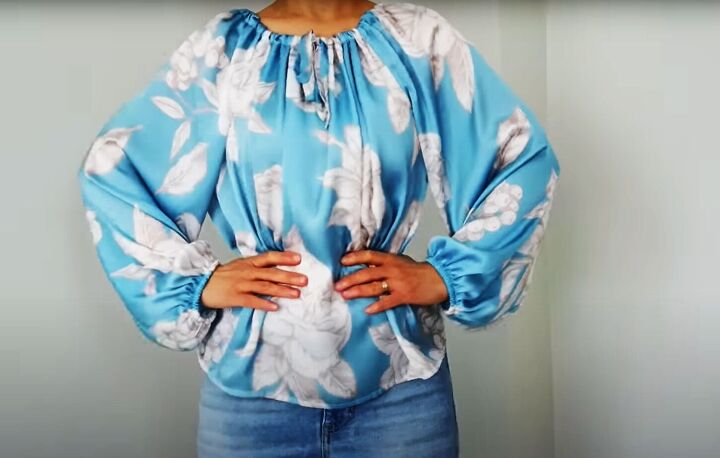
DIY blouse
And there is your easy, silky, DIY blouse! No women's blouse sewing pattern required.
Wear it with the sleeves pushed up for a different look or add a belt. It's very flattering for all shapes and sizes, however you wear it.
Please let me know in the comments if you found this method easy to follow. I have lots more sewing tips for you!
Follow me on TikTok: @tugbaisler and check out my post on How to DIY a Cute Twist Hair Band.
The author may collect a small share of sales from the links on this page.


Comments
Join the conversation