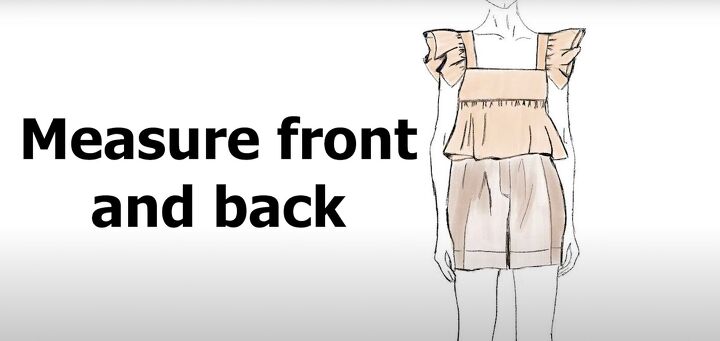
How to Easily Sew a Classic Babydoll Top From Scratch

Babydoll tops are having a hot moment though they are never out of style. Their loose silhouette supports freedom of movement, offering you elegance and comfort. This babydoll top sewing pattern has ruffles on the bottom and strap for a fun, flirty, and feminine touch. If you wanted to know how to make a babydoll top, this tutorial will show you how to do it. My beautiful DIY babydoll top will be a perfect addition to your summer wardrobe. Let me show you how to sew a babydoll top!
Tools and materials:
- 3 yards fabric
- Measuring tape
- Pen and paper to record measurements
- Scissors
- Pins
- Serger
- Sewing machine
- Your own top to use as a template
- Iron
1. Make the babydoll top sewing pattern
Put on your own top to use as a template.
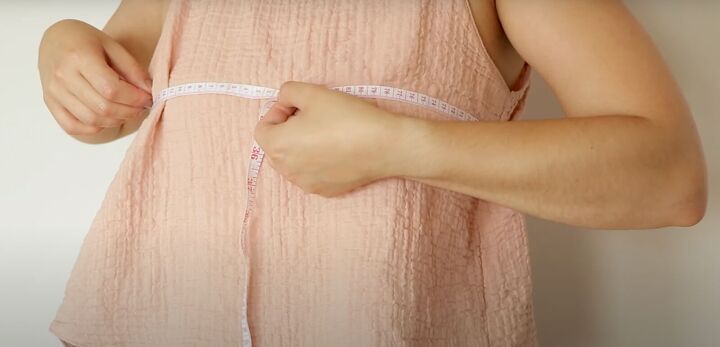
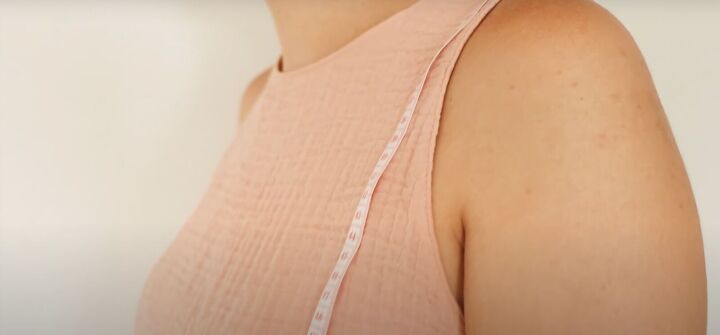
Measure your bust circumference at the fullest part of your bust for the bust band.
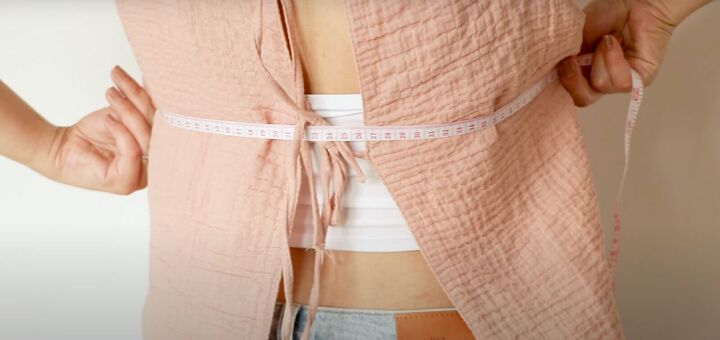
Measure for the back going from the right seam to the left seam.
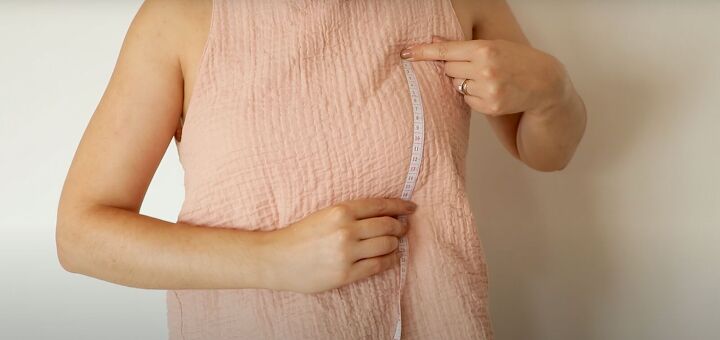
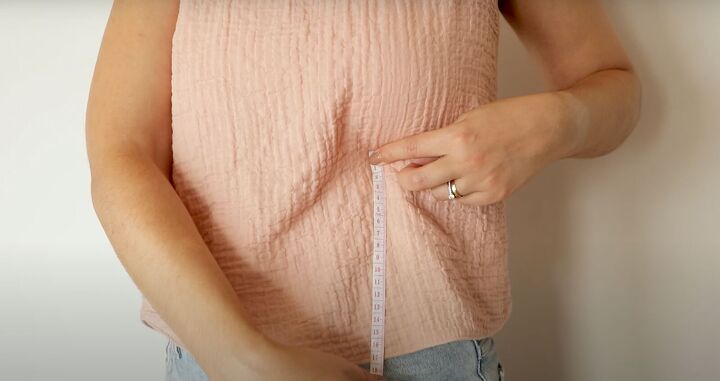
Measure from where you want to neckline to start and go straight over the fullest part of your bust to under your bustline for the bust band length. Add ¾ inch seam allowance. Make 2 pieces for the front and back bust band for the lining and outer fabric. Add 2 inches to all your measurements for ease and ¾ inch seam allowance.

2. Make the flounce pattern
Add ¼ inch to your full bust circumference measurement (going all the way around your body around the fullest part of your bust).
Measure from under your bust to your hipline or your preferred length. Add seam allowance. You’ll need 2 pieces as well. It’s important to make the lining 1 inch shorter than the outer fabric for the flounce so it doesn’t peek out.
3. Make the strap pattern
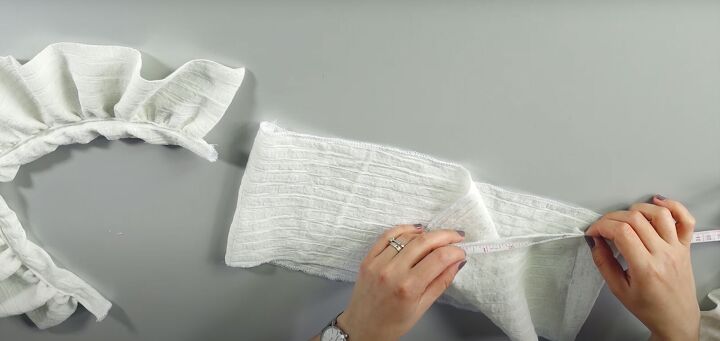
Measure your preferred strap length and width. For the ruffles, double the length of the straps and triple the width of the straps.
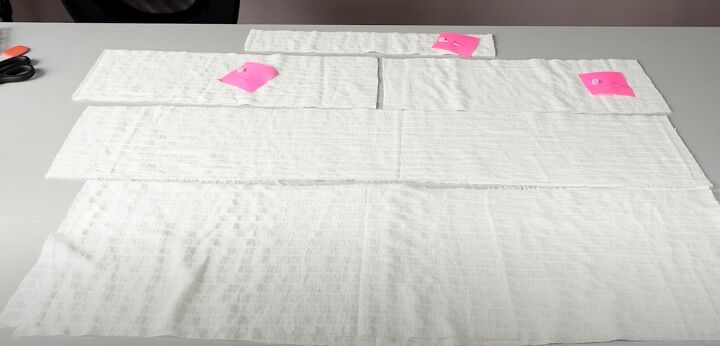
4. Cut out your fabric
Cut all the fabric pieces you’ll need based on your measurements. Serge all the raw edges.
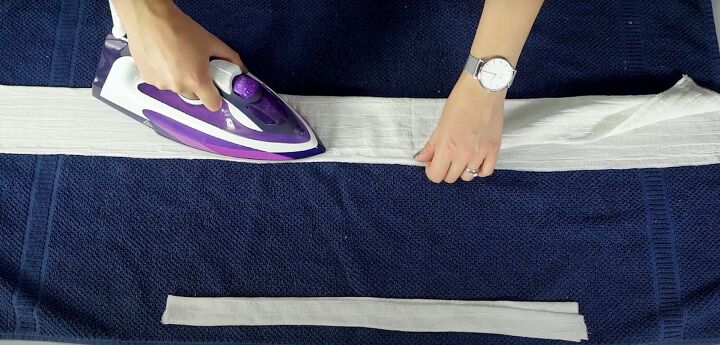
5. Assemble the straps
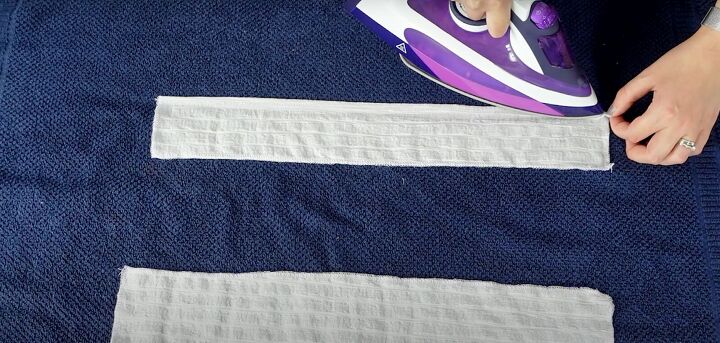
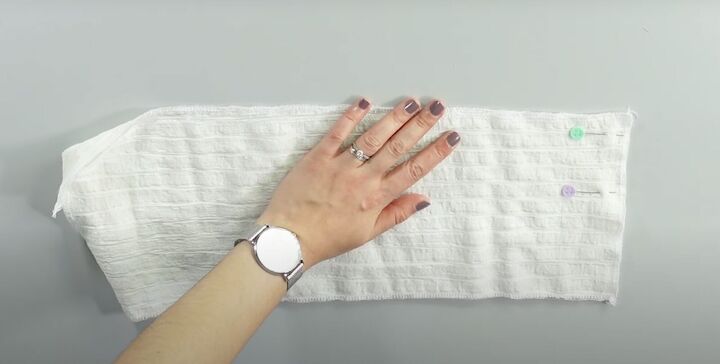
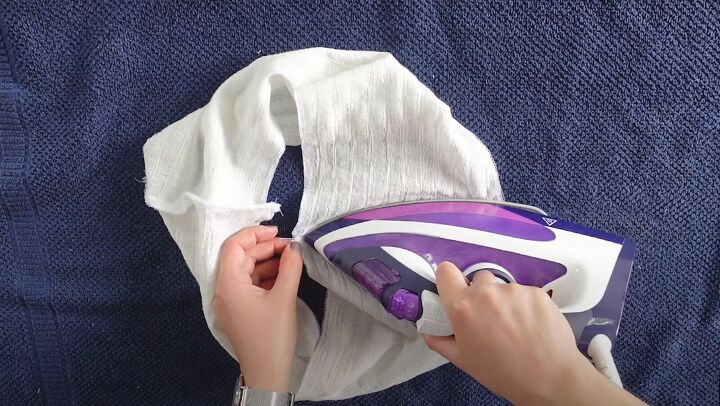
Fold ¼ inch along the length on both sides towards the wrong side. Press flat.
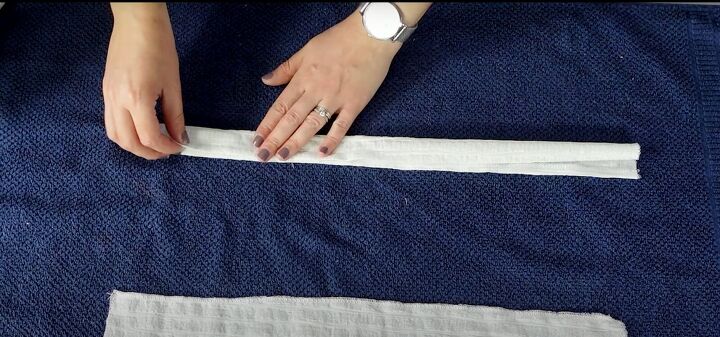
Fold the straps in half and press to flatten. Repeat for the second strap.
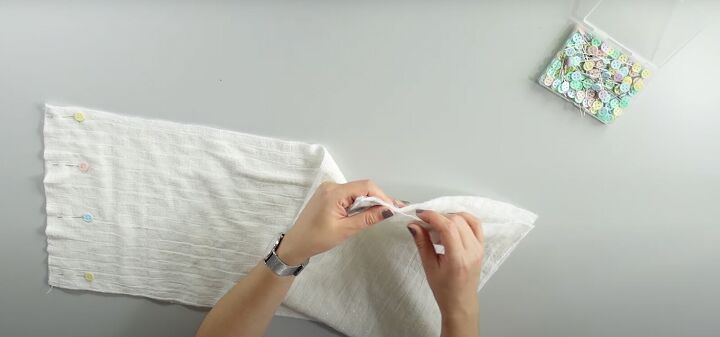
Fold the strap ruffle in half with the right sides together. Press.
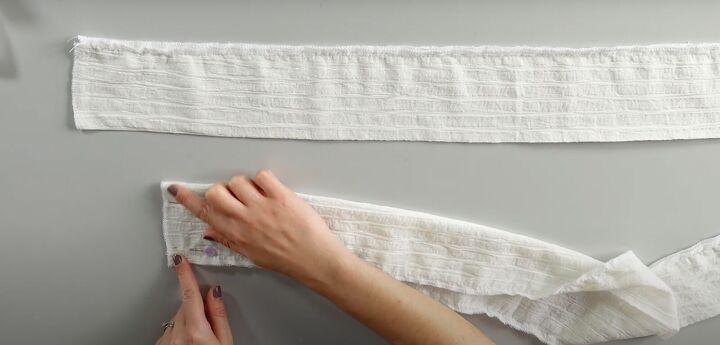
Pin the short sides of the ruffle. Sew to secure.
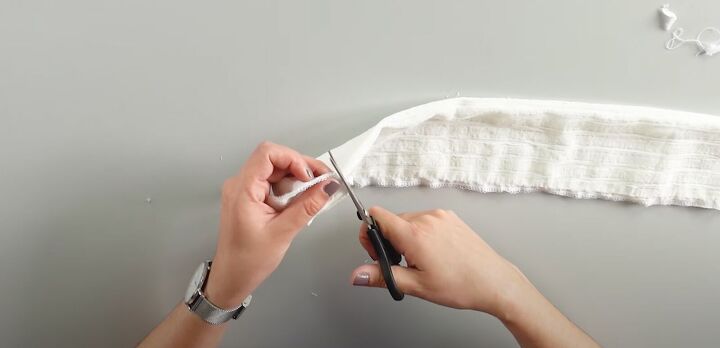
Snip the corners of the seams. Turn the ruffle right side out. Repeat for the second ruffle.
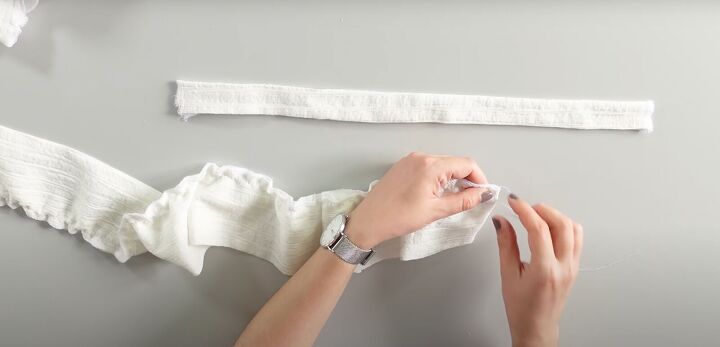
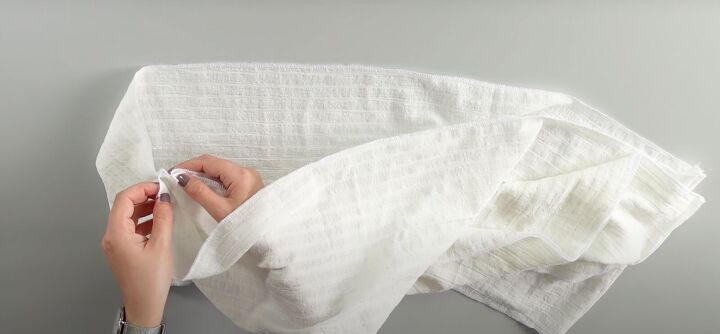
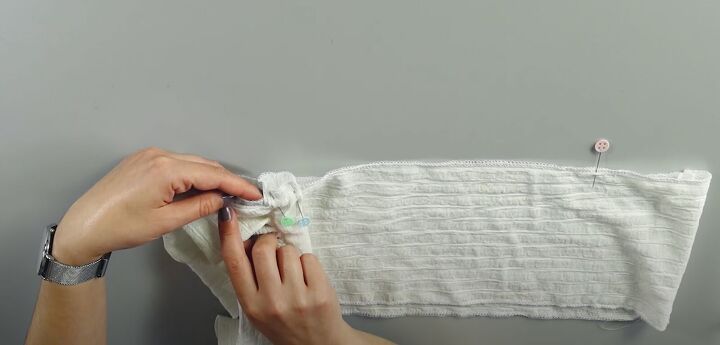
Set your machine to the longest stitch. Sew a basting or gathering stitch on the unfolded edge of the ruffle, If you’re worried about the threads breaking, sew two parallel basting stitches. Don’t backstitch. Leave a long thread at the beginning and end of the stitch.
Pull on the threads to gather the ruffle until it is about the same size as the strap.
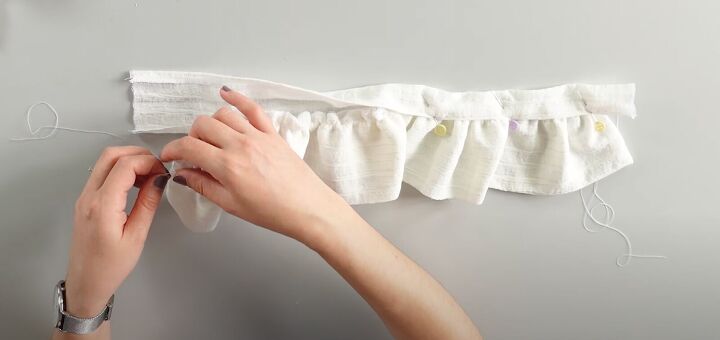
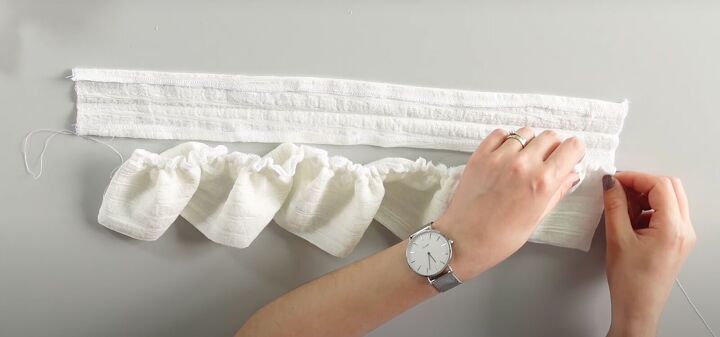
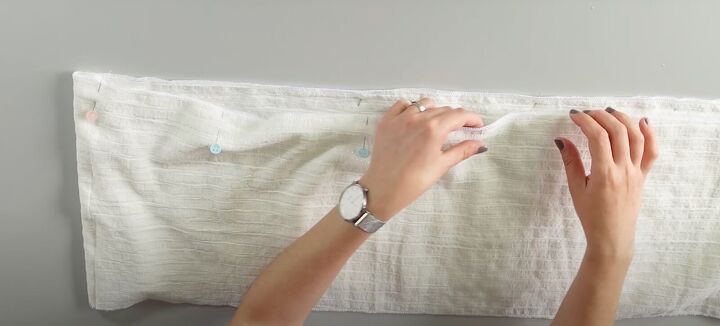
Place the ruffle inside the strap like a sandwich. Make sure to leave excess strap without the ruffle on either side for sewing down later. Pin to secure and topstitch. Repeat for the second strap.
6. Sew the bust band
Pin the front and back pieces to each other along the short sides. Sew to secure. Repeat the process for the lining.
Press the seam allowances flat.
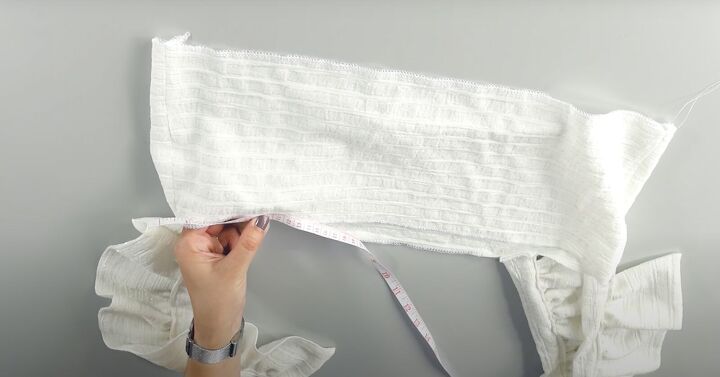
7. Sew the bottom flounce
Pin the front and back pieces to each other along the short sides. Sew to secure. Repeat the process for the lining. Press the seam allowances flat.
Place the outer layer of the fabric down. Lay the shorter lining piece wrong sides out. Align the seams so their wrong sides are together.
Pin across and sew a basting stitch across the top.
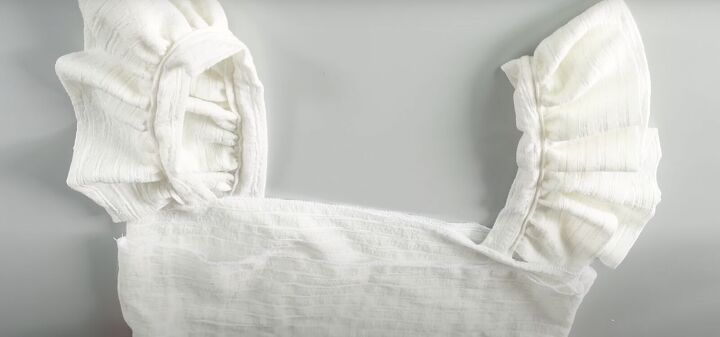
8. Assemble the bust band and straps
Measure in your desired amount for the strap placement on either side of the outer fabric bust band on the wrong side.
Mark with a pin.

Place the straps with the excess bit of strap without the ruffle onto the bust band so you don’t sew the ruffle to the band. Make sure the ruffles face outward. Pin and sew the front strap in place.
Mark the strap placement area in the back by at least 1 inch inward. Repeat the pinning and sewing process for the back straps.
9. Assemble the lining for the bust band
Place the outer bust band with the ruffle straps right side out. Have the lining wrong side out.
Tuck the straps downward away from the top.
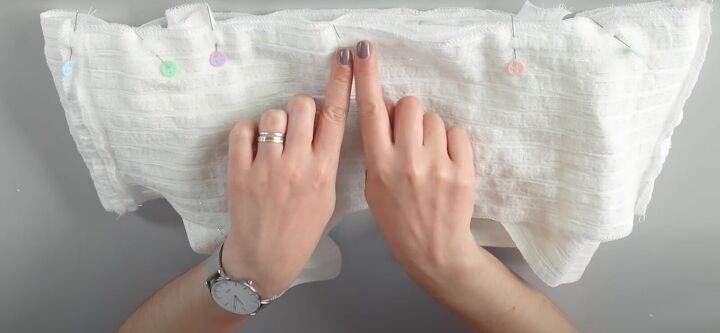
Slide the outer bust band into the lining. Pin across the top. Make sure to align the seams perfectly. Sew into position.
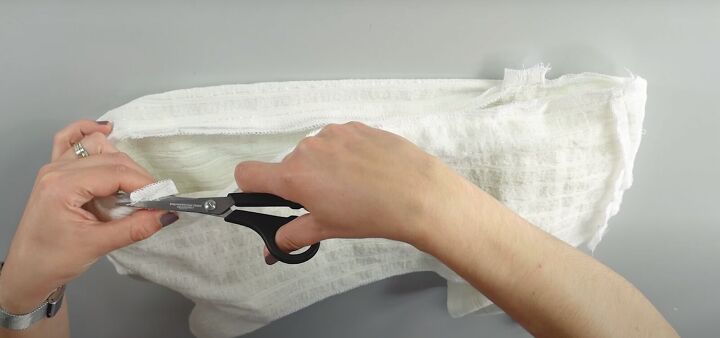
Trim any excess strap. Turn to the right side.
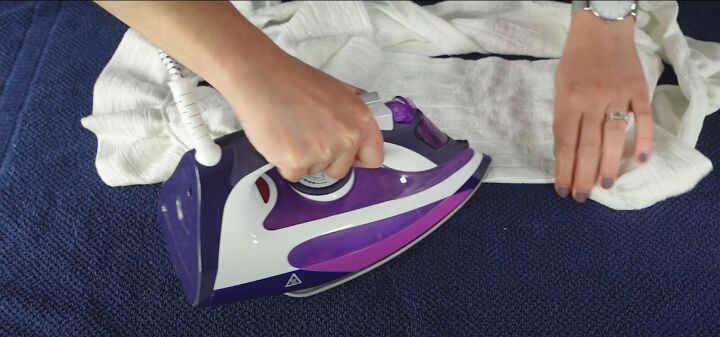
Press to flatten the new seam. Topstitch.
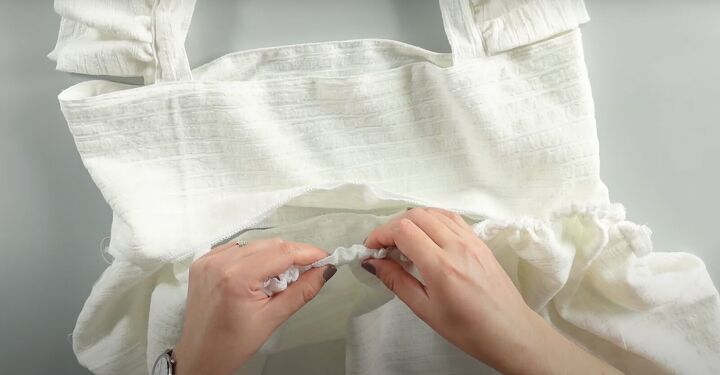
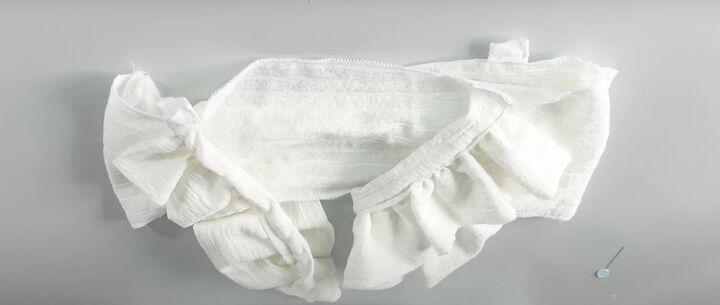
10. Attach the bottom flounce
Pull the threads of the basting stitch until the circumference of the bottom flounce matches the bottom bust band.
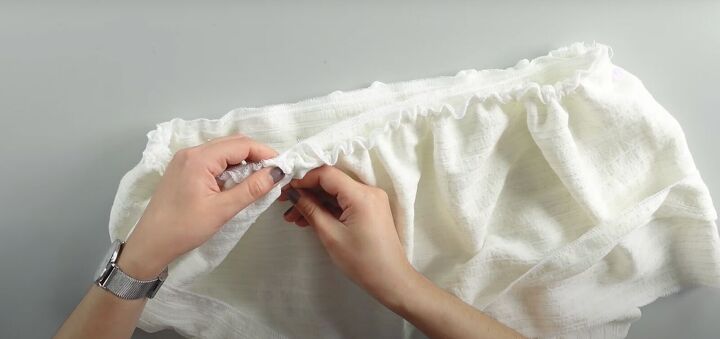
Place them right sides together, aligning the side seams. Pin all around. Sew into position.
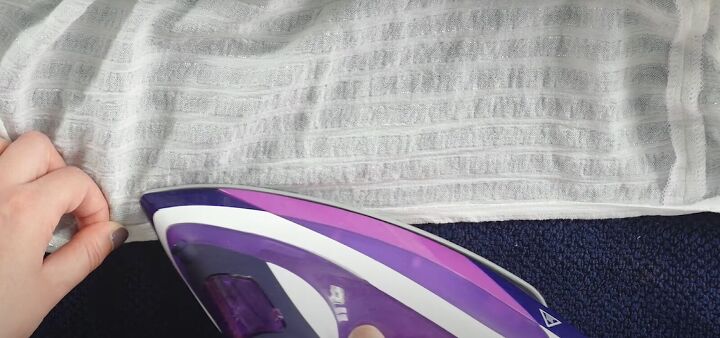
For the hem, fold in the bottom ¼ inch. Press to flatten. Fold again ¼ inch, pressing to flatten. Sew.

How to sew a babydoll top from scratch tutorial
You did it! You made a DIY babydoll top! Please let me know in the comments if you made it or tag me in your social I’d love to see how beautiful your babydoll top looks.
The author may collect a small share of sales from the links on this page.


Comments
Join the conversation