How to Make a Lace Top With Lining: A Step-by-Step Tutorial

In this tutorial, I am going to show you how to make a lace top with lining. This top is one part of a two-piece set, which you can wear as a lace dress.
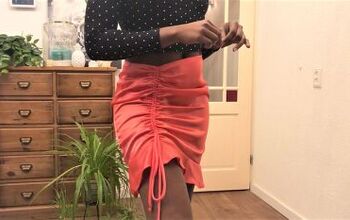
When you’re done with this DIY lace top, check out the coordinating tutorial for how to sew a lace skirt.
Tools and materials:
- 3 yards of lace fabric
- 2 yards lining fabric
- Sewing elastic
- Decorative elastic or trimming
- Bra strap sliders and rings
- Zipper
- Tank top
- Ruler
- Scissors
- Marker
- Sewing pins
- Sewing needle and thread
- Sewing machine
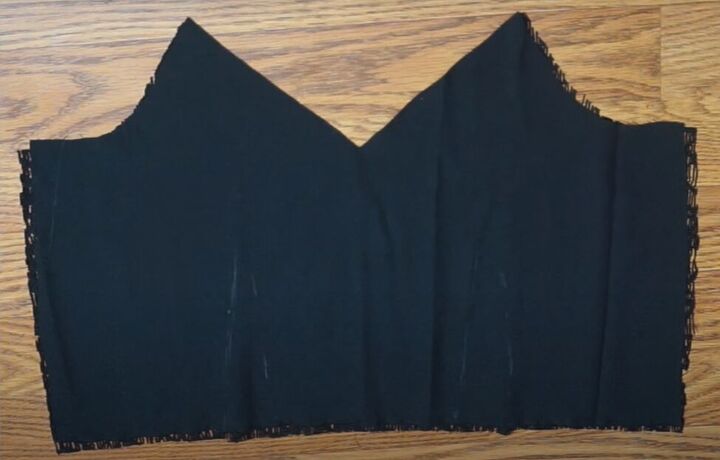
1. Cut the lace top front piece
To make the pattern, trace out half of a cami tank top to however long or short you want.
The side can just be a straight line down since the darts will help make the top fitted. Create a V-neck and add 1-inch darts below the bust. Add a ½-inch seam allowance to the top, side, and bottom.
The back is the same, but the V-neck drops lower and it's cut into two separate pieces, so you'll need seam allowances all around.
Cut out the front piece for your top from both the lace and the lining fabric using the front of your tank top as your pattern.
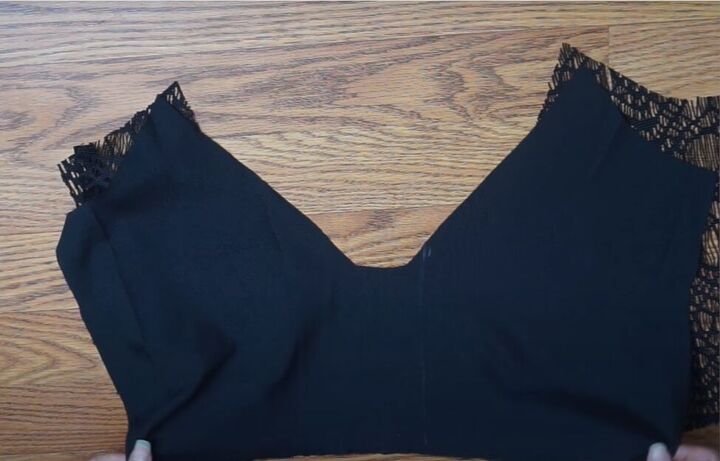
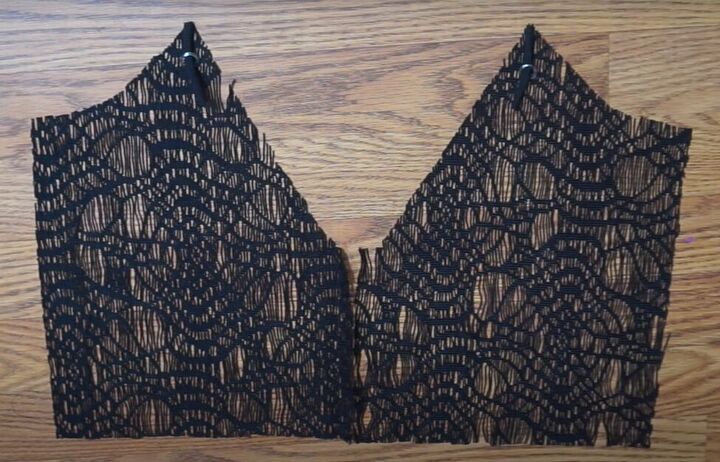
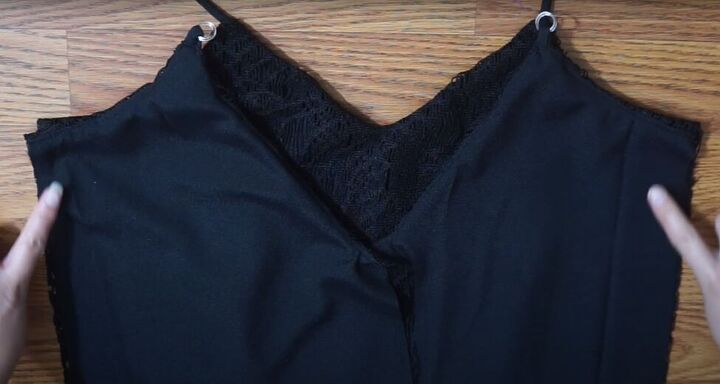
2. Cut the lace top back pieces
Cut the back piece of the top from both the lace and lining fabric using the front piece as your pattern guide. Make a lower neckline on the back piece and add a 1-inch seam allowance down the center of it.
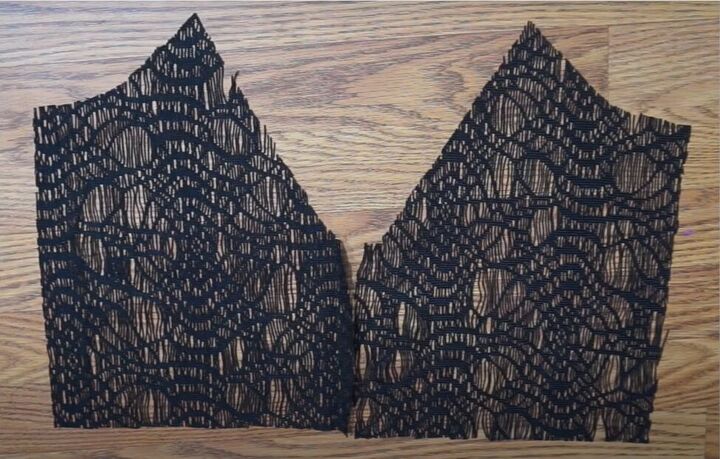
Once you have cut the back pieces from both fabrics, cut the lace piece only down the vertical center so you have two lace back pieces and one lining back piece.
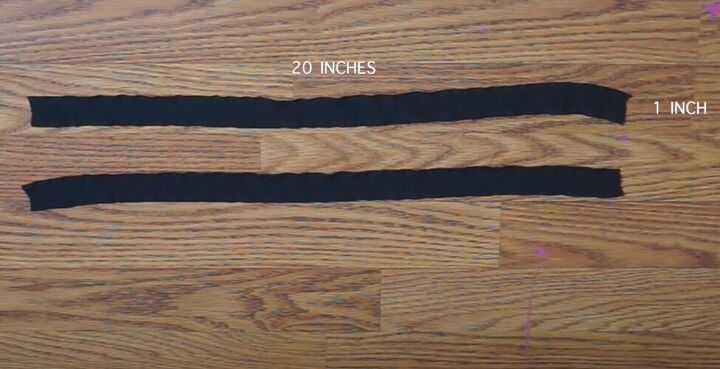
3. Make shoulder straps
Cut two pieces of lace measuring 20 x 1-inch each.
With right sides facing in, fold each strap in half lengthwise and sew along the long open edges.
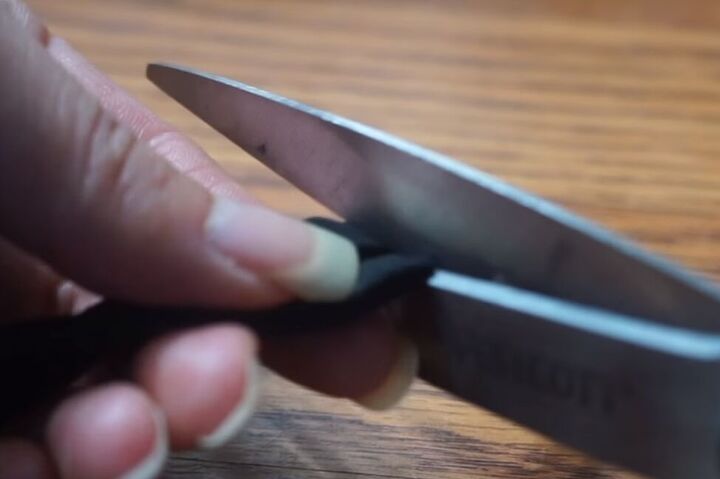
Turn the straps right-side out and snip off 2 inches from each strap. You will use these 2-inch pieces later.
4. Attach the straps
With the right side facing up, place the shoulder straps on the top front with one end of the strap at the top point of the V-neck.
5. Attach the front lining
Lay the front lining piece, right-side facing in, on top of the lace piece. Pin the pieces together at the top points, including the strap that’s sandwiched between them.
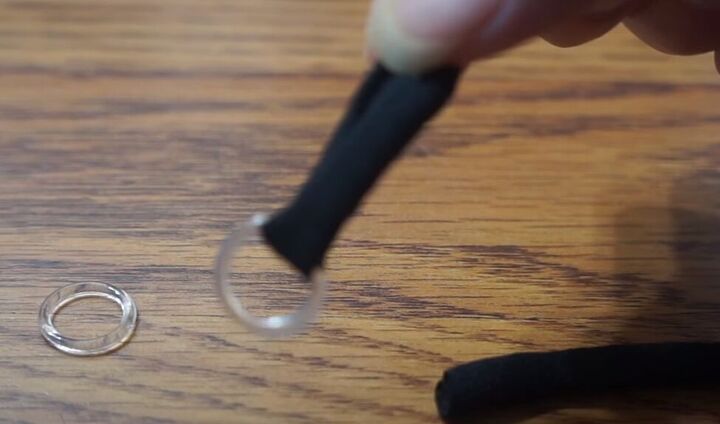
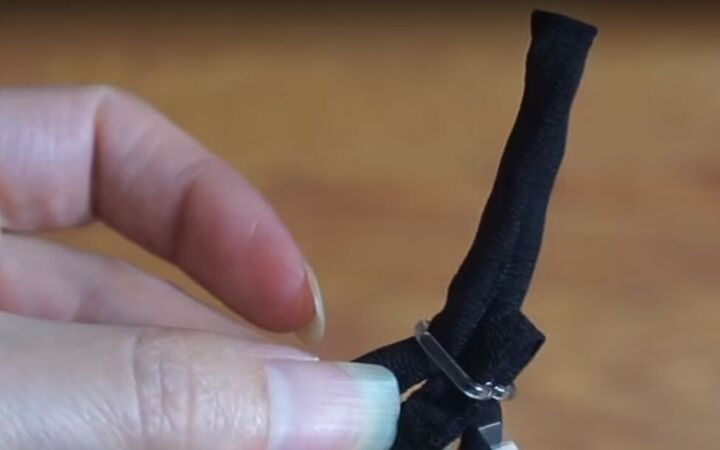
6. Add the back lining and shoulder strap O-ring
Slip each of the 2-inch shoulder strap pieces through an O-ring.
Place the O-rings at the top points on the inside of each back piece. Place the two back pieces side-by-side so the centers align.
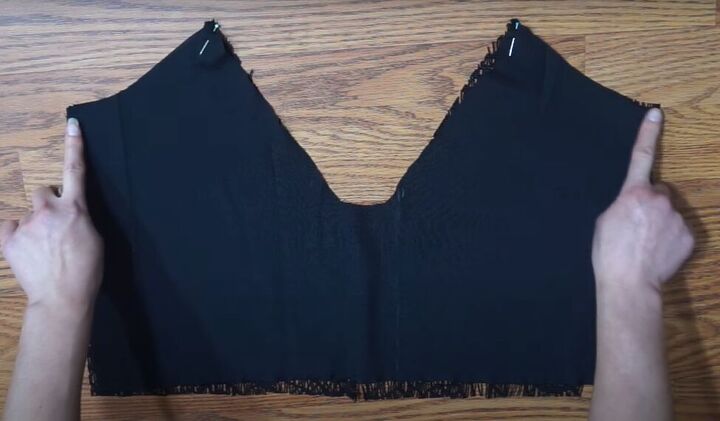
With the right side facing in, place the back lining piece on top of the back lace pieces with the O-ring sandwiched between them. Pin the pieces at the top points, then sew the neckline and shoulder seams.
7. Snip & trim
Add some give to the top of the back by snipping into the neck and shoulder seam allowance every couple of inches.

Then, trim off the corners of the top points.
8. Sew
Open the seam and turn the fabric to the right side. Sew along the seam at the edge of the lining. Be careful as you sew around the strap section so that you don’t catch any unwanted fabric.
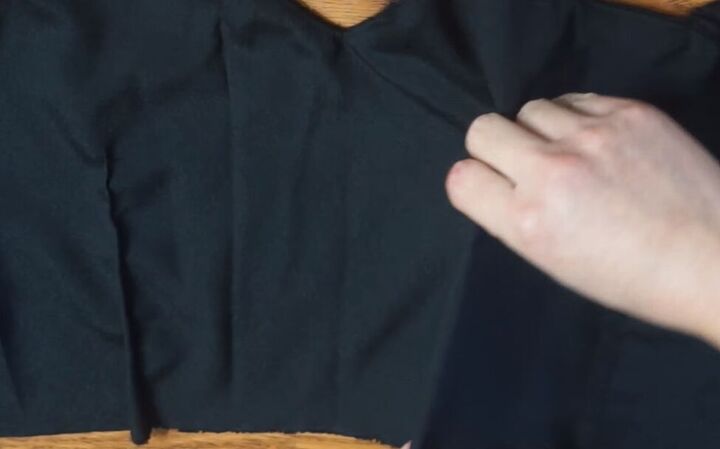
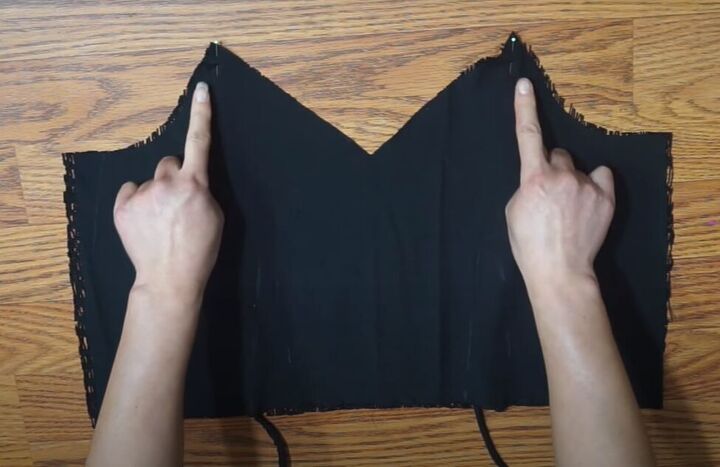
9. Sew darts in the back
Add darts to the back of the top, sewing both the lining and lace layers as one. Start the darts at the bottom of the top opposite the point, with a half-inch base, and take them to just under the bustline.
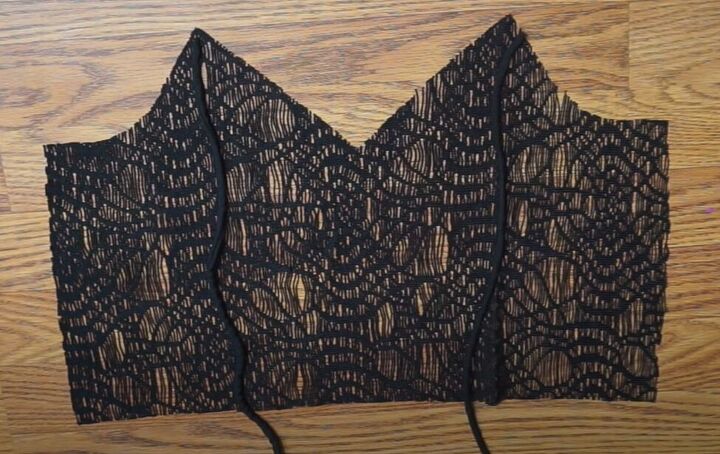
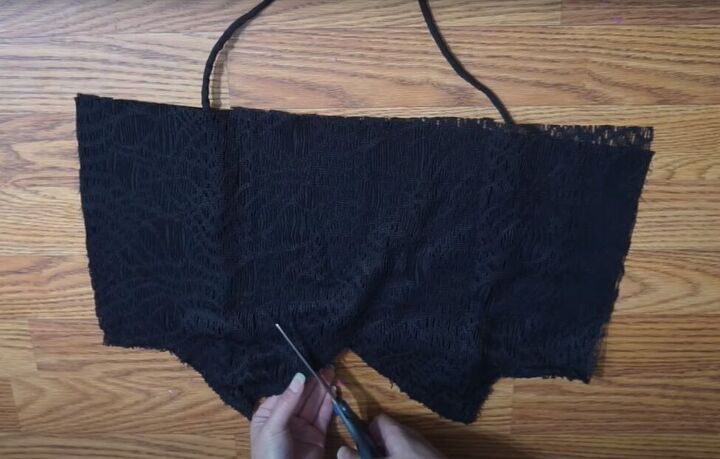
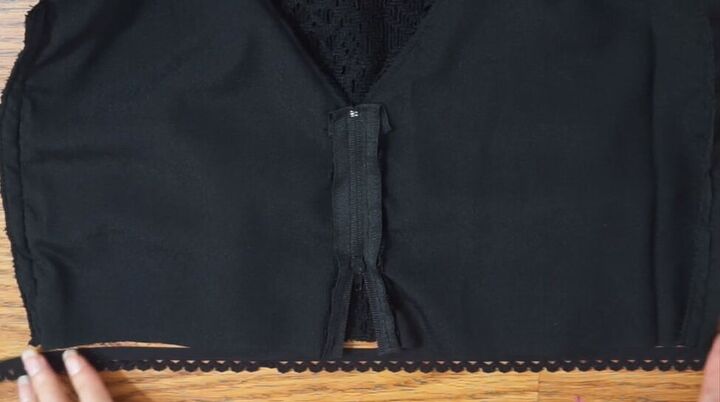
10. Attach the back and front
Pin the outside edges of the back to hold them in place. Now cut open the back through the lining layer so you have two lined back pieces.
With the right sides facing, place the two back pieces on top of the front piece, and sew the side seams.
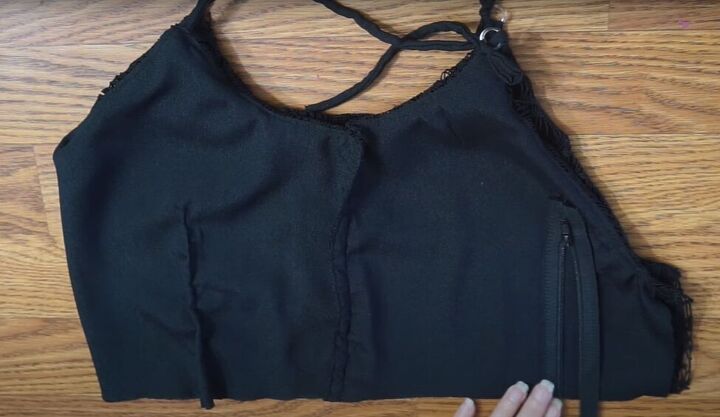
11. Attach the zipper
Follow the video from 3:32 to 4:25 to see how to position and attach the zipper.
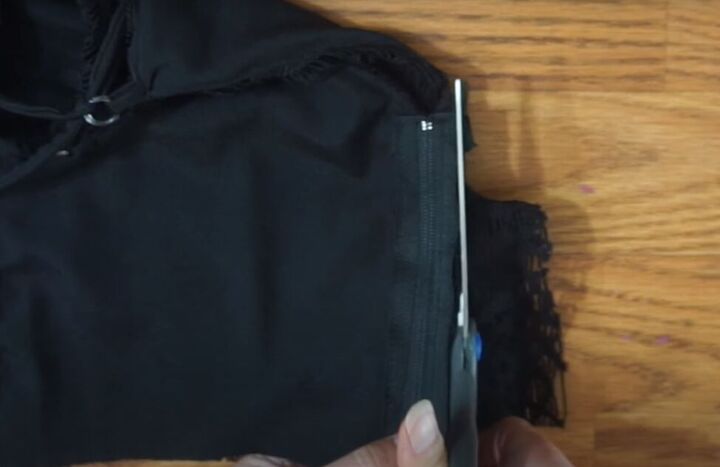
Now trim the excess fabric that lays outside the zipper.
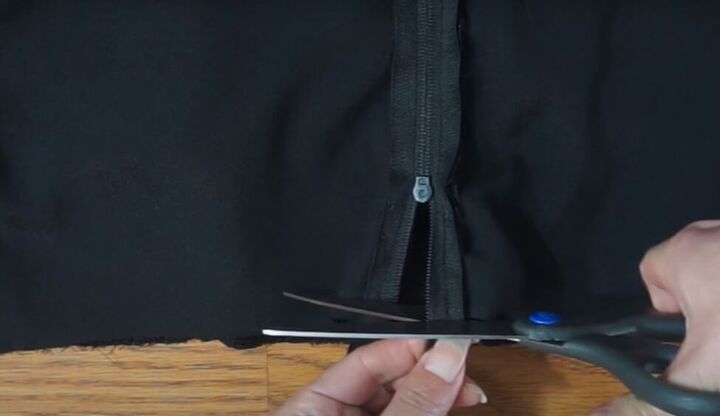
Also trim the excess zipper from below the bottom of the top.
12. Hem
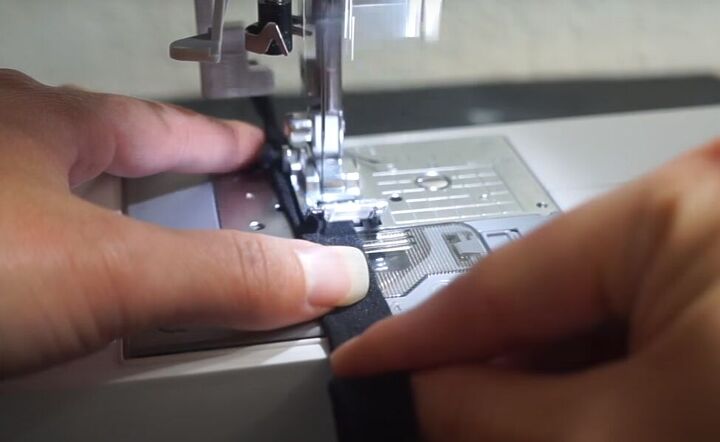
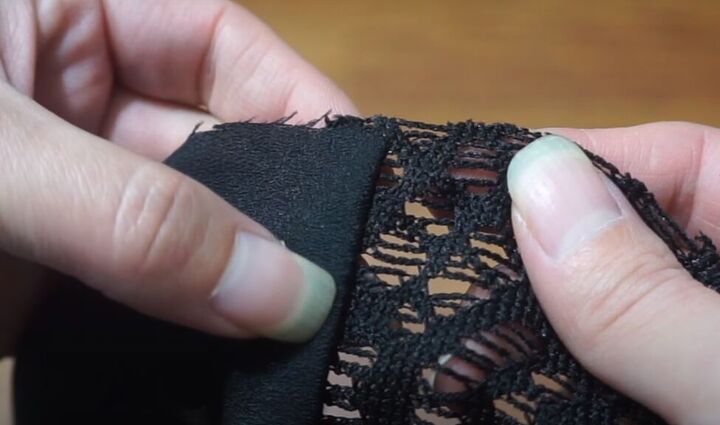
Finish the hem of the skirt by adding decorative elastic. Sew the elastic to the inside of the top but topstitch it in place on the front of the top. If there is a scalloped edge, ensure the scallops are below the edge of the top.
13. Add the strap slider
To understand the best way to add the sliders to the long part of the straps, follow the video from 5:02 to 6:30.

How to make a lace top
Here is the finished lace top. As I mentioned, I made a matching skirt for a full outfit, but this top could also be worn as a separate piece. It’s so pretty and coordinates beautifully with a sparkly bottom.
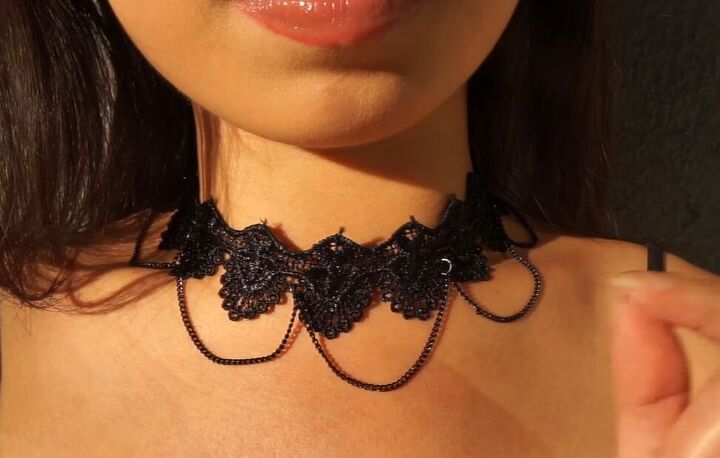
I even made a DIY lace choker out of the spare fabric!

Leave a comment to let me know if you tried making this DIY lace crop top and how it turned out.
The author may collect a small share of sales from the links on this page.


Comments
Join the conversation