How to Make a Simple DIY Drawstring Skirt: Step-by-Step Tutorial

Today, I’m going to show you how to make a mini ruched drawstring skirt with a frill at the hem. This skirt is super cute and feminine, and the crepe satin fabric is to die for.
Follow along as I teach you how to make this DIY ruched skirt.
Tools and materials:
- Pattern
- Scissors
- Crepe satin fabric
- Pencil
- Ruler
- Pins
- Iron
- Zip
- Zipper foot
- Seam ripper
- Needle and thread
- Loop turner
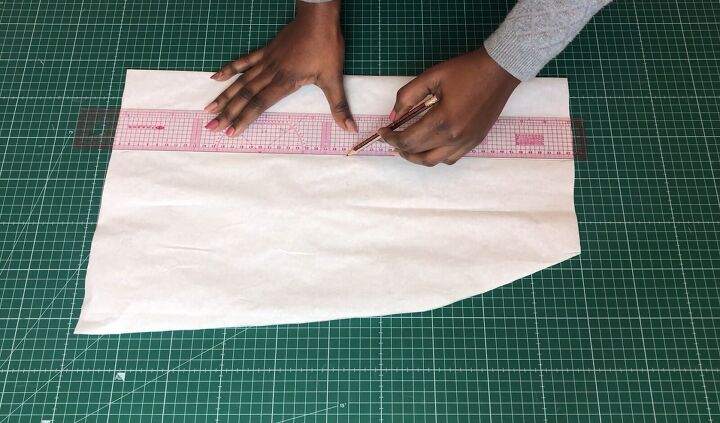
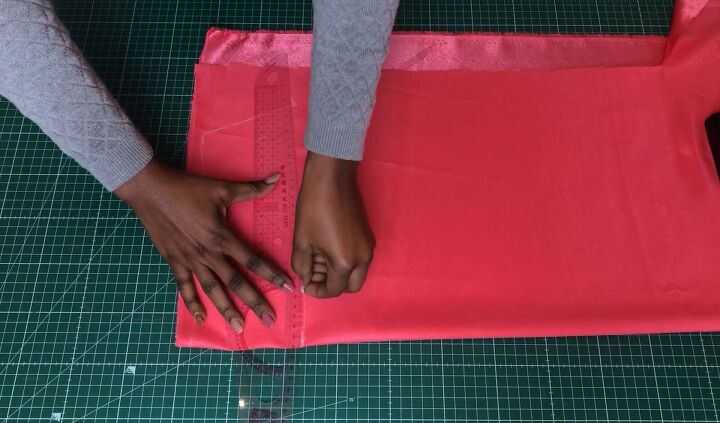
1. Mark where the drawstring will be
First, you need your front and back patterns. You can find out how to draft a basic skirt pattern here.
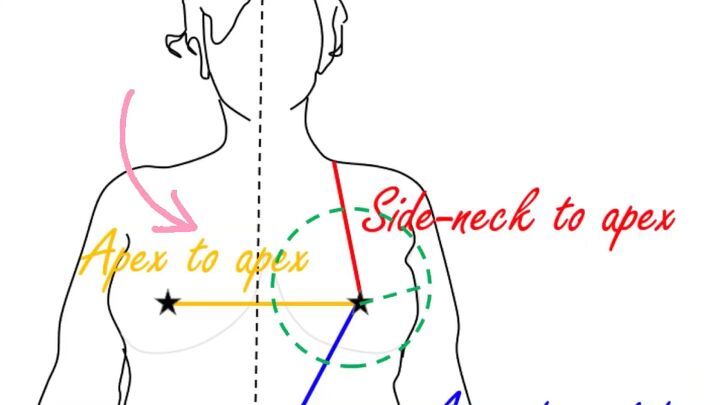
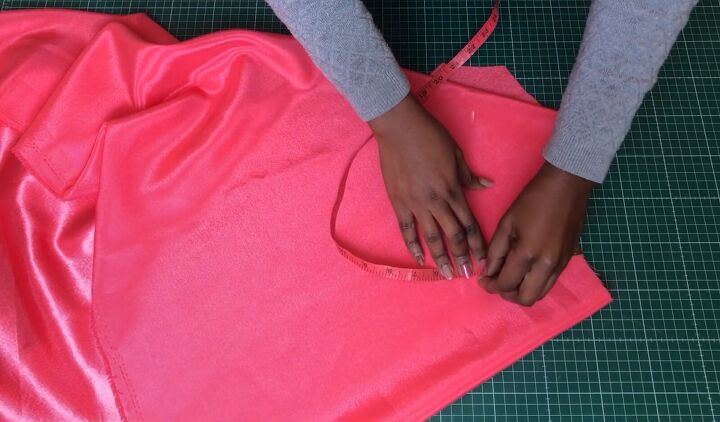
Start by tracing the front on the fold. Then, draw a line to indicate where you want to put the drawstrings.
Measure your apex to apex point, which for me is 8 inches (20cm). Divide by 2, then mark it inwards from the fold.
Once you’ve put in the measurement, connect them to form a straight line. You can decide to put the line on the left or the right side of the skirt, depending on what you want.
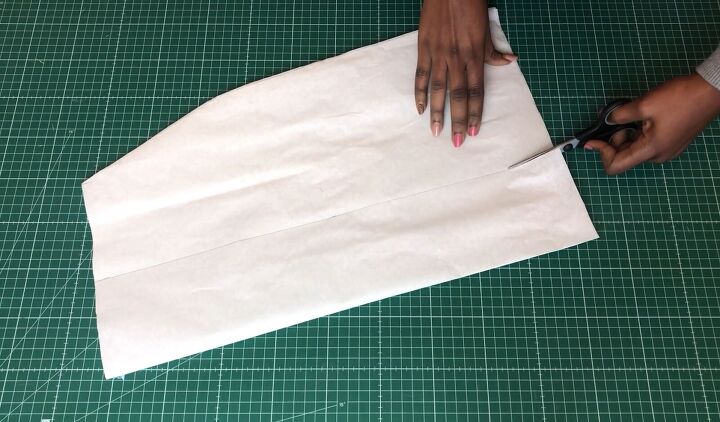
2. Cut the pattern piece
Cut through the line on only the top side of the pattern. You need to add seam allowance to either side because that is what you will be using as a channel to insert your strings.
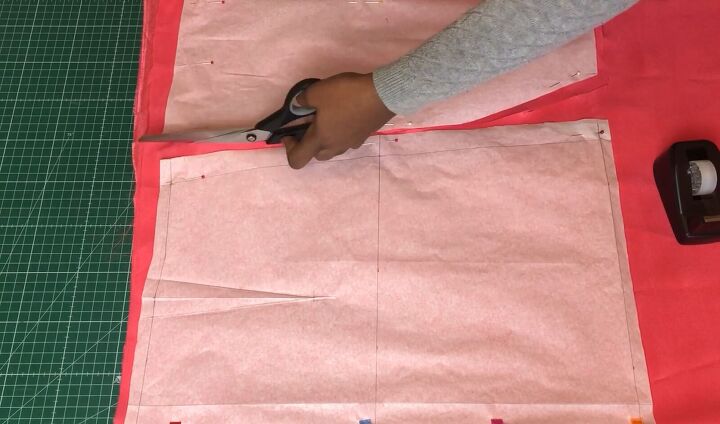
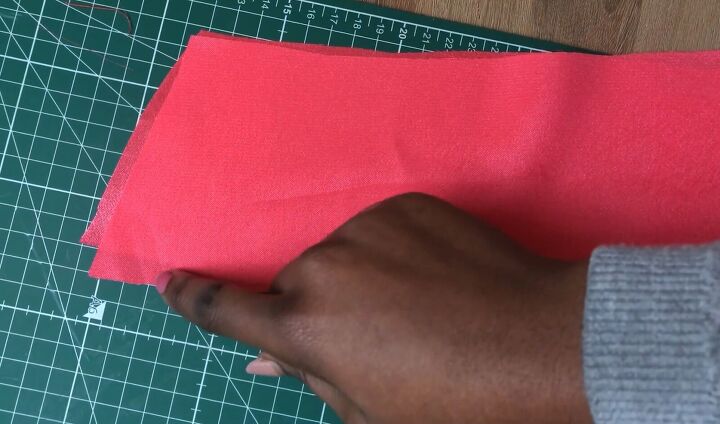
3. Cut out the fabric
Go ahead and lay your patterns on your fabric and cut them out. Cut one piece for every part of the pattern except for the back piece, where you will be cutting two. Remember to notch your darts.

4. Sew the darts and front seam
Once you’re done cutting all your pieces, move to the sewing machine. Stitch the darts and the zip extension. For the front, sew the seam where the drawstrings will go.
Iron your seams flat to give it a nice and professional look.
5. Make the facing
When you are done with that, use your skirt patterns to trace out the facing for the skirt. I’m marking a length of 4 inches (10cm) for the facing, but you can make it even shorter.
Once you’re done, cut it out and then divide it into two - that will be for the back facing.
For the front do the same, trace it out 4 inches (10cm) length. But for the front, you don’t need to cut it into two. You can just cut it on the fold.
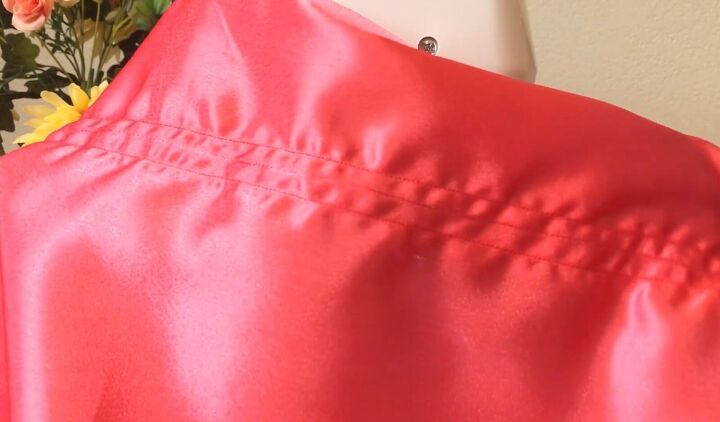
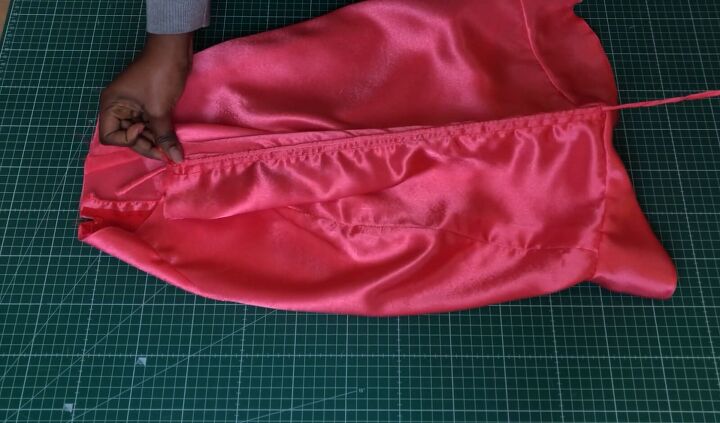
6. Make the strings and channels
Now you want to stitch the channel for the strings, so go ahead to the machine and make a channel of about ¼ inch (0.6 cm).

Then, go ahead and create the strings by taking two long strips of fabric and sewing the edges of each together with the right sides facing.
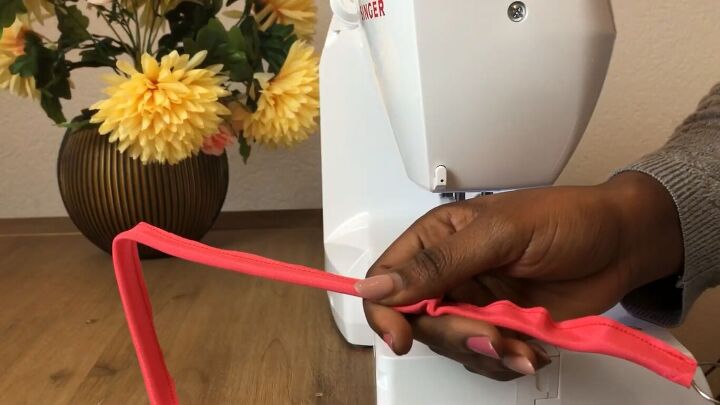
Then, turn them right sides out with the help of your loop turner.
Go ahead and also stitch the side seams of the skirt too.
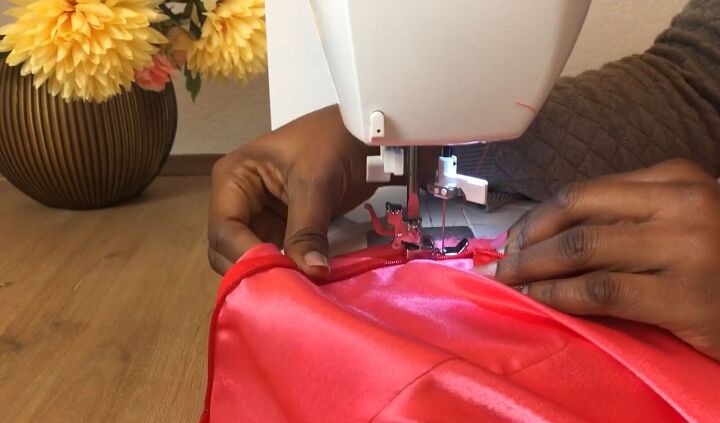
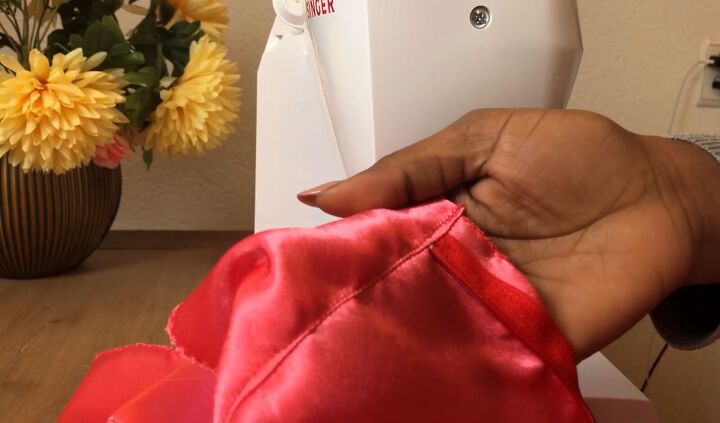
7. Attach the zipper
The next step is to attach the zipper. Change the foot on the sewing machine to a zipper foot and attach the zipper.
8. Connect the facing
Join the side seams of the facing pieces for the skirt. Once that is done, use a zigzag stitch to finish the raw edges, except for the waistline because you’ll be joining the waistline of the facing to the main skirt.
9. Cut the frill
Measure the hem of the skirt to determine the length so that you’ll be able to cut the frill for it. Then cut the frill.
The length of my hem was 37 inches (94cm), so my frill is 38 inches (96cm) because I added a bit of allowance. Pin this to the hem.

10. Make holes at the bottom
Once that is done, we have to insert the strings. There is no opening at the bottom of the channels, so use a seam ripper to create a hole there, and after that, use a needle and thread to finish the raw edges using a buttonhole stitch.
Be sure to secure the stitching in the inner part of the skirt as well.
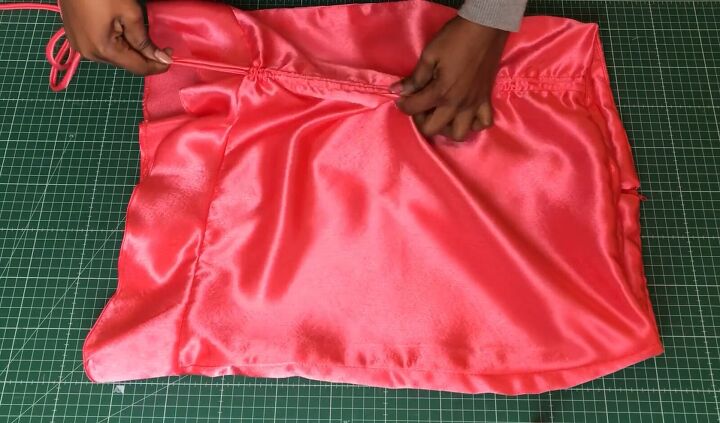
11. Insert the strings
Next, use a loop turner to insert your strings. You can use a safety pin or bobby pin for this instead. Make sure you don’t pull the loop all the way down; you have to align it to the waist of the skirt to make sure it doesn’t get lost.
12. Attach the facing
Then, attach the facing to the skirt; align the waist, pin it and stitch it. When you’re done doing that, make an understitch. Turn the facing with the allowance to the other side and then stitch on top of the facing very close to the end.
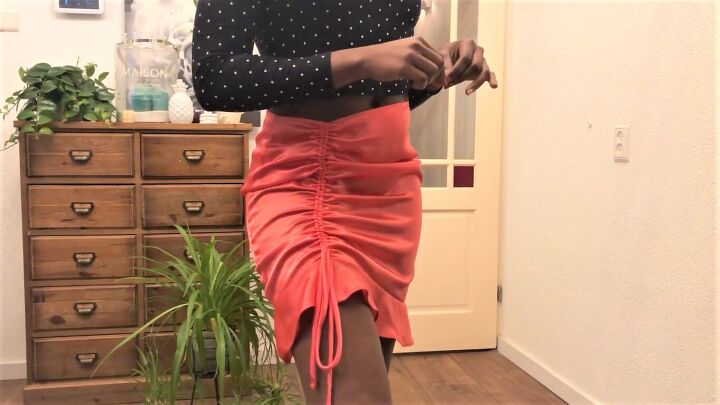
13. Pull the strings
Then flip the facing on top of the zipper so the right sides are touching, and stitch close to the zipper.
Iron the waist of the skirt so that the facing will be flat. Finally, pull the strings to get the ruching effect.
DIY drawstring skirt tutorial
Here we have our finished DIY ruched mini skirt. I love the drawstring detail, it is super cute, and it really makes the whole skirt. I know that I’ll get a lot of use out of this gorgeous feminine skirt!
The author may collect a small share of sales from the links on this page.


Comments
Join the conversation