How to Make an Off-Shoulder Top in 2 Different (& Cute!) Ways

In this tutorial, I will show two different ways to make off-the-shoulder tops! One has elastic all the way around the shoulders, and the other has elastic only around the body. I made these tops in the winter, so I used a cozy blanket fabric, and it’s so comfy!
Tools and materials:
- Assorted tops for pattern templates
- Fabric
- Sewing elastic
- Tape measure
- Scissors
- Thread
- Sewing pins
- Sewing machine
Off-the-shoulder top 1
1. Tracing a t-shirt
This off-the-shoulder top has elastic from shoulder to shoulder.
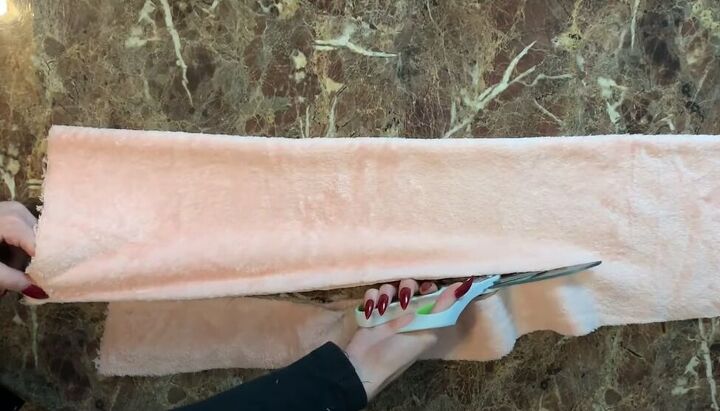
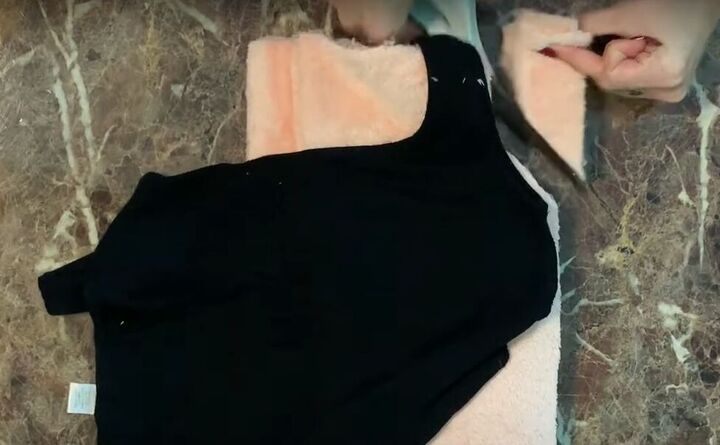
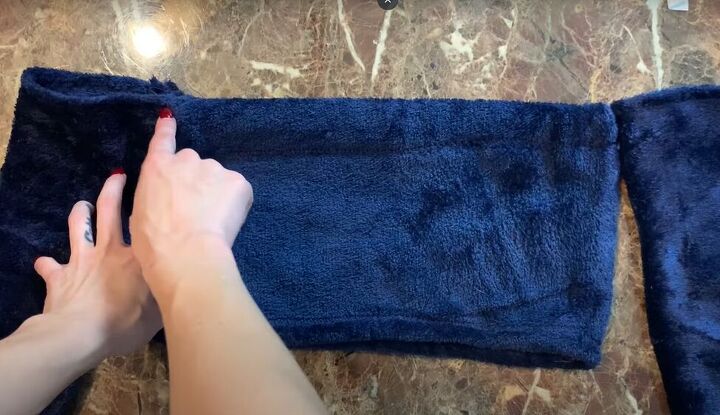
Begin by cutting the body piece. Lay a t-shirt that fits you well on your fabric, and cut out the outline of the t-shirt, adding a seam allowance. Fold in the sleeves and fold down the neckline of the t-shirt before cutting your fabric.
Tip: cut up one side and cut across the top of the neckline in a straight line. Then fold your fabric in half vertically and cut down the other side. That ensures a symmetrical cut.
2. Cut the sleeves
Take your arm measurements around your upper arm, elbow, and wrist, as well as the length of your arm. Then sketch that out on your folded fabric, only sketching in half the sleeve, on the fold. Cut out that sleeve and then use it as a template to cut out another sleeve.
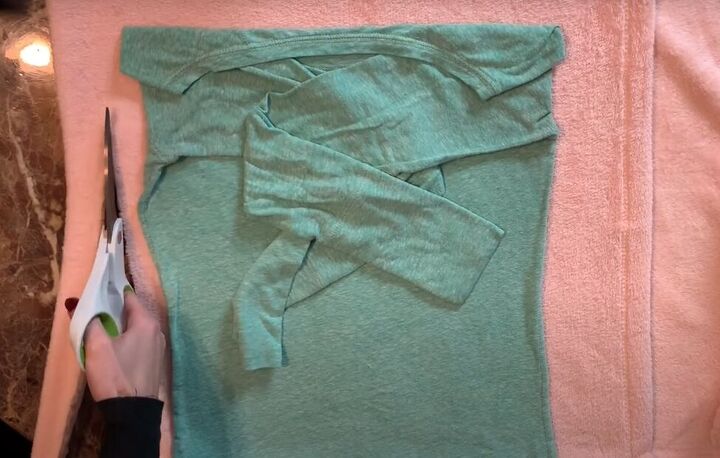
3. Cut the armholes
Fold both sleeve pieces and the body piece vertically and stack them together with the raw edges aligned and facing to the right.
Now use a top that has an armhole that fits you well as a template. Lay that top on your stacked fabric with the armhole on the raw edge side, and cut out the armhole from all three pieces of your stacked fabric.
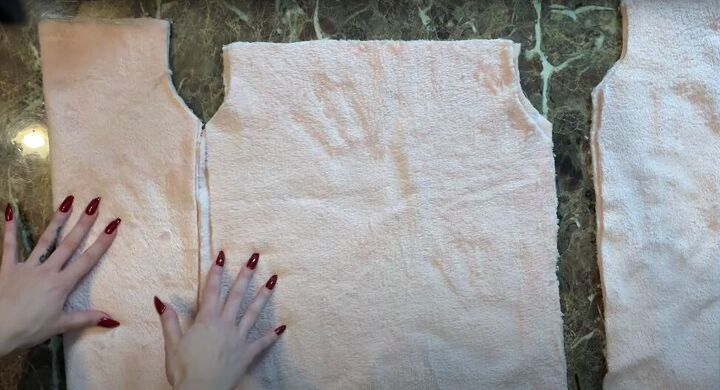
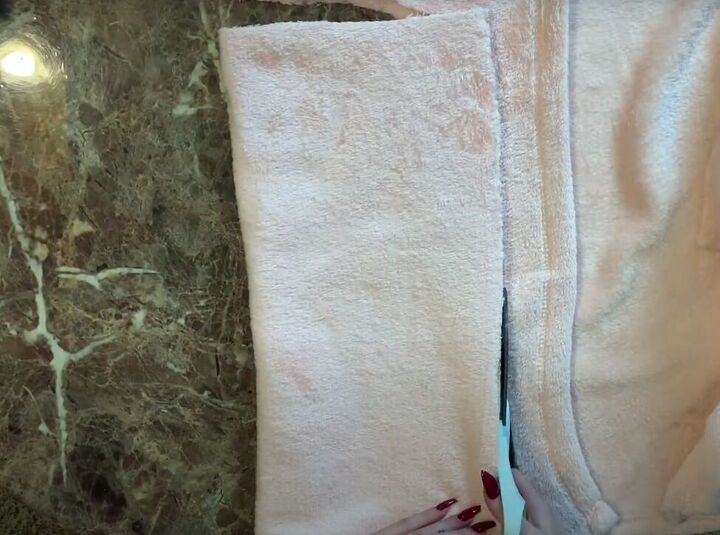
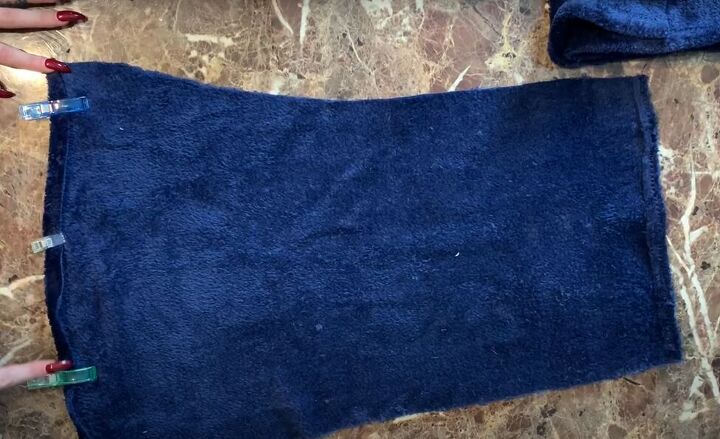
Here are all the cut-out pieces you should have now.
4. Sew the sleeves
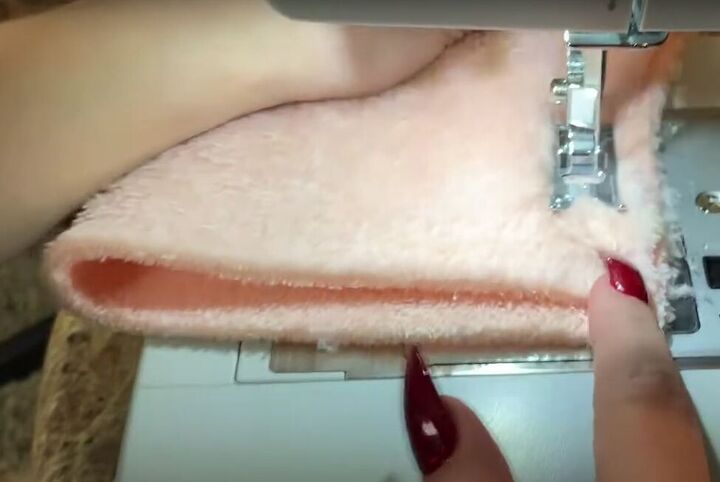
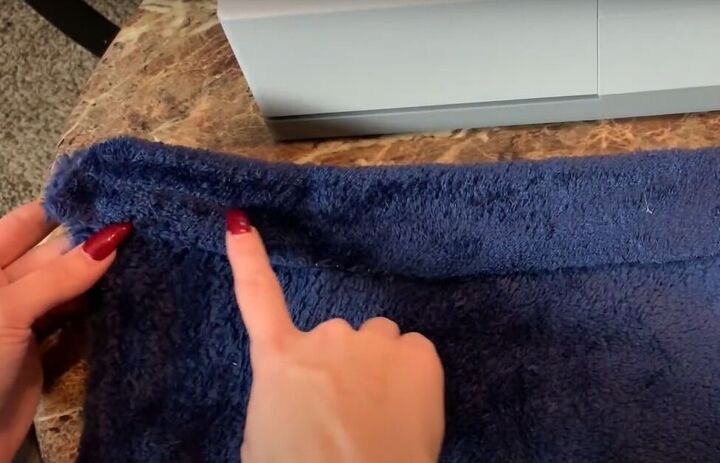
With right sides facing, sew the inside sleeve seam on both sleeves. If you are using a blanket fabric like I am, then use an overlock stitch when you sew. Alternatively, you can do a straight stitch and then go over it with a zigzag stitch.
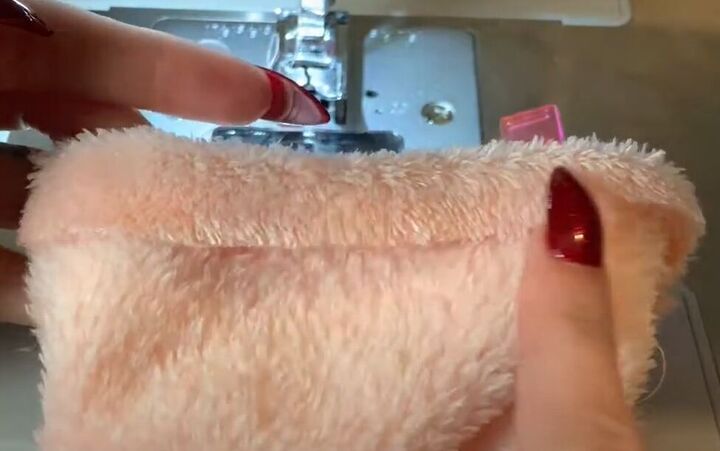
Fold in, pin, and sew the sleeve hem at the wrist on both sleeves.
5. Sew the body
Fold in, pin and sew the hem of the body on the front and back pieces.

With right sides facing, sew the front and back pieces together at the side seams.
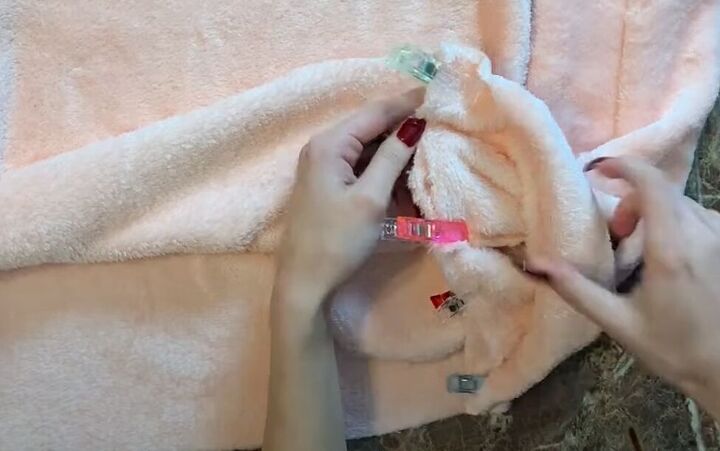
6. Attach the sleeves
Line up the inside sleeve seam with the body side seam, and then pin the whole sleeve to the armhole, working out from that point on each side. Then, sew the sleeve to the armhole and repeat for the other sleeve.
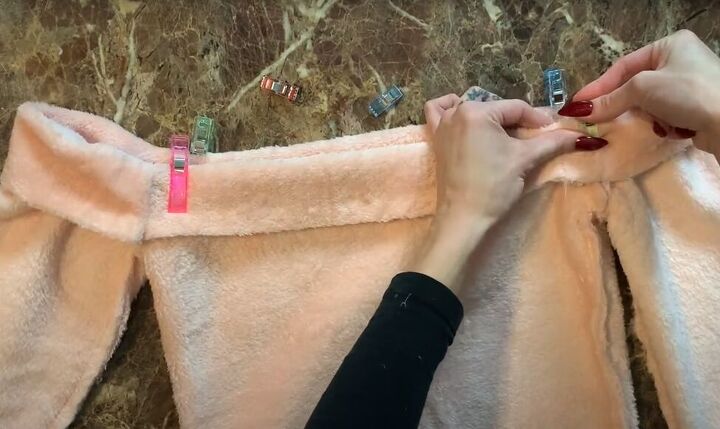
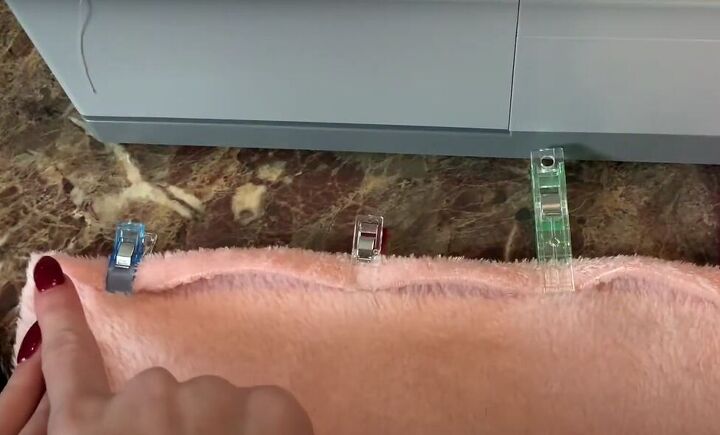
7. Make shoulder elastic casing
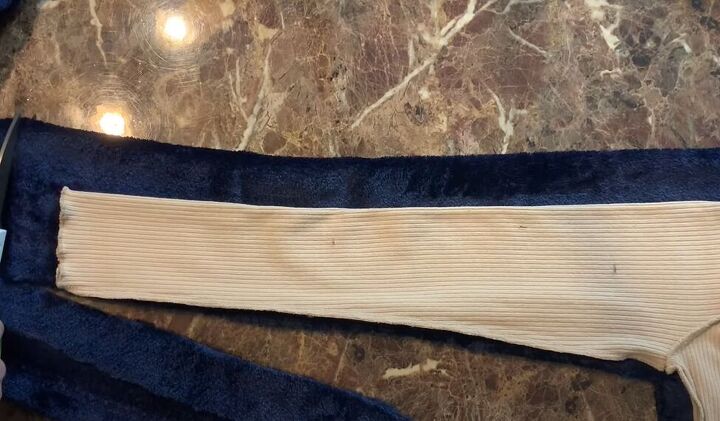
Fold in and pin the top of your body and sleeves to make a casing that is double the width of your elastic. Sew down the casing all the way around, close to the raw edge, leaving about 2 inches open to insert the elastic.
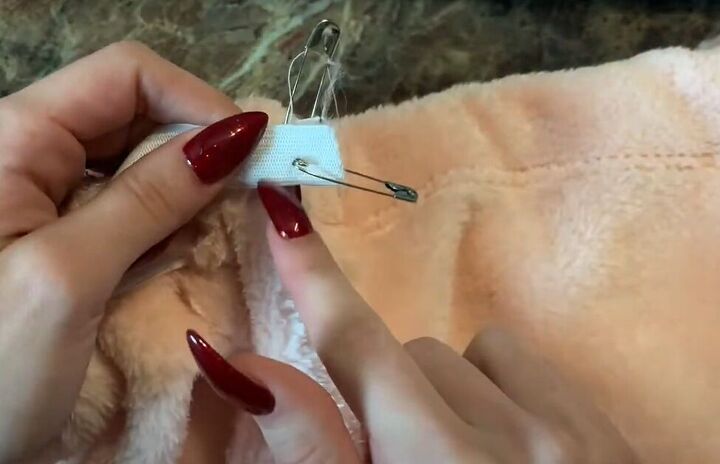
Cut your elastic to the size you need to go all the way around your shoulders. Use a safety pin to insert the elastic into the casing, and sew the ends of the elastic together. Then sew up the open gap.
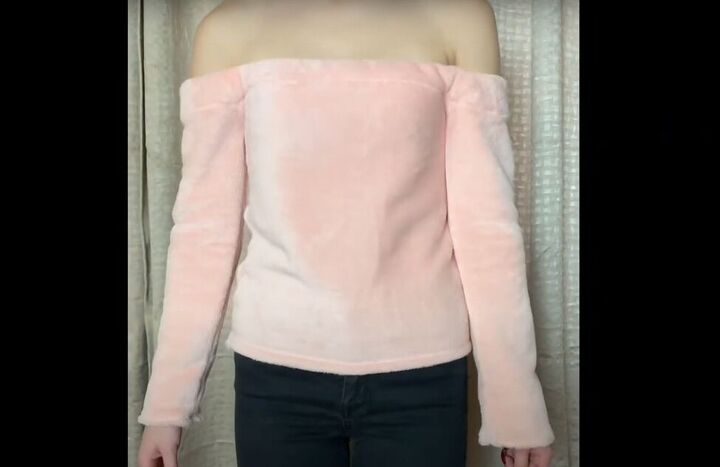
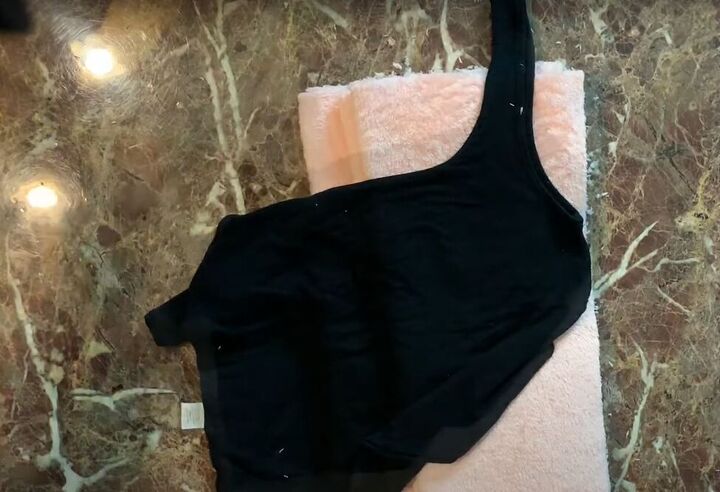
And here’s the finished off-the-shoulder top with the elastic going all the way around the
Off-shoulder top 2

1. Creating a template
This second off-the-shoulder top only has elastic around the body. Use a sleeveless shirt that fits you well as your template. Turn down the neckline and cut your fabric with a seam allowance added.
Now use the sleeves from another shirt that fits you well as your off-the-shoulder top sleeve template. Note that I have added width to my sleeve piece, because the top I am using as a template is stretchy fabric with a tight sleeve, and my fabric is not stretchy. Use that cut sleeve as your template for the second sleeve.
Hem the sleeves at the wrists and at the shoulders.
With right sides facing, sew the inside seam of each sleeve and the side seams of the body pieces as you did in the previous off-the-shoulder top.
Make the casing for the top of the body and insert the elastic in the same way you did for the previous top – but this time the casing is only on the body, as the sleeves haven’t yet been attached.
2. Attach the sleeves
Line up the top of the sleeves with the top of the body piece and stitch just at that top point to join the sleeves to the body.

How to make an off-shoulder top
Here’s the second off-the-shoulder top, with elastic just around the body and sleeves almost floating! I hope you try one or both of these off-the-shoulder top DIYs, and leave a comment to let me know which one you like best.
The author may collect a small share of sales from the links on this page.


Comments
Join the conversation