How to Easily Sew a Sleeve Placket and Cuff in a Few Simple Steps

Does the thought of sewing a sleeve placket and cuff intimidate you? Has that stopped you from trying to sew a beautiful top? This tutorial will remove that intimidation and give you the confidence to sew a sleeve placket and cuff on a shirt sleeve.
Tools and materials:
- Shirt fabric (for sleeves)
- Sleeve cuff fabric
- Interfacing fabric
- Pattern pieces for sleeves, plackets, cuff bindings, and cuffs
- Pen or marker
- Sewing pins or clips
- Scissors
- Thread
- Sewing machine
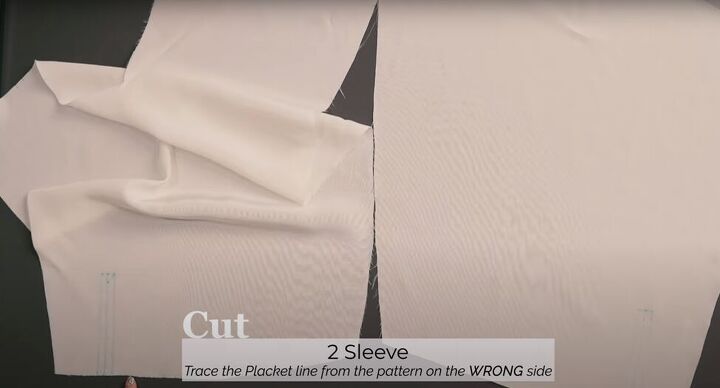
1. Cut the pattern pieces
Cut two sleeves from the shirt fabric. Then mark the slash line from the placket pattern piece onto the wrong side of your sleeves.
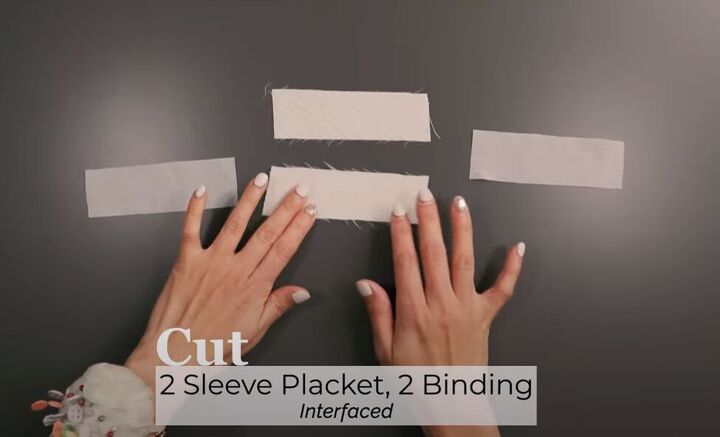
Cut 2 sleeve placket pieces and 2 binding pieces from the interfacing fabric.
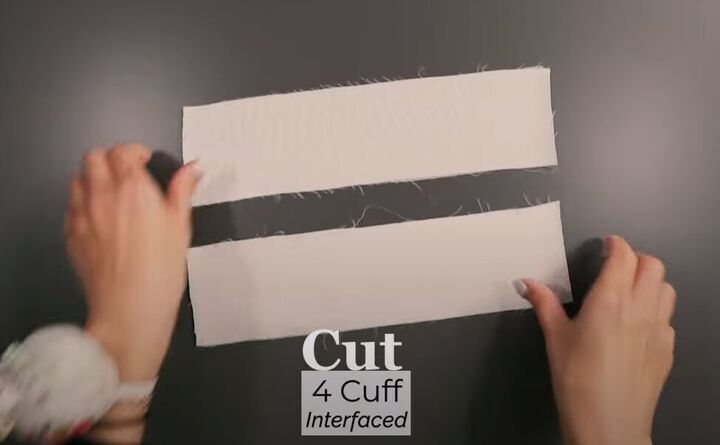
Cut 4 cuffs: 2 from cuff fabric and 2 from interfacing fabric.
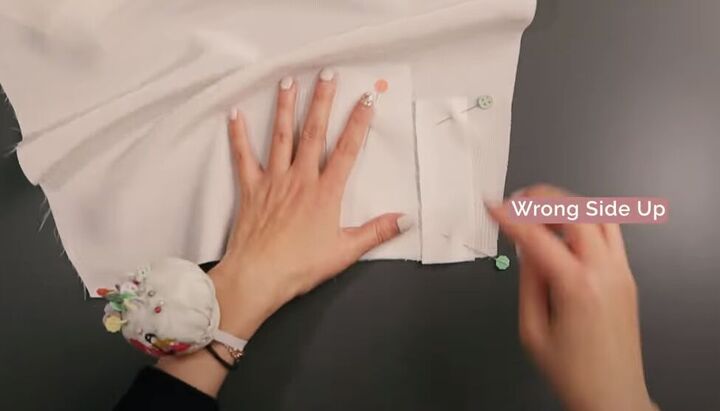
2. Sew the plackets
Pin a placket and binding piece side-by-side along the bottom edge of the sleeve, with right sides facing in, matching the edges to the slash lines you marked on the sleeve previously.
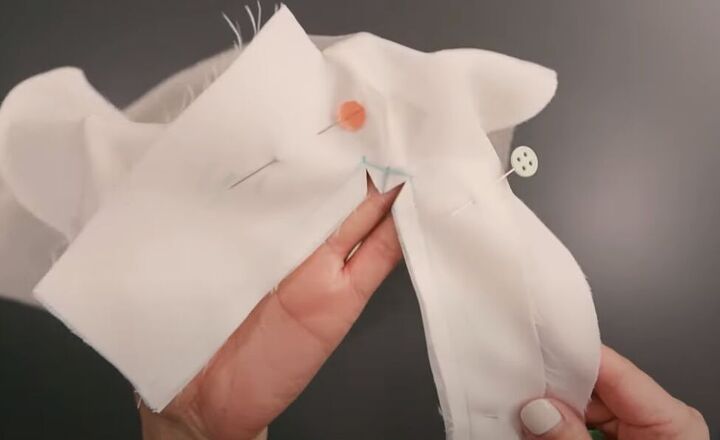
Sew the placket and binding to the fabric along the inside edges. Then, cut the slash line between the placket and binding, ending the slash line with a V at the top.
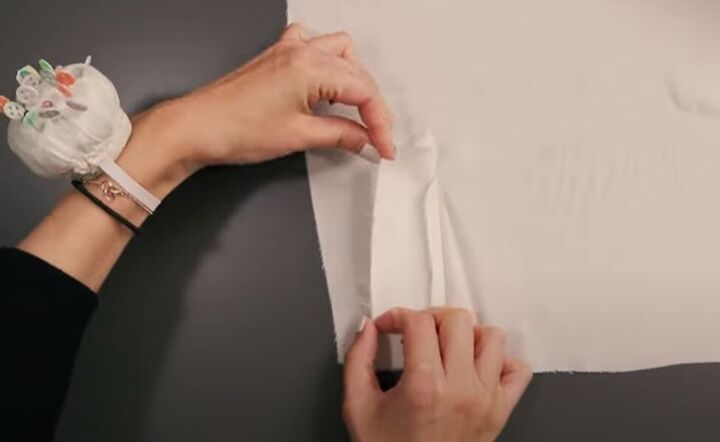
Now, turn the sleeve right side out and pull the binding and placket to the right side of the sleeve. Press the binding and placket flat.
Fold the binding over twice to wrap it over the seam and press flat.
Topstitch that fold down close to the edge.
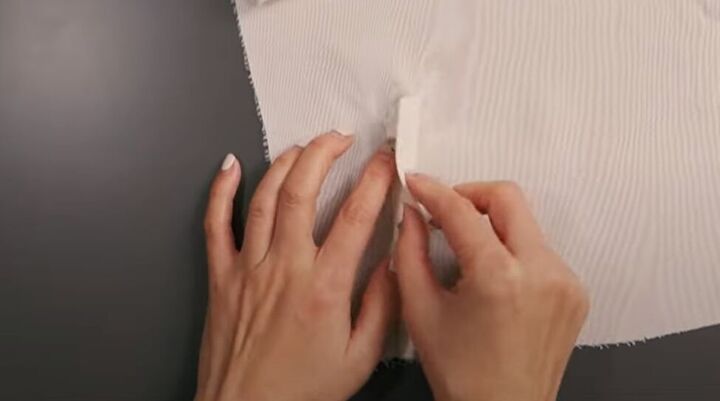
Fold in the long edges of the placket and press flat.
Fold the placket in half to cover the stitch line slightly.
Press flat and topstitch the fold down close to the edge.
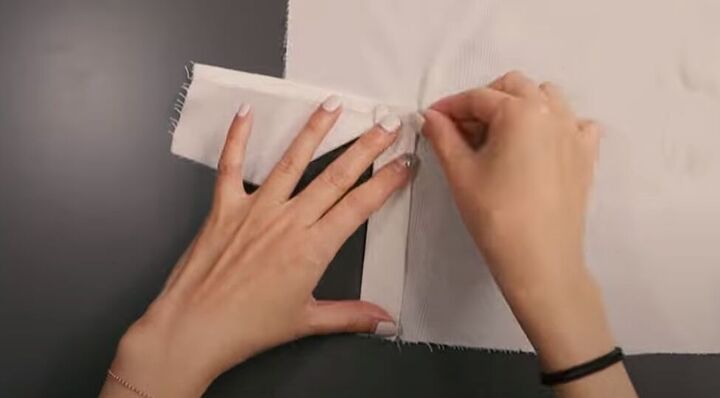
Fold the placket over the binding to hide all the raw seams.
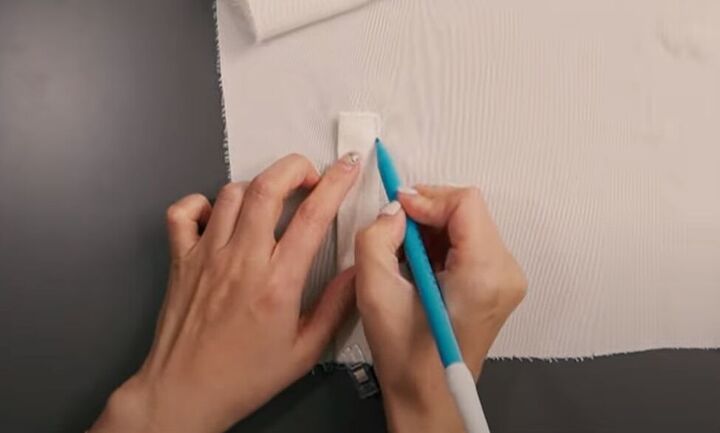
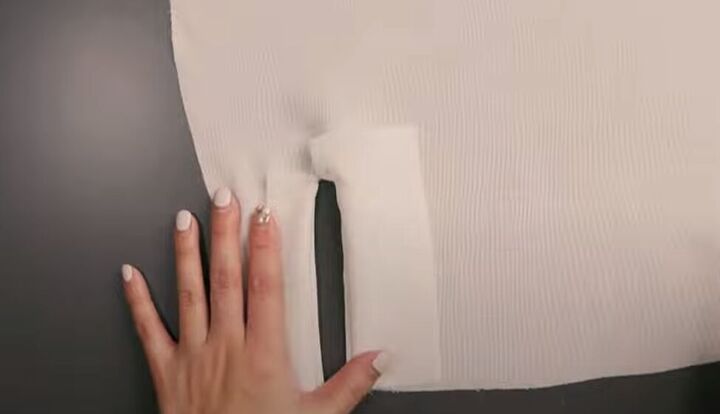
Use a marker to draw a small rectangular stitch line at the top of the placket, ensuring that all of the raw edges are covered. Sew along that stitch line.
If your sleeve pattern has pleats near the cuffs, make the pleats now by folding over the sleeve fabric.
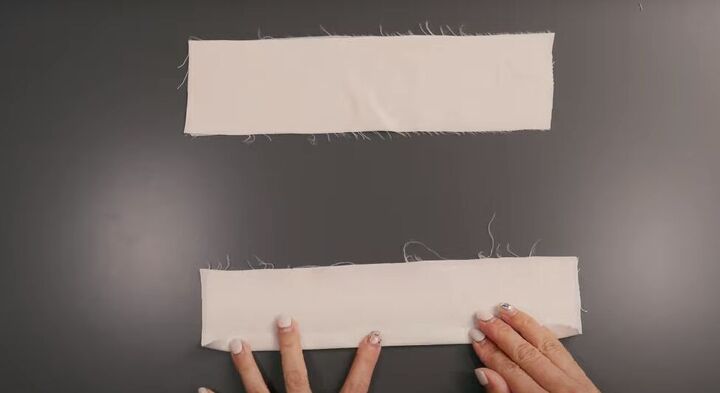
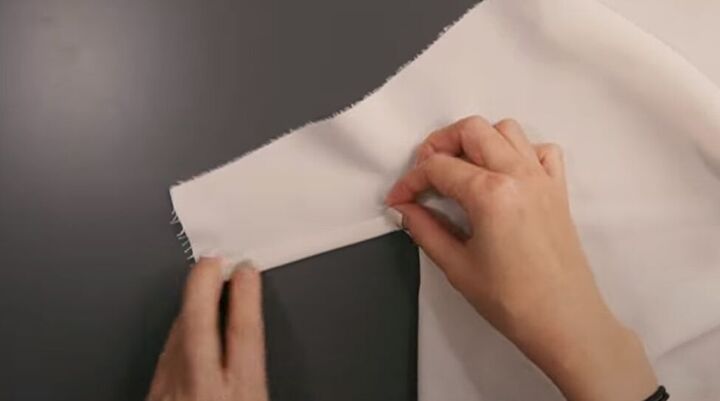
Fold over one long edge of each cuff and press flat.
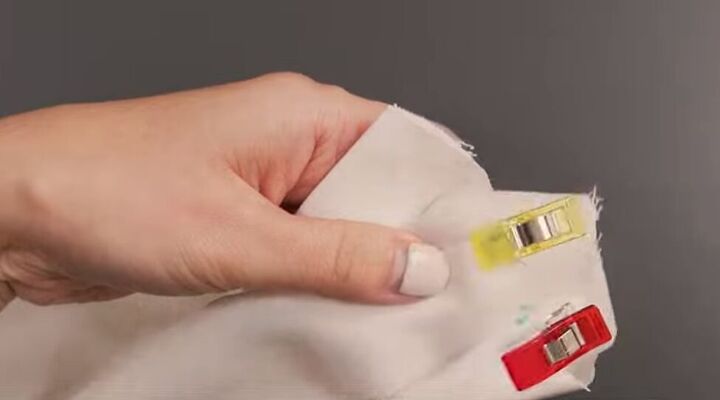
With right sides together, pin 2 cuff pieces together and sew one long and both short edges.
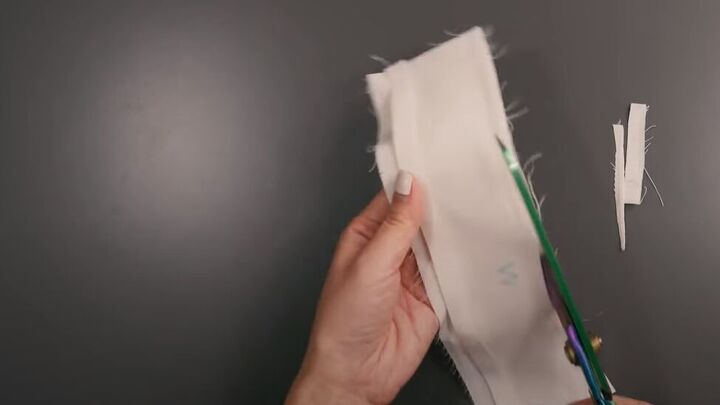
Trim any excess fabric from the seams. Snip triangles in the seam allowances at the corners to help make nice sharp corners.
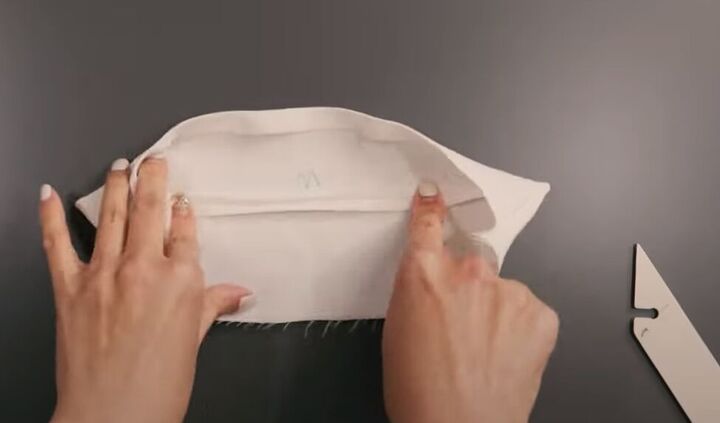
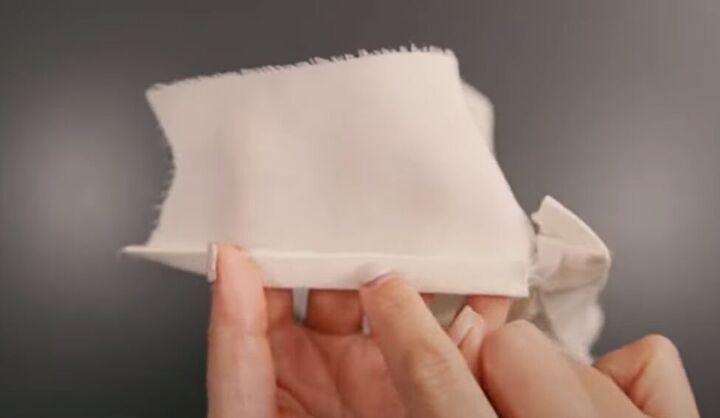
Turn the cuff right side out and press the inside seam flat.
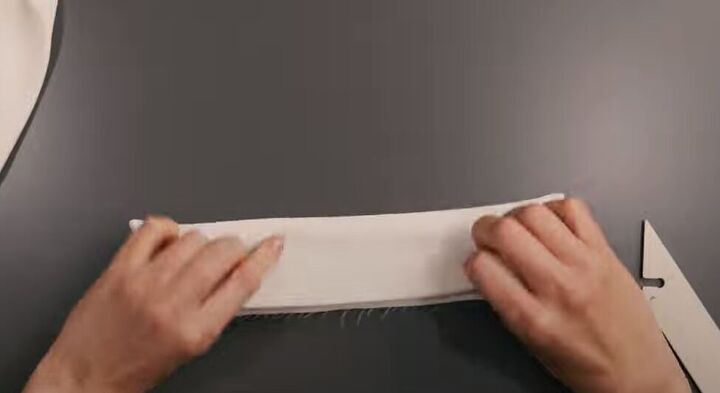
Then press the whole cuff flat.
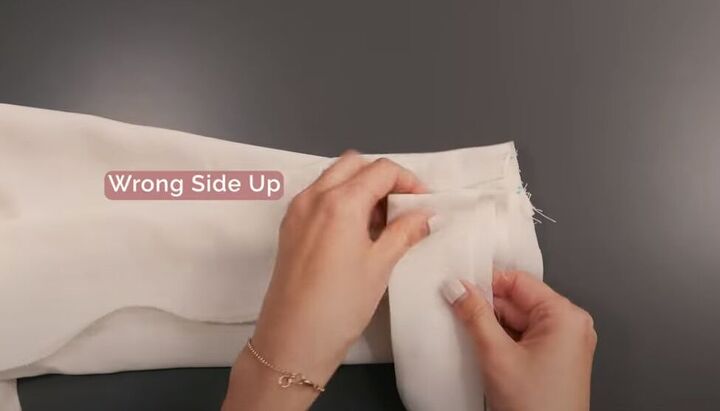
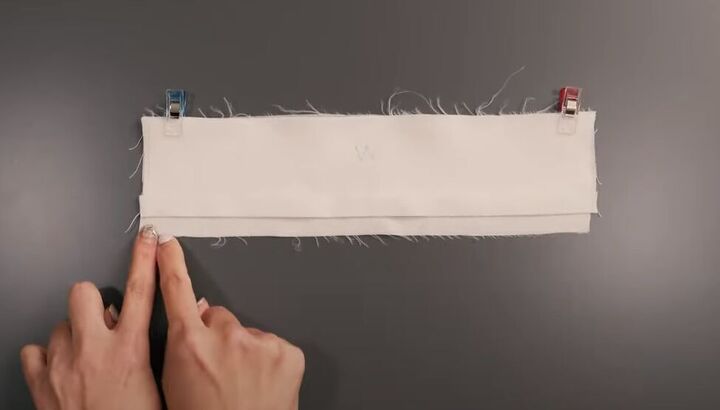
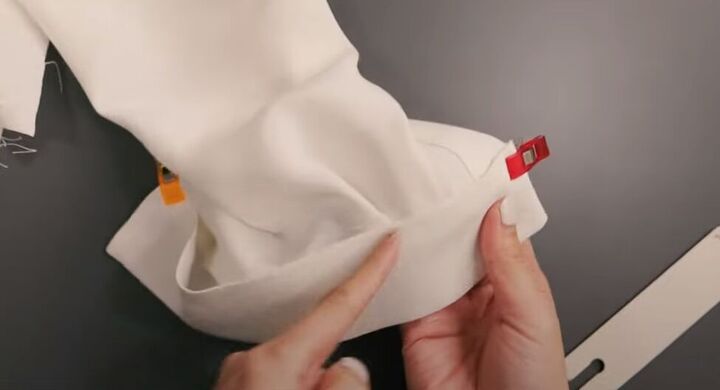
With right sides facing in, align the unfolded edge of the cuff to the bottom of the sleeve,
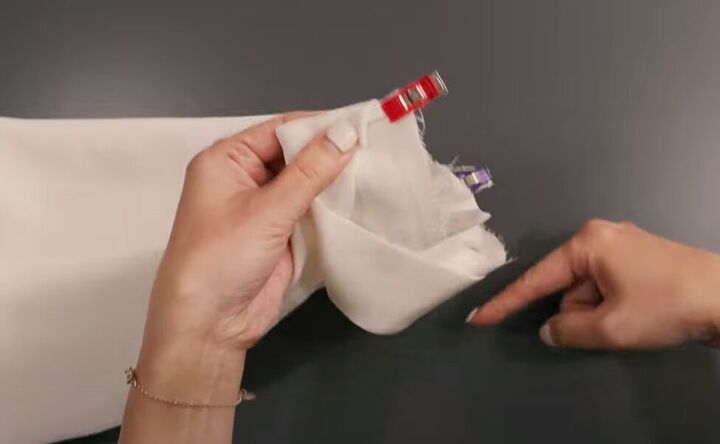
Pin and then sew the cuff to the sleeve all the way around.
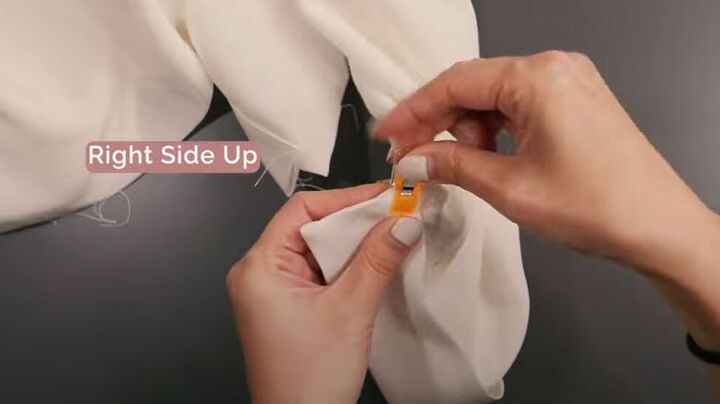
Turn the sleeve right side out and slip the sleeve seam into the cuff. Pin it in place.
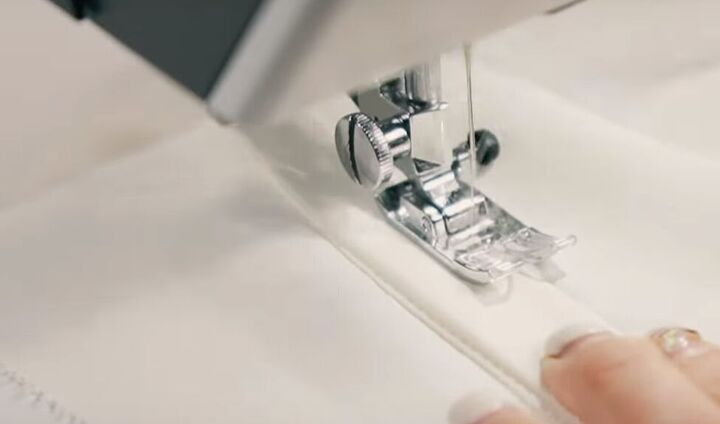
Topstitch the cuff on the right side.
How to sew a sleeve placket and cuff
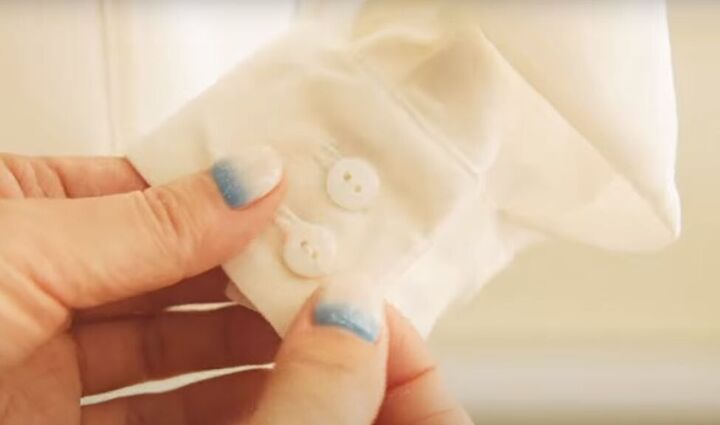
Make your buttonholes and sew the buttons on your cuff and you are all done! Now you have mastered the sleeve placket and cuff.
Please leave a comment to let me know if this demonstration of how to sew a shirt sleeve placket was helpful to you, and if you now have the confidence to try it yourself.
The author may collect a small share of sales from the links on this page.


Comments
Join the conversation