Keep to the Trends- Make an Oversize Button-Down Shirt

Baggy clothes have been on the rise lately, and an oversize button-down shirt is one of the popular clothing items right now. I will show you how to make an oversize button-down shirt in just a few easy steps. This tutorial will give you great detail on how to achieve a lovely baggy look. Be sure to go over the materials and tools needed, and when that's out the way, let's start creating!
Tools and materials:
- Fabric
- Buttons
- Sewing Machine
- Pins
- Thread
- Measuring tape
- Loose fitting shirt for the pattern
- Chalk
Make the pattern
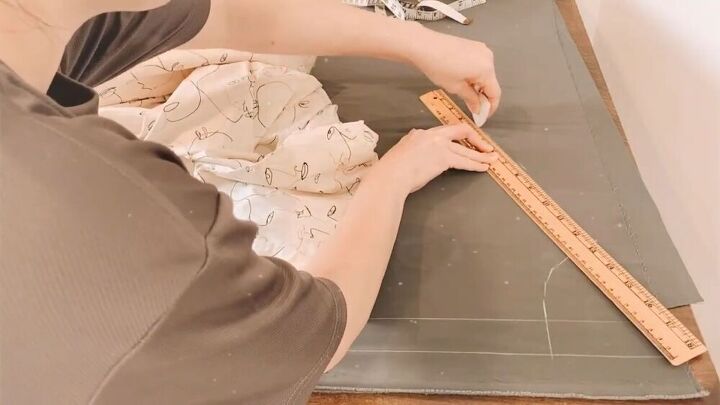
In this tutorial, you are going to be making your own pattern. Grab a loose-fitting button-down shirt that you have. Alternatively, borrow a shirt from your boyfriend or partner. When tracing the pattern, you will be upsizing the measurements. Take one of the shirt's side panels and trace the shoulder section on your fabric. Add 5 inches on the shoulder line.

Add an additional 4 inches on the body size, as shown.
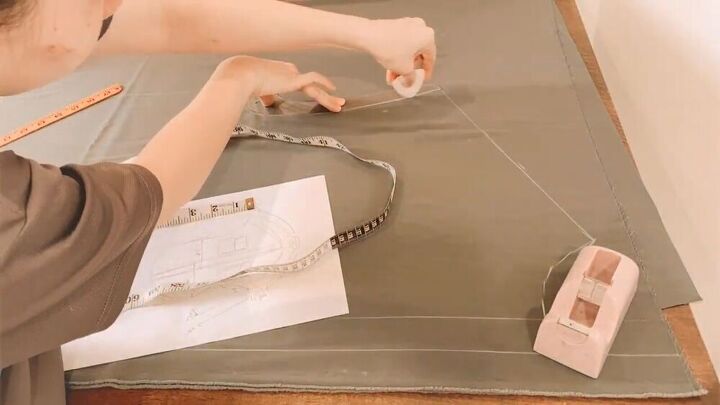
I drew a 28-inch armhole size; measure yourself to see if this will fit, and if it fits, it should be super baggy.
The length of the shirt should be until your calf. I cannot tell you the measurement of this as this differs from person to person. So, go ahead and measure yourself and draw a line according to your personal measurement.
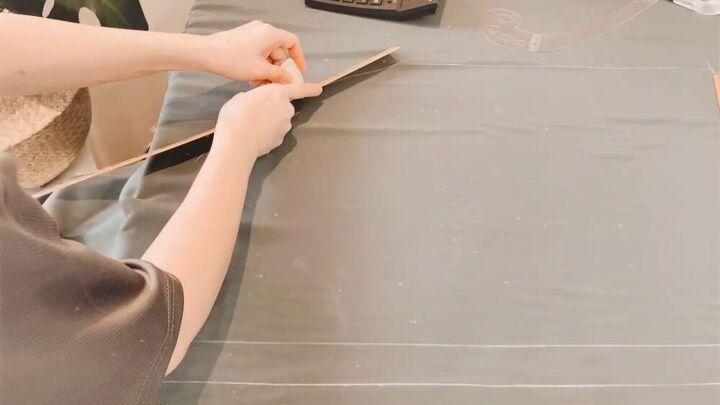
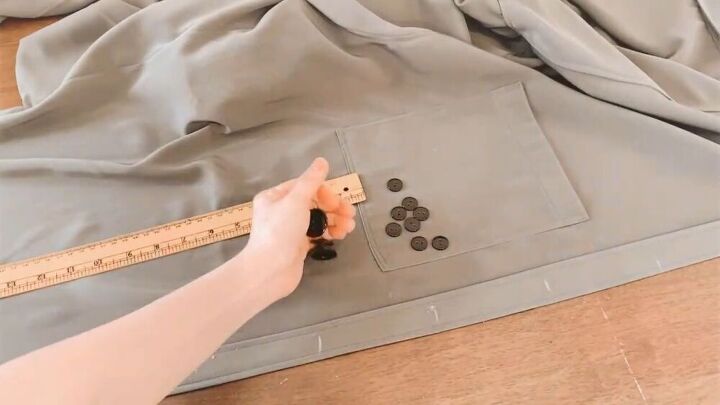
Draw a front, square-shaped pocket on the top.
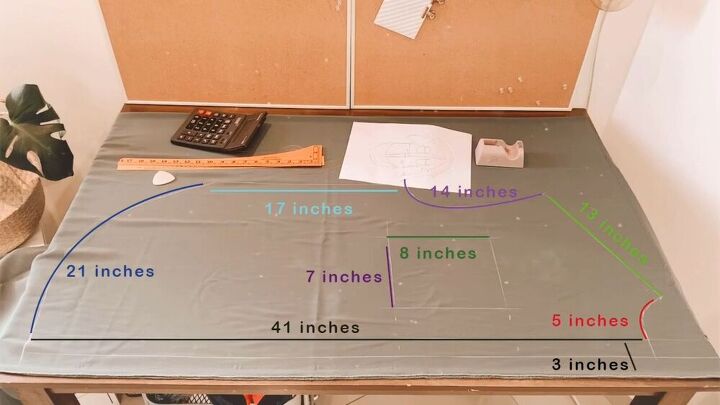
In the image, you can see all the measurements I did. You can use this as a guideline but remember, the measurements will vary with each person.
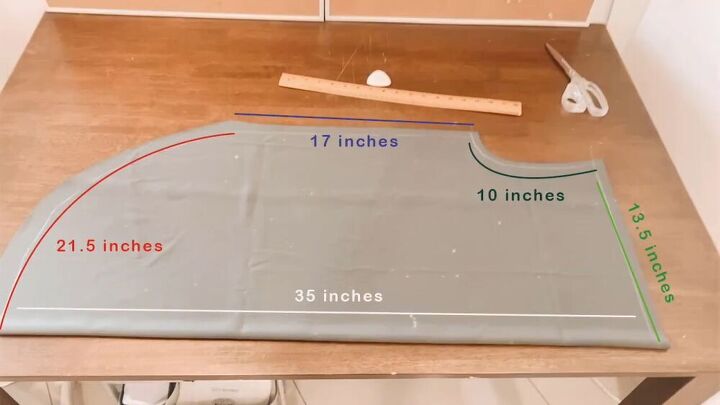
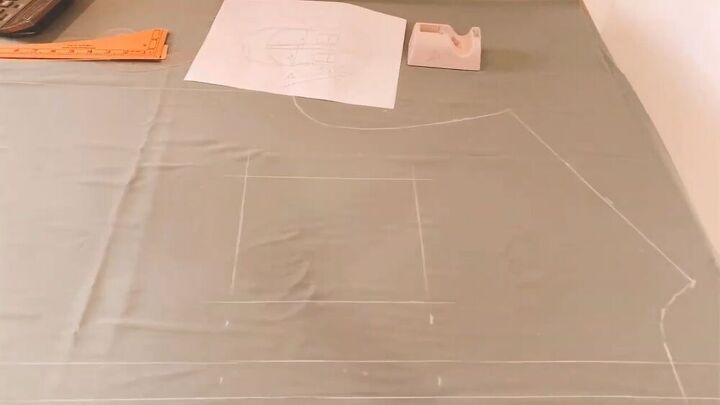
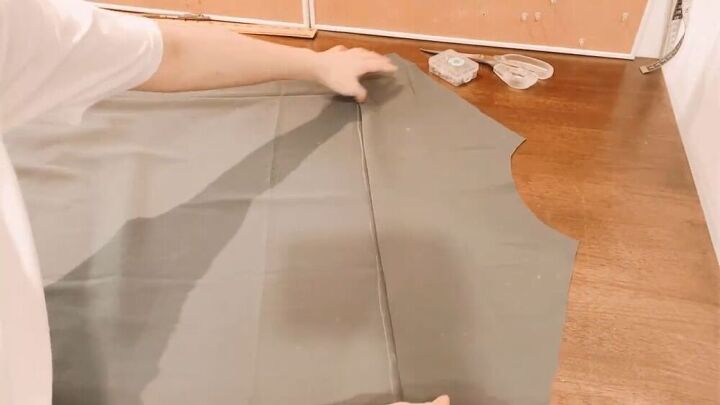
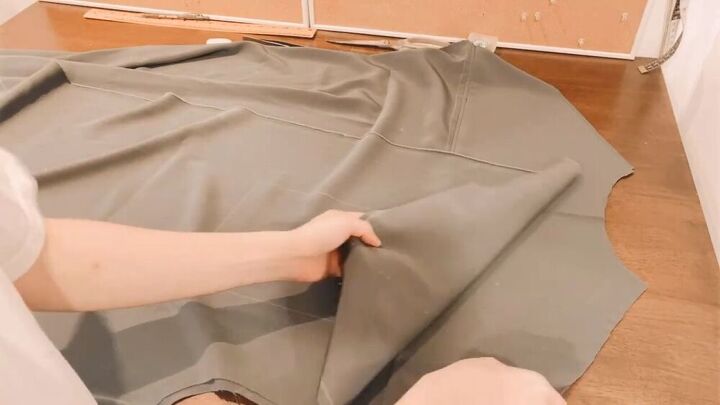
For the back part of the shirt, fold your fabric and trace the armhole part of the pattern, also upsize the measurement, as shown.
Also, don't forget to trace the shirt's yoke part; this will be for the neck part.
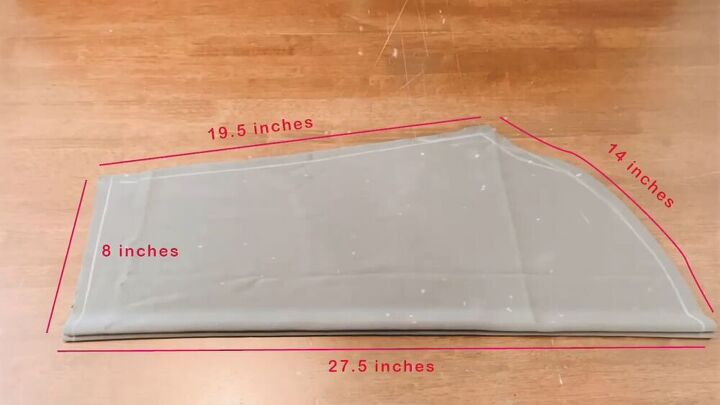
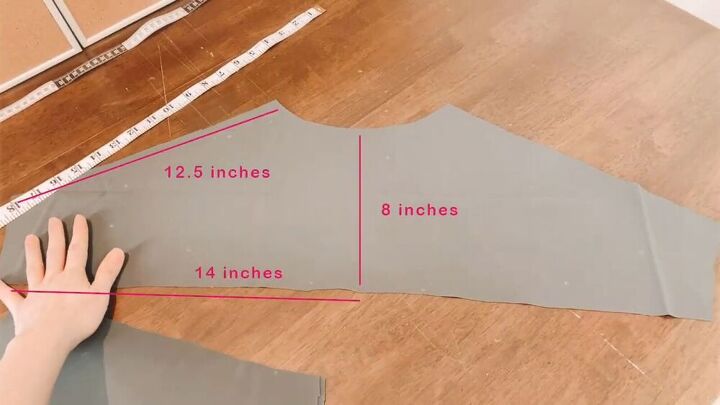
Make the sleeves
Do the same steps on the sleeves, tracing around an existing shirt but making it bigger so that you have a baggy effect. Here is an image to show you the measurements of my sleeves.
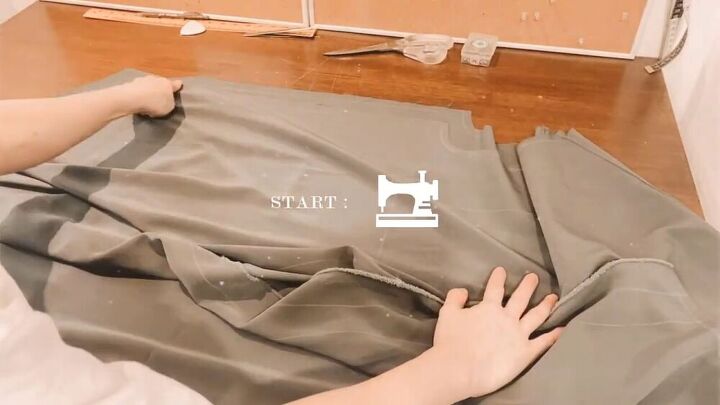
Sew the pieces together
Now that the tracing and cutting are out of the way, the cool part begins. Begin by sewing your yoke part to the backside of the button-down shirt. Make sure the fabric is right sides together, and sew along the seam line with a neat, straight stitch.
Next, sew the shoulder sections together.
Once the front side panels are sewn on the back part's shoulder seam, you can go ahead and stitch the side seams.
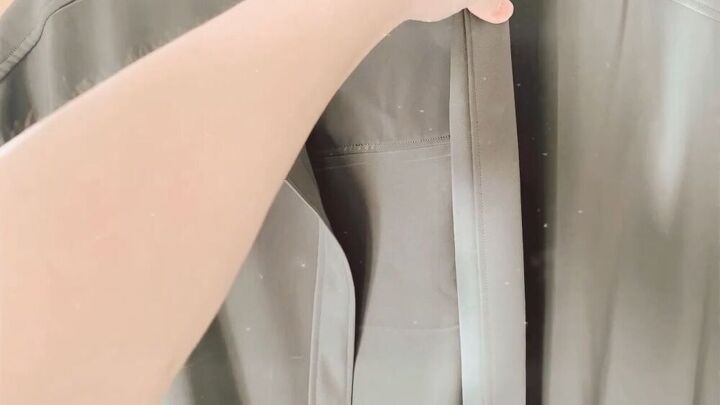
Fold the fabric edge of one front side panel and sew along the edge, creating a lovely panel for the buttons.
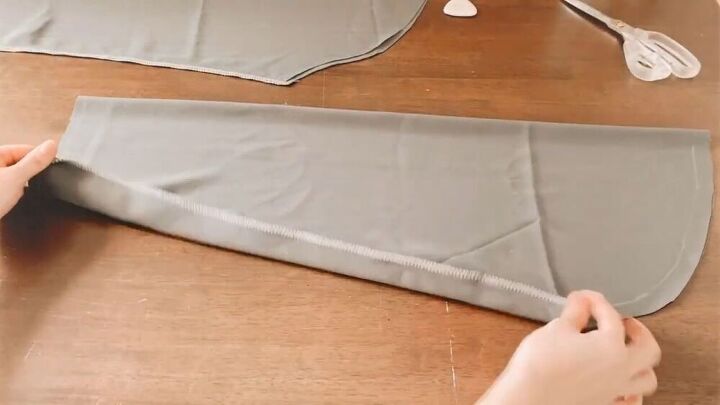
Sew along the length of your sleeves.
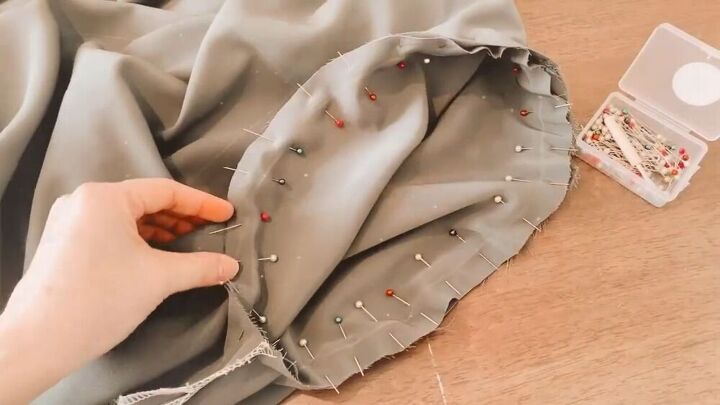
Attach the sleeves to the bodice. Do this by pinning the sleeve's whole diameter to the armhole, making sure the side seams match. Once the sleeve is pinned in place, sew to secure.

Add the pockets to each side panel, on top. Make sure each pocket piece is the same size. Sew around to secure.
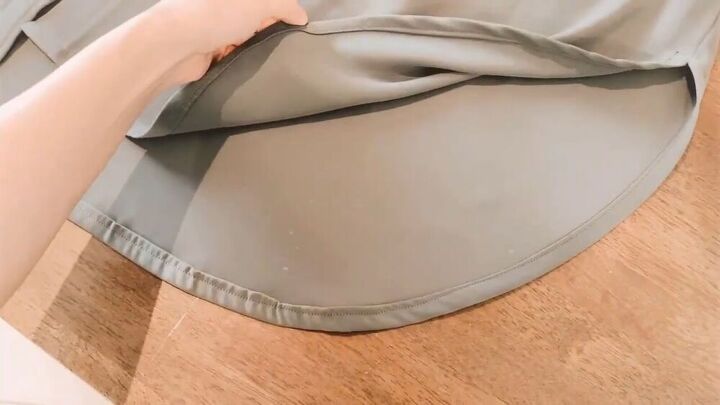
Hem the bottom of the button-down shirt by folding it over once and stitching it in place. This will give your shirt a finished and professional look.
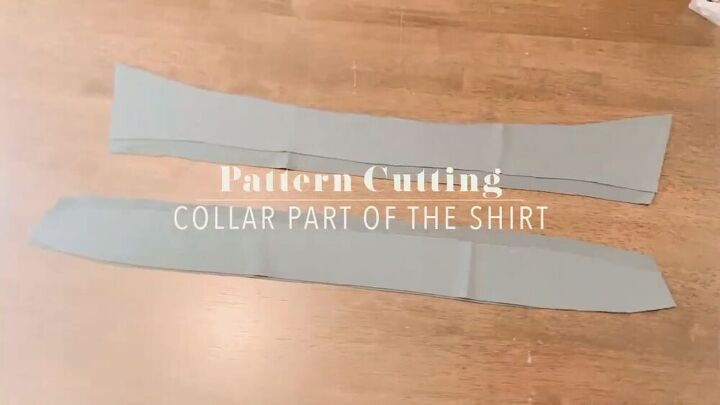
Make the collar
So, your oversize button-down shirt is almost finished, but there's still a missing element- the collar! For the collar, cut 2 wide pieces and 2 collar pieces as shown.
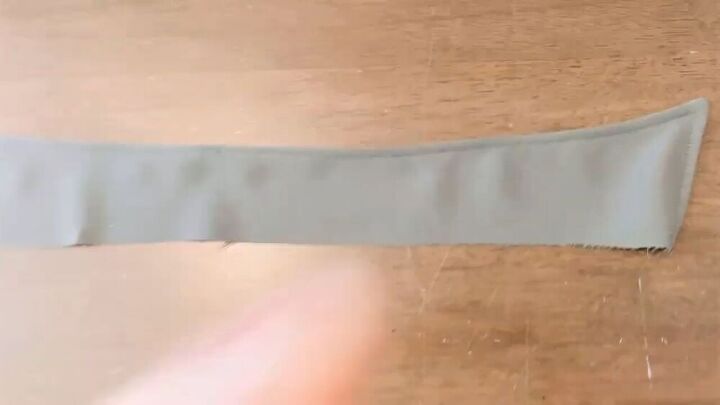
Sew the actual collar pieces together, around the edges and curves.
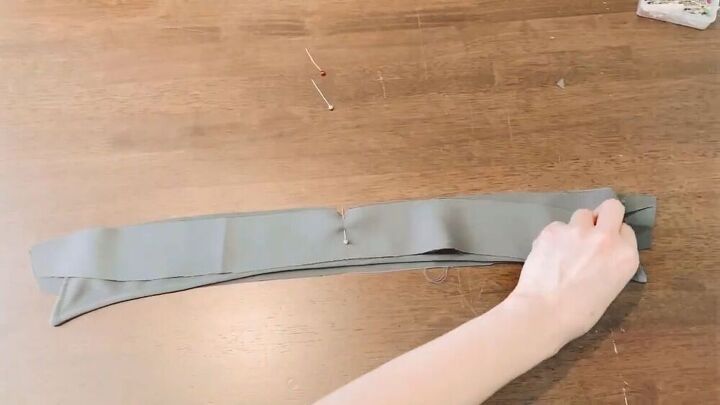
Next, add one of the longer pieces to the bottom, the sewn collar piece on top, and the last long piece on top. Sew together so that the edge of the collar piece is sewn on the longer pieces, leaving an inch at the bottom so that you can attach this to the neckline of the shirt.
Once this is sewn together, sew the whole piece on the neckline as shown.

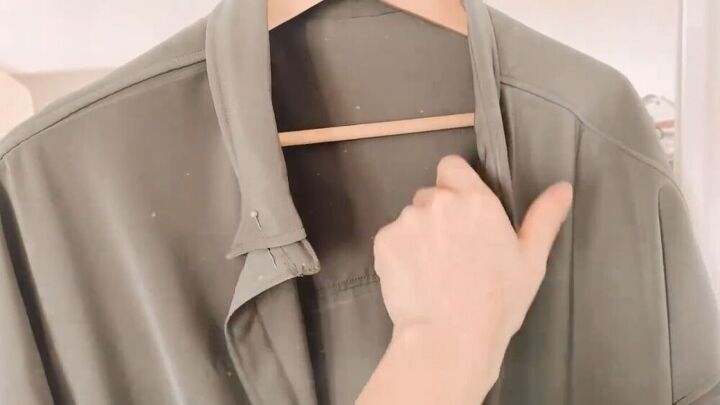
Hem and alter the sleeves
Hem the wrist part of the sleeved by folding the fabric inwards and stitching it all around.
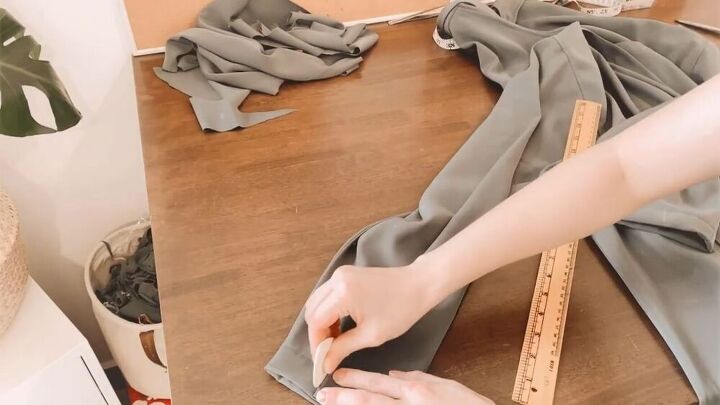
Because the sleeves are enormous and baggy, you can alter this with a quick fix; fold your sleeve so that the edge is placed in the middle and mark with chalk. This is where you will add two buttons on the actual sleeve and a buttonhole on the edge. This will modify your sleeve so that you can button it up and create a slimmer-fitting sleeve.
Add the buttons
It's time to add the buttons! Place your buttons on the side panel and mark each button placing with chalk. Hand sew each button on and on the adjacent panel, sew the corresponding buttonholes. Do the same for the sleeve part.

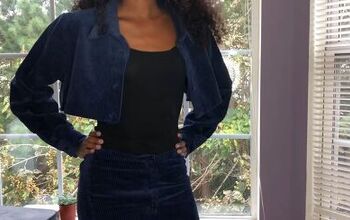
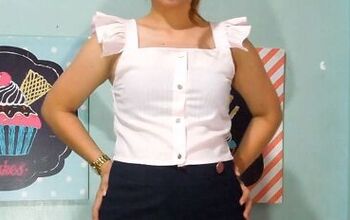
And we're done! How awesome does this oversize button-down shirt look? It's flowy, it's fresh, and can be styled in so many ways. This is really an easy tutorial, and the process itself is super fun! Go ahead and give it a try; I promise you will love the result.
The author may collect a small share of sales from the links on this page.


Comments
Join the conversation
I love this! It looks so comfy and cozy, despite its oversize look. I like to sew my arms onto the shirt before I sew the side seams together. It gives me more room to sew the armhole and eliminates that pesky matching the arm into the sleeve. That is sewing on the bias edge and a little too much stretch can make a wonky seam. I hate seam ripping and re-sewing!
Great styling!