Upcycle Tutorial: Make a Plunge Neckline Blouse From Old Sheets

In this tutorial, I'm going to show you how to make a plunge neckline blouse. I’ll be upcycling an old bed sheet with no stretch, but you can use regular store-bought fabric if you prefer. Let's get started.
Tools and materials:
- Fabric (1 meter)
- Paper
- Tape
- Tight-fitting top
- Scissors
- Thread nippers
- Pen
- Ruler
- Sewing machine
- Iron
- Safety pin
- Elastic
- Needle and thread
- Buttons
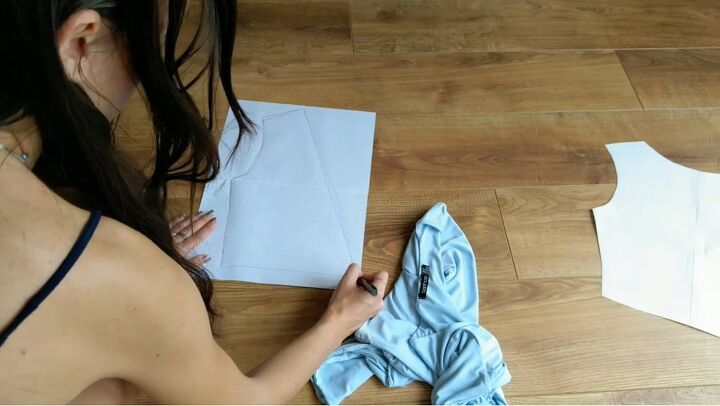
1. Trace the back and front patterns
To make the pattern, tape some pieces of A4 paper together or use a larger piece of paper.
For the back pattern, trace the body of the back of a tight-fitting top onto the paper and then cut it out.
For the front pieces, trace the front shoulder and armhole of the same top onto more paper. Draw a straight line down at an angle for the neckline.
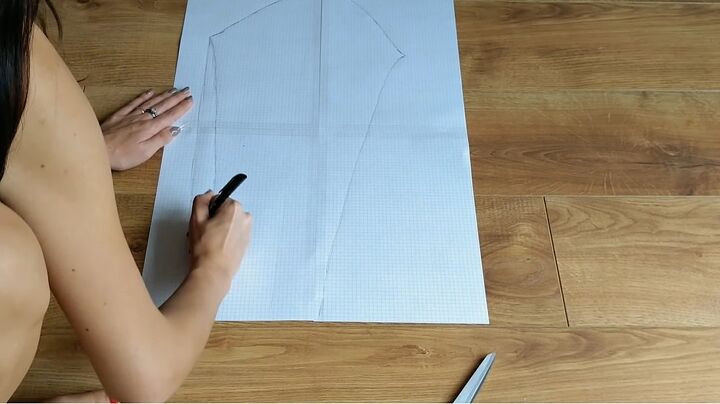
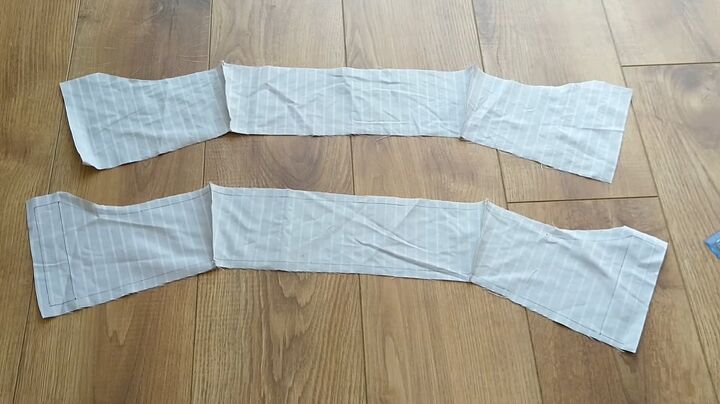
2. Trace the sleeves
Trace the sleeves of your top. As we want the sleeves to be big and puffy, adjust the pattern and extend the bottom of your sleeve to be as wide as the top.
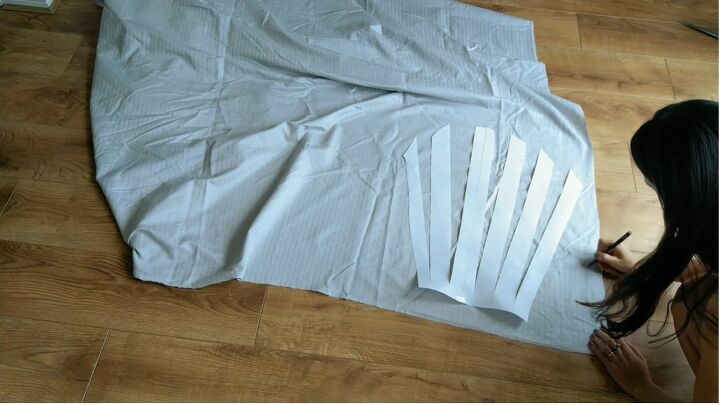
3. Spread out the sleeves
To make the sleeves really puffy, cut the pattern into a few strips lengthwise but leave the bottom connected.
This way, we can spread out the sleeve to be puffier.
Trace the ginormous sleeve onto the fabric and adjust the pattern again to go down straight, just like before.
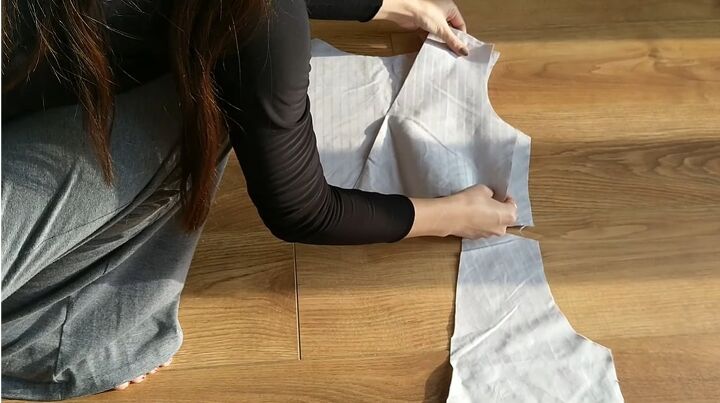
4. Cut out the bodice patterns
Cut out all the bodice patterns four times.
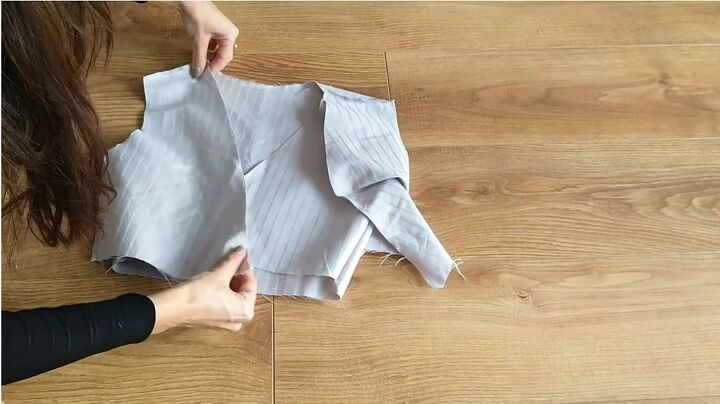
5. Sew the bodice
Sew the front and back pieces together at the shoulder, right sides together.
Then, sew the sides of the front and back pieces together and also right sides together.
Repeat the same steps with the second set of patterns. You will then have two bodice pieces, attach them to one another with right sides together. Sew along the entire neckline, including the back.
6. Pin in darts
Next, cut a few slits into the seam allowance, so the fabric lays flat.
Then, turn the bodice piece the right way out and try it on. To make it hug your body better, pin where you need darts and turn it around to see if it lays flat on your chest.
Take the measurements of where you pinned and mark along the pins so you can draw in the darts into the inside of both layers of each side.
I am sewing four darts into my top.
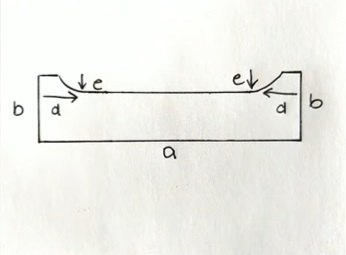
7. Take measurements for the waistband
Try the top on again and mark where you want the waistband to sit, mark it at the front on one of the darts.
To create the waistband, take your (a) under-bust measurement, (b) the measurement from the marking to your waist, and (c)around your waist. Also, measure (d) the vertical distance between the two markings as well as the (e) height difference.
Using these measurements, create the pattern shown above to create the waistband.
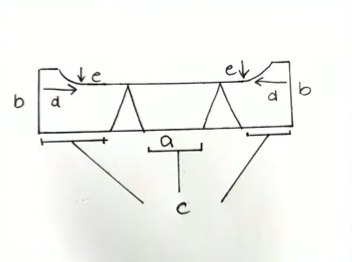
8. Mark the bodice on the waistband
Take the bodice piece and mark where the seams of the bodice are onto the waistband pattern.
Draw a straight line down from these markings and cut the pattern with a 1cm seam allowance.
Also, cut along the seam markings.
Because my waist is slimmer than my burst, I cut my pattern to be slimmer at the bottom by cutting the inner edges at an angle.
9. Cut and sew the waistband
Cut the waistband pieces out twice and sew them into one long band with the right sides together.
When complete, place both waistband pieces right sides together and sew all along the bottom and the sides.
Cut off the seam allowances of the corners and turn the band right sides out using scissors to poke out the edges.
10. Pin the bodice on the waistband
Press the raw edges inside the waistband, making sure both sides align.
Then, place the bodice into the waistband, pin it together and sew all along the pressed edges.
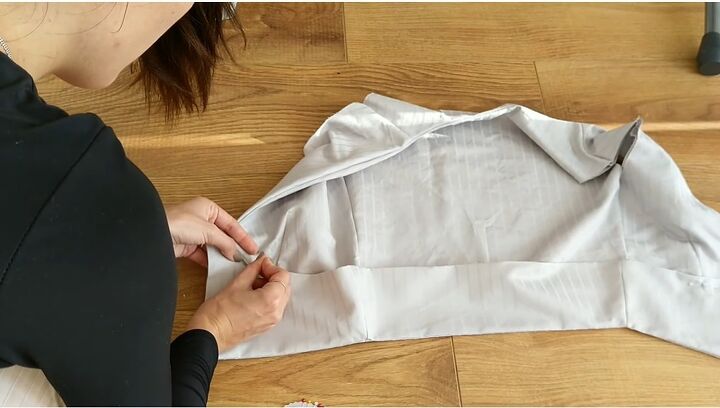
11. Sew the sleeves to the bodice
Fold the sleeves in half and sew the right sides together, overlocking it with a zig-zag stitch.
Then, sew a basting stitch along the top of the sleeves and pull on the thread to ruffle the sleeve. Then pin and sew them to the bodice piece.
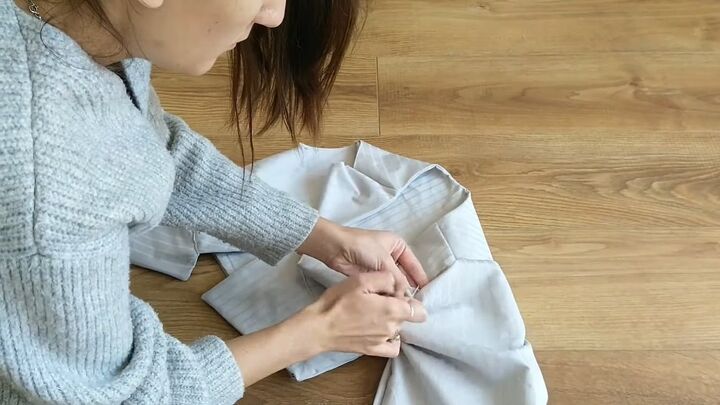
12. Add elastic to sleeves
Fold the bottom of the sleeves over twice and sew around them but leave a small gap.
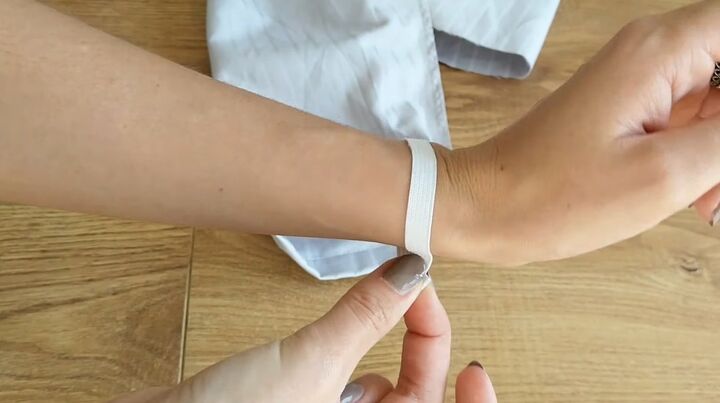
Then take some elastic that fits your wrist and feed this through the channel with a safety pin. Sew the elastic together and then sew the channel shut.
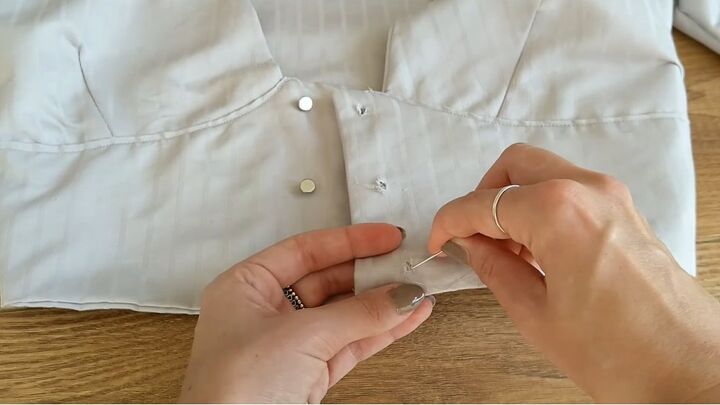
13. Add buttons
Lastly, attach three buttons to the side of the waistband, fold the other side over and cut the buttonholes. Hand-sew the raw edges of the holes.
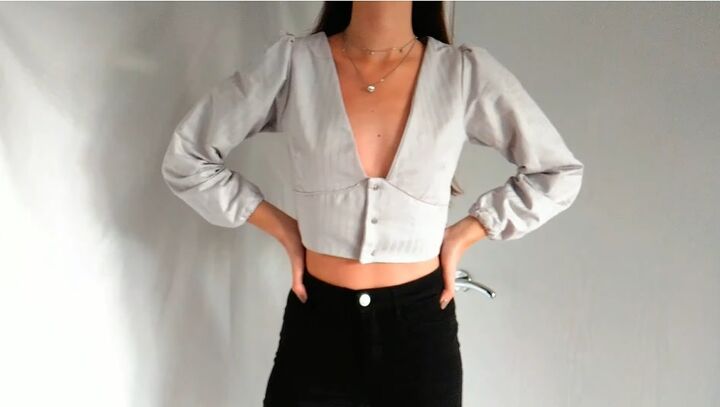
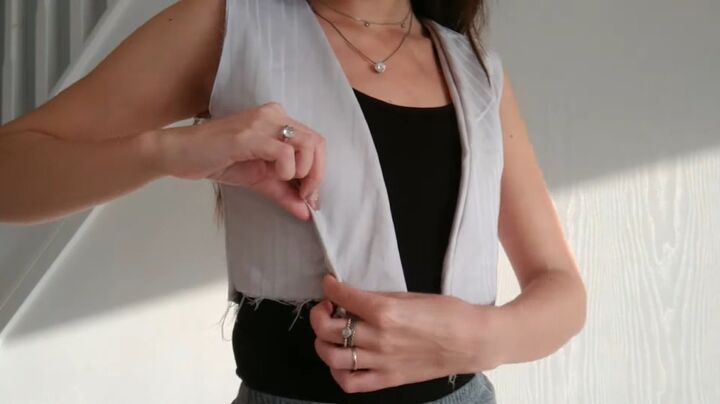
DIY plunge neckline blouse
Here is the final result! I am really happy with how this turned out, and I adore the plunge neckline.
It is so striking and allows you to go all out with your necklaces and make them into a focal point of your outfit.
What would you wear this blouse with? Let me know in the comments down below.
The author may collect a small share of sales from the links on this page.


Comments
Join the conversation
But great for making a first try!
very clever and good use of recycling plus its a good project for sewers to have a go without the worry of wasting fabric.