Need a Cute Top for Summer? Try This Easy Shirred Top DIY Tutorial

I’m going to show you a step-by-step tutorial on how to make a beautiful DIY shirred top. This guide is also great for beginners and those who want to learn how to shirr. So, get your materials and sewing machine ready, and let’s get started!
Tools and materials:
- Linen fabric
- Shirring thread
- Sewing machine
- Measuring tape
- Scissors
- Pins
- Iron
- Pencil or marker
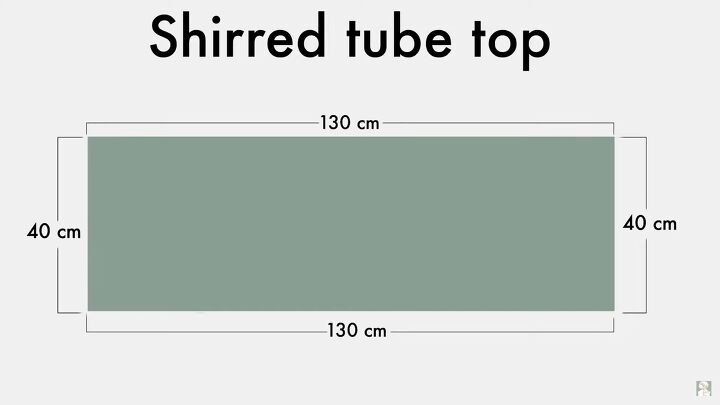
1. Cut the pattern pieces
For this DIY shirred bandeau top, you’ll need to cut a large piece of fabric that measures 40cm x 130cm (15.75 inches x 51 inches).
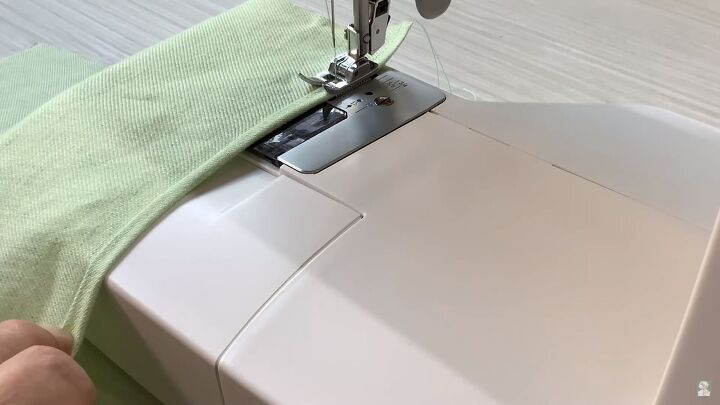
2. Hem both edges
Once your large piece is cut out, go ahead and hem both edges with a double fold.
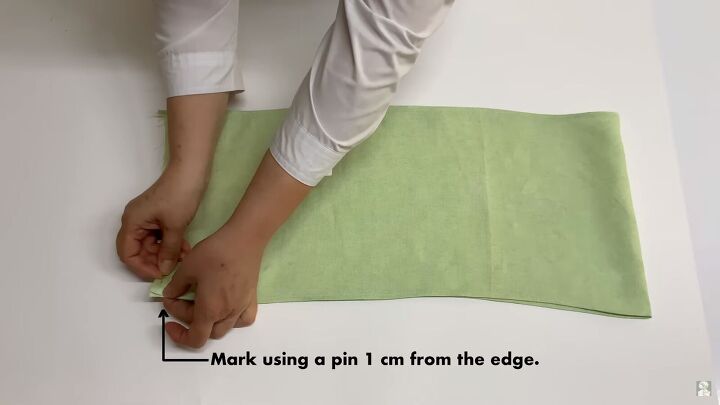
3. Make markings
Fold the fabric in half widthways. Then, place a pin 1cm (0.4 inches) from the edge.
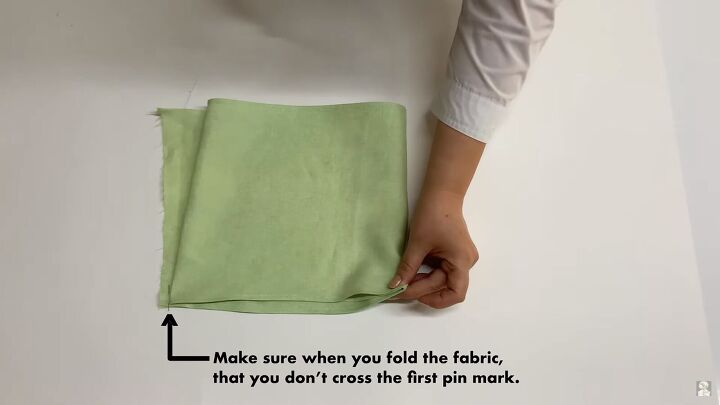
Fold the fabric in half again. Make sure that you don’t cross the first pin mark when you fold the fabric. Now, pin the center fold right where my thumb is.
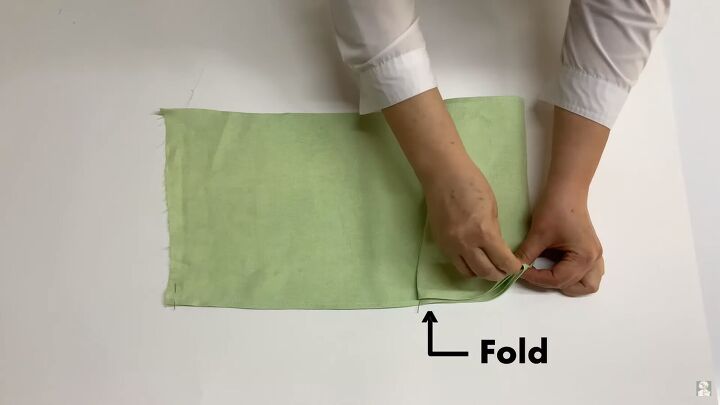
Fold ⅓ from the edge so that the fold meets the center pin. Place a pin on the new fold on the side.
Repeat the above step on the opposite side; fold the fabric so that the outer pin meets the center pin. Then, mark the outer fold edge with a pin.
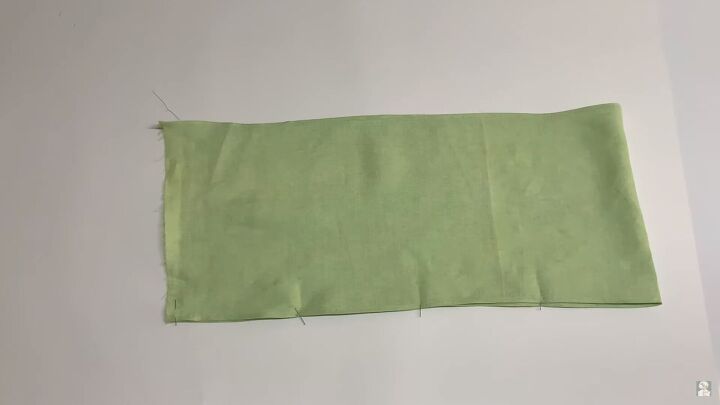
You now have four equally-spaced markings.
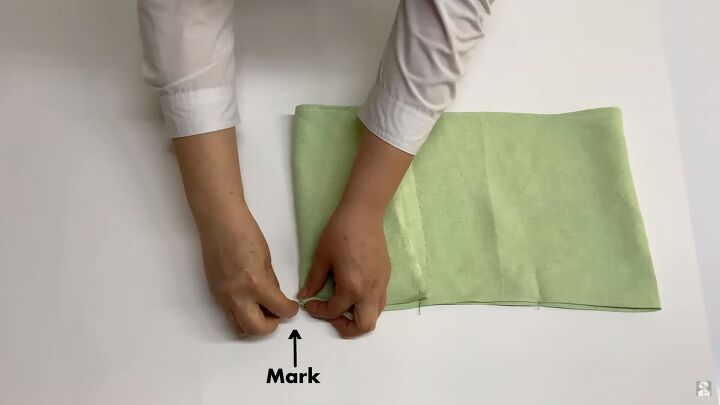
Next, mark where you want to place the straps. Do this with a pencil or marker inside the fabric. Be sure to mark on both sides.
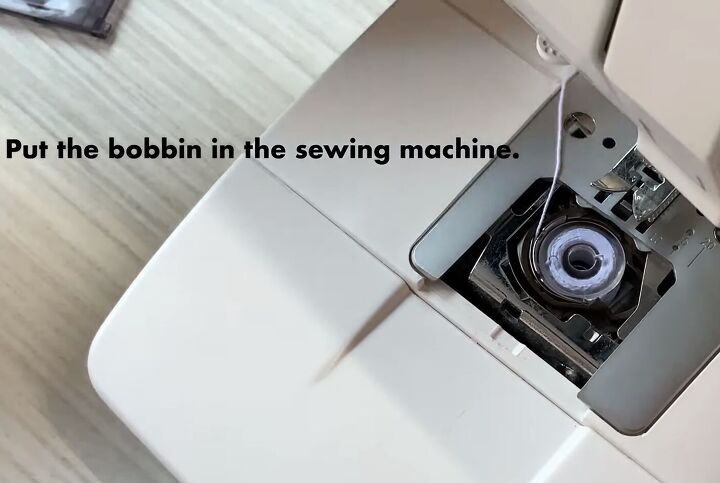
4. Prep your machine
Before making the DIY shirred top, ensure that you have prepped your sewing machine’s bobbin with the shirring elastic thread. Wind the thread on the bobbin and place it in your sewing machine.

5. Start shirring
Open your fabric piece and start shirring on the right side of the fabric. Go across the fabric in rows. The top row should be sewn a few inches from the edge.
Tip: When shirring, start around an inch from the edge and finish the seam an inch from the opposite edge.
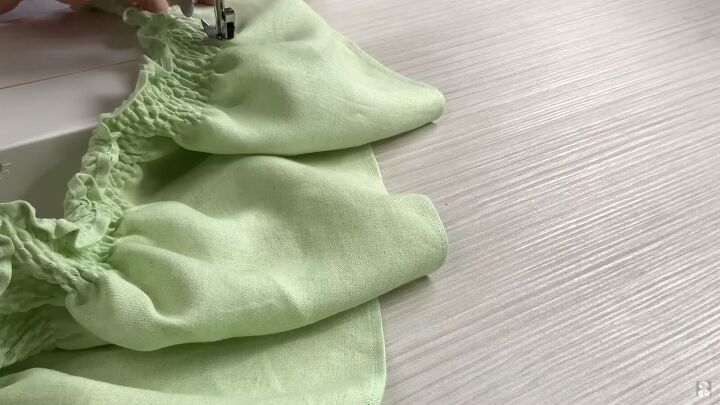
Keep going until you’ve shirred the whole fabric piece.
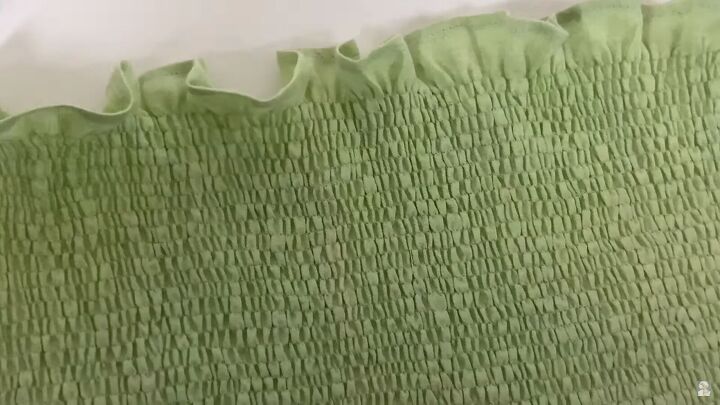
6. Press the fabric
Once everything is shirred, press the fabric piece.
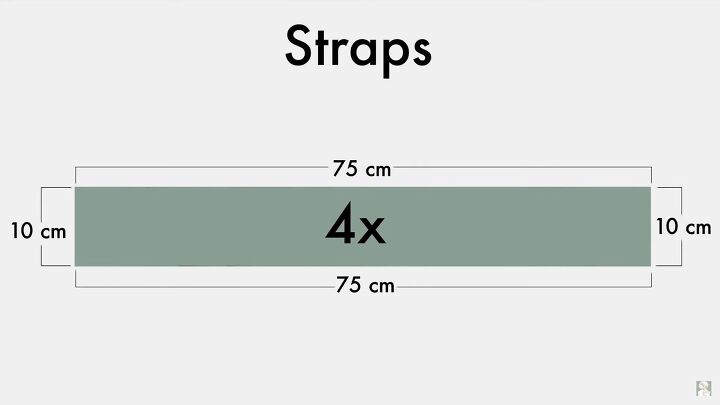
7. Make the straps
Cut out four strap pieces that measure 10cm x 75cm (4 inches x 30 inches).

Fold the straps in half, with the right sides facing. Sew the short end and along the longer edge.
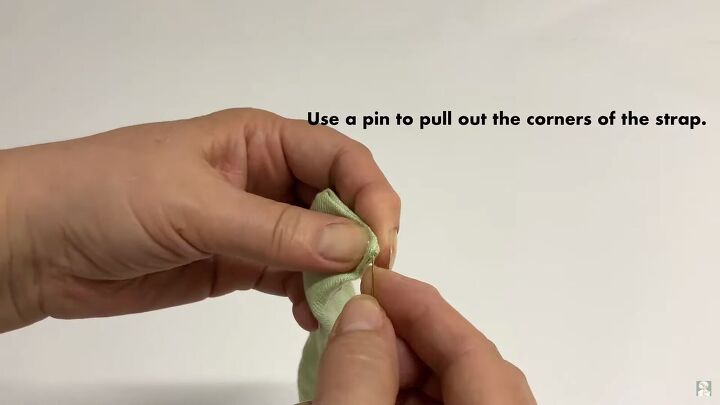
Turn the straps to the right side using a pen. Then, use a pin to pull out the corners of the strap gently.
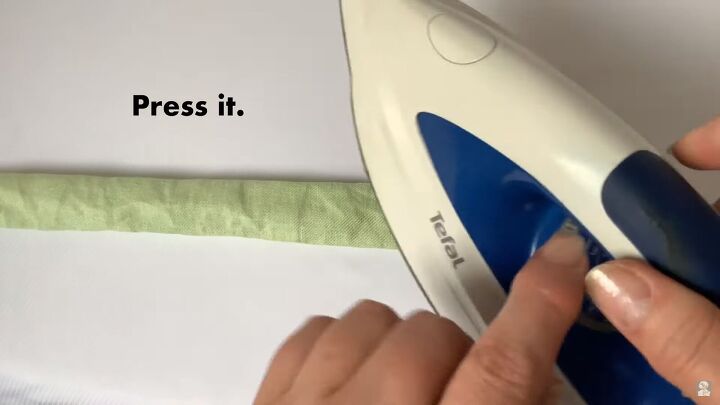
Press the straps.
8. Attach the straps
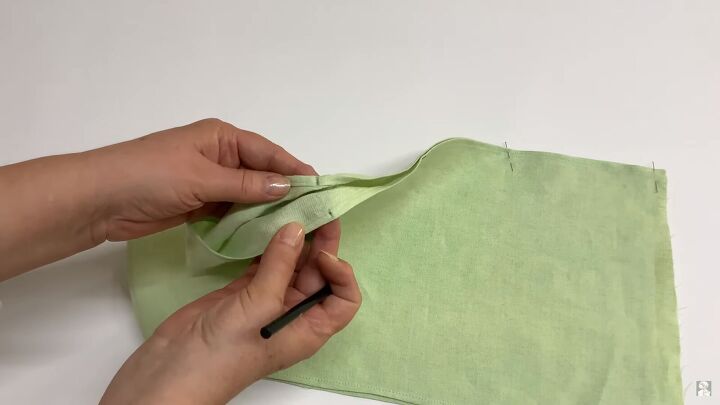
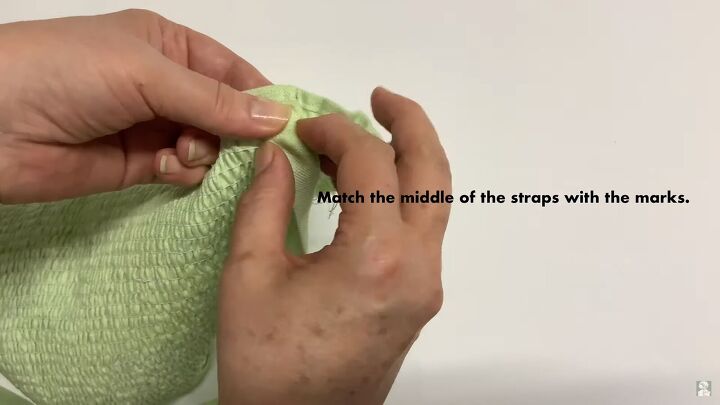
Remember the strap marks you made in the second step? Well, now they’ll come in handy. Align the mark on your shirred piece to the center of the strap’s short end.
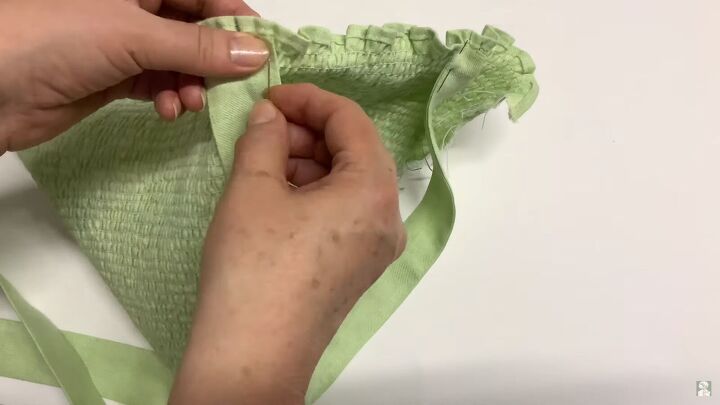
Place a pin on either side and repeat for all the other straps.
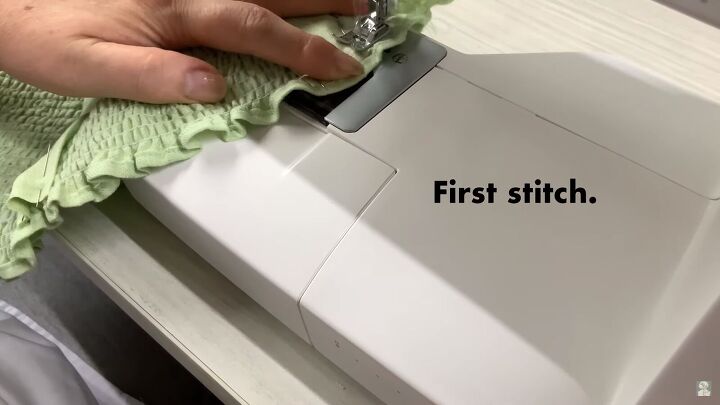
Now, sew along the edge of the strap to secure. Make sure the stitch is in line with one of the shirred seams.
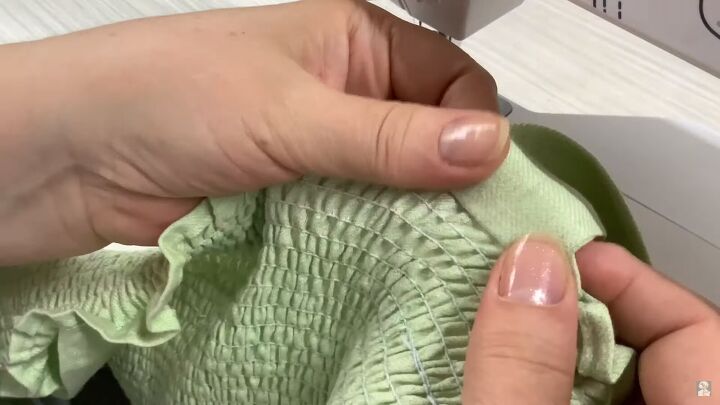
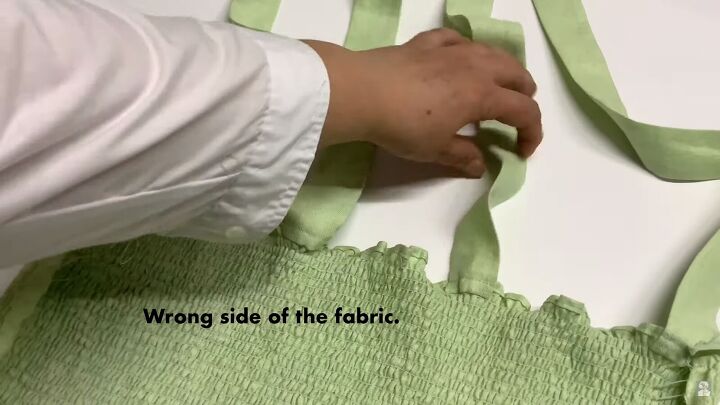
Once stitched, turn the strap upward from the wrong side.
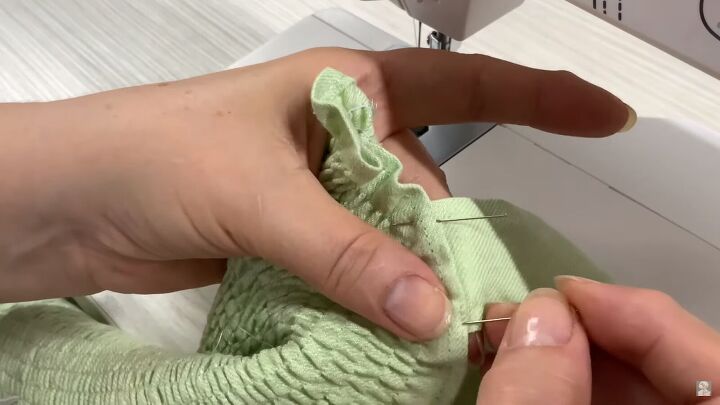
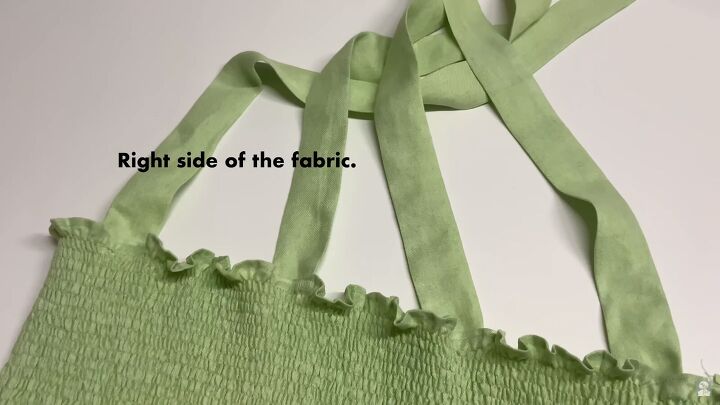
Turn the piece around and pin the strap on the right side of the DIY shirred top.
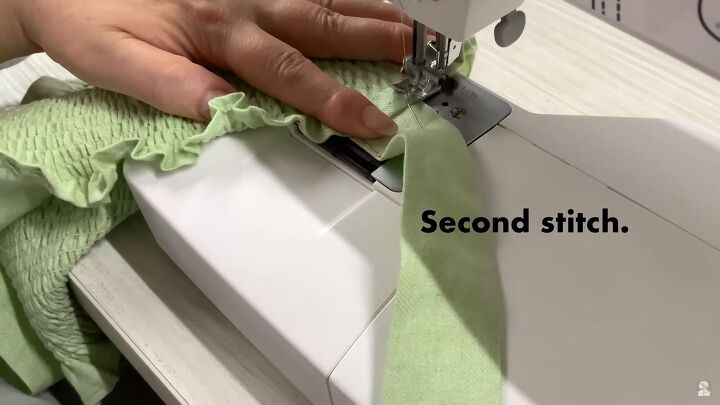
Sew a second stitch across. Make sure it aligns with the top’s first shirred line.

Here’s what it should look like.
Repeat the process on the rest of the straps.
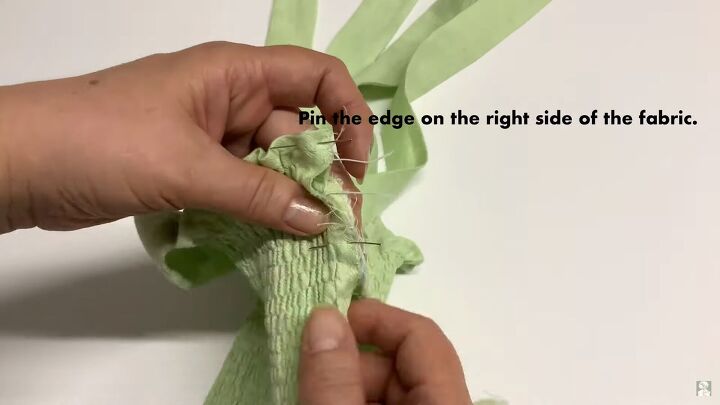
9. Close the top
Let’s close the top with a french seam! Pin the raw edges of the DIY shirred bandeau top on the right sides of the fabric.
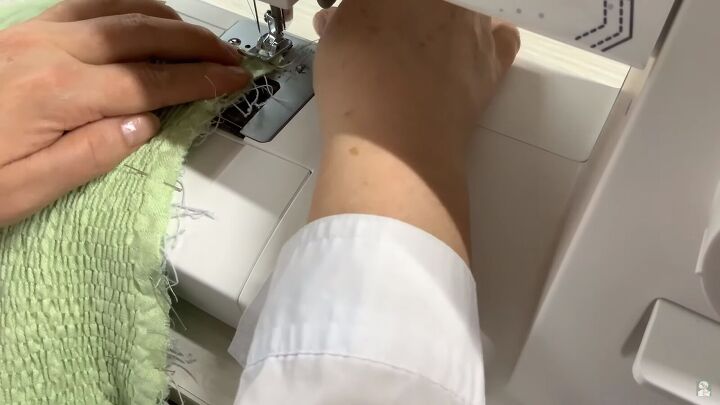
Sew to secure.
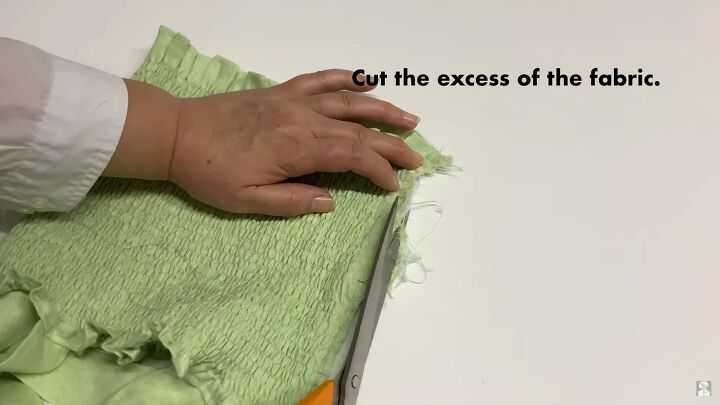
Cut the excess fabric.
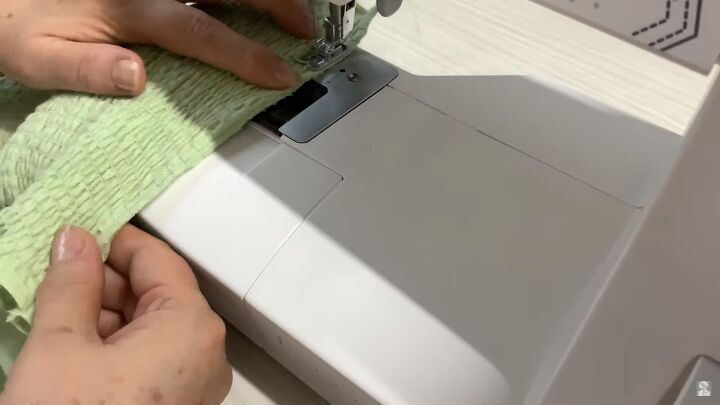
Turn to the wrong side of the fabric and sew along the seam.

Tie the strap ends in a pretty bow.
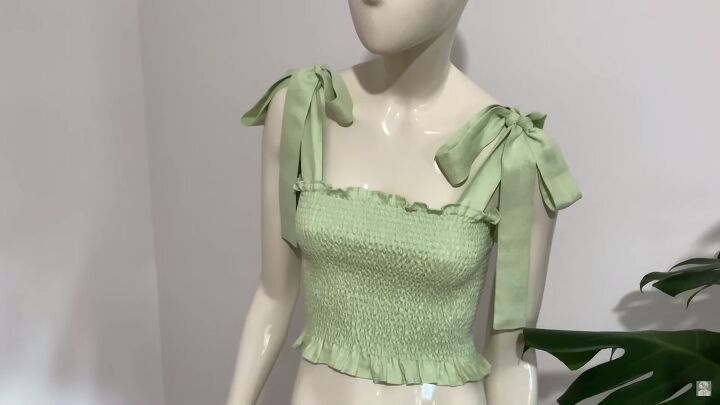
Shirred top DIY tutorial
Here’s the result! Thanks for joining me on this shirred top DIY tutorial! Now, you know how to make a shirred top! It’s really fun and straightforward, plus this top is perfect for summer.
Let me know your thoughts in the comments below.
The author may collect a small share of sales from the links on this page.


Comments
Join the conversation