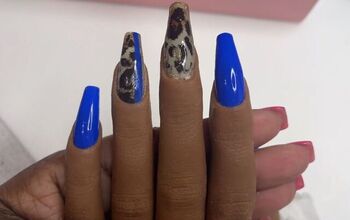
Cute and Easy Blue Gradient Nails Tutorial

If you want to do some holiday manicures but red and greens aren’t your thing, I’ve got the solution for you.
Here, I’m going to show you how to do your nails with a gorgeous wintery blue gradient with dip powders.
Let’s jump in with this blue gradient nail look!
Best builder gel kit!
Tools and materials:
- Cuticle pusher
- Builder gel
- Clear polish
- Dip powder
- Nail brushes
- Activator
- Nail file
- Top coat
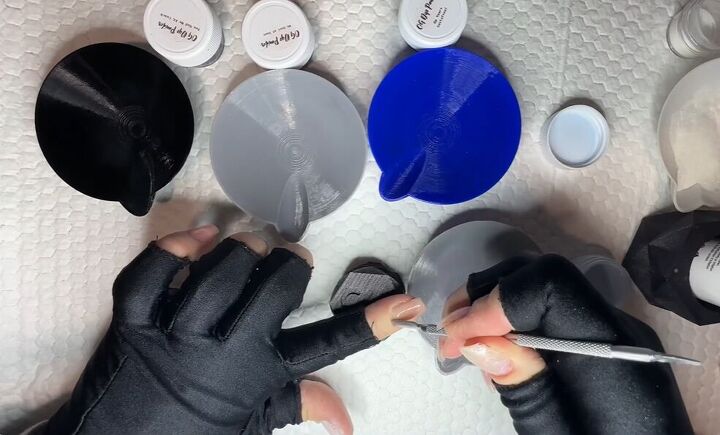
1. Push back cuticles
Before we start the actual manicure, begin by pushing back your cuticles with a cuticle pusher.
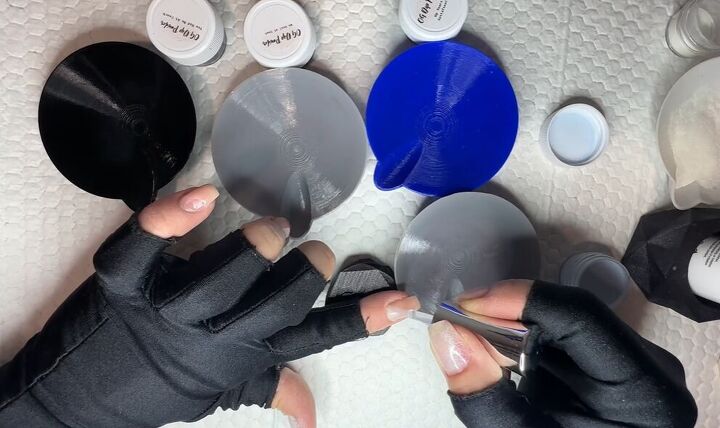
2. Apply builder gel
Then, apply builder gel to your nails. The builder gel acts as a base coat and also adds strength, structure, and thickness to the nails.
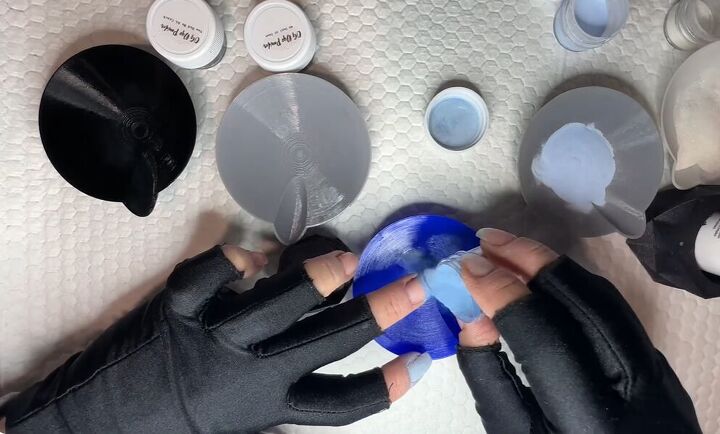
3. Apply dip powder
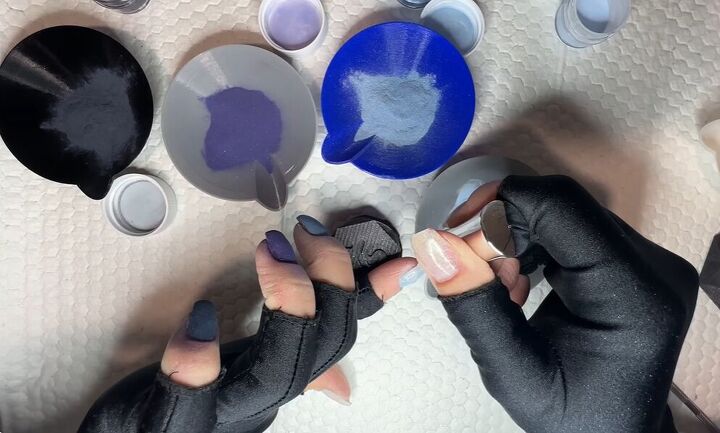
Next, pour a coat of dip powder over each nail.
Here, we’re going for a gradient look, so you want to add white powder to your thumb nail and different shades of blue powder on your other nails.
The shades should progressively get darker toward your pinky.
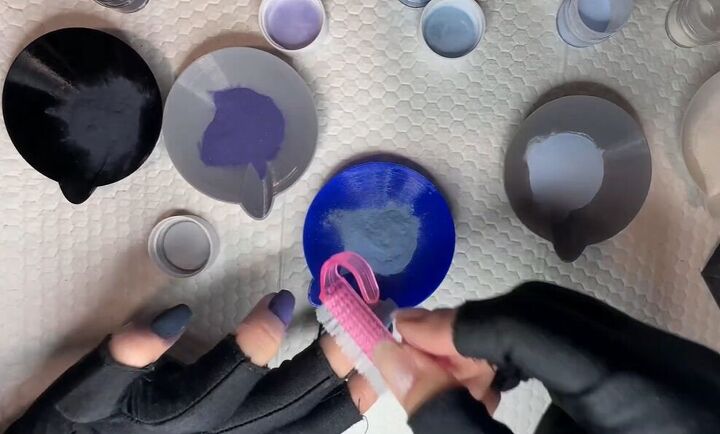
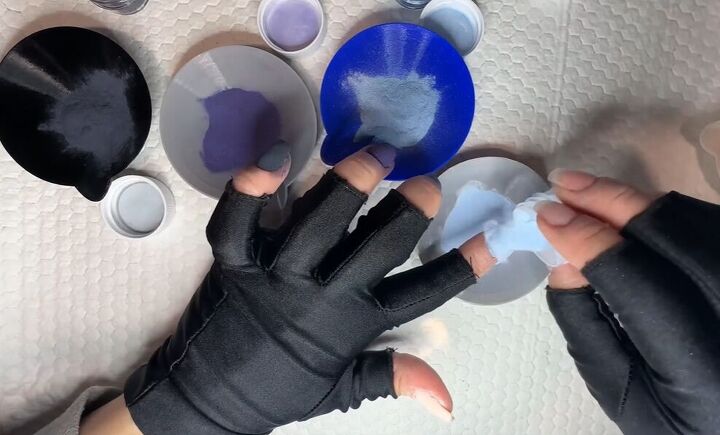
4. Brush off excess
Be sure to brush off the excess powder.
I used two brushes - one for the lighter shades and one for the darker shades because when you’re brushing, you get some staining on your stiff nail brush.
5. Apply clear coat
Now, apply a clear coat of nail polish over the top of each nail.
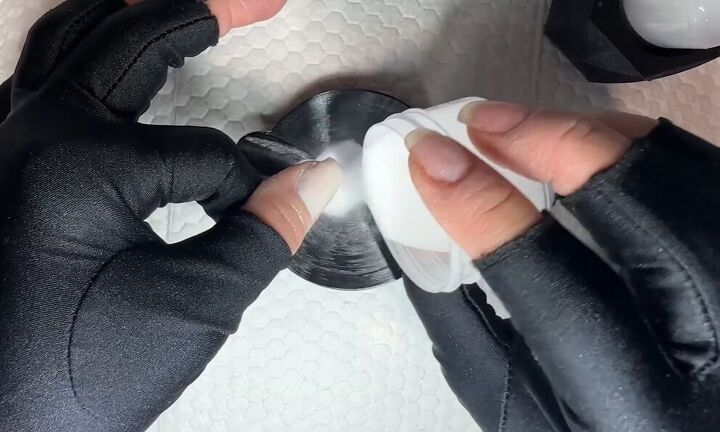
6. Add second layer
Proceed to go in with a second layer of dip powder on each nail for added coverage and a more potent color.
Brush the excess powder off your nails when done.
7. Apply clear dip powder
Add a layer of clear polish, and then top every nail with clear dip powder.
This will seal your last color and protect it so that when you’re filing and shaping, you're not messing with any of the pigment on your colors.
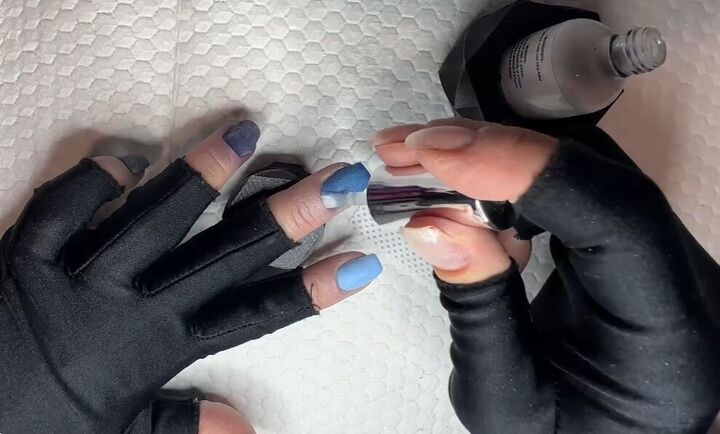
8. Apply nail activator
Next, apply an activator - this will harden the powder and create a strong bond.
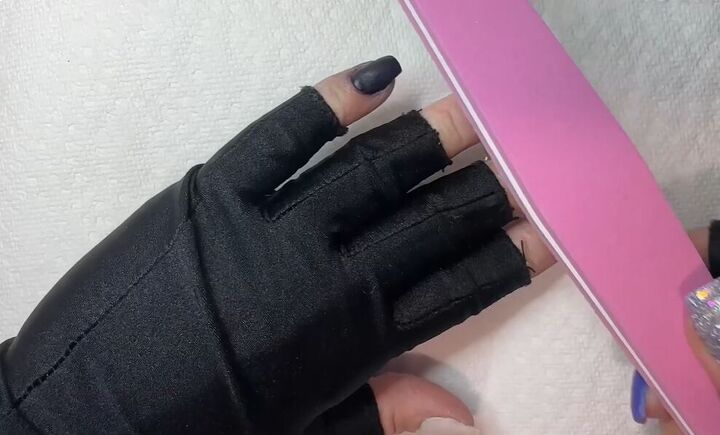
9. Buff and shape nails
Proceed to buff and shape your nails.

10. Apply top coat
Finish by applying a top coat.
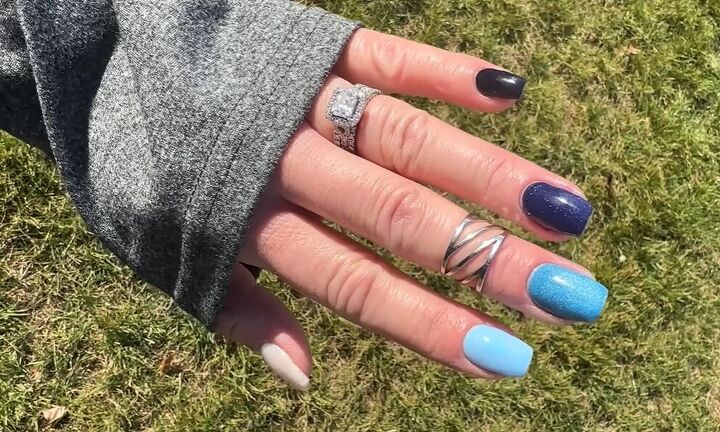
Blue gradient nails
Here is the finished look. I love how my nails get progressively darker from my thumb to my pinky.
I think that this is a great wintery design as it reminds me of snow, frozen lakes, and cold winter nights.
I hope you found this tutorial helpful and you’ll give the design a go for yourself!
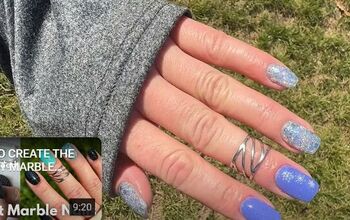
Next, check out my Easy Blue Marble Nails Tutorial.
The author may collect a small share of sales from the links on this page.


Comments
Join the conversation