Cute and Easy Christmas Sweater Nails Tutorial

Are you ready for the easiest, ugly-sweater-nails you will ever do?
Follow along with my step-by-step tutorial to get these Christmas sweater nails.
No artistic skills are required as we will be using decals.
Tools and materials:
- Hand rest
- Dip liquid
- Cuticle pusher
- Under-the-nail-cleaner tool
- Protective gloves
- Blue and white dip powders
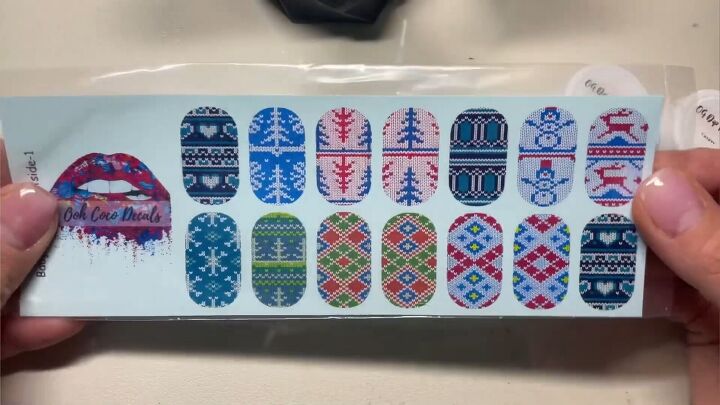
- Sweater nail decals
- Paper cupcake liner
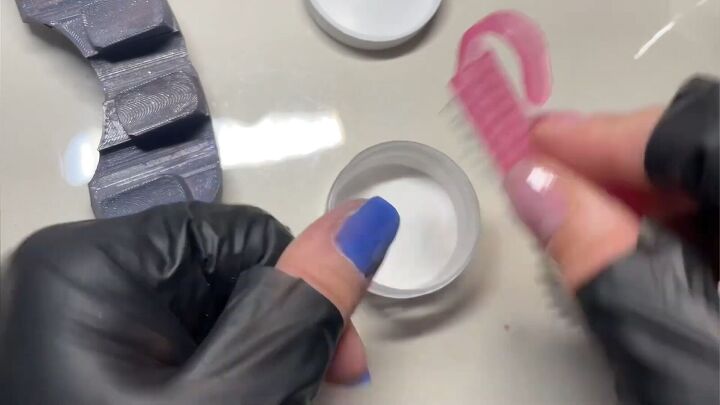
- Nail brush
- Glass dip powder
- Activator
- Sticky base
- Top coat
- Scissors
- Acetone
- Curved tweezers
- Stamper tool
- Nail clean-up brush
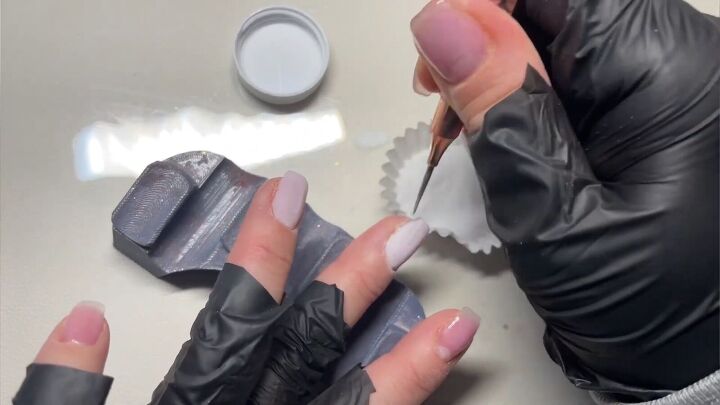
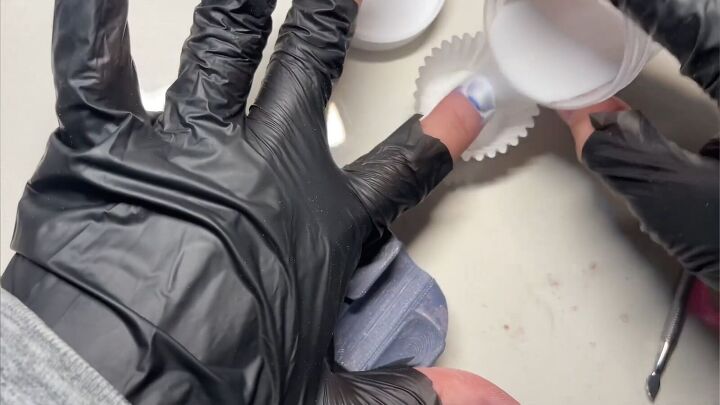
1. Prep your nails
Clean up your cuticles with a cuticle pusher. Then apply your base dip liquid to your middle nail.
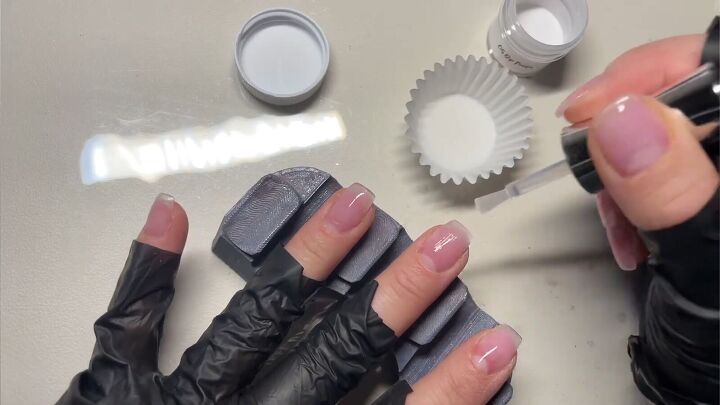
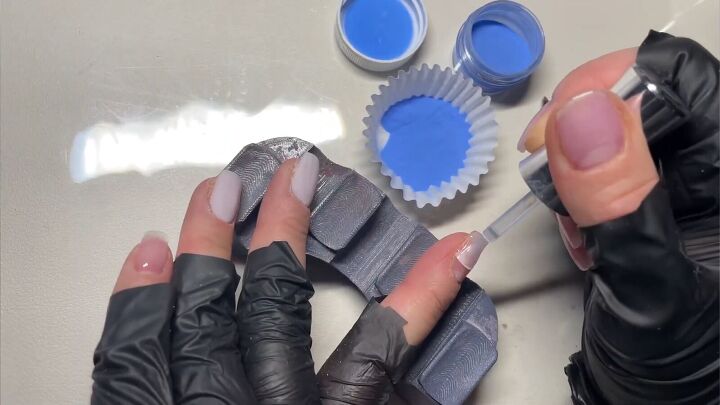
2. Apply white dip powder to your middle and ring fingernails
Hold that finger over a paper cupcake liner and pour white dip powder to cover the nail.
Tap above the nail to shake off excess powder into the cupcake liner.
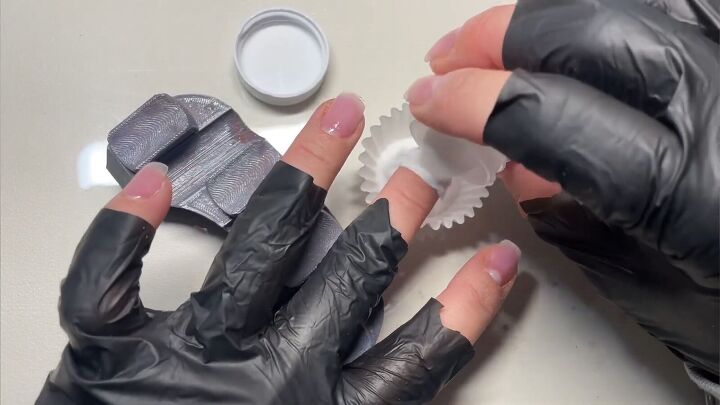
Repeat for your ring finger nail. Pour any remaining powder back into the jar.
Then run a nail brush over them to remove any excess.
If you missed any spots, pour the over the powder again.
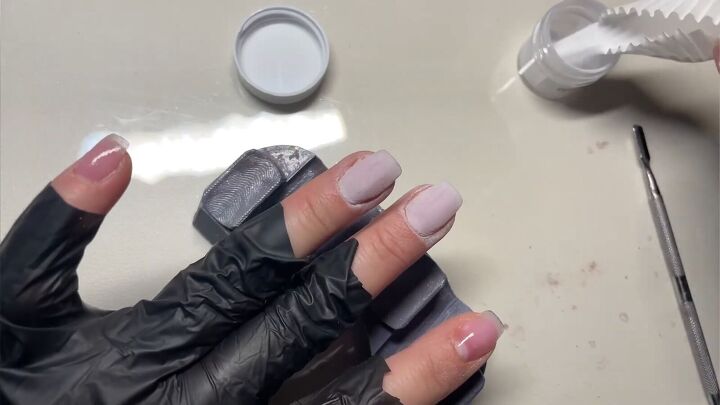
Repeat the process for a more opaque base. Clean up around the nail bed as you go.
3. Apply dip liquid and blue powder on your thumb, index and pinky fingernails
Apply a coat of dip liquid to your thumb. Then pour on a blue dip powder over the cupcake liner.
Tap off the excess and clean with an under nail cleaner tool.
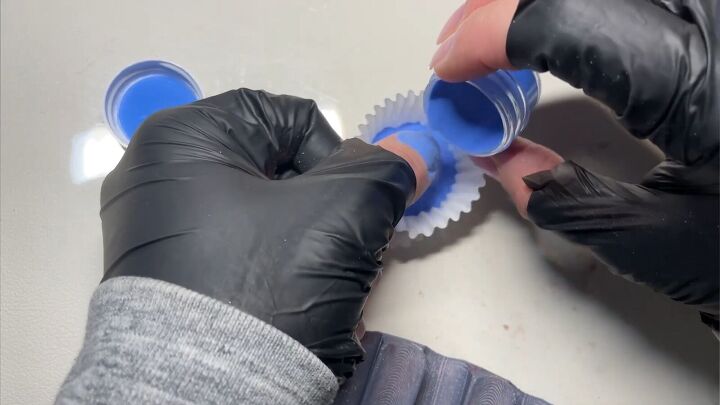
Repeat this for your index and pinky nails.
Apply a 2nd layer of dip liquid and blue powder to these nails.
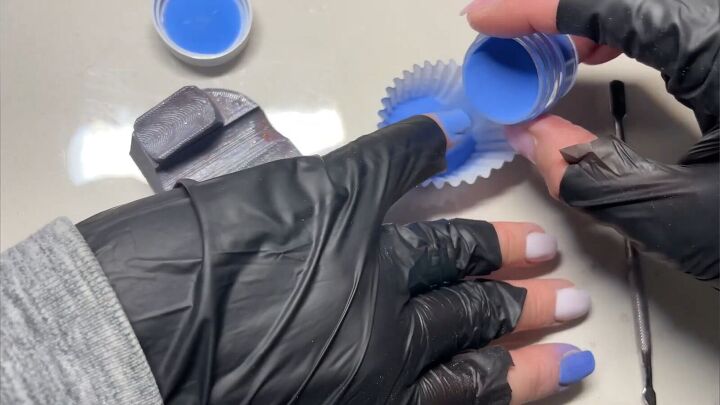
4. Apply glass dip powder on the blue nails
Paint dip liquid on your index finger. Pour glass dip powder over the nail.
Repeat on your thumb and pinky nails as well.
I skipped this step for the white nails to check the difference.
Brush off residual powder.
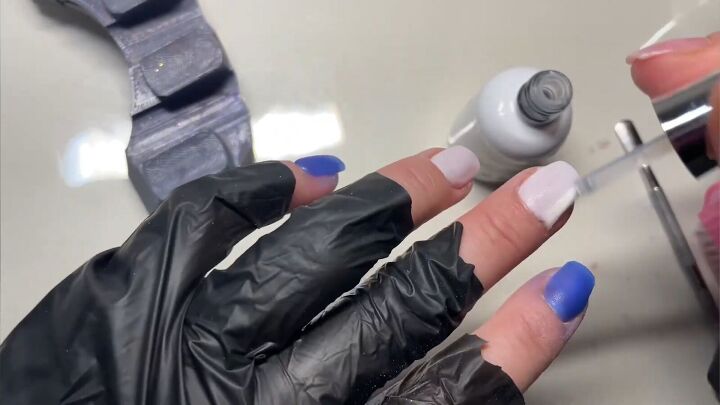
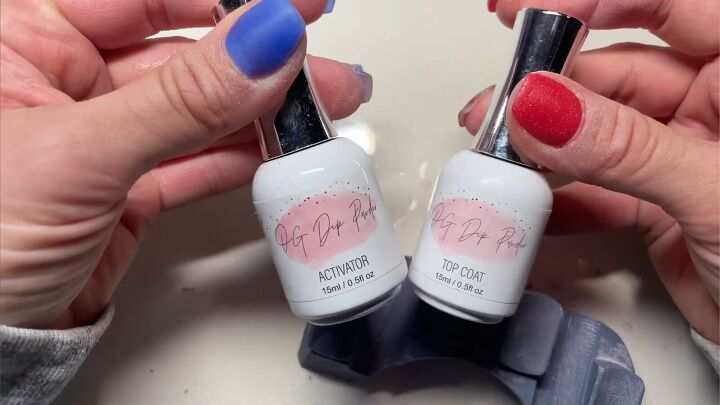
5. Apply activator
Activate all the nails by painting on a layer of activator on them.
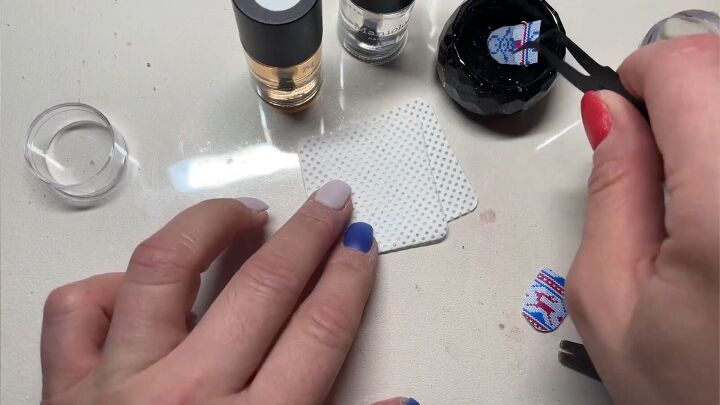
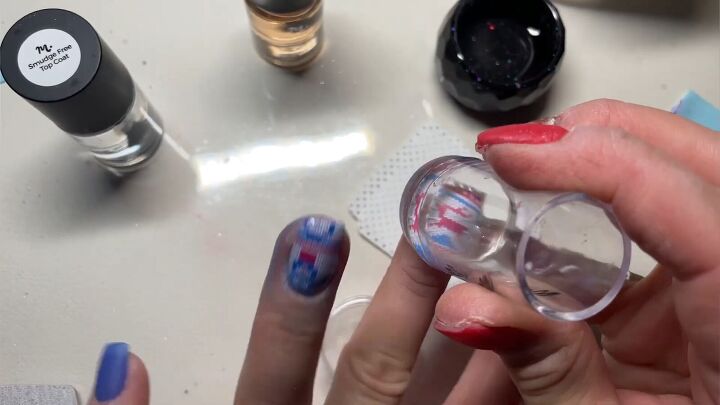
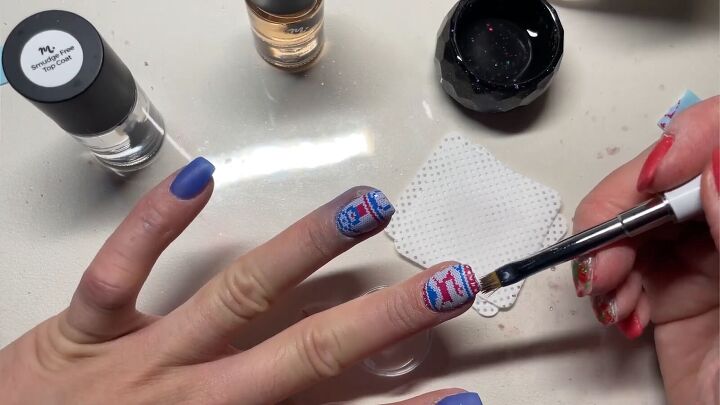
6. Apply Christmas sweater decals and top coat on the white nails
Cut out the details you want to use. Cut off the rounded end for square nails.
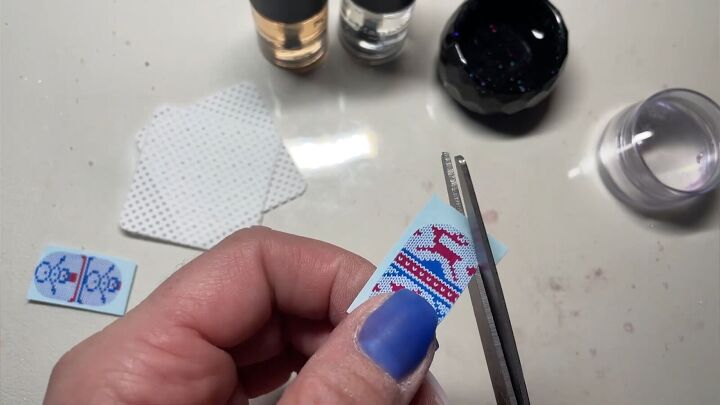
Use curved tweezers to pick up the decal and soak it in water.
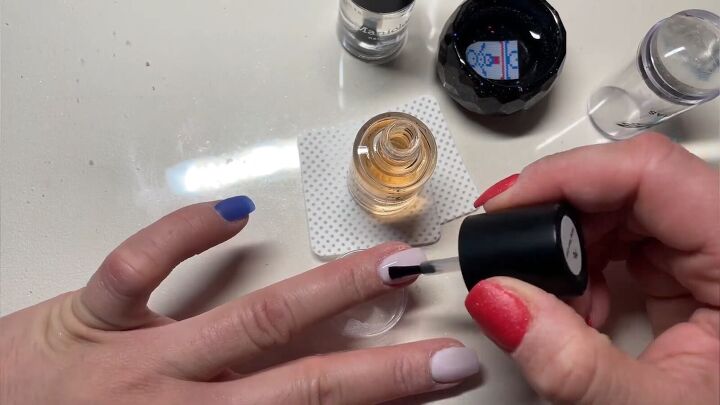
Paint a layer of sticky base to the nail you want to decorate first.
Allow the sticky base to dry for 30 seconds. It should still be slightly tacky.
Press the decal on with a stamper tool.
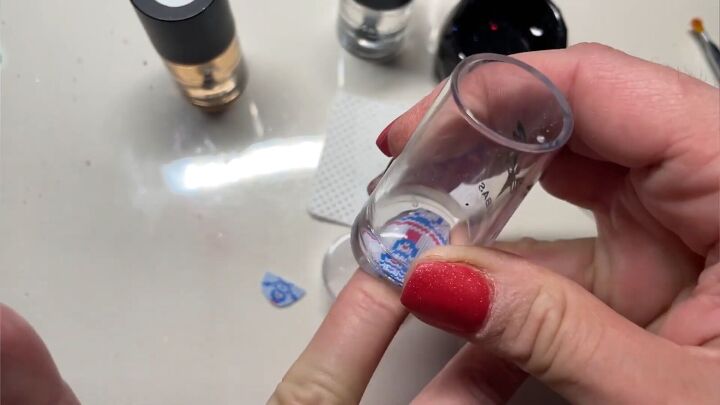
Dip a nail clean-up brush in acetone to remove any decal that stuck to your skin.
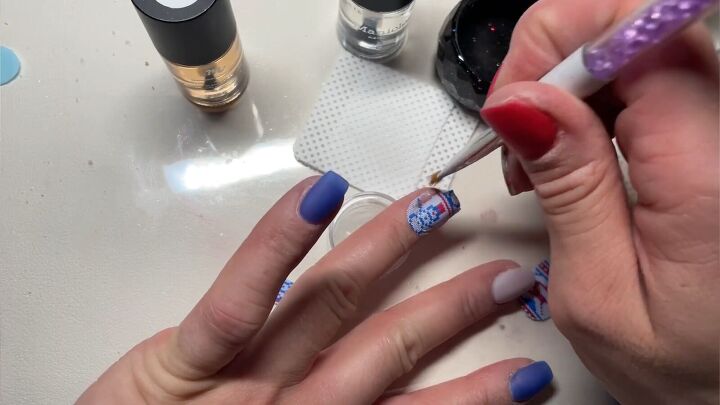
Apply a layer of clear top coat over the decal. Add a 2nd layer of top coat if the decals are particularly thick.
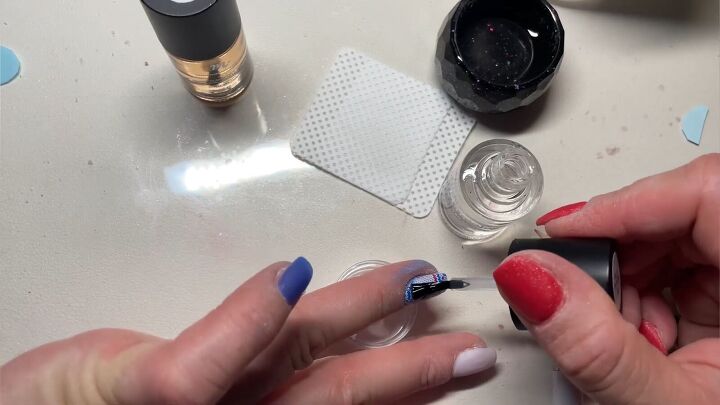
Repeat this process for any nails you wish to decorate with decals.
Also, use the acetone-dipped brush to ensure the end of the decal is flush with the end of your nail.
7. Apply activator and top coat to the blue nails
On the blue nails, left without decals, apply an activator and top coat.
For more information about timing in this important step, watch the video at 9:44 -11:15.
Here are the final results of this sweater nail design:
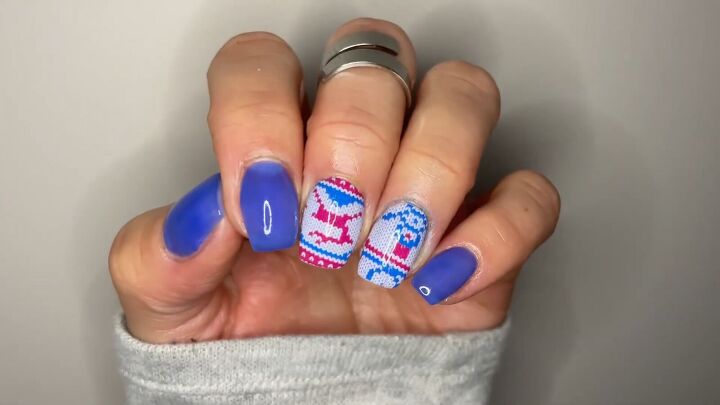
DIY Christmas sweater nails
Thanks for joining me for these festive, Christmas sweater nails! If you enjoyed this post, leave a comment!
Next, follow along to learn how to DIY easy, black glitter dip nails.
The author may collect a small share of sales from the links on this page.


Comments
Join the conversation