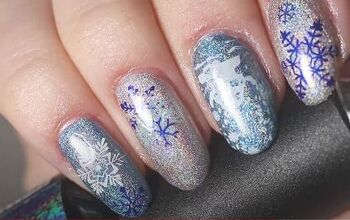
Cute and Easy Blue Sparkle Nails for Winter

If you love to stamp your nails, but you can’t use gels and you don’t like using nail polish, these DIY dip powder nails are perfect for you.
I’ll show you how to achieve gorgeous blue sparkle nails in just a few easy steps. Let’s get into it!
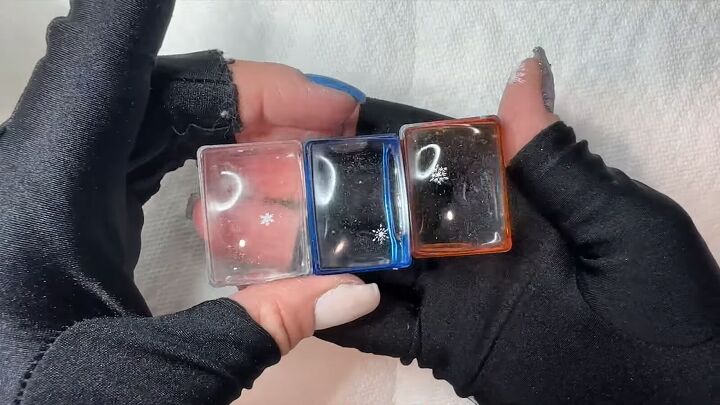
Tools and materials:
- Solid/glitter dip powder
- Clear dip powder
- Builder gel
- Activator
- Stamping kit
- Cuticle pusher
- Top coat
- Tape
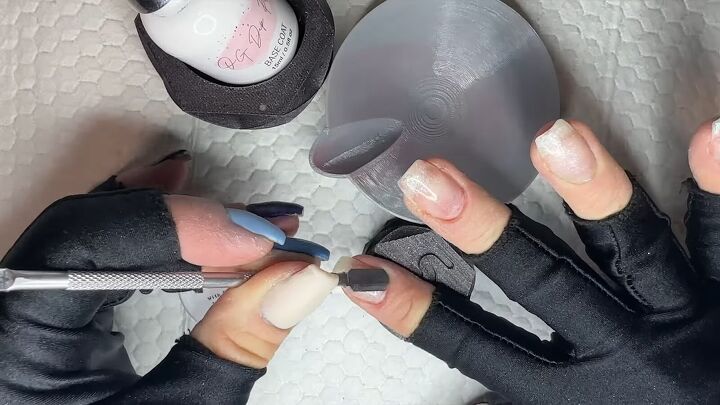
1. Prep your nails
Push back your cuticles to prep your nails.
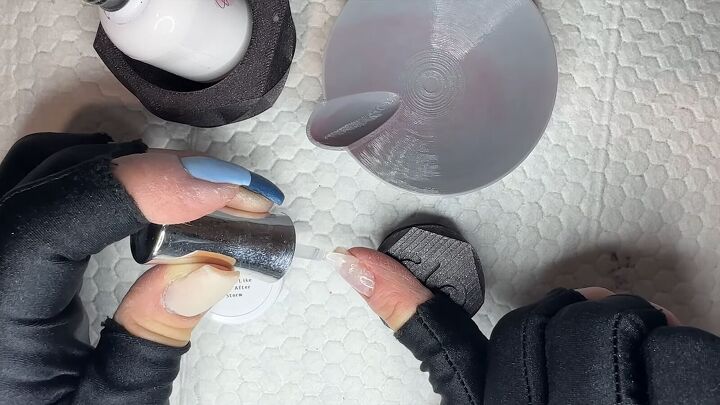
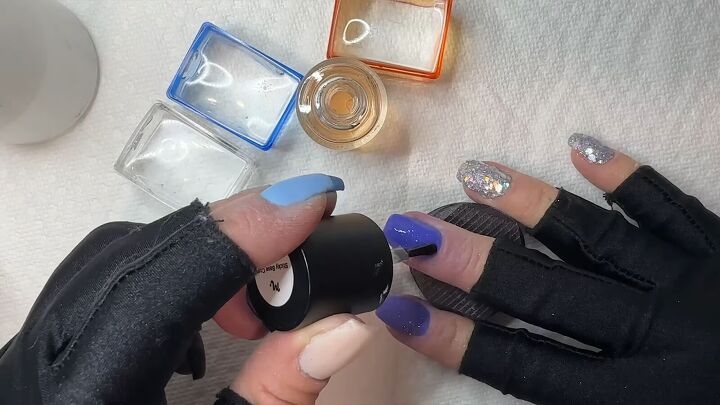
2. Apply the base
Apply a base layer over your nails. I’m using a base of builder gel.
If you don’t have builder gel, you can use 2-3 dips of clear dip powder as a base on your natural nails instead.
You’ll have to use the apex method which entails building up multiple layers of dip powder.
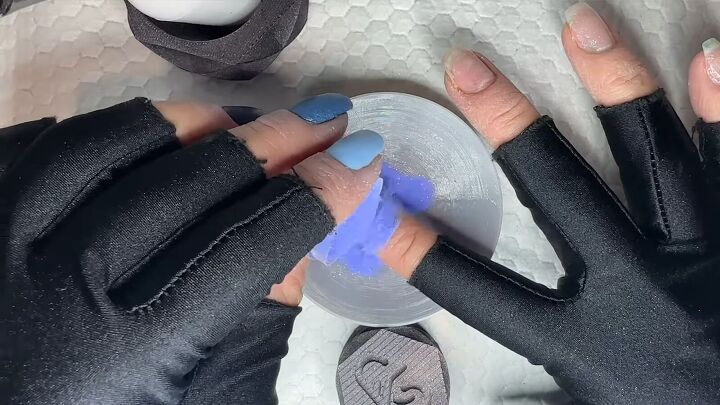
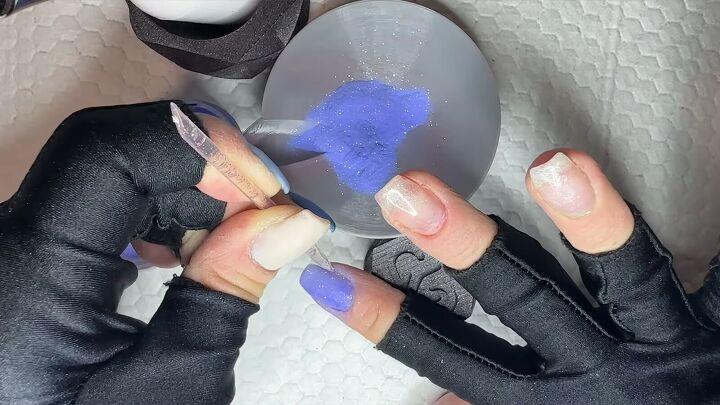
3. Apply the dip powder
Since I’m using builder gel, I’m only doing 2 layers of the dip power.
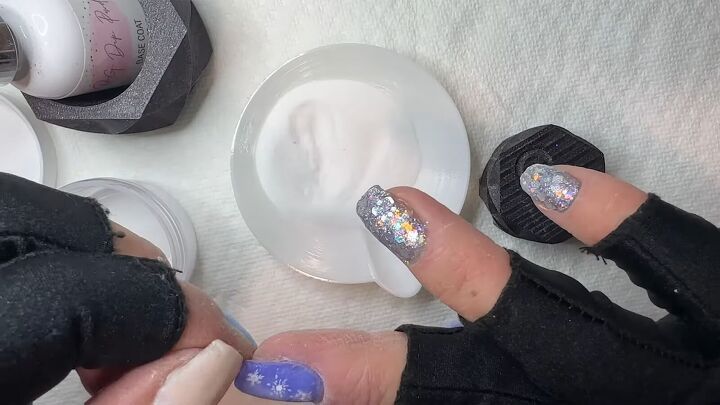
You can dip the nail if you want, but I just poured it over my nail. For the first two nails, I’m using a sparkly blue.

For the rest of my nails, I’m going in with chunky glitter.
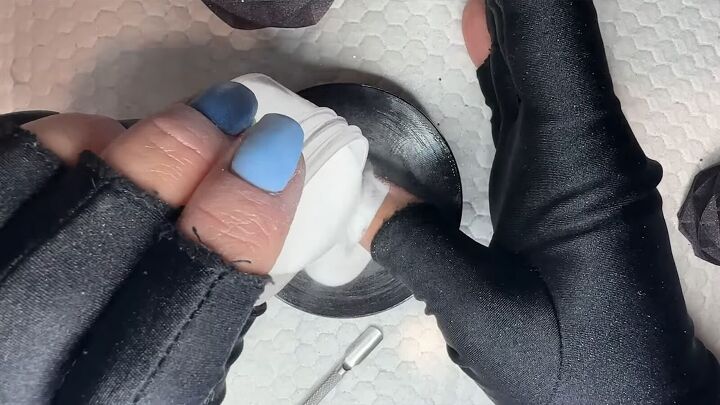
4. Clean up the excess powder and glitter
Use a nail stick to get cleaner edges and a brush to eliminate all the excess powder.
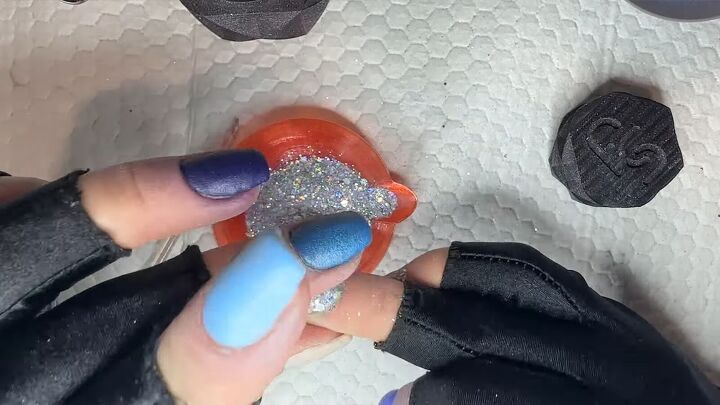
To clean up the glitter, place a piece of washi tape (or masking/painter’s tape) on your finger and gently dab the glittered nail.
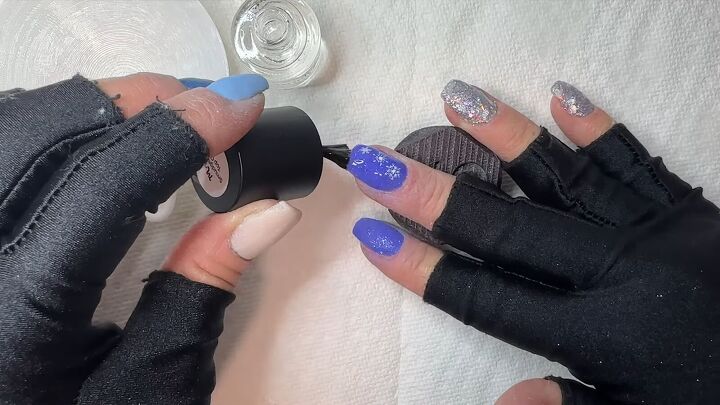
5. Apply a second layer
To apply a second layer of the dip powder, simply repeat steps 2-4. More layers will get you a bolder color.
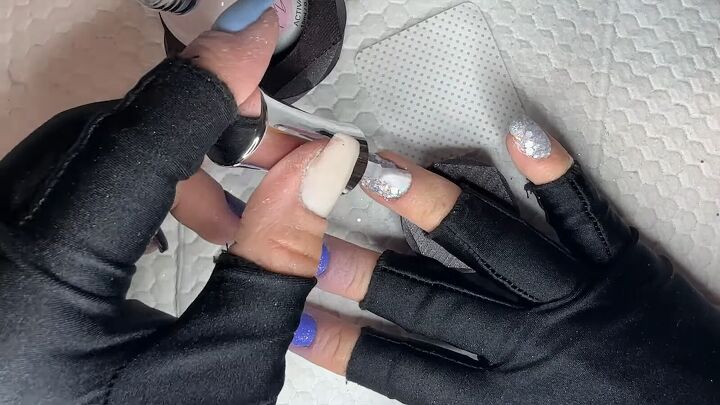
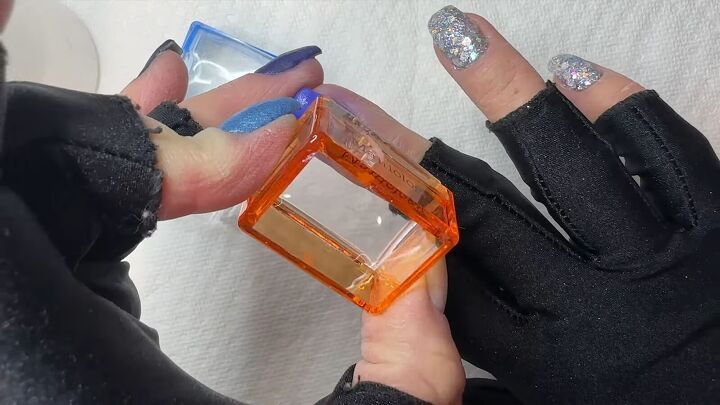
6. Apply clear dip powder to the glittered nails only
Apply one more layer of the builder gel and pour clear dip powder over the glittered nails.
We’re only doing this on the glittered nails because we won’t be stamping them. Clean up the excess.
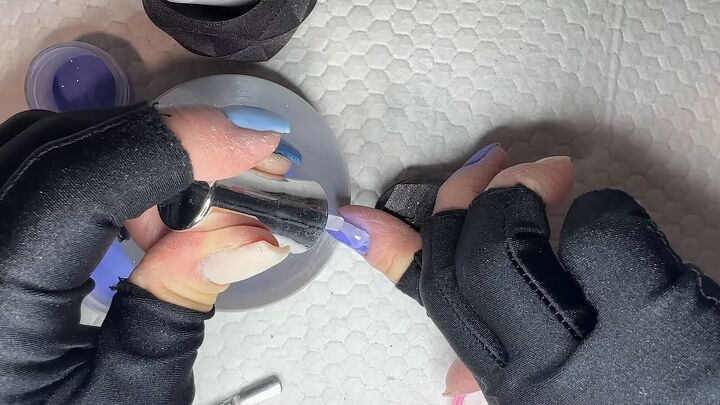
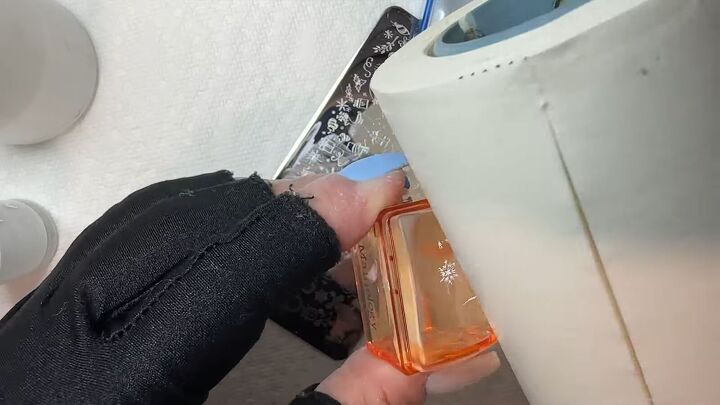
7. Activate the glittered nails
Apply the activator over the glittered nails.
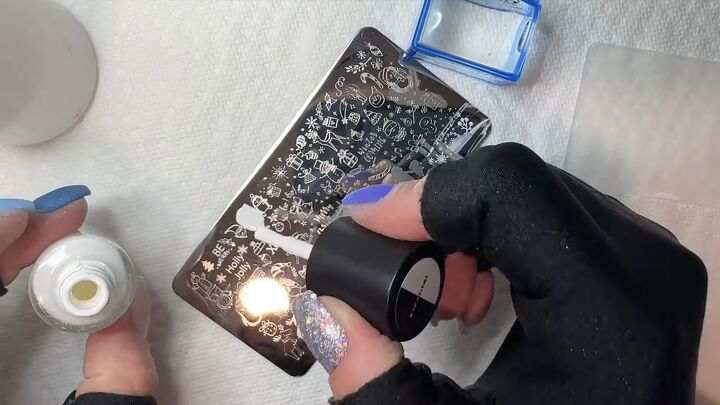
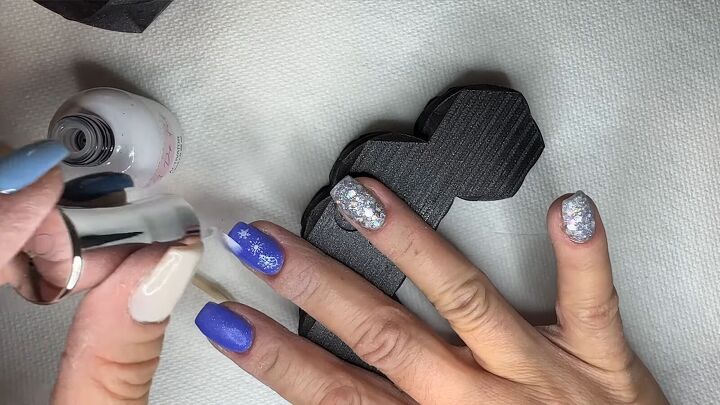
8. Apply stamping polish
Apply a thin layer of the stamping polish to the stamping plate and stamp you want. I’m doing snowflakes.
9. Swipe away the polish
Using the scraper, swipe down on the plate to clear away the excess polish. If it gets too messy, you can clean it with acetone.
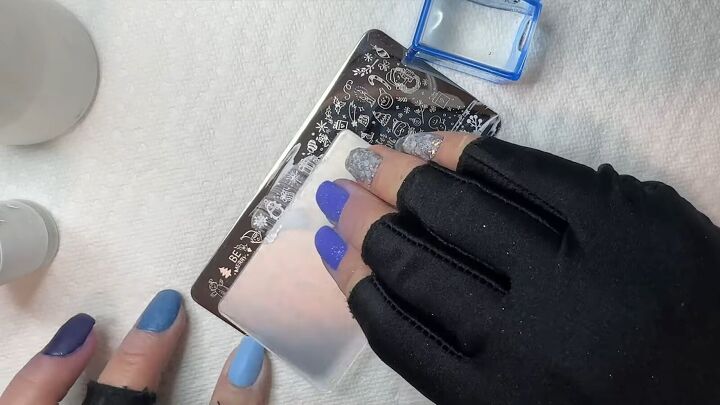
10. Stamp
Press the stamper to the polished stamp.
Use a lint roller to wipe away any excess stamp that gets around the one you want.
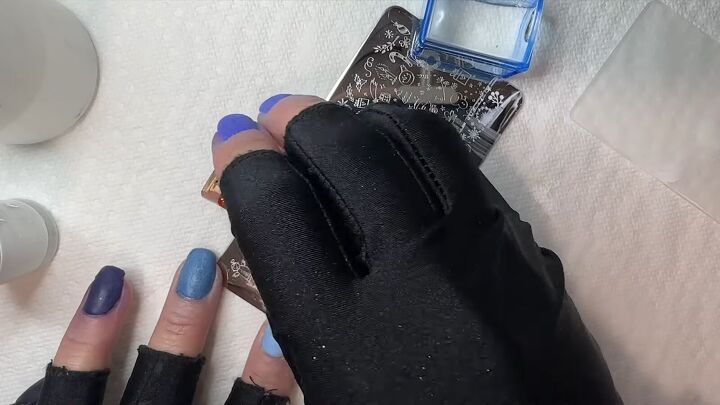
11. Dry
Let each of the stamps dry for a few minutes.
12. Apply a sticky base
Apply a sticky base to your blue nails. Let it get tacky, not wet.
Don’t apply the stamp to wet nails because the image will mess up.
13. Apply the stamp
Press the stamp on your nail. Let it dry.
14. Apply the top coat
Apply a thin layer of smudge-free top coat over the entire nail.
15. Apply a layer of the clear dip powder
Apply a layer of the base gel and clear dip powder. Activate.
16. Apply a top coat
Apply a final layer of top coat over every nail.
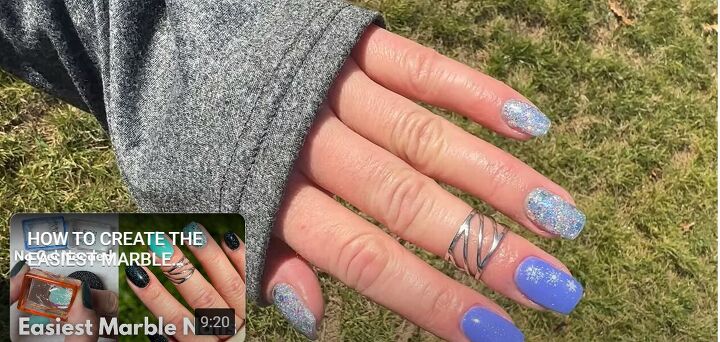
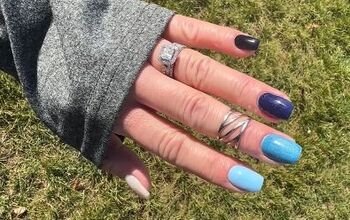
Blue sparkle nails
Here are the finished blue and silver nails!
Let me know what festive stamps and colors you’ll use on your nails this holiday season below.
Next, check out my Easy Christmas Dot Nail Design Tutorial.
The author may collect a small share of sales from the links on this page.


Comments
Join the conversation