How to Do Easy Blue & Silver Nails With Snowflakes for Winter

Today, I'm going to show you how to do silver nails with snowflakes. It may seem like just an extra touch, but festive nails add so much to your Christmas look! This tutorial uses nail art stamp templates to create beautiful silver and blue snowflake nails. It’s a super easy technique so give it a try.
You’ll want to revisit this snowflake nail tutorial for lots of other occasions, since the nail art templates come in so many patterns!
Tools and materials:
- Assorted gel glitter nail polish
- Assorted solid color nail polish
- Nail art stamp template kit
- Nail base coat
- Nail top coat
- 48-watt LED nail lamp
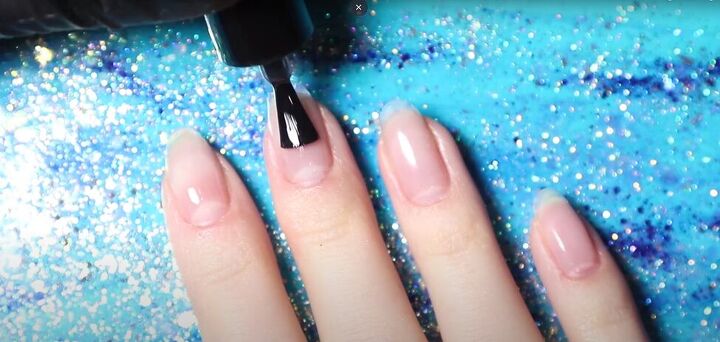
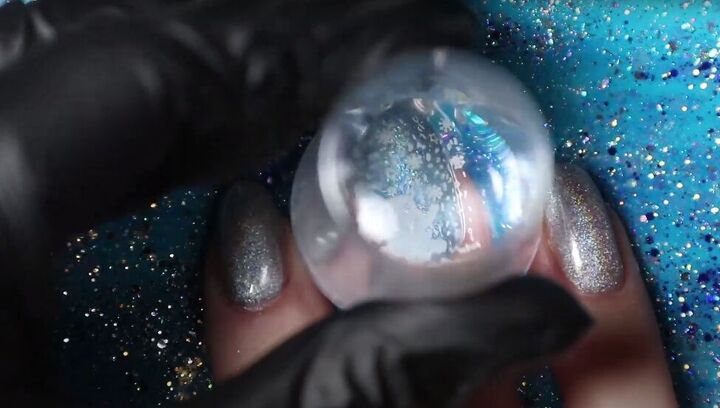
1. Prep your nails for the glitter snowflakes
Apply a thin layer of gel base coat to your manicured nails. Dry them for 30 seconds under a 48-watt LED nail lamp.

Apply a thin coat of gel glitter polish to your nails. You can alternate different colors of glitter polish on your nails. Let that coat dry and then apply a second coat.
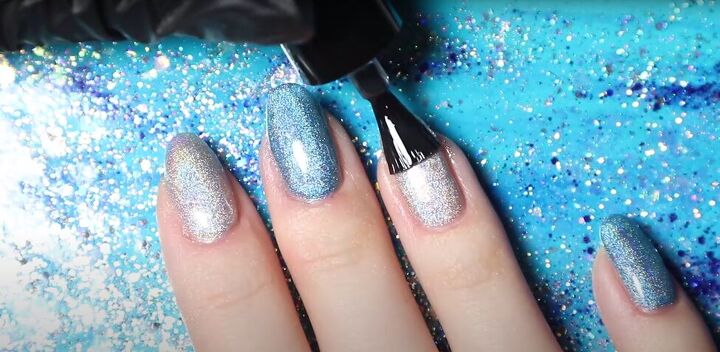
Finish the nail prep with a gel top coat.
2. Add the snowflake nail art
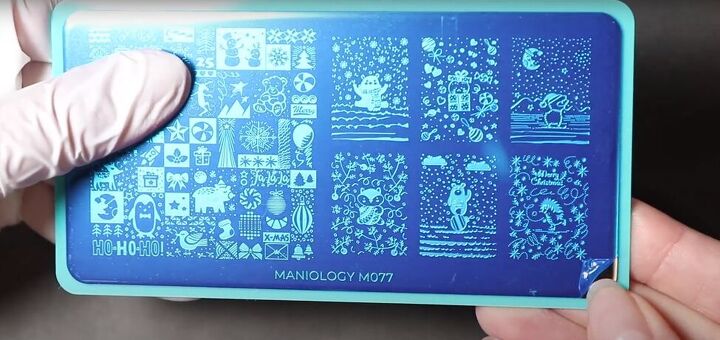
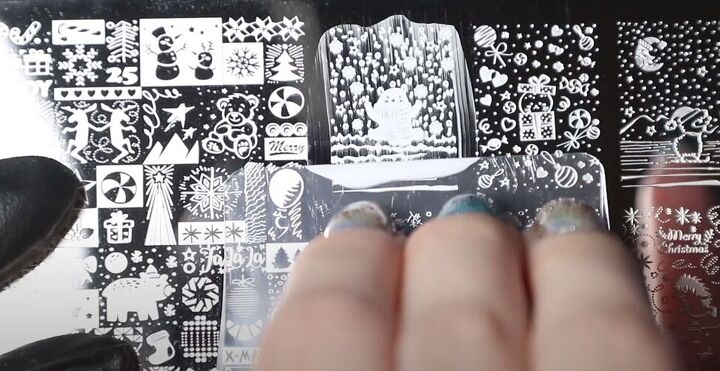
For this tutorial, I used the Maniology M077 Christmas nail stamping template and the Nicole Diary 120 Snowflake template.
Most nail art template kits come with stamping plates, a stamper, and a scraper. You will need all those accessories to complete this snowflake nails tutorial

First, peel the protective film off the template.
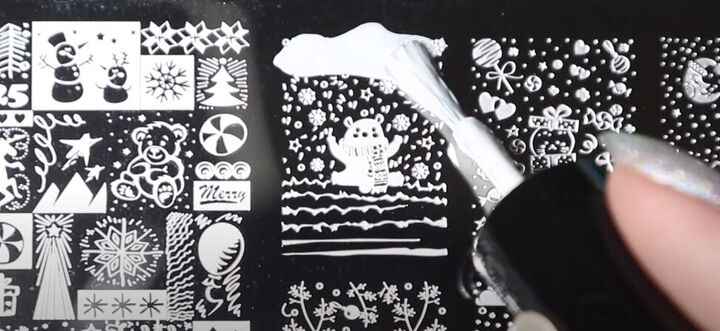
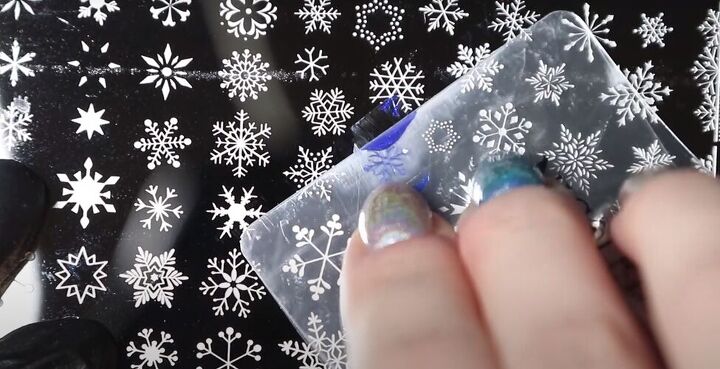
Decide on what color you want your nail design to be. Apply stamping nail polish in that color at the top of your chosen template.
Then use the scraper from the kit to pull the color down across the whole image.
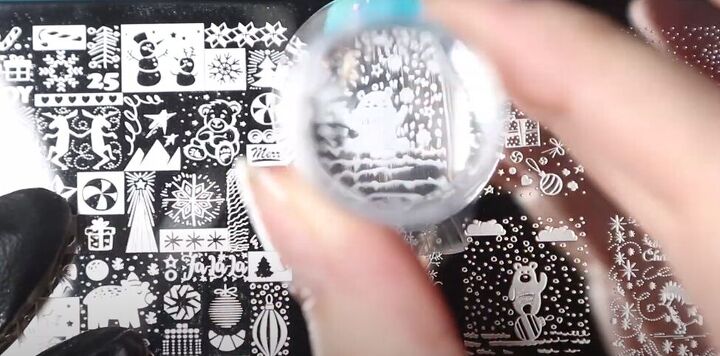
Now use the stamper from your kit. Press the stamper down on the polished image to transfer the image from the template to the stamper. The bottom of the stamper is a bit rounded, so roll the stamper across the template to pick up the whole image.
Next, press the stamper onto your nail to transfer the image again. Again, you will need to roll it a bit to transfer the whole image from the rounded stamper to your rounded nail.

Use some adhesive tape or a lint roller to remove the excess nail polish from the stamper after you’ve transferred the image to your nail. Now the stamper is ready to use again.
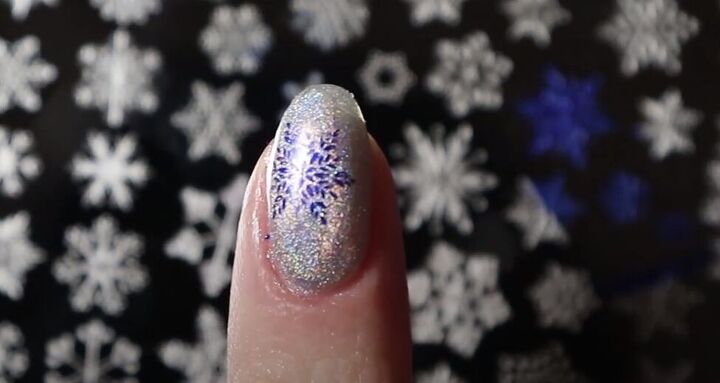
Continue transferring images from the template to your nails, using any colors you choose, like the blue snowflakes we used in this tutorial. Feel free to get creative and add more than one image and more than one color to any nail!
3. Seal with a top coat
Once you have decorated all of your nails, apply a clear top coat, and let your nails cure for 30 seconds under a 48-watt LED nail lamp.
4. Protect your nails
Remember to add a bit of cuticle oil at the base of your nails, and rub the oil in, to help protect them.
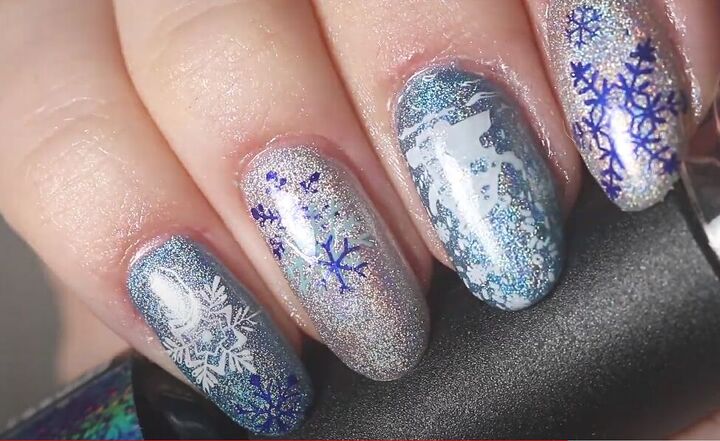
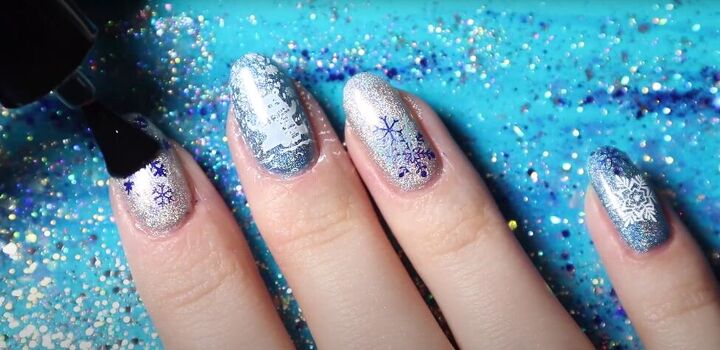
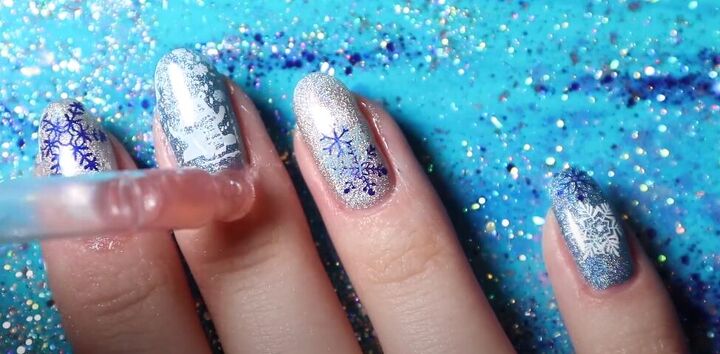
Silver nails with snowflakes tutorial
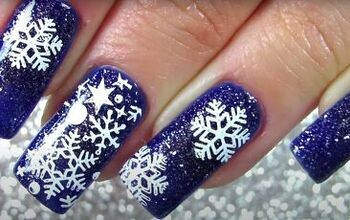
Here’s a closeup of the finished blue and silver nails with snowflakes. You can see how one nail has a white snowflake and a blue snowflake, and another nail has two blue snowflakes in different sizes.
Leave a comment to let me know how your glitter snowflake nails worked out.
The author may collect a small share of sales from the links on this page.


Comments
Join the conversation
Really cute