Easy Blue Marble Nails Tutorial

If you’ve been admiring marble nails but you can’t use gels, this blue marble nail tutorial is for you!
Just follow along with my step-by-step tutorial.
Tools and materials:
- Shimmery teal dip powder
- Black chrome shimmer dip powder
- Dip cups or cupcake liners
- Dip liquids
- Protective gloves
- Hand rest
- Clear dip powder
- Nail brush
- Activator
- Masking tape
- Marble design plate
- 3 stamper tools
- White polish
- Silver polish
- Navy polish
- Lint roller
- Skin protectors
- Sticky base
- Smudge-free top coat
- Fast-dry top coat
- Isopropyl alcohol
- Paper towels
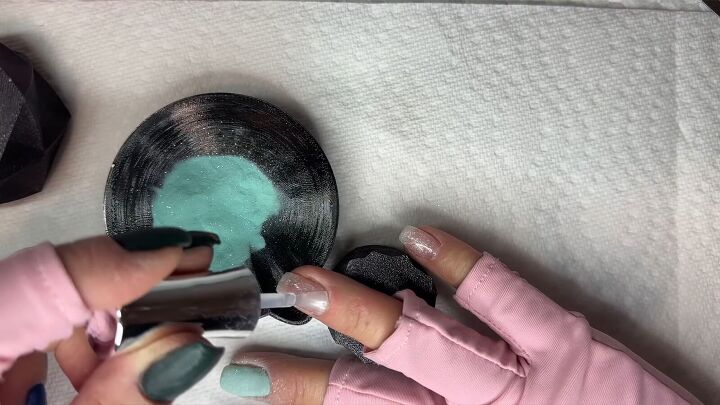
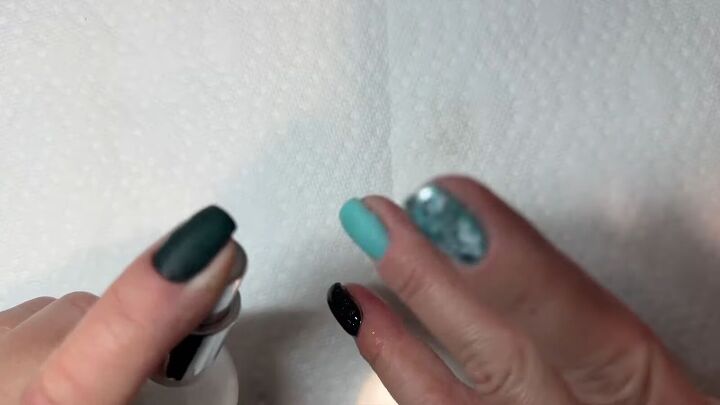
1. Paint, pour teal and touch up on your ring and middle fingernails
Paint a layer of dip liquid on your middle fingernail. Pour your teal dip powder over the nail. Repeat for your ring fingernail.
With shimmer powders, I actually prefer dipping than pouring. Touch up any holes by applying a bit more of the dip liquid to the spot and press the nail into the dip powder dish.
Then use a cuticle stick to clean out the powder from your cuticles.
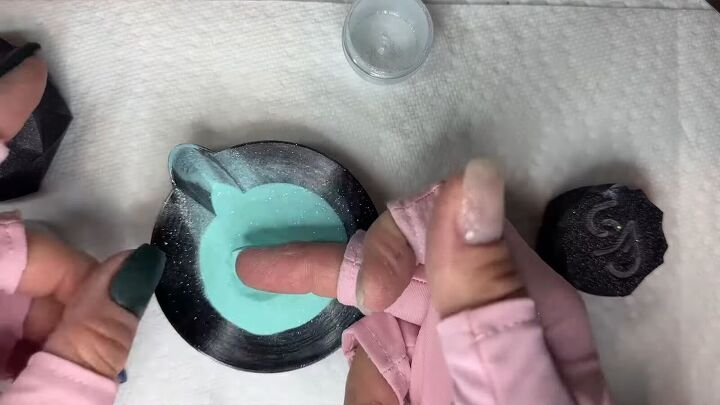
2. Apply dip liquid and clear dip powder
Apply dip liquid to those nails, one at a time, followed by clear dip powder. Use a nail brush to remove any excess powder from the nails.
3. Apply activator
Once fully dry, go over both of the teal nails with activator.
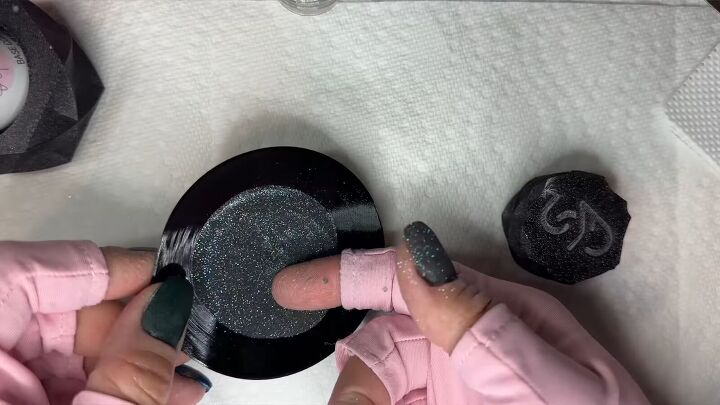
4. Dip your thumb, index and pinky fingernails in black chrome
Apply dip liquid to your thumb nail and dip into a black, chrome shimmer dip powder.
Repeat for your index and pinky nails.
Apply more liquid and powder as needed to fill in any sparse areas.
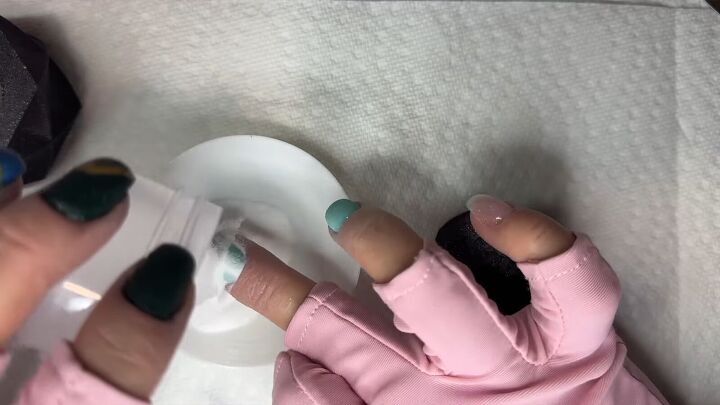
5. Press down the glitter
Put masking tape on your index finger on the opposite hand and press the glitters down gently.
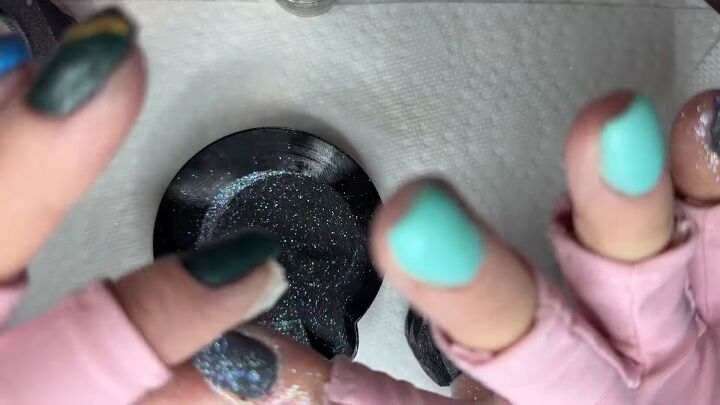
6. Apply clear dip powder to the black nails
For each of the black nails, paint a layer of dip liquid, then pour clear dip powder.
Do this one nail at a time.
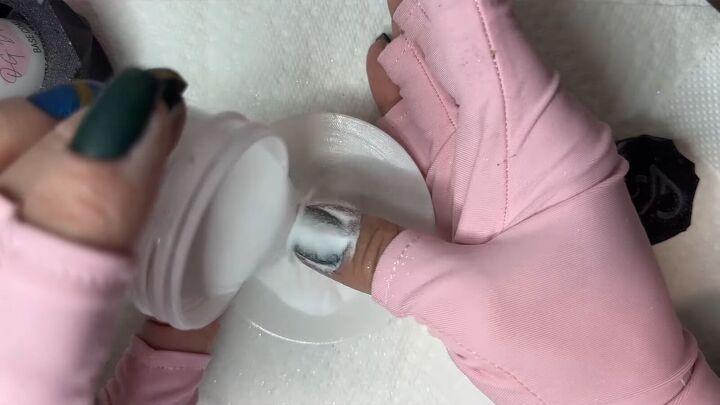
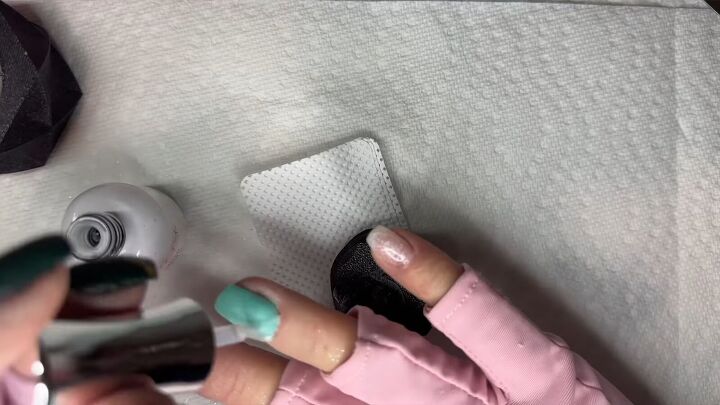
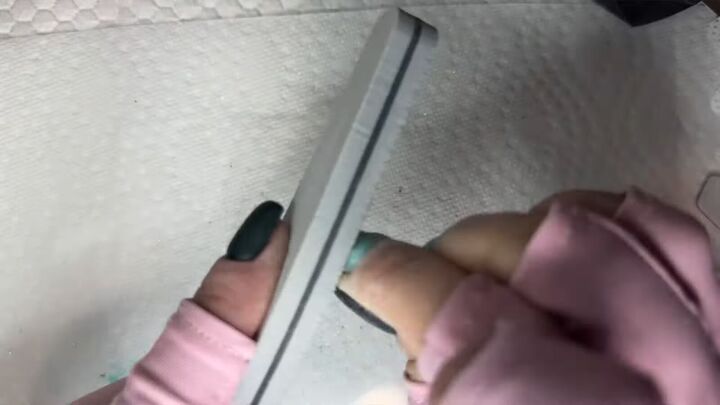
7. Activate, let harden and buff
Apply activator to those black nails.
Once they have hardened, you can buff and file the nails. Clean off the nails.
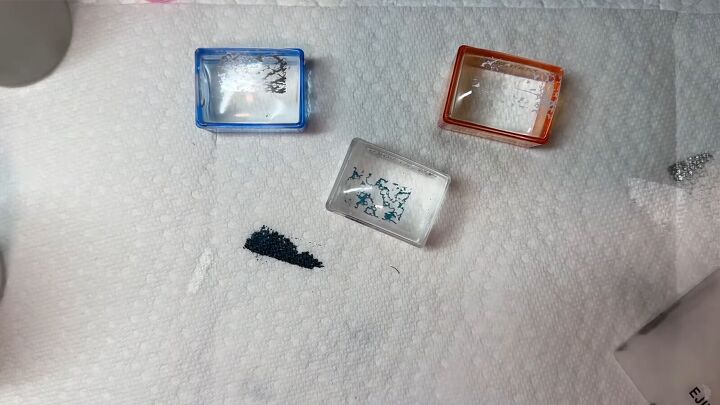
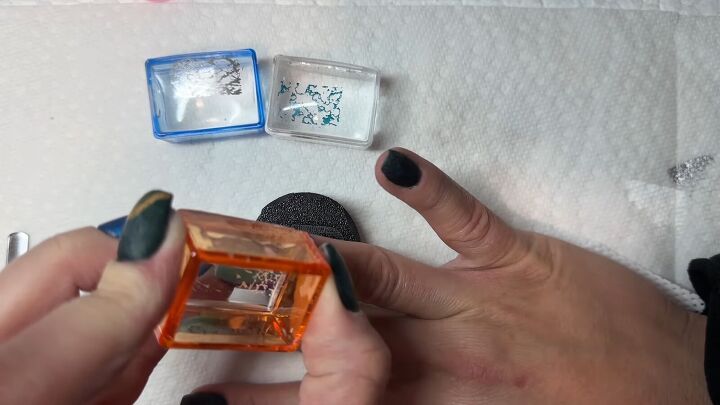
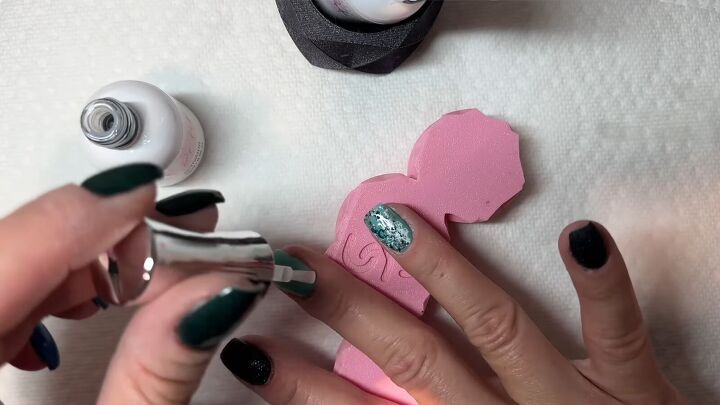
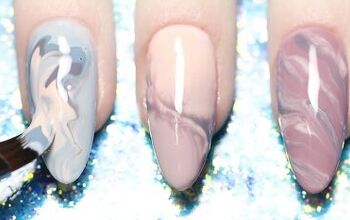
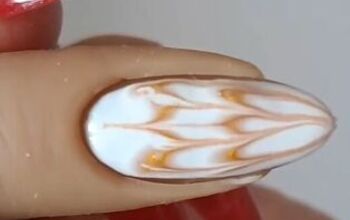
8. Pick up marble patterns with stamper tools
Apply white polish to a marble design plate.
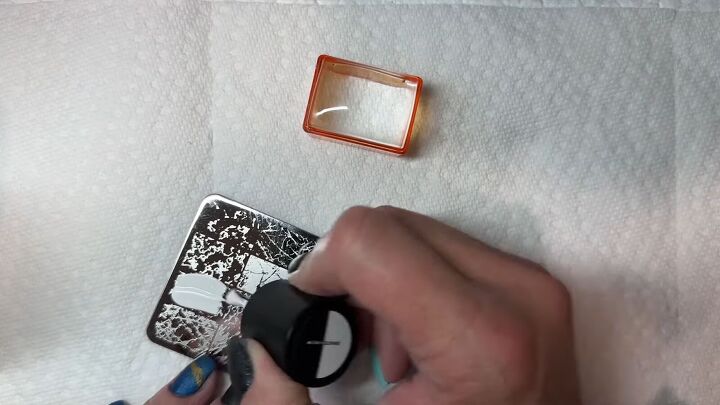
Smooth it out with the card.
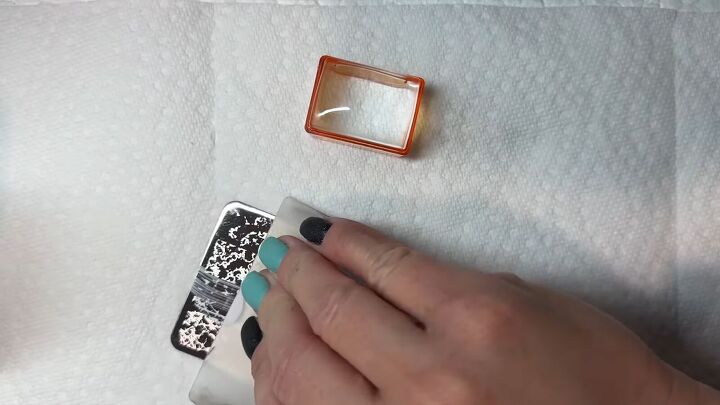
Grab a stamper and pick up the pattern. Repeat on another stamper with a silver polish.
Use a lint roller to remove any unwanted parts on the stamper, particularly around the sides.

Paint navy on the marble plate, smooth it and pick it up on a 3rd stamper. Let the stampers dry.
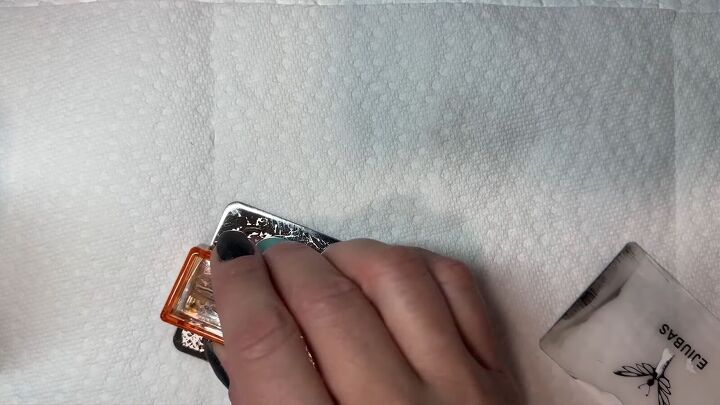
9. Apply sticky base and stamp
Apply skin protectors around one nail, followed by a layer of sticky base. Be sure to cap the edge.
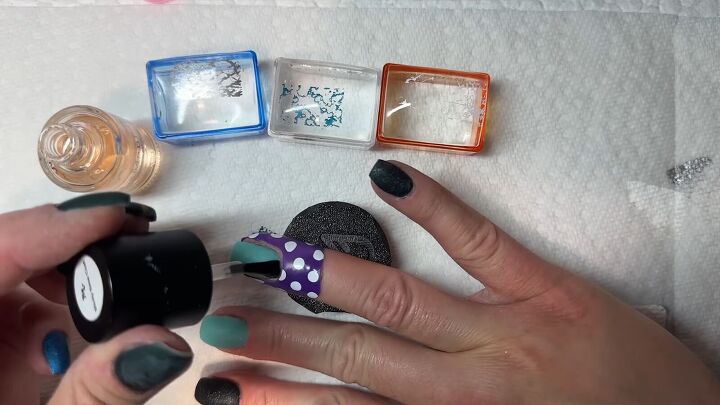
Make sure it’s tacky–not wet or dry. Apply the white stamp 1st, then layer on the navy and finally silver.
Remove the nail protector and let it dry.
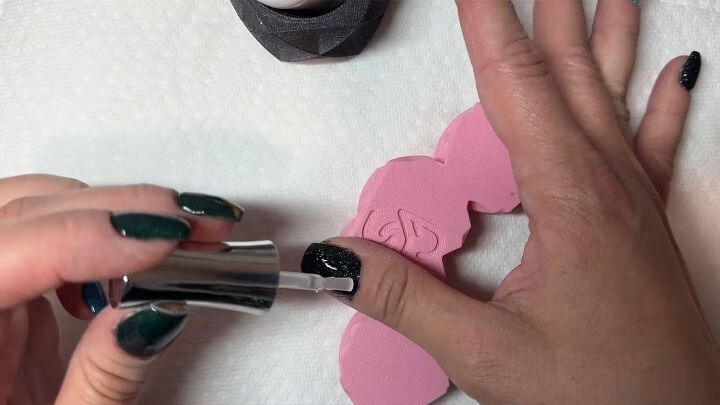
10. Apply top coats to the marble nail
Paint a smudge-free top coat over the marble nail. Let that dry for a few minutes.
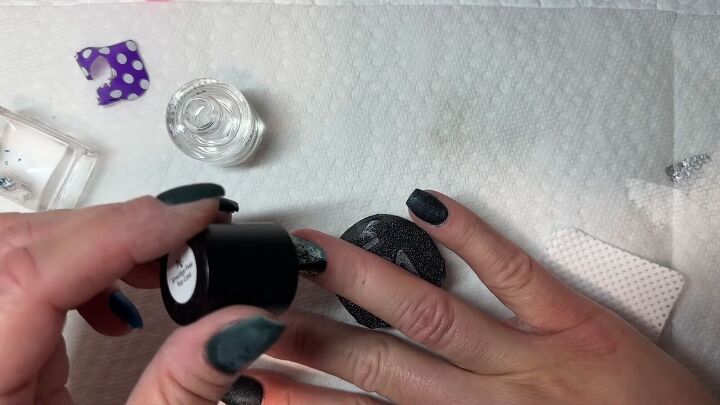
Spray your nails with isopropyl alcohol and wipe with a paper towel. Then apply a fast-dry topcoat.
Don’t forget to cap the edges.
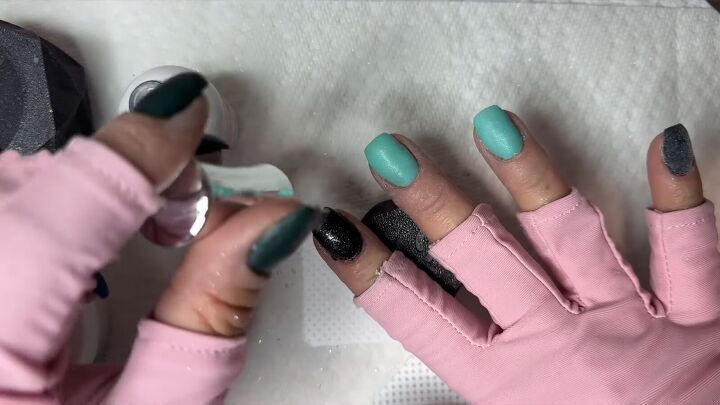
11. Apply activator and top coats to black and teal nails
Apply activator to each of the dipped nails, making sure to “fake” this over the marble nail so that you don’t mess up the timing.
Apply 2 layers per nail.
Once you get to the pinky nail, count to 10 and then move on to your first layer of top coat in 2-3 quick strokes.
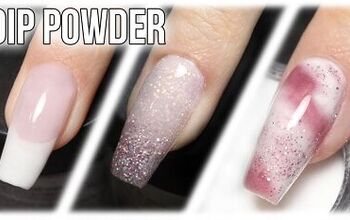
Here are the final results of these blue and black marble nails:
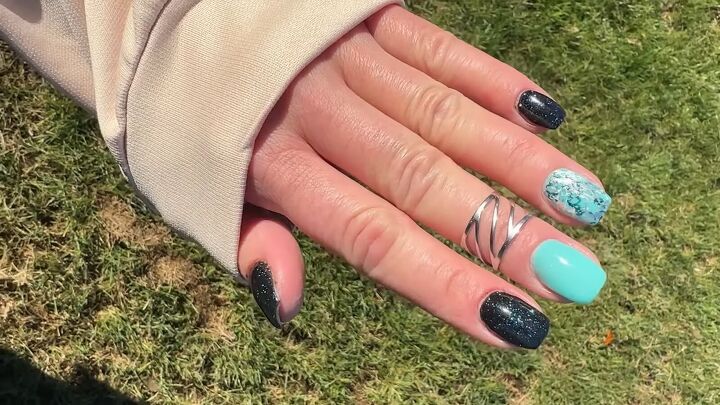
Blue marble nails
If this tutorial got you excited about stamping and you’re ready to learn more, be sure to check out my quick and easy nail stamping tutorial.
Leave a comment to let me know what you think of these nails.
The author may collect a small share of sales from the links on this page.


Comments
Join the conversation