How to Do a Perfect Bump Ponytail Hairstyle Step-by-Step

Many people have been asking me repeatedly how to do a beautiful bump ponytail hairstyle. I decided to dedicate a full ponytail bump tutorial for all those who want to achieve the same look but aren’t sure how to make a ponytail with a bump.
Let’s get straight into this tutorial so I can show you how I do it, both with and without a hair clip.
Tools and materials:
- Brush
- Hair elastic
- Clip
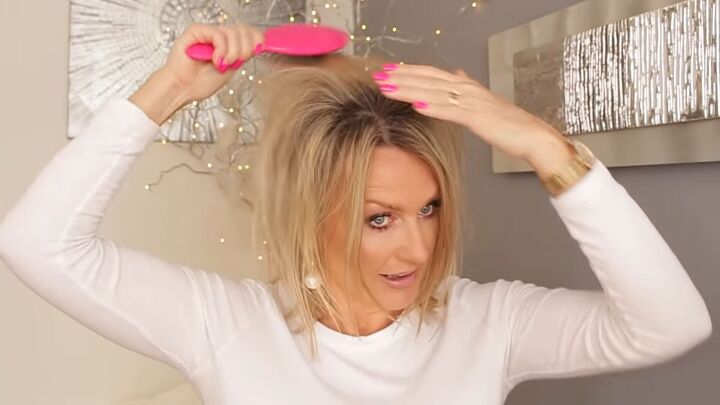
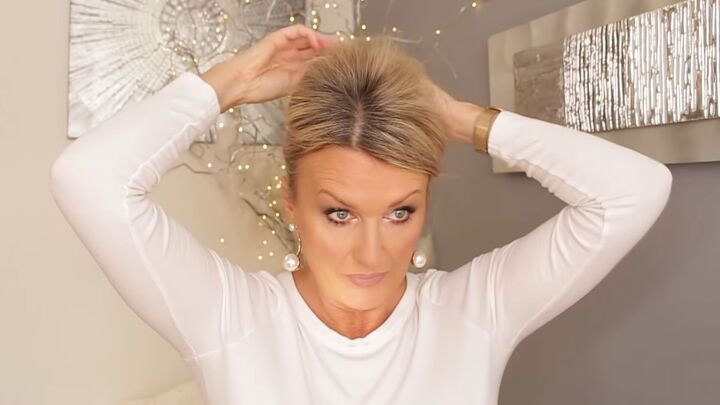
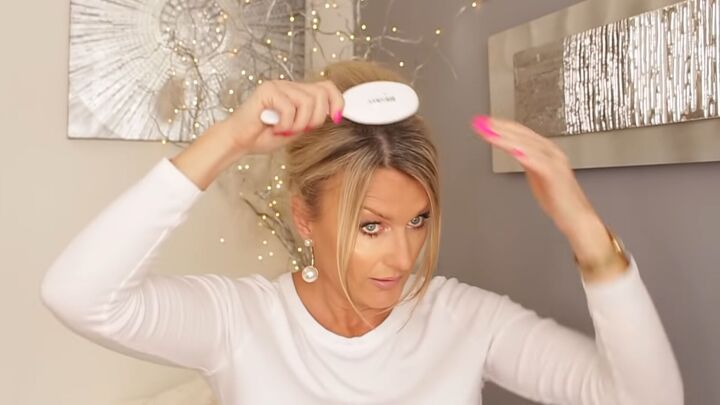
1. Brush your hair
Gently brush your hair to the back and be sure not to brush it through to the root, as the trick here is to keep the volume at the top of your head.
Tip: To get that desired hold, it’s best to do this bump ponytail hairstyle with hair that hasn’t been washed for two days.
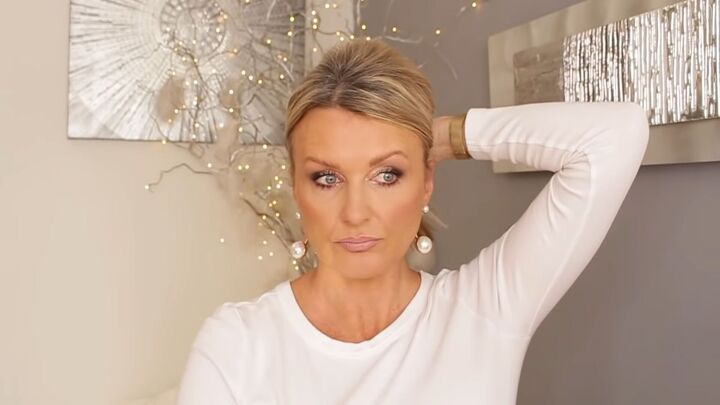
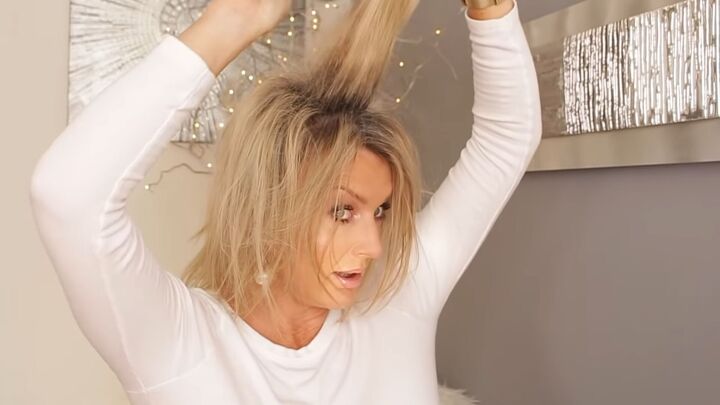
2. Gather and tie your hair
Next, brush your hair down so that you can gather it nicely. Don’t brush it up; otherwise it will not look natural.
Then, bring your ponytail a bit higher and tie your hair accordingly.

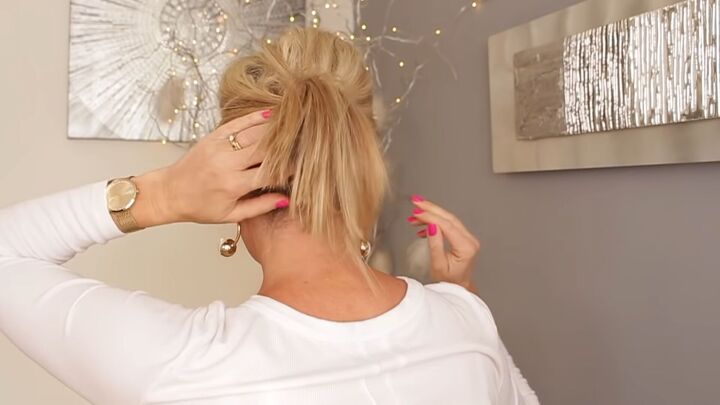
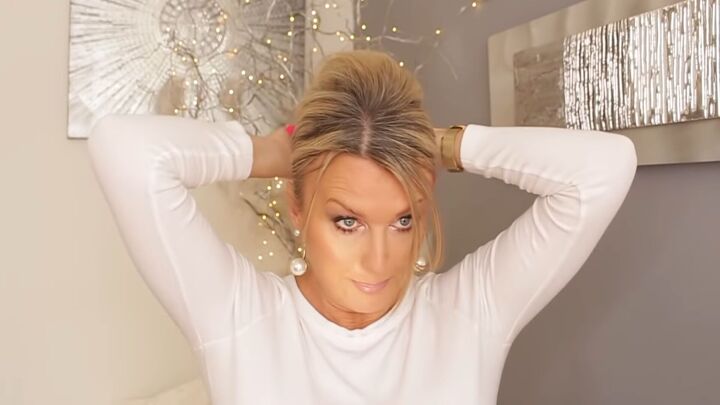
3. Tighten the ponytail
As you’re tightening the ponytail, bring it up.

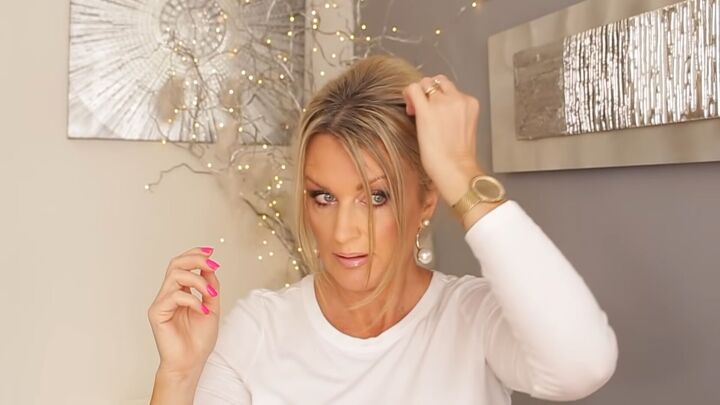
4. Pull your top hair
Now, once your ponytail is in place and secure, pull your hair at the top. Note that when you pull your hair, be sure to hold the ponytail in place, so you don’t pull too much.
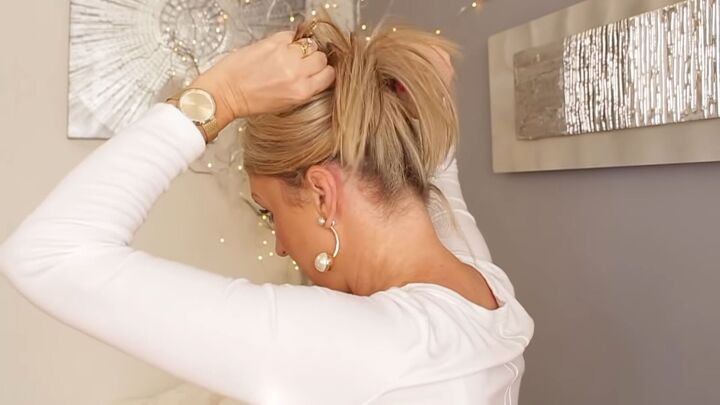
Next, tighten and pull your ponytail just as you did in step 3.
Now, repeat the process; pull the hair on top of your head, then revert to tightening and pulling your ponytail upward.
Tip: Sometimes, you may need to redo the whole tutorial as some sections of hair don’t hold so well. Don’t be discouraged. Keep on trying until you get it right.
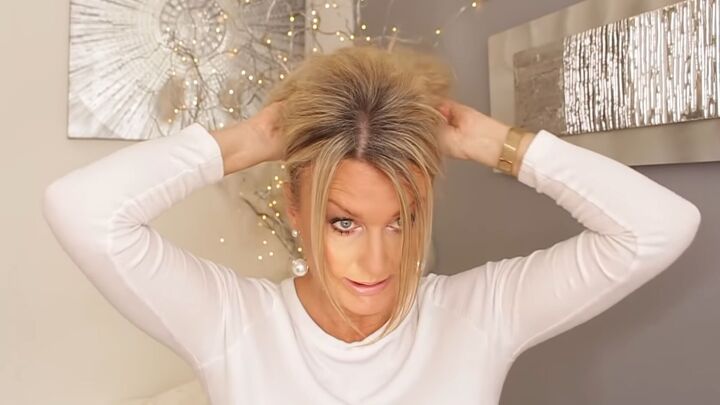
5. Tease your hair (optional)
If you need extra volume and hold, try teasing your hair at the top. And yes, if you have a look at my video on this ponytail bump tutorial, you’ll see that I had to redo this process all over again - it happens to the best of us.
As you can see, my bump is raised and looks better than on the first try. The aim is to have a perfect ponytail bump!
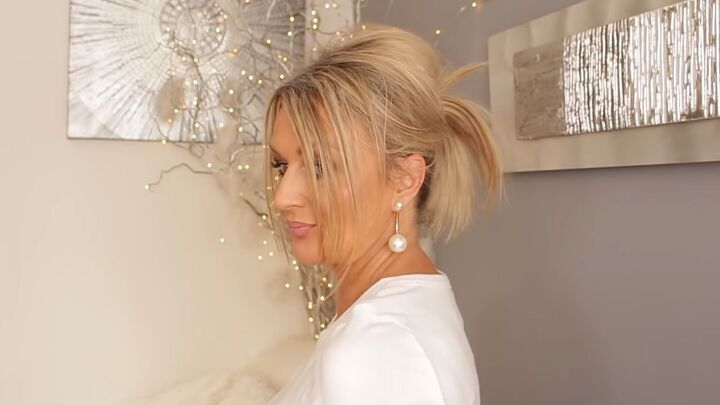
6. Loosen the front strands
Take out some of your front hair strands, so it falls onto your face- this creates the perfect frame, especially if you want a bump ponytail with bangs.
7. Smoothen the bump
With your brush, go over the bump very gently to smoothen it out.
You can also pull some front strands from the side of your head so that it looks messy and fun.
Talk about the perfect ponytail bump, huh? I love this hairstyle, it’s not sleek, but it’s still chic! What do you think of this look?
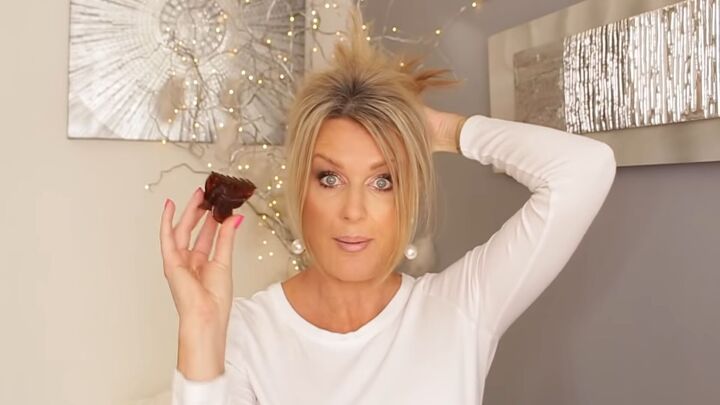
Use a clip
Here’s a little bonus and a fun twist to the classic bump ponytail hairstyle; if you want the ends of your ponytail to stand up, simply clip your ponytail up with a hair clip.

For a quick but effective tip on getting the perfect hair clip for your hair, be sure to buy one with a gap that coincides with how much hair you actually have.
I, for example, have fine hair, so it would make sense to buy a hair clip with a smaller gap in the middle, as shown. If your hair is thicker, then a bigger gap would suffice.
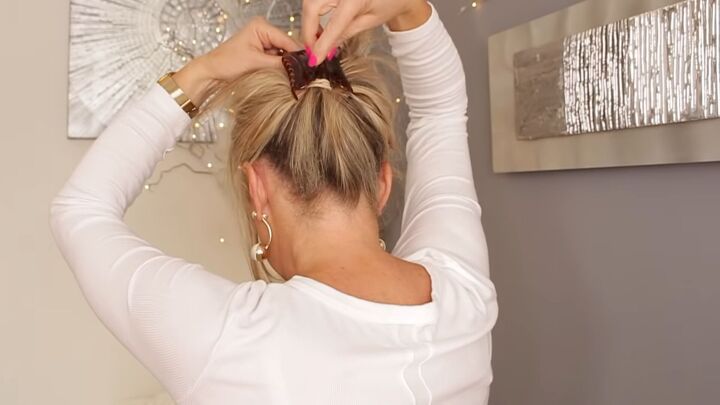
So now, simply put your ponytail, and clip to secure.
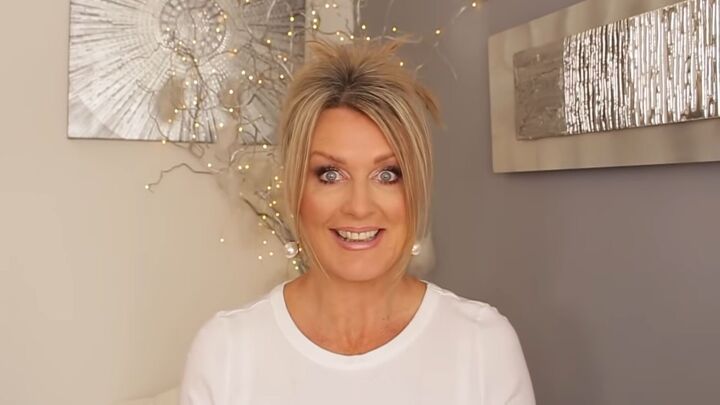
Bump ponytail hairstyle
As you can see, I have a cute pineapple effect going on. So that’s it, that’s how I do my hair! Now you know how to do a ponytail with a bump, the easy way! Simply follow this ponytail bump tutorial and all my brilliant tips to achieve this stunning bump ponytail hairstyle.
The author may collect a small share of sales from the links on this page.


Comments
Join the conversation