Step-by-Step Heatless Curls Tutorial: How to Do Perfect Robe Curls

In this step-by-step heatless curls tutorial, I am going to be trying robe curls. Robe curls are a trend that I’ve seen a lot of Youtubers doing recently, so I thought that I’d give it a go myself.
The great thing about this method is that it is heatless, so there will be no damage to your hair. I'm going to be following Shonagh Scott's heatless robe curls method for reference.
Obviously, you can try this DIY with whatever length hair you have, but I personally think that it works best with medium to long hair.
Tools and materials:
- Robe tie
- Hair tie
- Comb
- Hair clip
- Serum
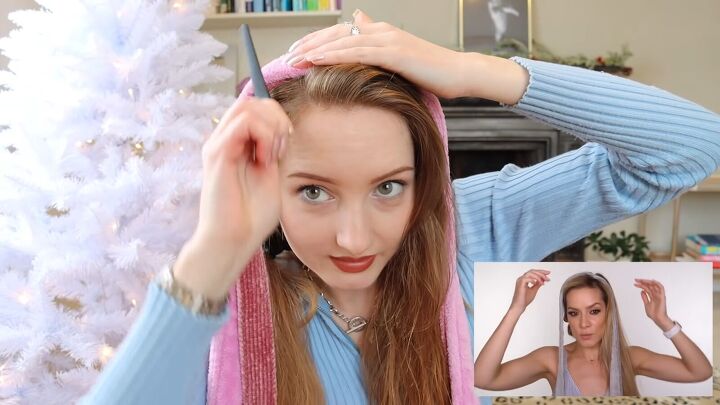
1. Arrange the robe on your head
Before we start, I should say that it is best to do this hair DIY on freshly washed and dried hair. Start by putting your hair into a side parting and then tie one side of your hair out of the way.
Then, take the middle of the robe and place it in the center of your head. Proceed to clip it at the side.
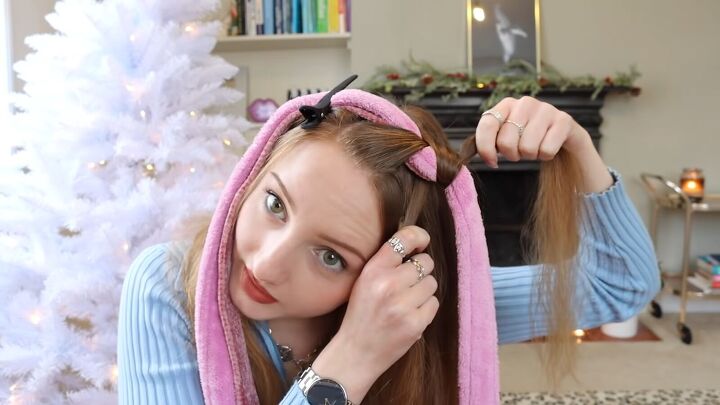
2. Wrap your hair
Next, start wrapping your hair around the robe. Take two strands of hair and wrap them around the robe in opposite directions, almost as if you are braiding your hair around the robe.
Continue all the way down your hair, and then secure your hair with a hairband when you reach the ends.
You want to try to do this as neat as you possibly can so that you get the best results possible. Once done, repeat the process on the other side.
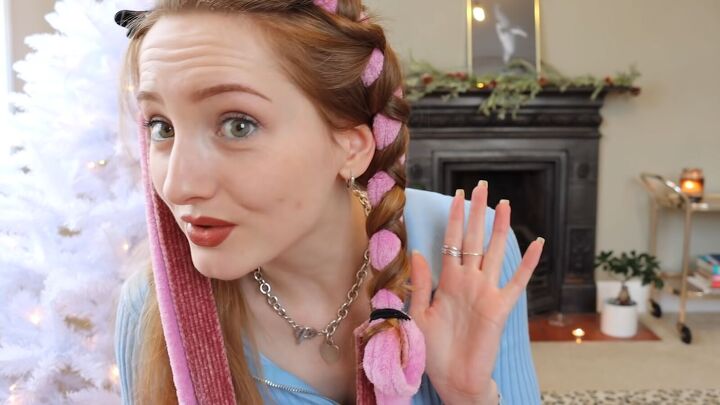
3. Cross over the wraps
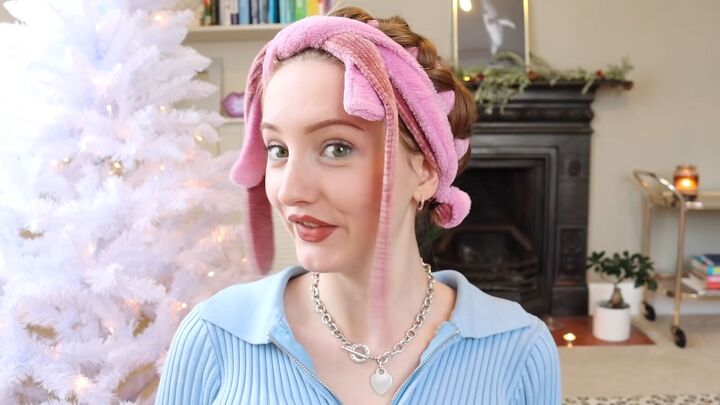
Then, cross the two wrapped sections over at the back, bring up the ties to the top of your head and tie it just to keep it out the way.
I’m going to wear it like this for the rest of the day and then I’m doing to sleep in it.
I also took an extra precaution and wrapped my hair in a silk headscarf to sleep in to protect it as much as possible.
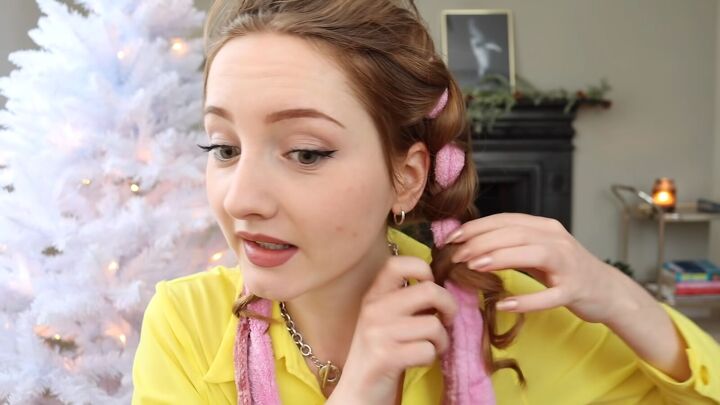
4. Unbraid your hair
Take the wrap out super gently, then shake your hair and zhuzh it up.
You may find that your hair is a little bit flat at the top because obviously, the band was laying flat against the top of your head.
I would advise parting your hair on the opposite side to where you made the parting for the wrap so that you get a little bit of volume.
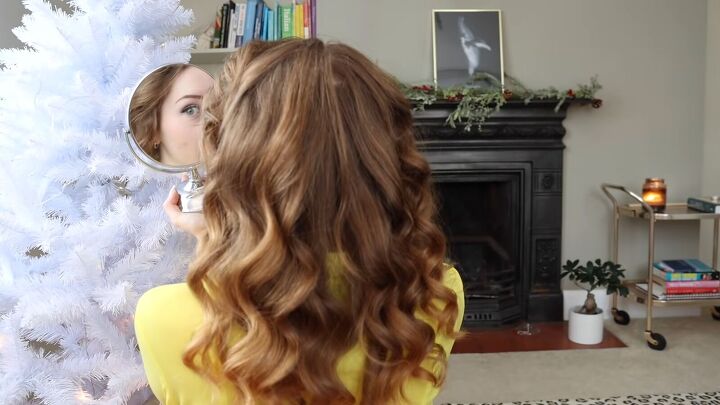
Here we have the finished look. The curls are nicely defined and a bit windswept looking, and I’m really happy with how this turned out.
If the curls start to come out a bit the next day, you can apply some serum to help give them some more definition.
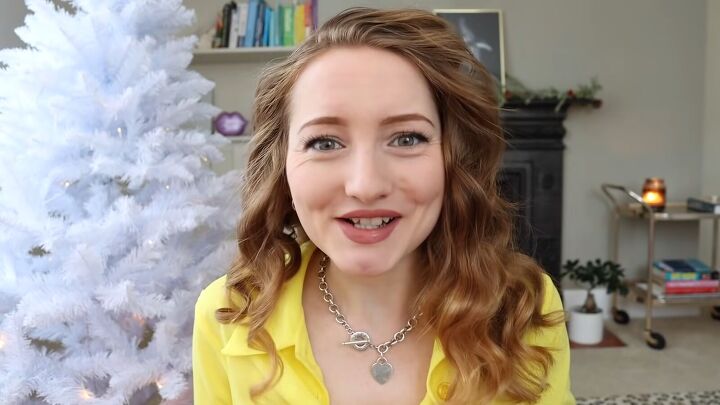
Step-by-step heatless curls tutorial
I really enjoyed this robe curls DIY, I love the results, and I hope that you’ll give it a go!
The author may collect a small share of sales from the links on this page.


Comments
Join the conversation
I will try this, thank you.
When I was little my mother use to do something similar to my hair using old nylon stockings.......we called it "banana curls".....they were easy to sleep in and came out looking like SHIRLEY TEMPLE....It did the job without buying curlers......Those were the days when you had to "MACGYVER" the work.......Maybe you could try it and look great with very little effort.