Glam Cat Eye Gel Nails Tutorial

Today, I’m doing some experimenting with 9D cat eye gel nails.
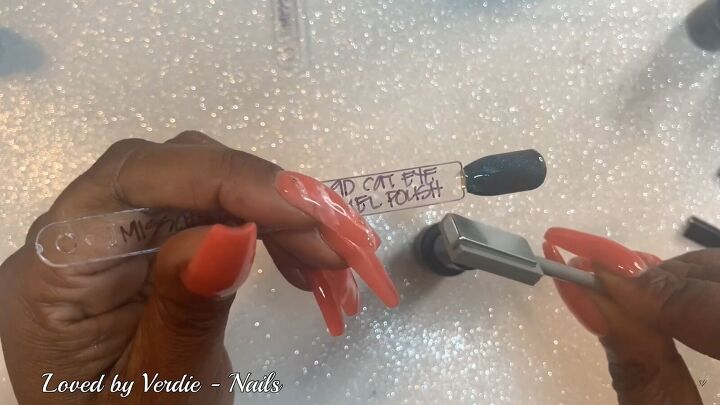
I got a set from Misscheering. It comes with six bottles and a magnet. It's great, but you can also use any similar set to achieve the same results.
Tools and materials:
- 9D cat eye gel polish set or glittery polish
- Chunky glitter
- Base coat
- Top coat
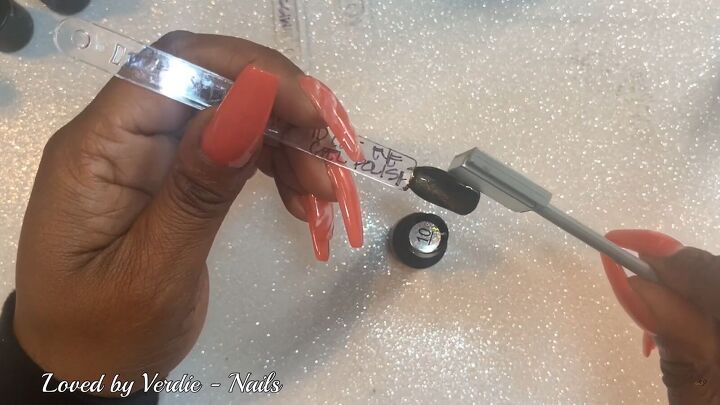
The 9D cat eye gel polish effect is pretty cool. You use the magnet and hold it over the polished nail and you can see how the magnet moves the tiny magnetic glitter particles inside the gel.
If you want to make a line going across the nail so it looks kind of like a cat eye, you start by holding the magnet close to one side of the nail and then go to the other side and hold it near that side.
That’ll push the particles to the middle making a sparkly line.
I would say a set like this could be convenient if you’re interested in experimenting with 9D cat eye nails but you don’t want to invest too much money in it.
This pack came with very small bottles so it’s nice and affordable. I decided to just play around with it on my swatches.
I found it took a little bit of getting used to figuring out how to work with it and control the sparkles so I just played with it on the swatches.
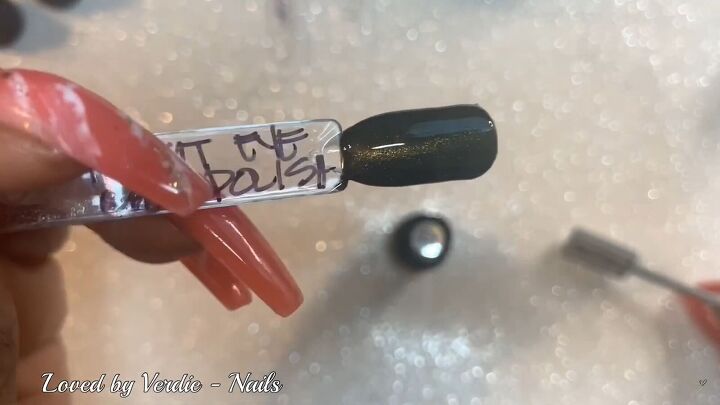
Then it was time to move off the swatches and onto the actual nails. I decided not to use the magnets in the end.
I just used the nail polish like regular glitter gel and added some additional glitter so this should be easy for you guys to follow along.
1. Base coat and cure
Start with a base coat and cure for 60 seconds. Put on a layer of black gel polish and cure that for 60 seconds as well.
Then put on a layer of the 9D cat eye gel polish without using the magnets or just use a regular, glitter gel of your choosing.
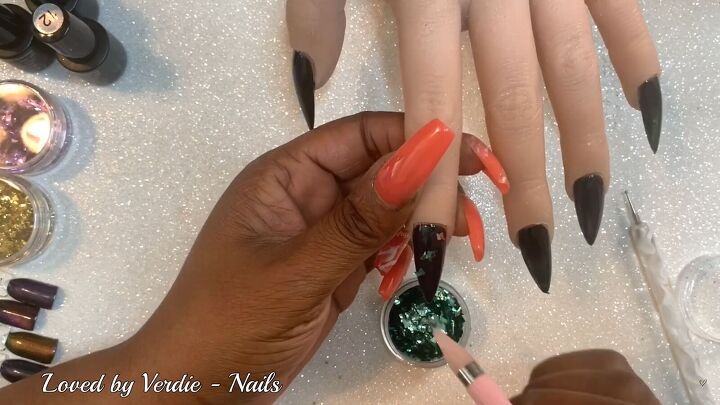
2. Add the glitters and design
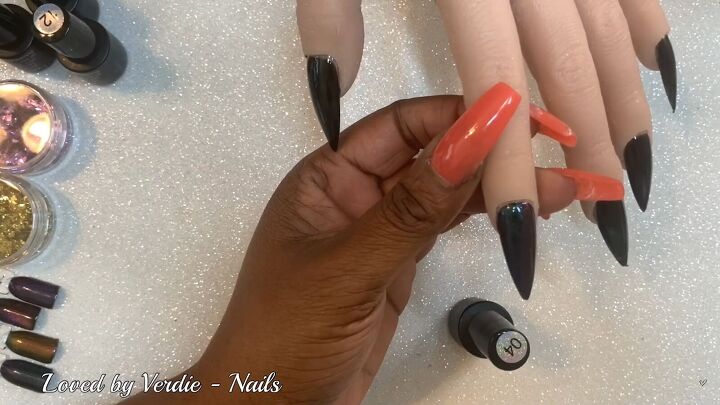
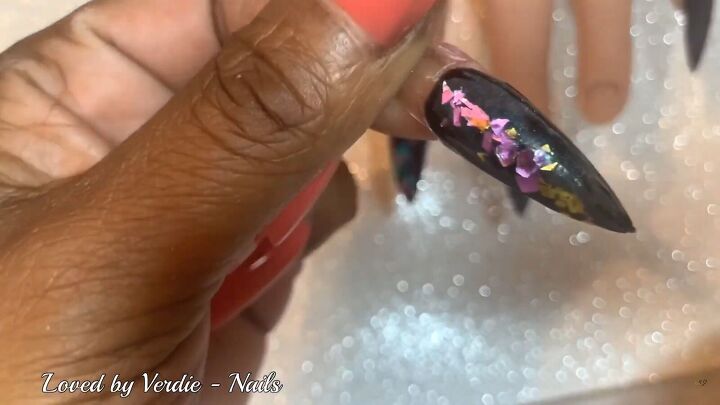
Leave that layer of gel wet to add your chunky glitters. I used 4 different colors.
I put a row of the green on the pointer finger, and then I added a row of blue and pink in between them.
Then I added a row of gold in between the pink and green pieces.
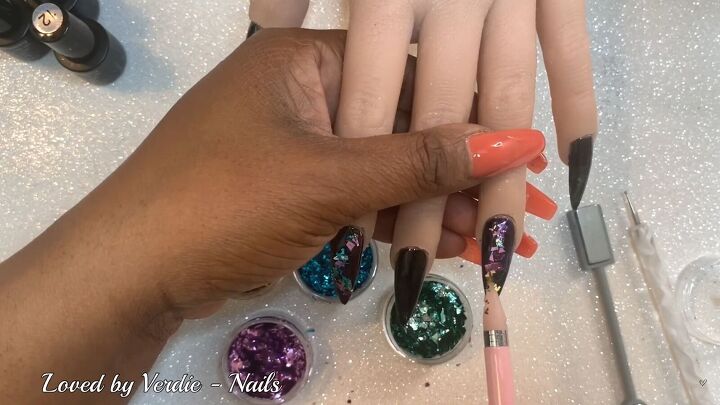
I moved on to the ring finger and started a thick line of pink glitter and then blended gold glitter in to finish the line.
I decided to paint a little swirly design on the middle finger with some of the other colors of gel polish.
I just made these little swipes of different colors and swirled them together. It created a cool retro 80s-style look.
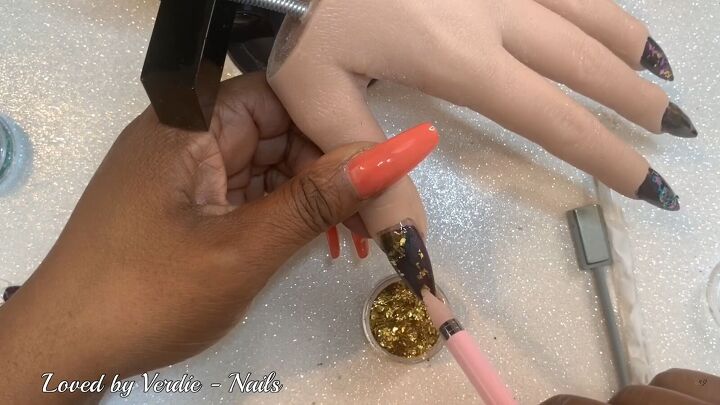
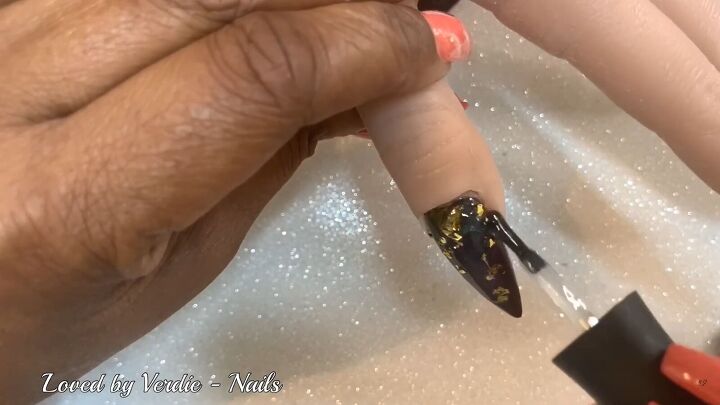
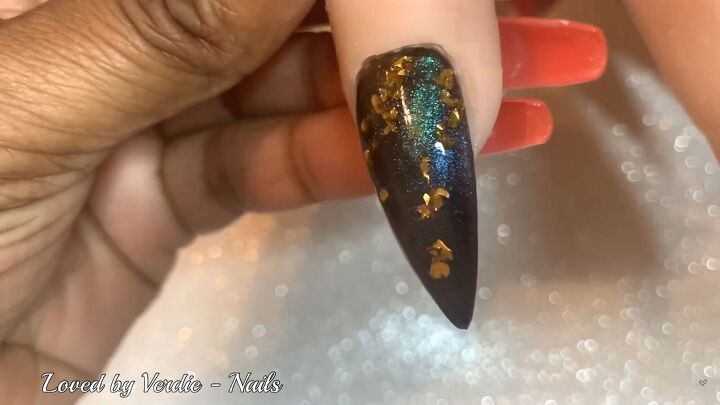
I created a similar effect on the thumb using the different 9D cat eye colors to make a wavy blend of colors.
Then I added some diagonal swipes of gold glitter.
On the pinky, I just put some of the purple 9D cat eye polish.
3. Top coat
The glitter is not going to lay flush against the nail because it’s a bit chunky but you can smooth it out. You could either encapsulate it with a poly gel or acrylic.
Those would give you a smooth layer over the glitter. I decided to use a third option which was to lay on a thick layer of topcoat and buff it down at the end.
If you’re going to do a thick layer of topcoat, make sure to cure it for 2 minutes.
4. Finish filing and buffing
Once you’re done, finish filing around the sides of the nails.
After that, you can buff the surface of the nail to get it nice and smooth. Wipe off all the dust and lay on another topcoat. Cure for 1-2 minutes.
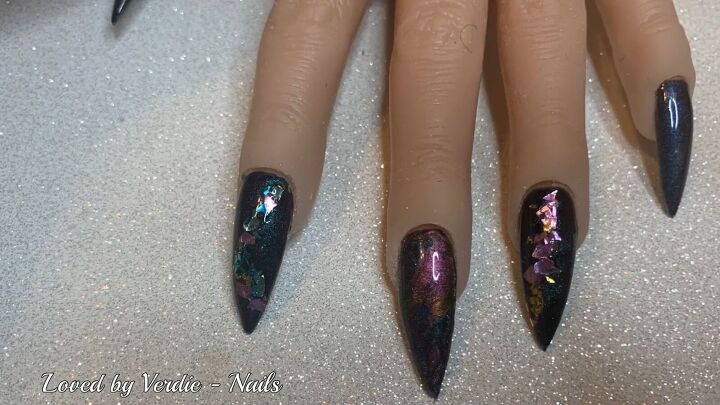
Cat eye gel nails
That’s all there is to it! I love the way it came out. Even without using the magnet effect, I think it looks really cool.
The glitter looks great and I just love the overall look. Leave me a comment and let me know what you think.
Then, go ahead and check out my post on How to DIY Gorgeous Neon Abstract Nails.
The author may collect a small share of sales from the links on this page.


Comments
Join the conversation