3 Easy DIY Holiday Gifts: Christmas Things to Stitch, Sew & Make

If you’re stuck on what to give on the holidays and are looking to give unique handmade crafted items, this tutorial is for you! Here are a few Christmas things to stitch and sew, and one easy candle gift!
If you want to give embroidered Christmas gifts, the time to start is now because embroidery takes a bit of time. Here are three great DIY Christmas gifts you can start making today!
Tools and materials:
Personalized top
- Sweatshirt
- Fabric
- Sewing machine
- Thread
- Paper
- Printer
- Glass of water
Embroidery
- Embroidery hoop
- Needle and threads
- Artwork
- Pencil/pen
- Scissors
Funky candles
- Tapers or long candles
- 2 baking pans: 1 with hot water, 1 with cold water
Personalized top

1. Choose the top
In this tutorial, I’m showing you how to do it on a sweatshirt but you could do this on a tank top, t-shirt, or regular shirt.
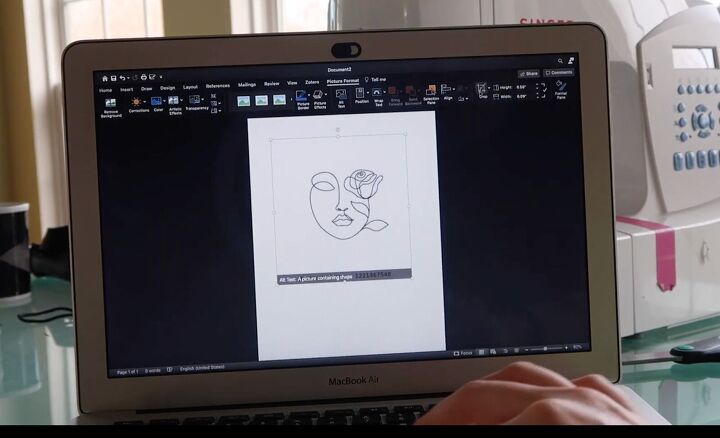
2. Choose the artwork
The key to this customized and totally personalized top is the type of line drawing you choose. It’s best to choose a simple line art drawing and not something too complex. Pinterest is a good site for inspiration. Or you could even use someone’s name and draw it!
Note: be sure the artwork you're choosing is free to replicate.
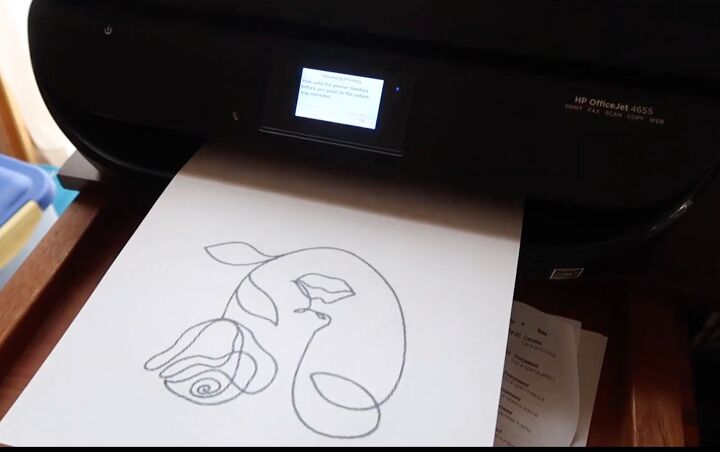
3. Print the artwork
After you’ve chosen the drawing, print it so it’s about half the size of a regular sheet of paper - so about 4 or so inches.
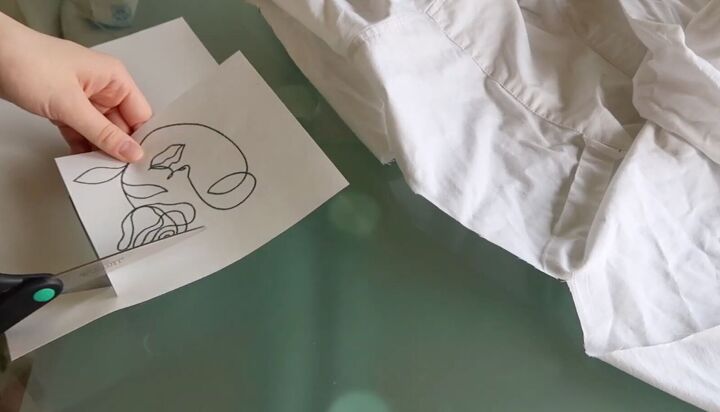
4. Prepare the drawing
Roughly cut out the artwork and lay it on top of a piece of fabric.
Roughly cut the piece of fabric to match the size of the paper. You’ll clean the edges later.
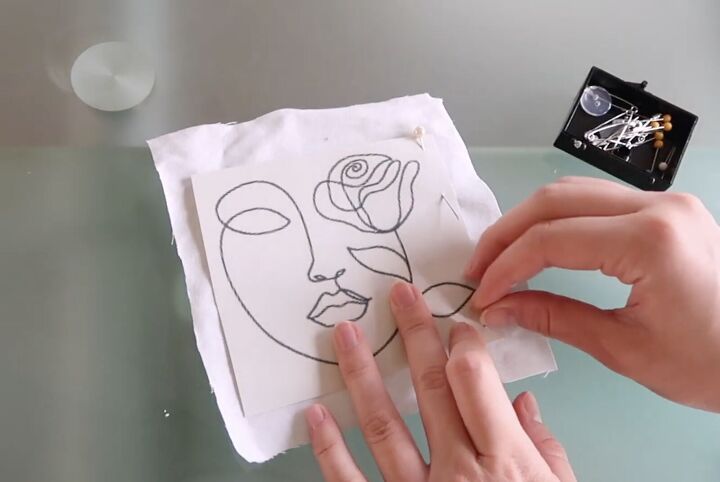
Pin the 4 corners of the paper to the fabric.
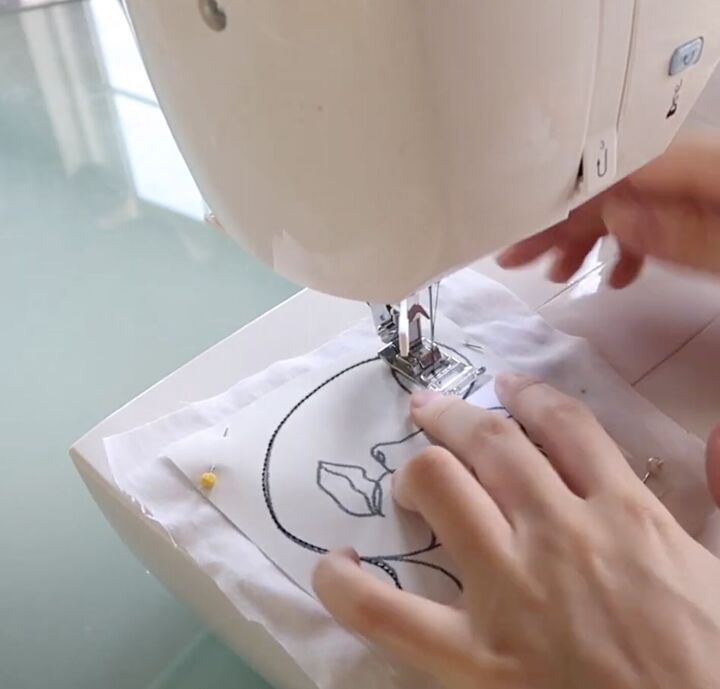
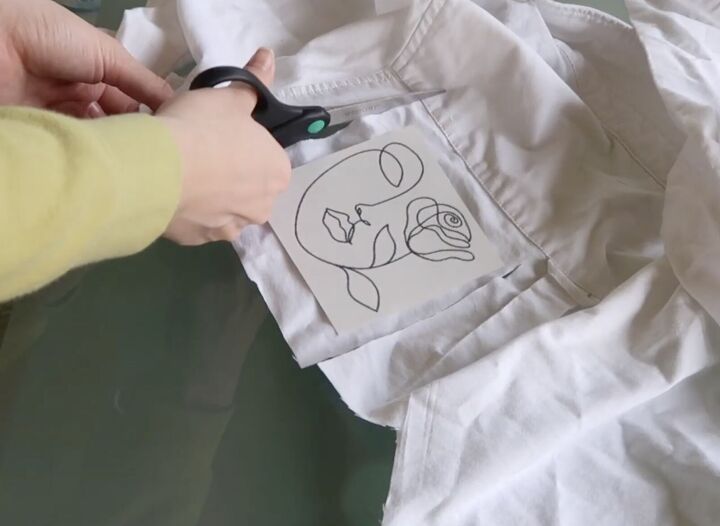
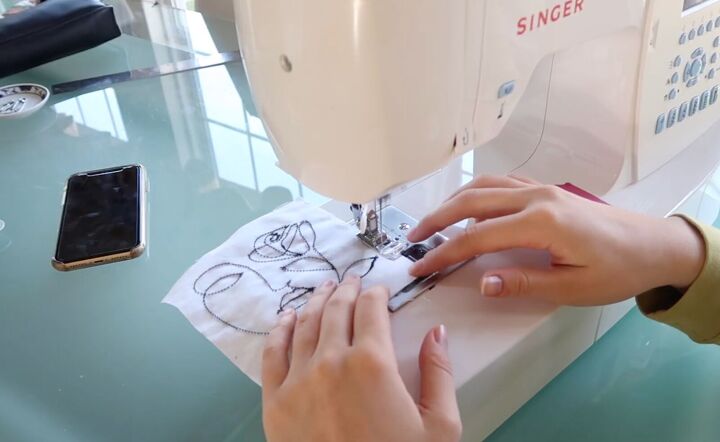
5. Sew the drawing
Begin sewing on top of the lines of the drawing. Use a contrasting thread to really highlight the colors and make it stand out. Go slowly, especially if there are lots of curves and edges.
Continue sewing until you’ve covered all the lines with the thread.
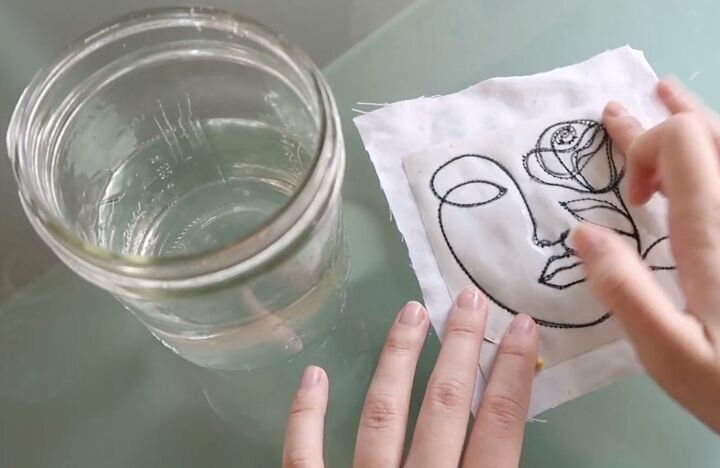
6. Get rid of the paper
Grab a glass of water and gently apply the water to the paper. This makes the paper wet and easy to tear away.
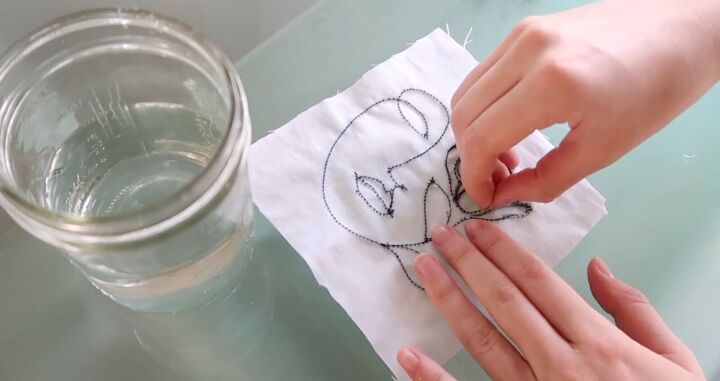
Tear the paper gently as well so you don’t pull out the thread.
7. Finish the top
Once all the paper is removed, clean up the edges of the fabric. Then zigzag stitch the 4 sides to prevent fraying.
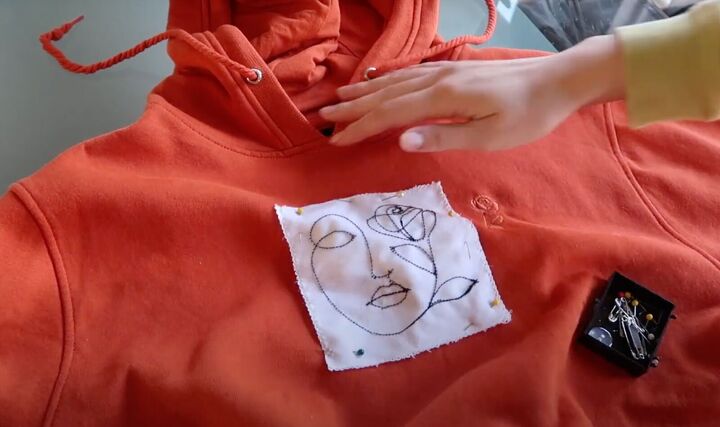
Pin the stitched fabric in place.
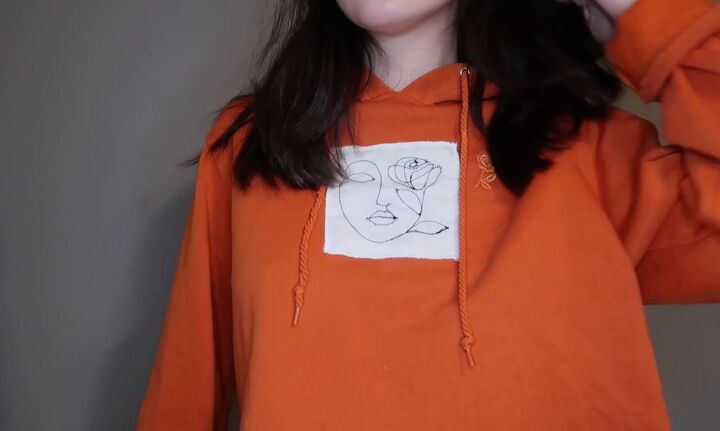
Sew the line drawing fabric to the middle of the top. This is so cute and easy to personalize!
Embroidery
Embroidery does take time and patience but the results are worth it! Here you can choose artwork that really means something to the recipient! You can choose their name, favorite colors, sayings, shapes, or even creatures.
Almost anything fabric can be embroidered: pillowcases, masks, really anything! Today, I'm adding some embroidery to a pillowcase.
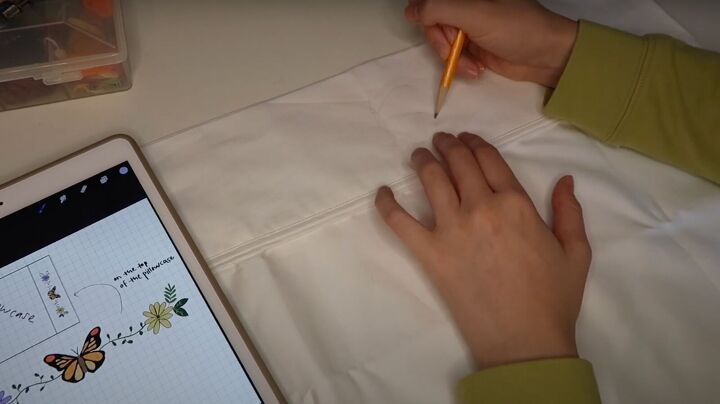
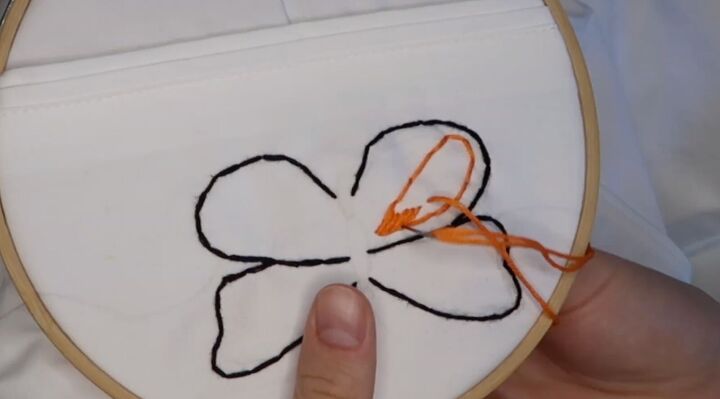
1. Get the design
You can sketch the design directly onto the fabric. If your fabric is white, you can use a pencil. With different colored fabrics, you need to use a contrasting color. You could even just embroider directly without actually sketching the design.
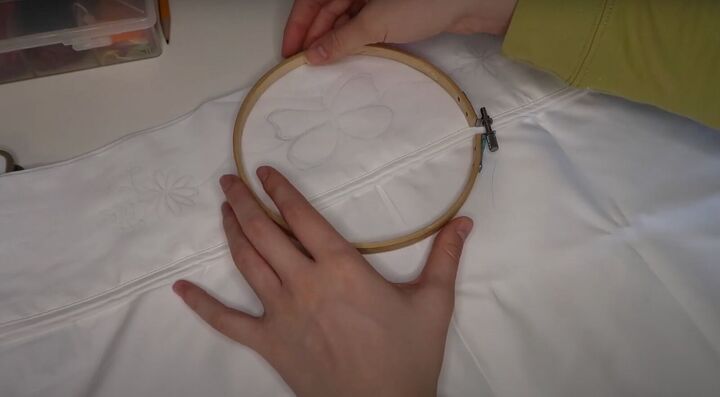
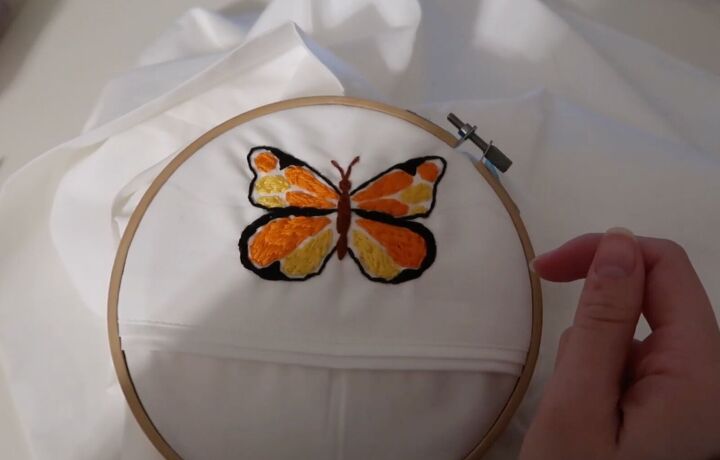
2. Get the fabric ready
Place the fabric where you’re going to embroider in the embroidery hoop. This keeps the fabric nice and taut so you can easily feed the needle and thread through.
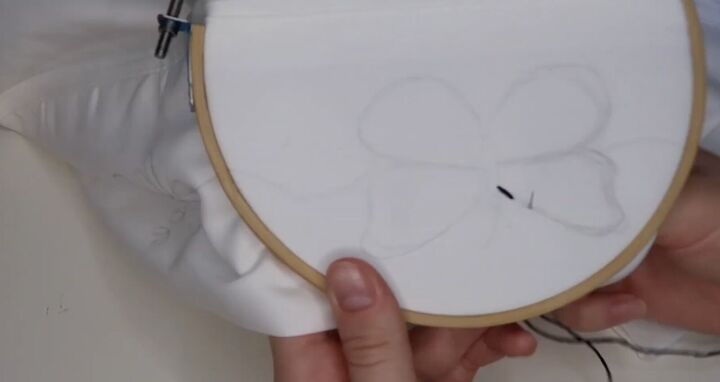
3. Start embroidering!
There are many different stitches but I like to use the backstitch. It is the absolute classic and looks and wears beautifully, even through multiple washes.
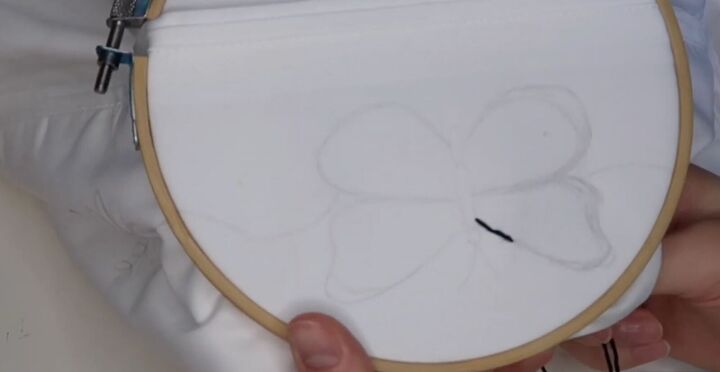
Start with the first stitch and pull the needle a bit back and send it to the edge of the first stitch - in the hole of the previous stitch. This helps create a continuous line.
You can do the backstitch to fill in any shape and color.
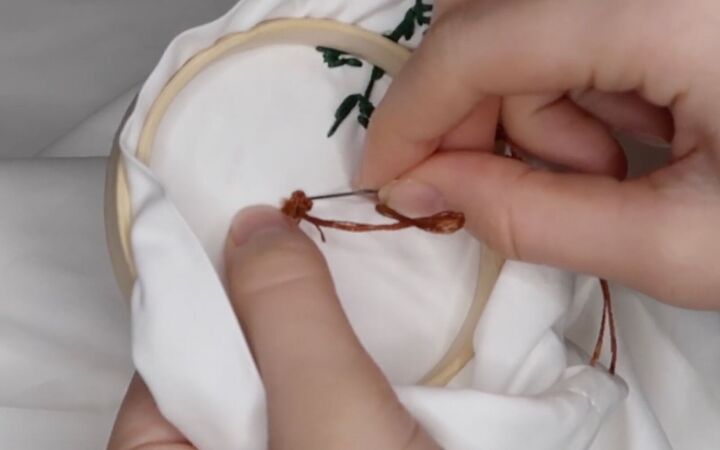
To switch colors, make a knot in the back. Pull the needle to the back of the fabric. Send the needle through a little chunk of the previous stitches.
Before pulling it all the way through, stitch the needle and thread through the little loop of leftover thread, creating a double knot. Cut off excess threads.
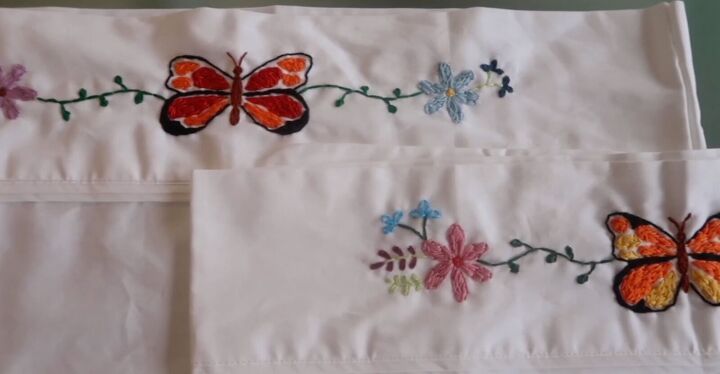
The results are really special and personalized!
Funky candles
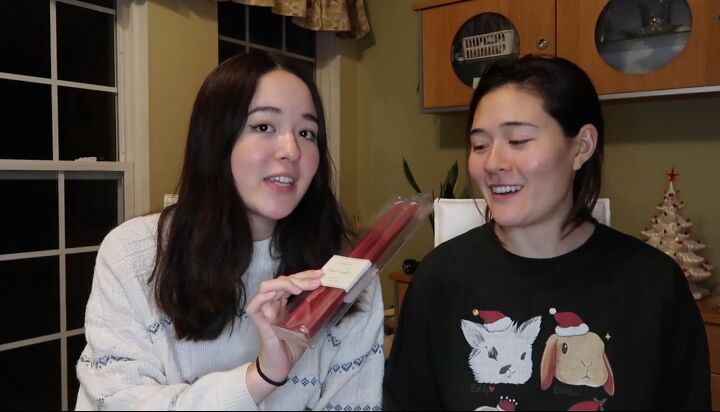
This one DIY gift idea is more for home decor. You’ll use regular tapers to make these. If your candles have a plastic cover, remove them.
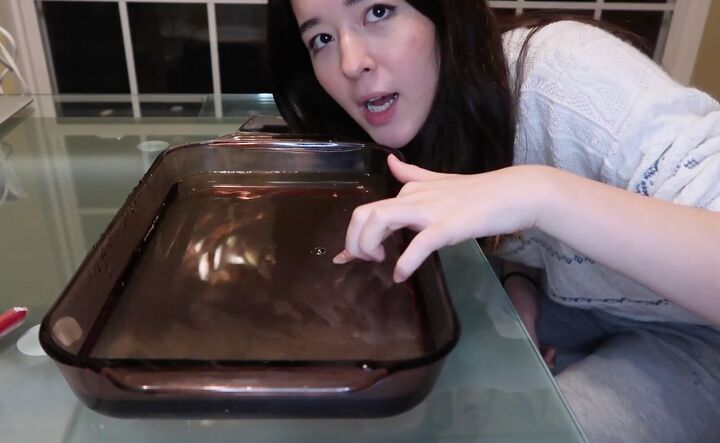
1. Hot water bath
Prepare a baking pan that is longer than the candles. Fill with hot water.
Note: the water should not be boiling hot. It should be hot enough for a bath.
Place the candles inside and let them sit for about 15 minutes to soften the wax.
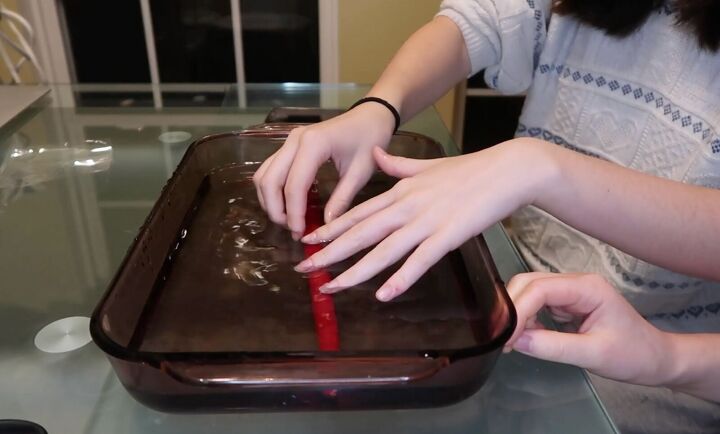
2. Mold the candles
Once the candles have softened and loosened, bend them and mold them into shapes. You can twist them to make twisted candles, or bend them.
Do the molding while they are in the water to make it easier. You may want to watch some videos on designs!

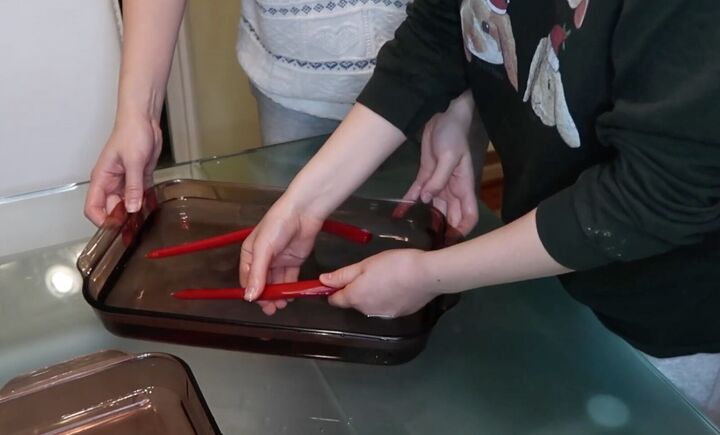
3. Set the candles
Once you’re satisfied with the molding, place them in another pan with cold water to set the design.
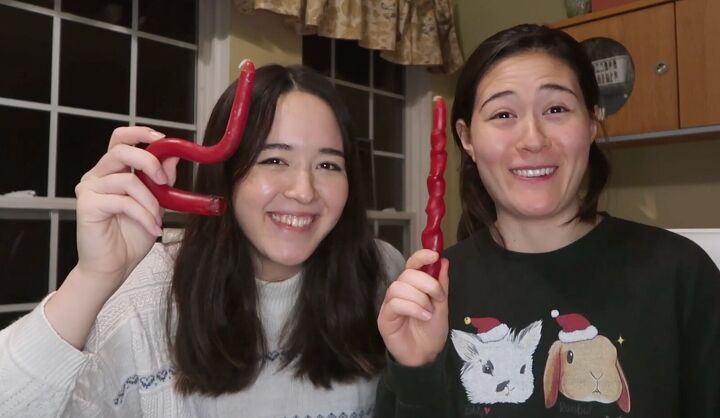
4. Gift them!
Once they’re set, which usually takes just a few minutes, take them out of the cold water and let them dry.
3 Christmas things to stitch, sew & DIY
I hope you enjoyed these unique, special DIY gift items, including sewing and embroidered Christmas gifts. Let me know in the comments which one is your favorite!
The author may collect a small share of sales from the links on this page.


Comments
Join the conversation